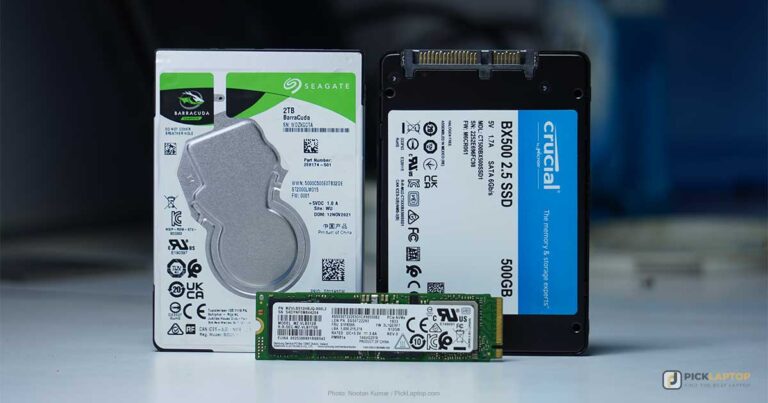
Installing an NVMe heatsink is a ten-minute job: pull the drive, lay the thermal pad over the controller side, clamp the heatsink down, put the drive back. The part most guides get wrong is what to do with the factory label — and the short answer is leave it on. On a Samsung drive that label is part of the cooling system, and on Samsung and Western Digital drives, removing it voids the warranty in writing.
I fitted one to the secondary drive in my Ryzen 7 7700X build after it started throttling during file transfers. Below is exactly how it went, what the numbers actually look like, and the four mistakes worth avoiding.
What’s Inside
- 1 – Does Your NVMe SSD Actually Need a Heatsink?
- 2 – Why NVMe Drives Run Hot in the First Place
- 3 – What You Need Before You Start
- 4 – Installing an NVMe Heatsink, Step by Step
- 4.1 – 1. Shut down and unplug
- 4.2 – 2. Remove the drive
- 4.3 – 3. Leave the factory label alone
- 4.4 – 4. Peel the film off both sides of the thermal pad
- 4.5 – 5. Lay the pad over the chip side
- 4.6 – 6. Clamp it down — firm, not crushed
- 4.7 – 7. Peel the film off the heatsink itself
- 4.8 – 8. Refit the drive
- 4.9 – 9. Boot up and check the temperature
- 5 – How to Check SSD Temperature
- 6 – What It Actually Measured: The Heatsink in These Photographs
- 7 – Four Mistakes That Make Things Worse
- 8 – Which Drives Are Worth Cooling
- 9 – NVMe Heatsink Questions, Answered
- 10 – Fit It Once, Fit It Properly
Does Your NVMe SSD Actually Need a Heatsink?
Not every drive does. A SATA SSD never will, and an entry-level Gen3 drive doing ordinary desktop work rarely gets warm enough to care.
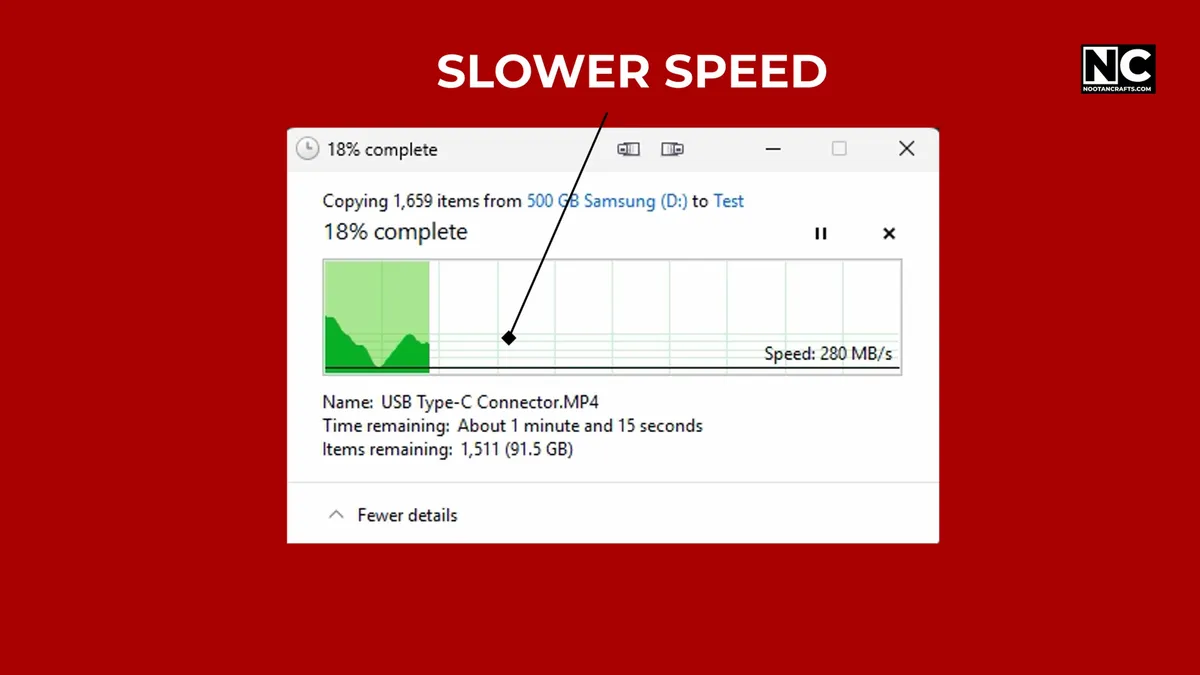
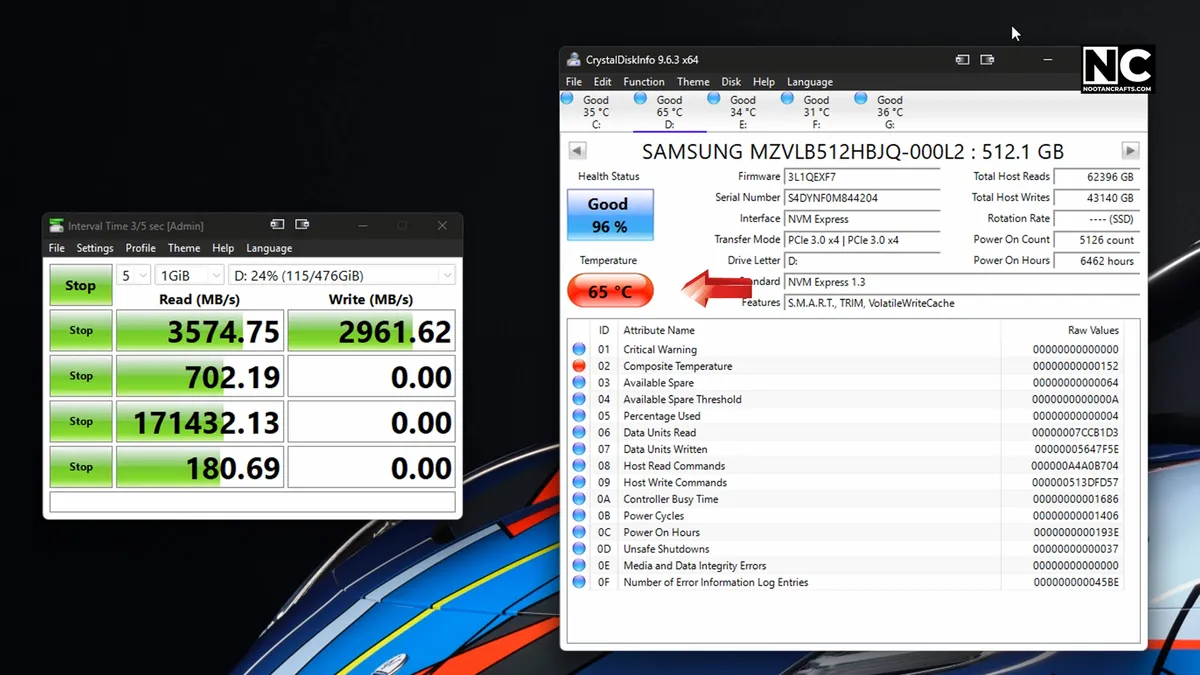
The problem shows up under sustained load — long file transfers, video scratch work, virtual machines, large game installs. That was my case. I moved a Samsung Gen3 drive out of an old laptop into the new build as secondary storage, and transfers that should have held steady were dropping off partway through. The drive was throttling: pulling its own speed down to protect itself from heat.
Where drives start doing that varies more than most articles admit, because different drives report different sensors and throttle in stages.
| Drive type | Published operating limit | Where throttling typically starts | Heatsink needed? |
|---|---|---|---|
| SATA SSD | ~70 °C | Rarely reached | No |
| PCIe Gen3 NVMe | 0–70 °C (Samsung 970 EVO) | Around 70 °C | Only under sustained load |
| PCIe Gen4 NVMe | Varies by model | Mid-to-high 70s | Recommended |
| PCIe Gen5 NVMe | Varies by model | Low-to-mid 80s | In practice yes |
Worth knowing: no manufacturer I could find publishes a numeric throttle temperature for a consumer drive. Samsung’s datasheets give an operating range and describe “Dynamic Thermal Guard” without saying when it engages. Anyone quoting you one exact number is guessing.
Around 15 °C on the controller is a realistic gain from adding a heatsink to a bare drive under sustained load. Tom’s Hardware measured a 15 °C drop on the controller, 18.4 °C on the DRAM and 11.8 °C on the flash between the worst and best cooling configurations on the same drive. My own before-and-after on this build came out at the same figure — the numbers are further down.
Why NVMe Drives Run Hot in the First Place

There are no moving parts, so the heat has to come from somewhere else — and it does. The controller is a processor. Every transfer, game load and virtual machine has it moving data at several gigabytes per second, and like any processor working that hard, it sheds heat. It is the hottest component on the board and the one a heatsink is really for.
The NAND packages add to it, more so on Gen4 and Gen5 drives. Samsung treats the two separately: on the 980 PRO the controller gets a nickel coating to shed heat, while the label doubles as “a heat spreader label to deliver effective thermal control of the NAND chip.”
Then there’s where the drive lives. Most boards put the primary M.2 slot directly beneath the graphics card, which under load is a heater blowing across it in a space with almost no airflow. A drive that stays cool on an open bench can throttle in a closed case for that reason alone.
What You Need Before You Start
- The NVMe SSD
- An M.2 heatsink that physically clears your graphics card — measure before you buy
- Thermal pads, normally supplied with the heatsink
- A small Phillips screwdriver
- Optional: isopropyl alcohol and a lint-free cloth
Clearance is the one that catches people out. A tall heatsink on the primary M.2 slot can foul the graphics card, and you won’t find out until the card won’t seat. Check the gap first.
Installing an NVMe Heatsink, Step by Step
1. Shut down and unplug

Shut down, pull the power cable, then press the power button once. That drains the residual charge still sitting in the power supply and board, so nothing is live when you start handling components.
2. Remove the drive
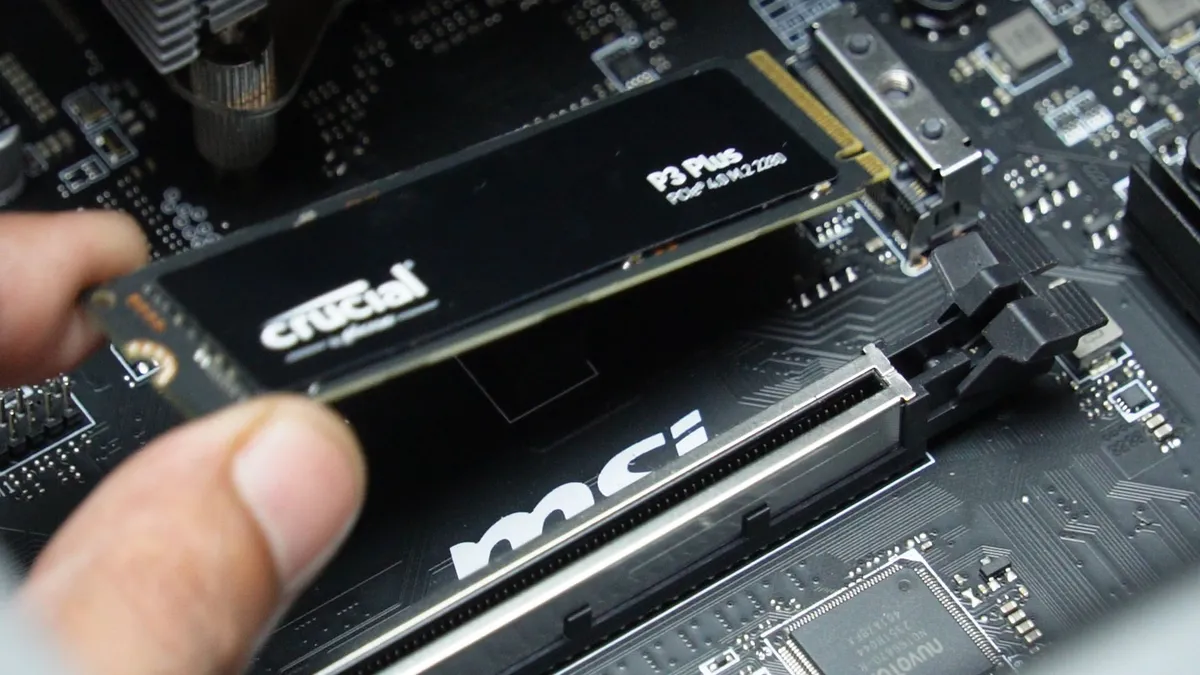
Find the M.2 slot, undo the retaining screw or release the latch, and the drive will spring up to about a 30-degree angle. Slide it out holding the edges, not the chips.
If your motherboard already has its own M.2 shield over the slot, that comes off first — and it’s worth asking whether you need an aftermarket heatsink at all, or just better contact with the one you have.
3. Leave the factory label alone
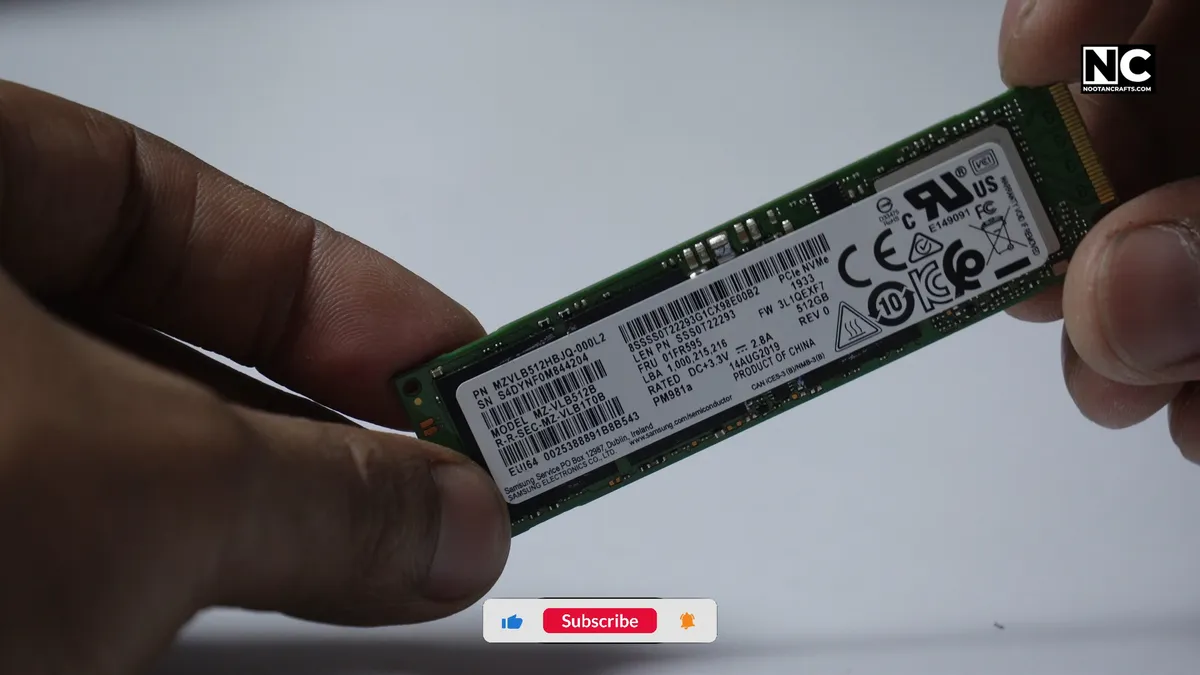
This is the step most guides get backwards. The standard advice is to peel the sticker off for “direct contact” — and it is wrong on three separate counts.
On several drives that label is a heat spreader, not branding. Samsung’s 970 EVO datasheet describes “a heat spreader with an integrated thin copper film,” and Kingston’s FURY Renegade uses a graphene aluminum heat spreader. Peeling those off removes part of the cooling.
The warranty position is just as clear. Samsung’s SSD limited warranty excludes “any alterations, modifications, or removal of any SAMSUNG labels or barcodes on the Product.” Western Digital’s warranty policy lists “removing or obliterating labels” and a “missing barcode or top cover label” among its exclusions. On most M.2 drives the serial number is printed on that label, so removing it also destroys the information a claim depends on.
And the payoff for removing it is negligible. In the one controlled test I could find, HWCooling measured the difference at 1–3 °C and concluded it “does not make sense to peel it off before mounting an SSD heatsink.” A couple of degrees is not worth a warranty.
Put the thermal pad straight onto the label.
4. Peel the film off both sides of the thermal pad

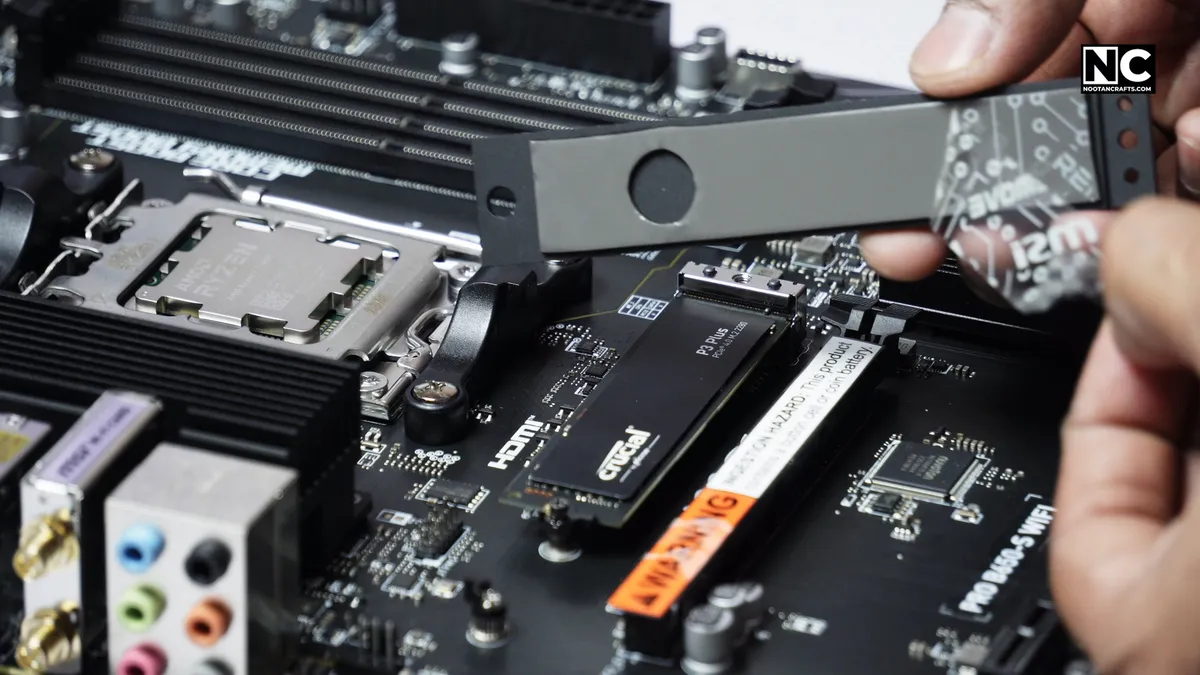
Thermal pads ship with a clear plastic film on both faces, and it is close to invisible. Leave one on and you’ve installed an insulator — the drive will run hotter than it did bare, and you’ll blame the heatsink.
Check both sides in the light before fitting. This is the single most common mistake with these kits.
5. Lay the pad over the chip side

The pad goes on the side carrying the controller and NAND — on a single-sided drive, that’s the labelled face. Cover the full length; the pads are usually cut longer than they need to be, which is fine.
If the kit includes a second pad for the underside, only use it on a double-sided drive where the bracket actually closes onto both faces. On a single-sided drive it does nothing except make the sandwich harder to clamp evenly.
6. Clamp it down — firm, not crushed
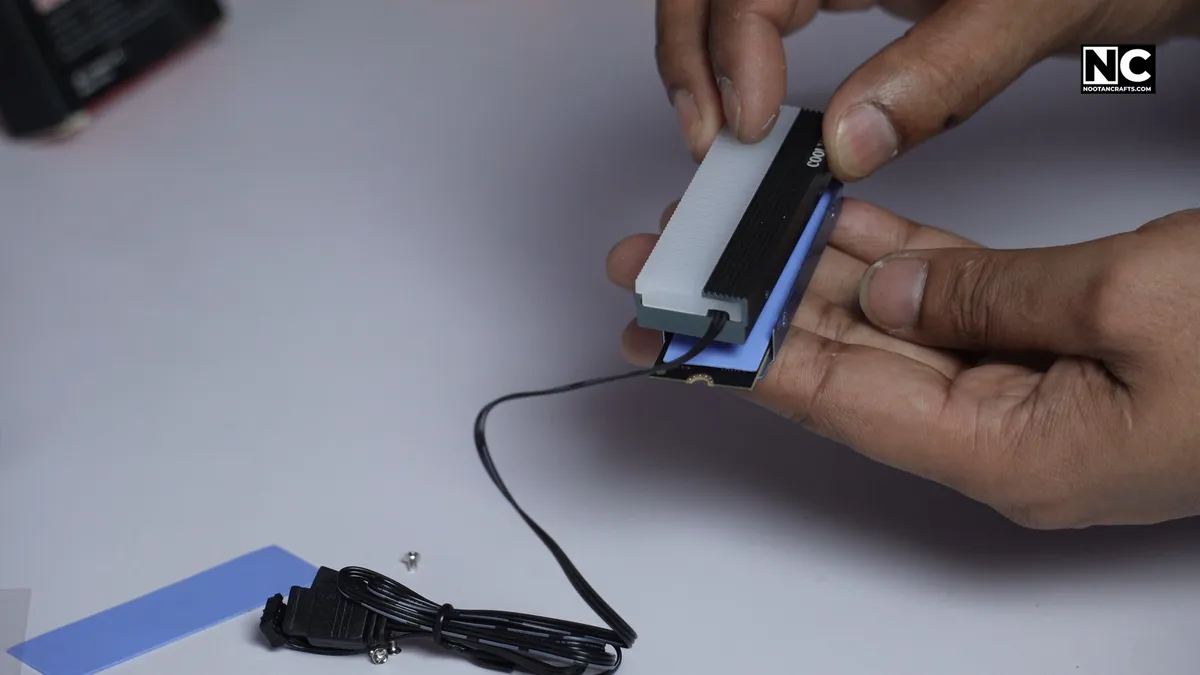
Heatsinks attach by screws, spring clips or a rubber band, depending on how much the maker spent. Whichever it is, you want even contact across the pad — tighten screws a little at a time, alternating ends, the way you would a cylinder head.
Snug is enough. Over-tightening crushes the pad, which reduces contact rather than improving it, and puts bending load on a thin PCB.
7. Peel the film off the heatsink itself
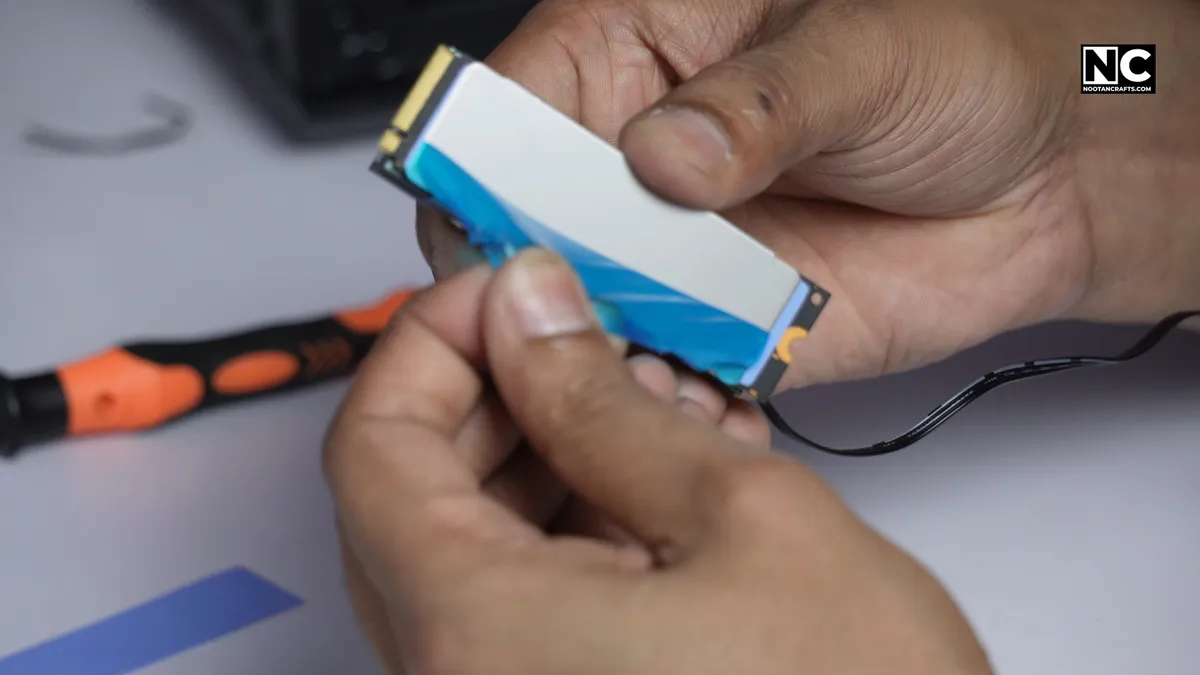
A separate film from the thermal pad one, and easy to forget because it is on the outside where it does no thermal harm. It is a shipping protector for the finish. Take it off now, while the drive is still out of the case and you can reach both faces — once the heatsink is under a graphics card, you will not be peeling anything.
8. Refit the drive

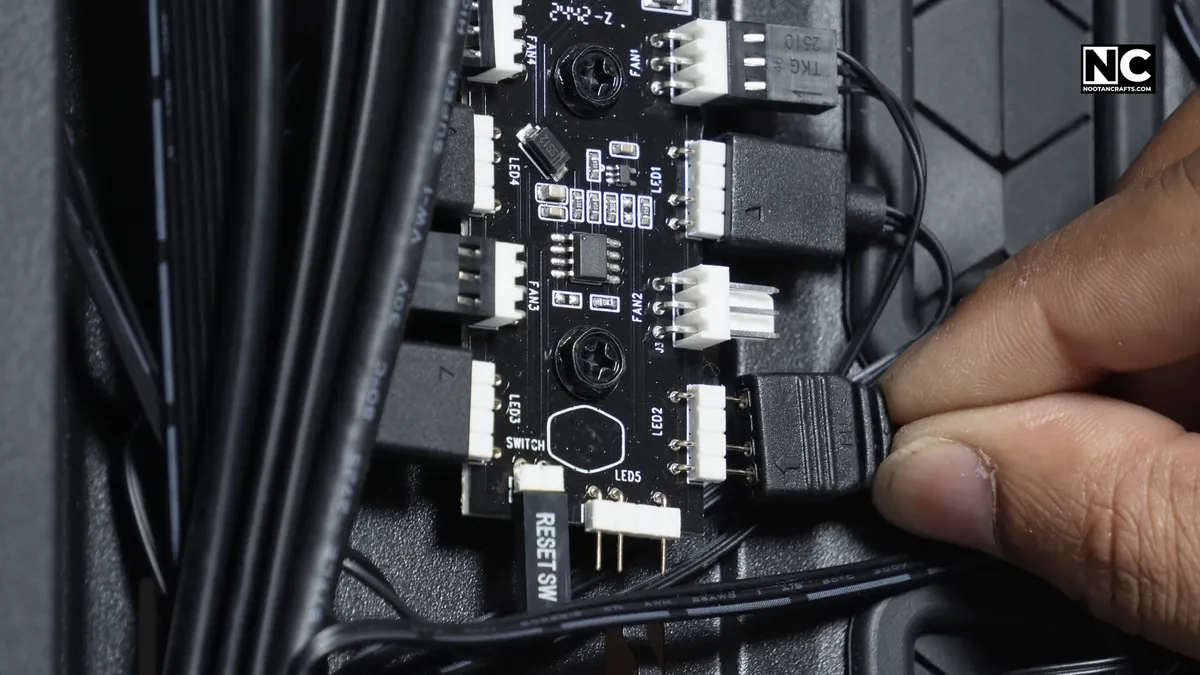
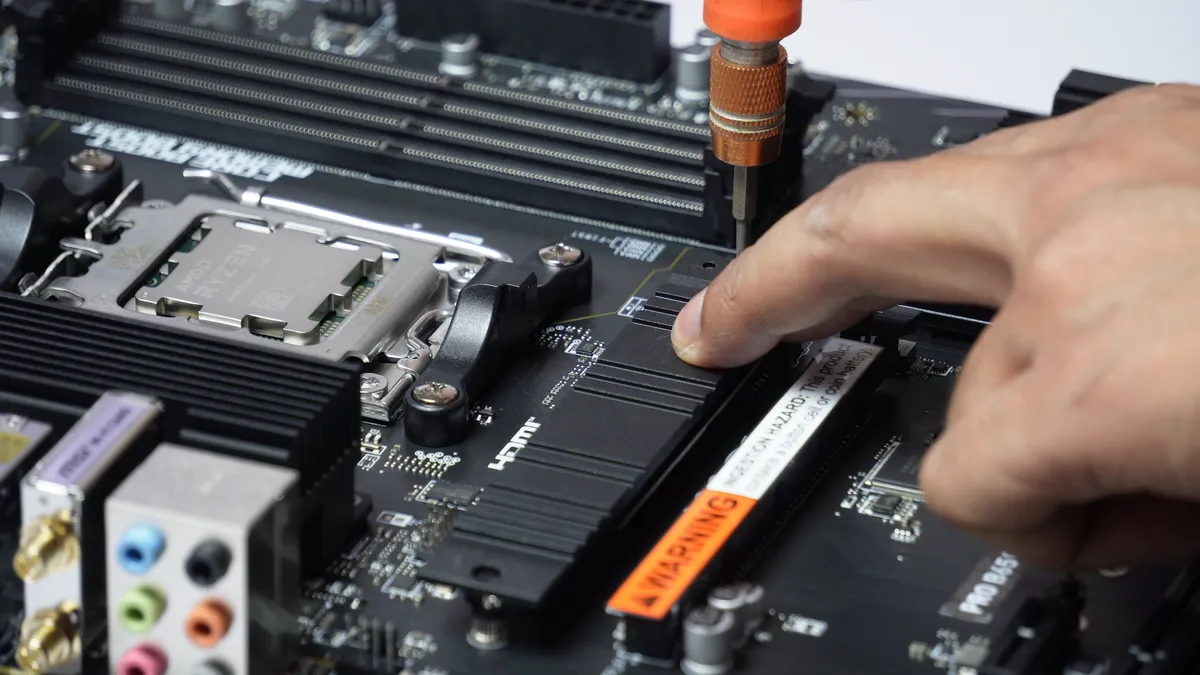
Slide it back in at the same shallow angle, press it flat, and secure it with the screw or latch. The extra height of the heatsink can make that last part stiffer than you expect — don’t force it, back it out and realign.
Before you close the case, check the heatsink isn’t touching the graphics card or blocking a fan.
9. Boot up and check the temperature
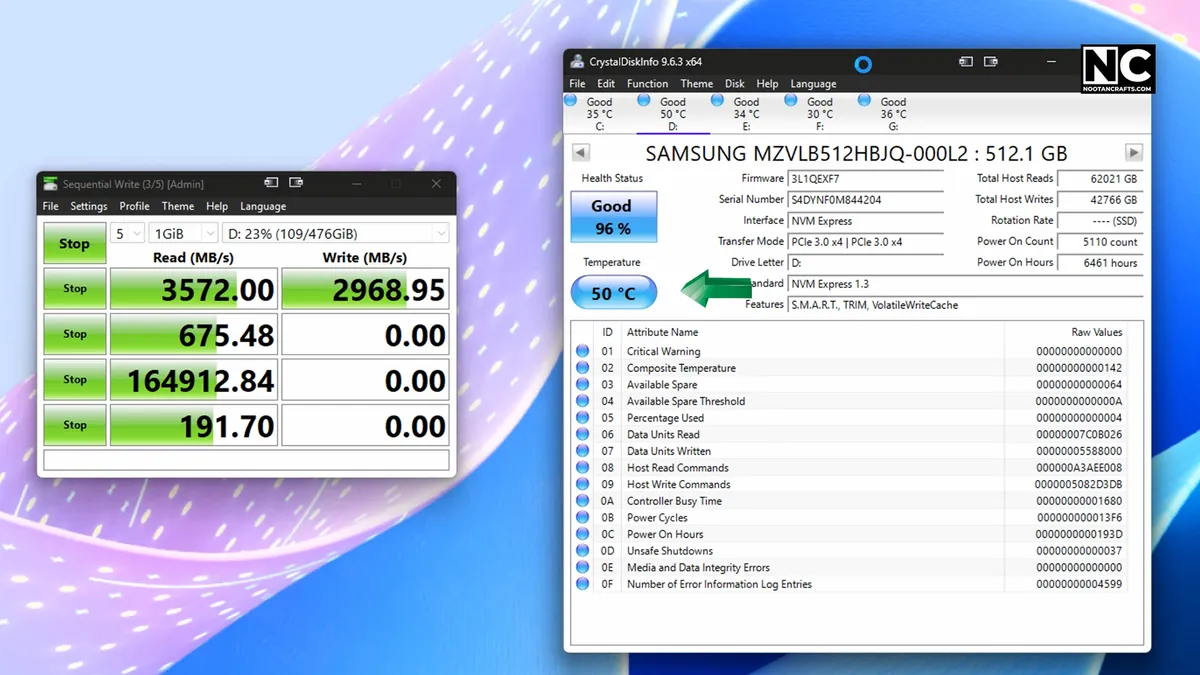
An idle reading tells you almost nothing. Run a real sustained transfer — a large file copy or a game install — and watch the temperature while it runs. That’s where throttling showed up before, and where you’ll see whether it still does.
How to Check SSD Temperature
| Tool | Best for | Cost |
|---|---|---|
| CrystalDiskInfo | Quick health and temperature check, flags a drive as caution | Free |
| HWiNFO64 | Logging temperature over a full workload, per-sensor detail | Free |
| Motherboard BIOS | Idle temperature only, no software needed | Free |
HWiNFO64 is the one worth using here, because it will log while you run the transfer rather than showing a single snapshot after the fact. A drive that peaks at 78 °C for forty seconds mid-copy looks perfectly healthy if you only check it afterwards.
What It Actually Measured: The Heatsink in These Photographs
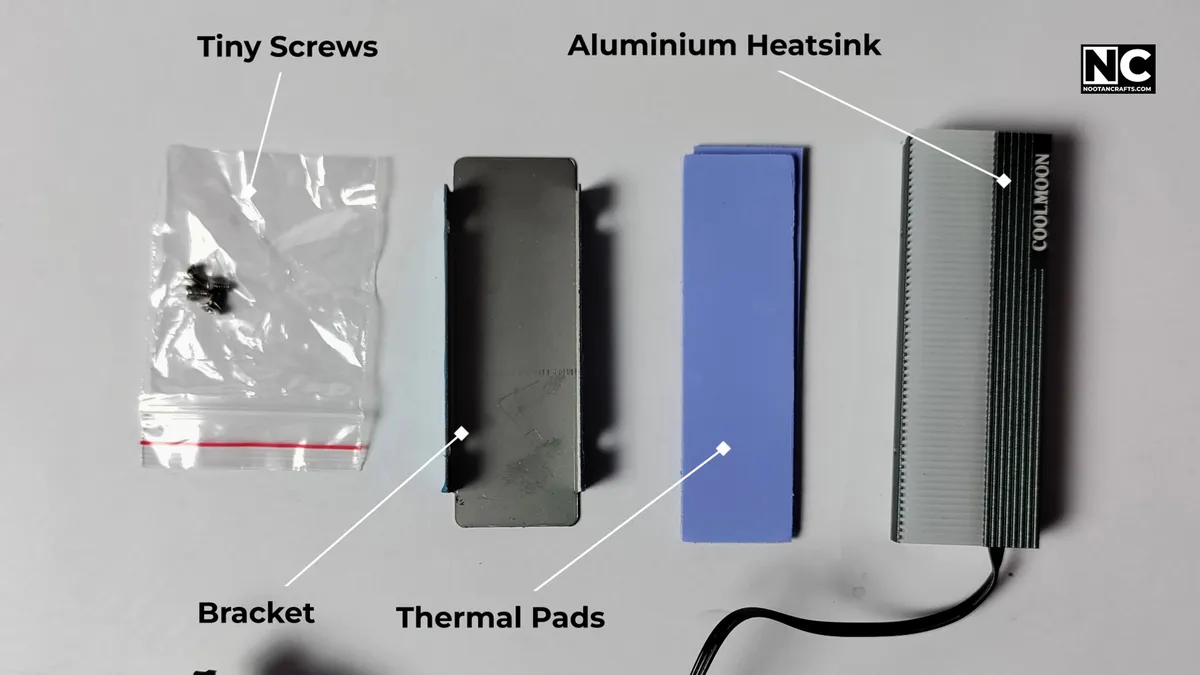
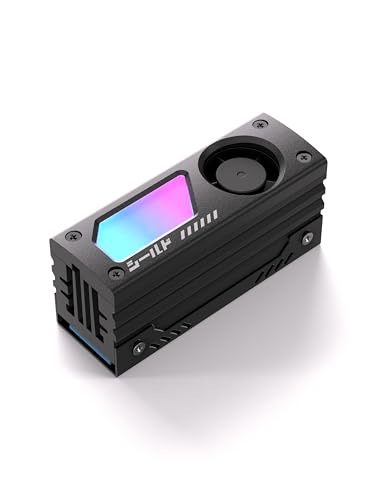
The kit in every photograph above is a COOLMOON CM-M2A — a passive anodized block with an ARGB strip along the top. I fitted it to the Samsung Gen3 drive that started this, so the before-and-after is on the same drive in the same case on the same test.
Recommended product

Last update on 2026-10-08 / Affiliate links / Images from Amazon Product Advertising API
The Result
| Samsung Gen3 NVMe, sustained read/write | Peak temperature | Throttling? |
|---|---|---|
| Bare drive | 65 °C | Yes — speed dropped partway through every transfer |
| With the heatsink fitted | 50 °C | No — held speed for the full transfer |
Fifteen degrees, which lands exactly on the figure Tom’s Hardware measured on a different drive with different hardware. That agreement is the useful part: it means the number at the top of this article is not a one-off, and it is a reasonable thing to expect from any competent block on a drive that was genuinely running hot.
The throttling column matters more than the temperature column. 65 °C is not an alarming number on its own — it is well inside the Samsung operating range in the table above. But it was enough to make that particular drive pull its speed down partway through a long copy, which is the symptom I actually wanted gone. After the heatsink, transfers held their speed to the end.
What’s in the Box
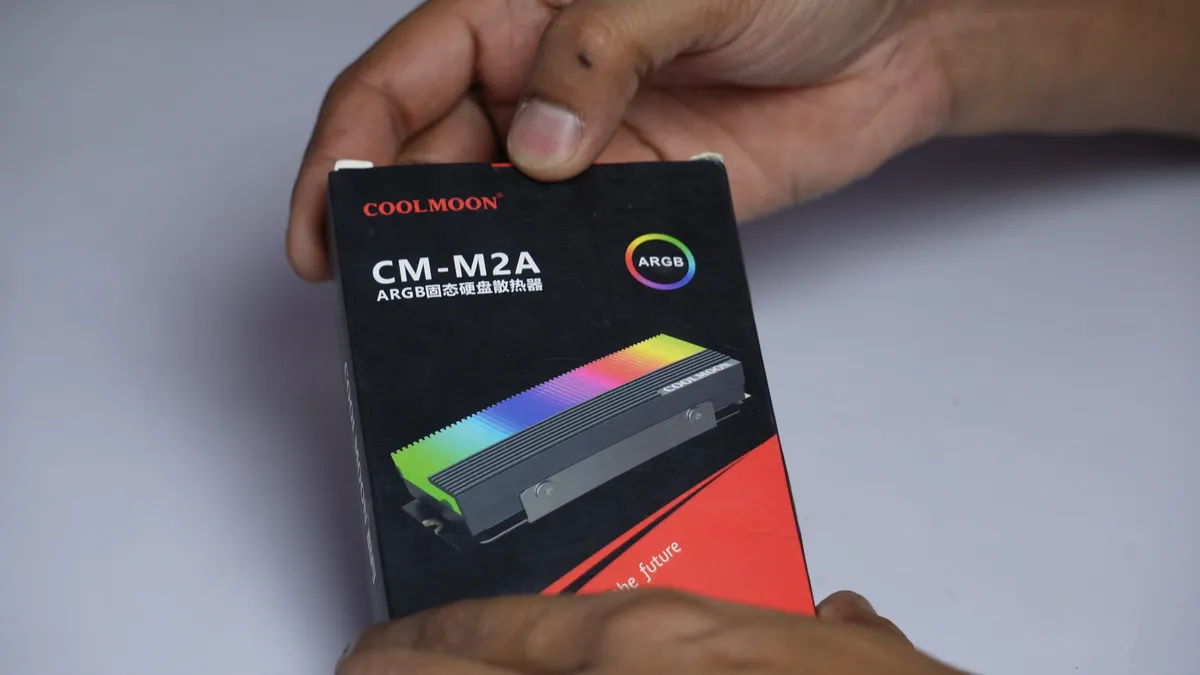
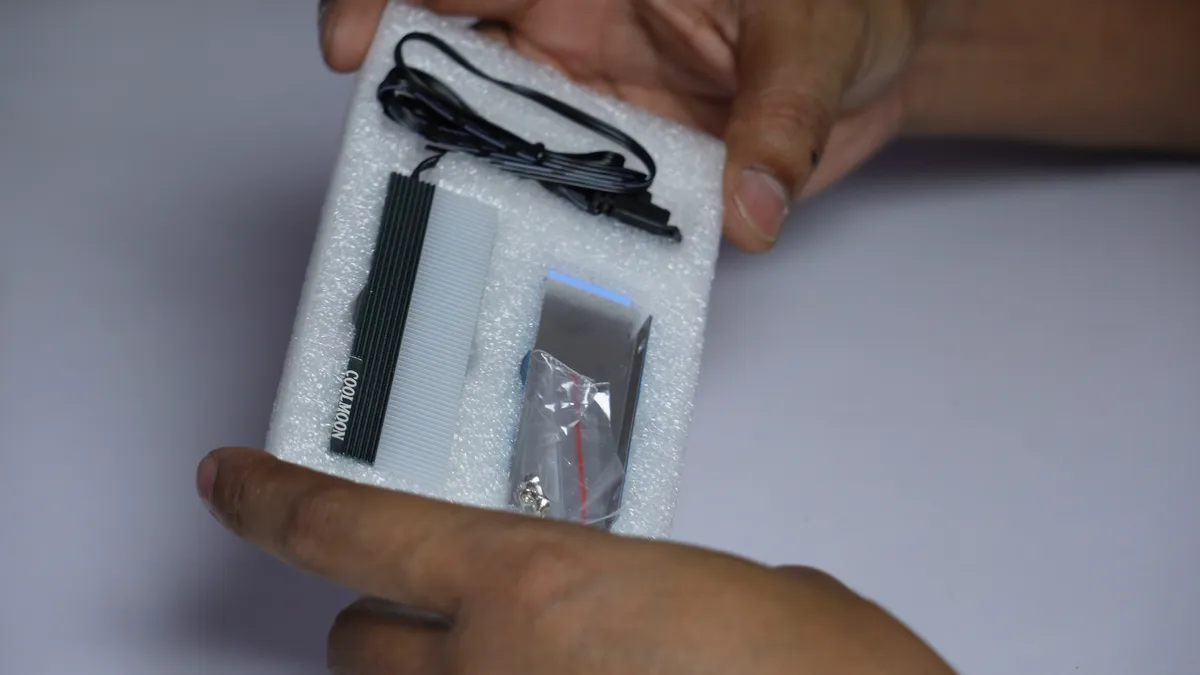
- The anodized aluminum block, brushed dark green
- Two thermal pads, firm rather than the soft cheap kind
- A mounting bracket and screws
- A 5 V ARGB cable with male and female ends, so it can be daisy-chained
- No manual, which does not matter much on a part with four screws
Two pads is worth noting against step 5 above: the second one is for the underside of a double-sided drive. On a single-sided Gen3 like mine it stays in the box.
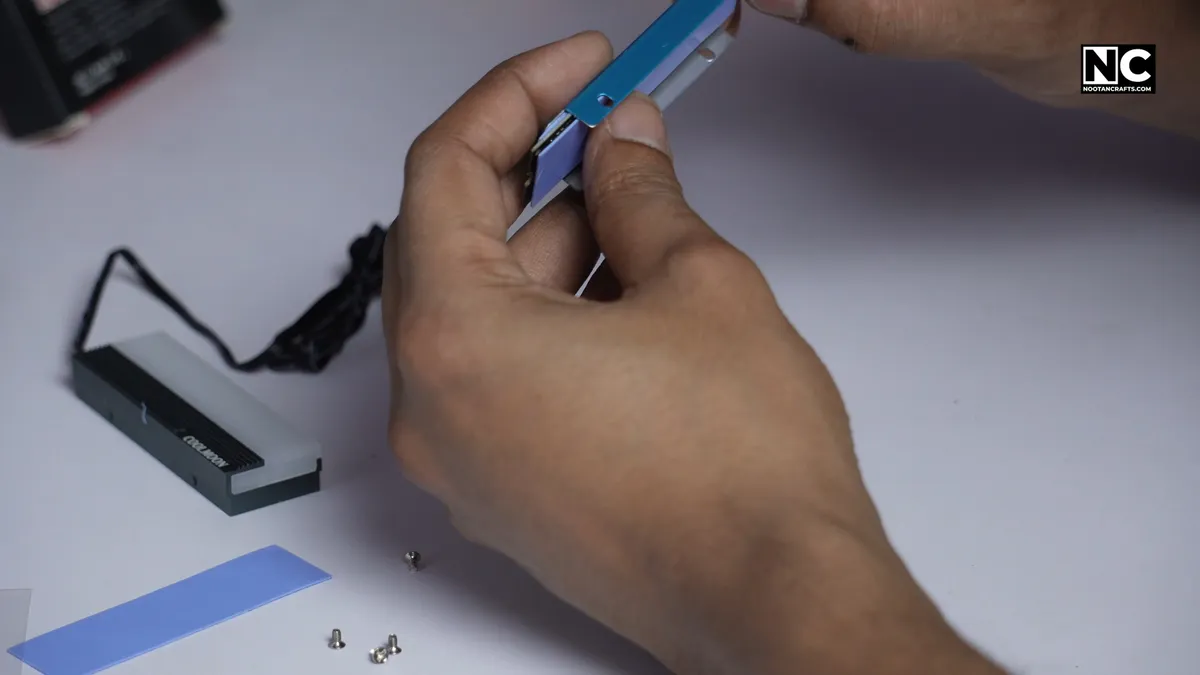
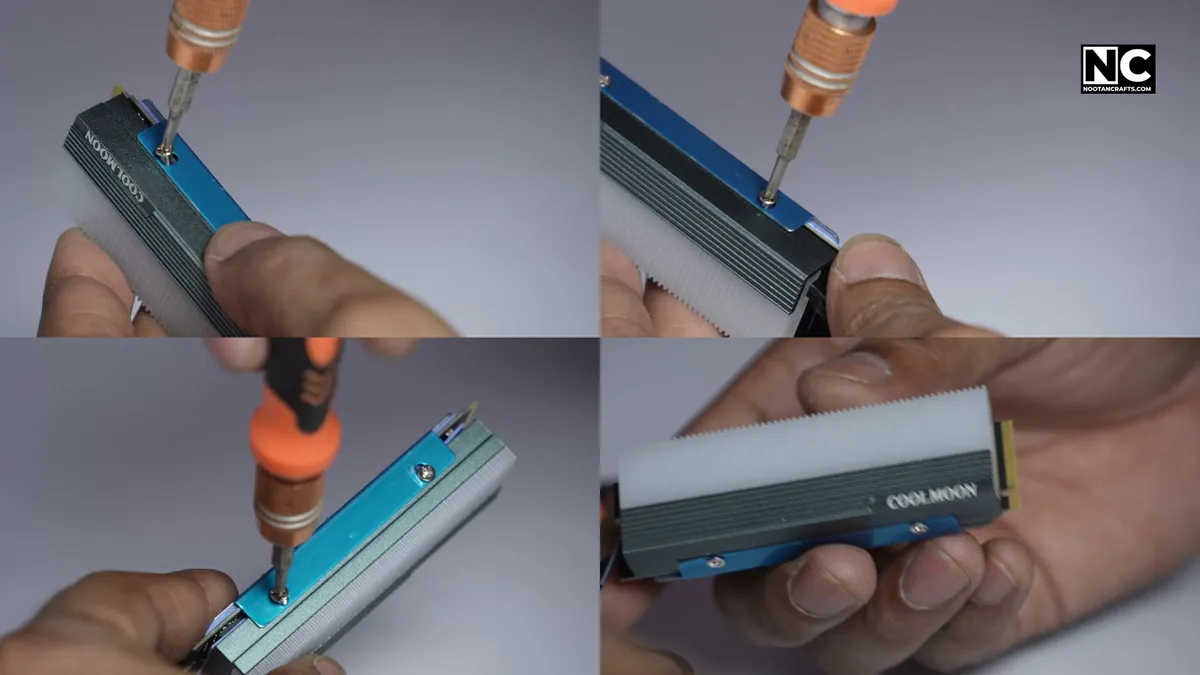
It clamps rather than clips: the block sits on top, a bracket goes underneath, and four screws pull the sandwich together. That is the arrangement that makes step 6 matter — even, alternating tightening, and stop at snug.
The Lighting Cable Is the One Extra Step
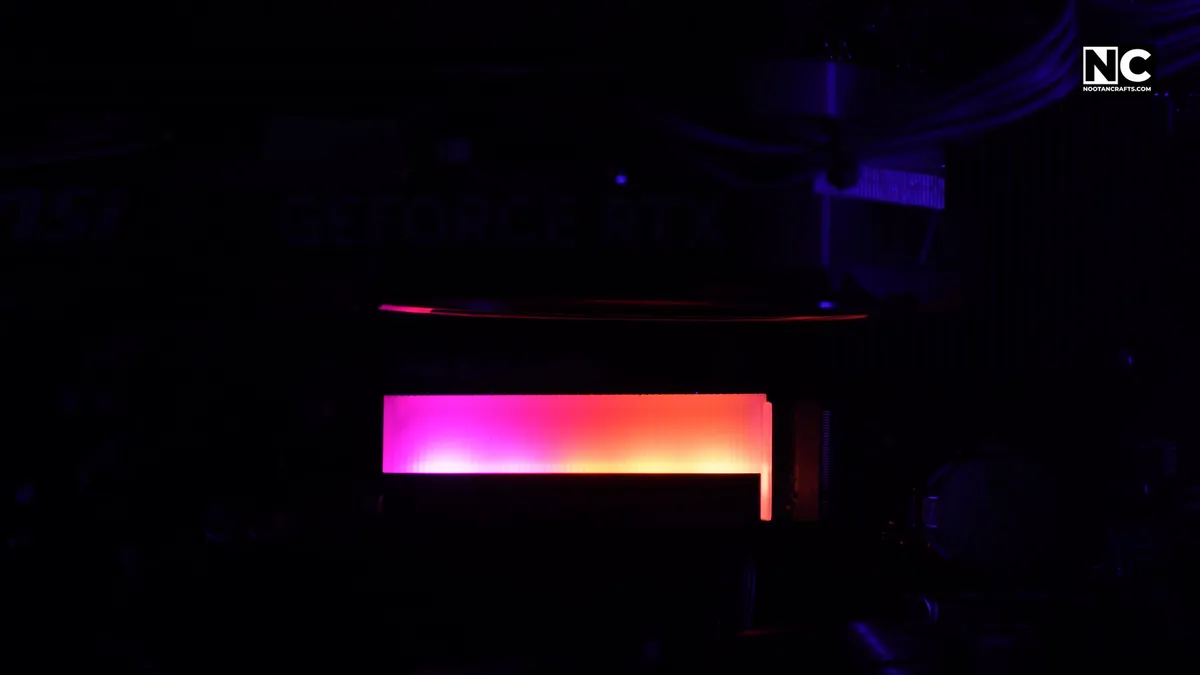
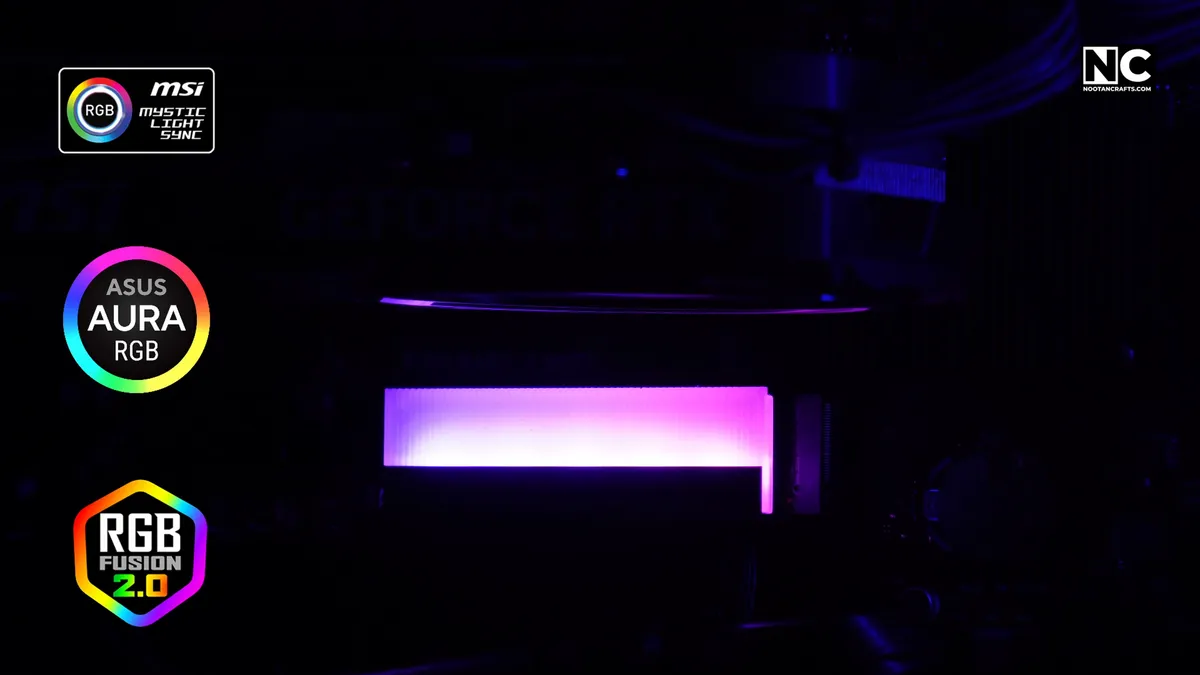
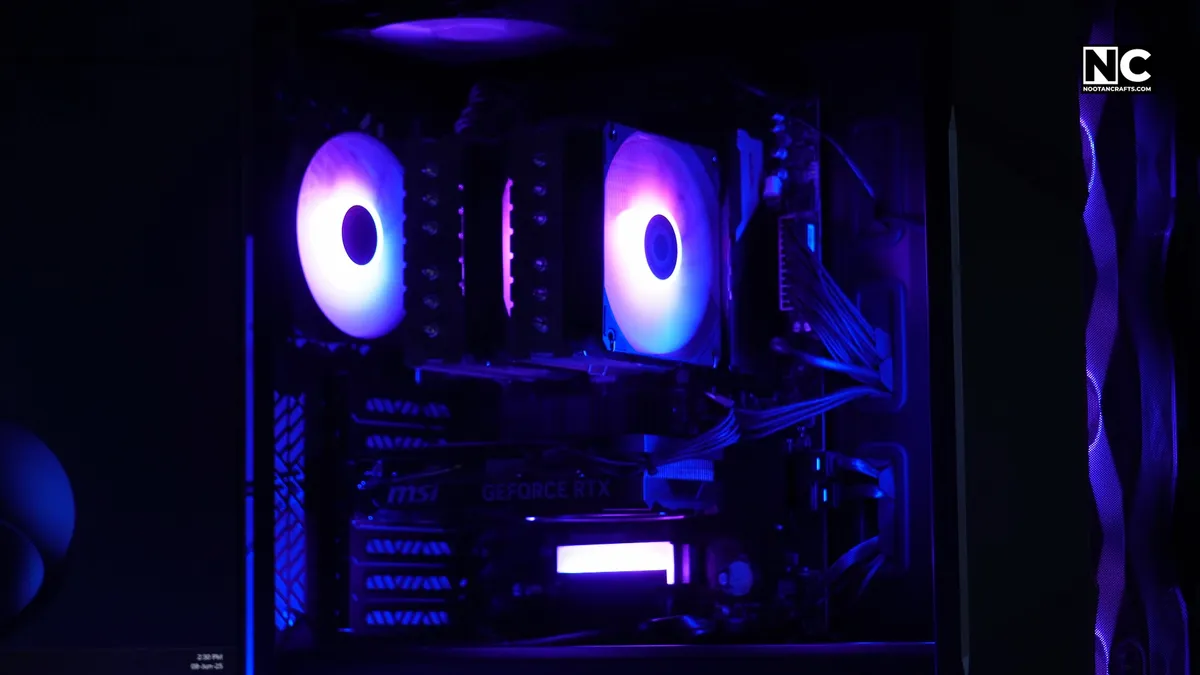
If the heatsink you buy has lighting, it has a second cable, and that cable goes on the 5 V 3-pin ARGB header — not the 4-pin 12 V RGB header next to it. Get that wrong and the LEDs are destroyed the moment you press the power button. The connector is keyed to prevent it, so if it will not seat easily, stop and check. The RGB header guide has the pinouts.
Mine went to MSI Mystic Light and matched the rest of the case. Aura Sync, RGB Fusion and Polychrome all work the same way. The male-and-female cable means it can sit in an existing ARGB chain rather than needing a header of its own, which is useful on a board with only one.
The lighting is entirely optional. The block is passive — no fan, no noise, no software required. Leave the ARGB cable unplugged and it cools exactly as well. Worth remembering if you are buying for a machine where the side panel is solid and nobody will ever see it.
Where It Is Not the Right Choice
A passive block of this size suits Gen3 and most Gen4 drives that shipped bare. For a Gen5 drive I would not rely on it — those throttle hard enough under sustained writes that they want a taller finned heatsink with more surface area, or the one the drive shipped with. Buying this for a Gen5 is the wrong tool rather than a bad product.
It fits standard M.2 2280 drives, and the clearance warning from the top of this article applies to it like any other: check the gap under your graphics card before you order.
Four Mistakes That Make Things Worse
- Leaving film on the thermal pad. Turns the heatsink into an insulator. Check both faces.
- Peeling off the factory label. Costs you a couple of degrees at best, the warranty at worst.
- Buying before measuring. A heatsink that fouls the graphics card is no use, and you find out at the last step.
- Over-tightening. Crushing the pad reduces contact area instead of increasing it.
Which Drives Are Worth Cooling
The honest answer is that it depends on what you do with the drive, not just what generation it is. Two questions decide it: does the drive see long sustained writes, and does it sit in still air under the graphics card? Two yeses and a heatsink is worth fitting. Two noes and you’re cooling a drive that was never going to throttle.
If you’re buying a Gen5 drive, check whether it already ships with a heatsink — many retail versions do, and Crucial and Samsung both sell bare and pre-cooled variants of the same drive. Paying twice is easy to do by accident. The size matters too: a thin motherboard shield and a proper finned block are not the same intervention, and on fast drives the difference shows up as throttling or no throttling.
NVMe Heatsink Questions, Answered
Should I remove the sticker from my SSD before fitting a heatsink?
No. On Samsung and Kingston drives the label is a documented heat spreader, Samsung and Western Digital both void the warranty if it’s removed, and the measured gain from removing a plain label is only 1–3 °C. Fit the thermal pad over the top of it.
Which side does the thermal pad go on?
The side with the controller and NAND chips — on a single-sided drive, the labelled face. Only use a second pad underneath if the drive is double-sided and the bracket closes properly on both faces.
Can a bad installation damage the drive?
It can make cooling worse, which is the more common outcome. Film left on a thermal pad traps heat, and over-tightening crushes the pad and flexes the PCB. Neither is likely to kill a drive outright, but both undo the reason you fitted the heatsink.
How much of a temperature drop should I expect?
On a drive that was actually running hot, somewhere around 10–20 °C on the controller under sustained load. Mine went from 65 °C to 50 °C at peak, and Tom’s Hardware measured 15 °C on different hardware — so 15 °C is a fair expectation rather than a best case. On a drive that was never getting warm, close to nothing.
Do Gen5 drives need a heatsink?
For sustained writes, in practice yes — bare Gen5 drives throttle quickly under long transfers. For gaming and ordinary desktop use the loads are short enough that many never reach the throttle point. No manufacturer words it as a hard requirement, but most retail Gen5 drives either include a heatsink or assume you’ll use the motherboard’s.
Is my motherboard’s built-in M.2 shield enough?
Often, yes. Before buying anything, refit the shield with a fresh thermal pad and measure under load. A board-supplied shield making proper contact beats an aftermarket block making poor contact.
Does an ARGB heatsink need software to work?
Not to cool. The block is passive, so it works the moment it is fitted whether or not the lighting cable is connected. The ARGB strip needs a 5 V 3-pin header and your motherboard’s lighting software to sync with the rest of the build — and if you skip both, you lose nothing thermally.
Will an M.2 heatsink fit any drive?
Most fit the standard M.2 2280 length, which covers almost every consumer drive. The constraint is height, not length: the primary M.2 slot usually sits under the graphics card, and a tall block will stop the card seating. Measure that gap before ordering.
Fit It Once, Fit It Properly
The job itself is genuinely ten minutes. What decides whether it works is three details: both films off the thermal pad, the factory label left where it is, and the bracket tightened evenly rather than hard.
Then measure under a real transfer rather than at idle. If the drive was throttling before and holds its speed now, the heatsink did its job — and if the temperature barely moved, that’s worth knowing too, because it means the drive was never the problem.