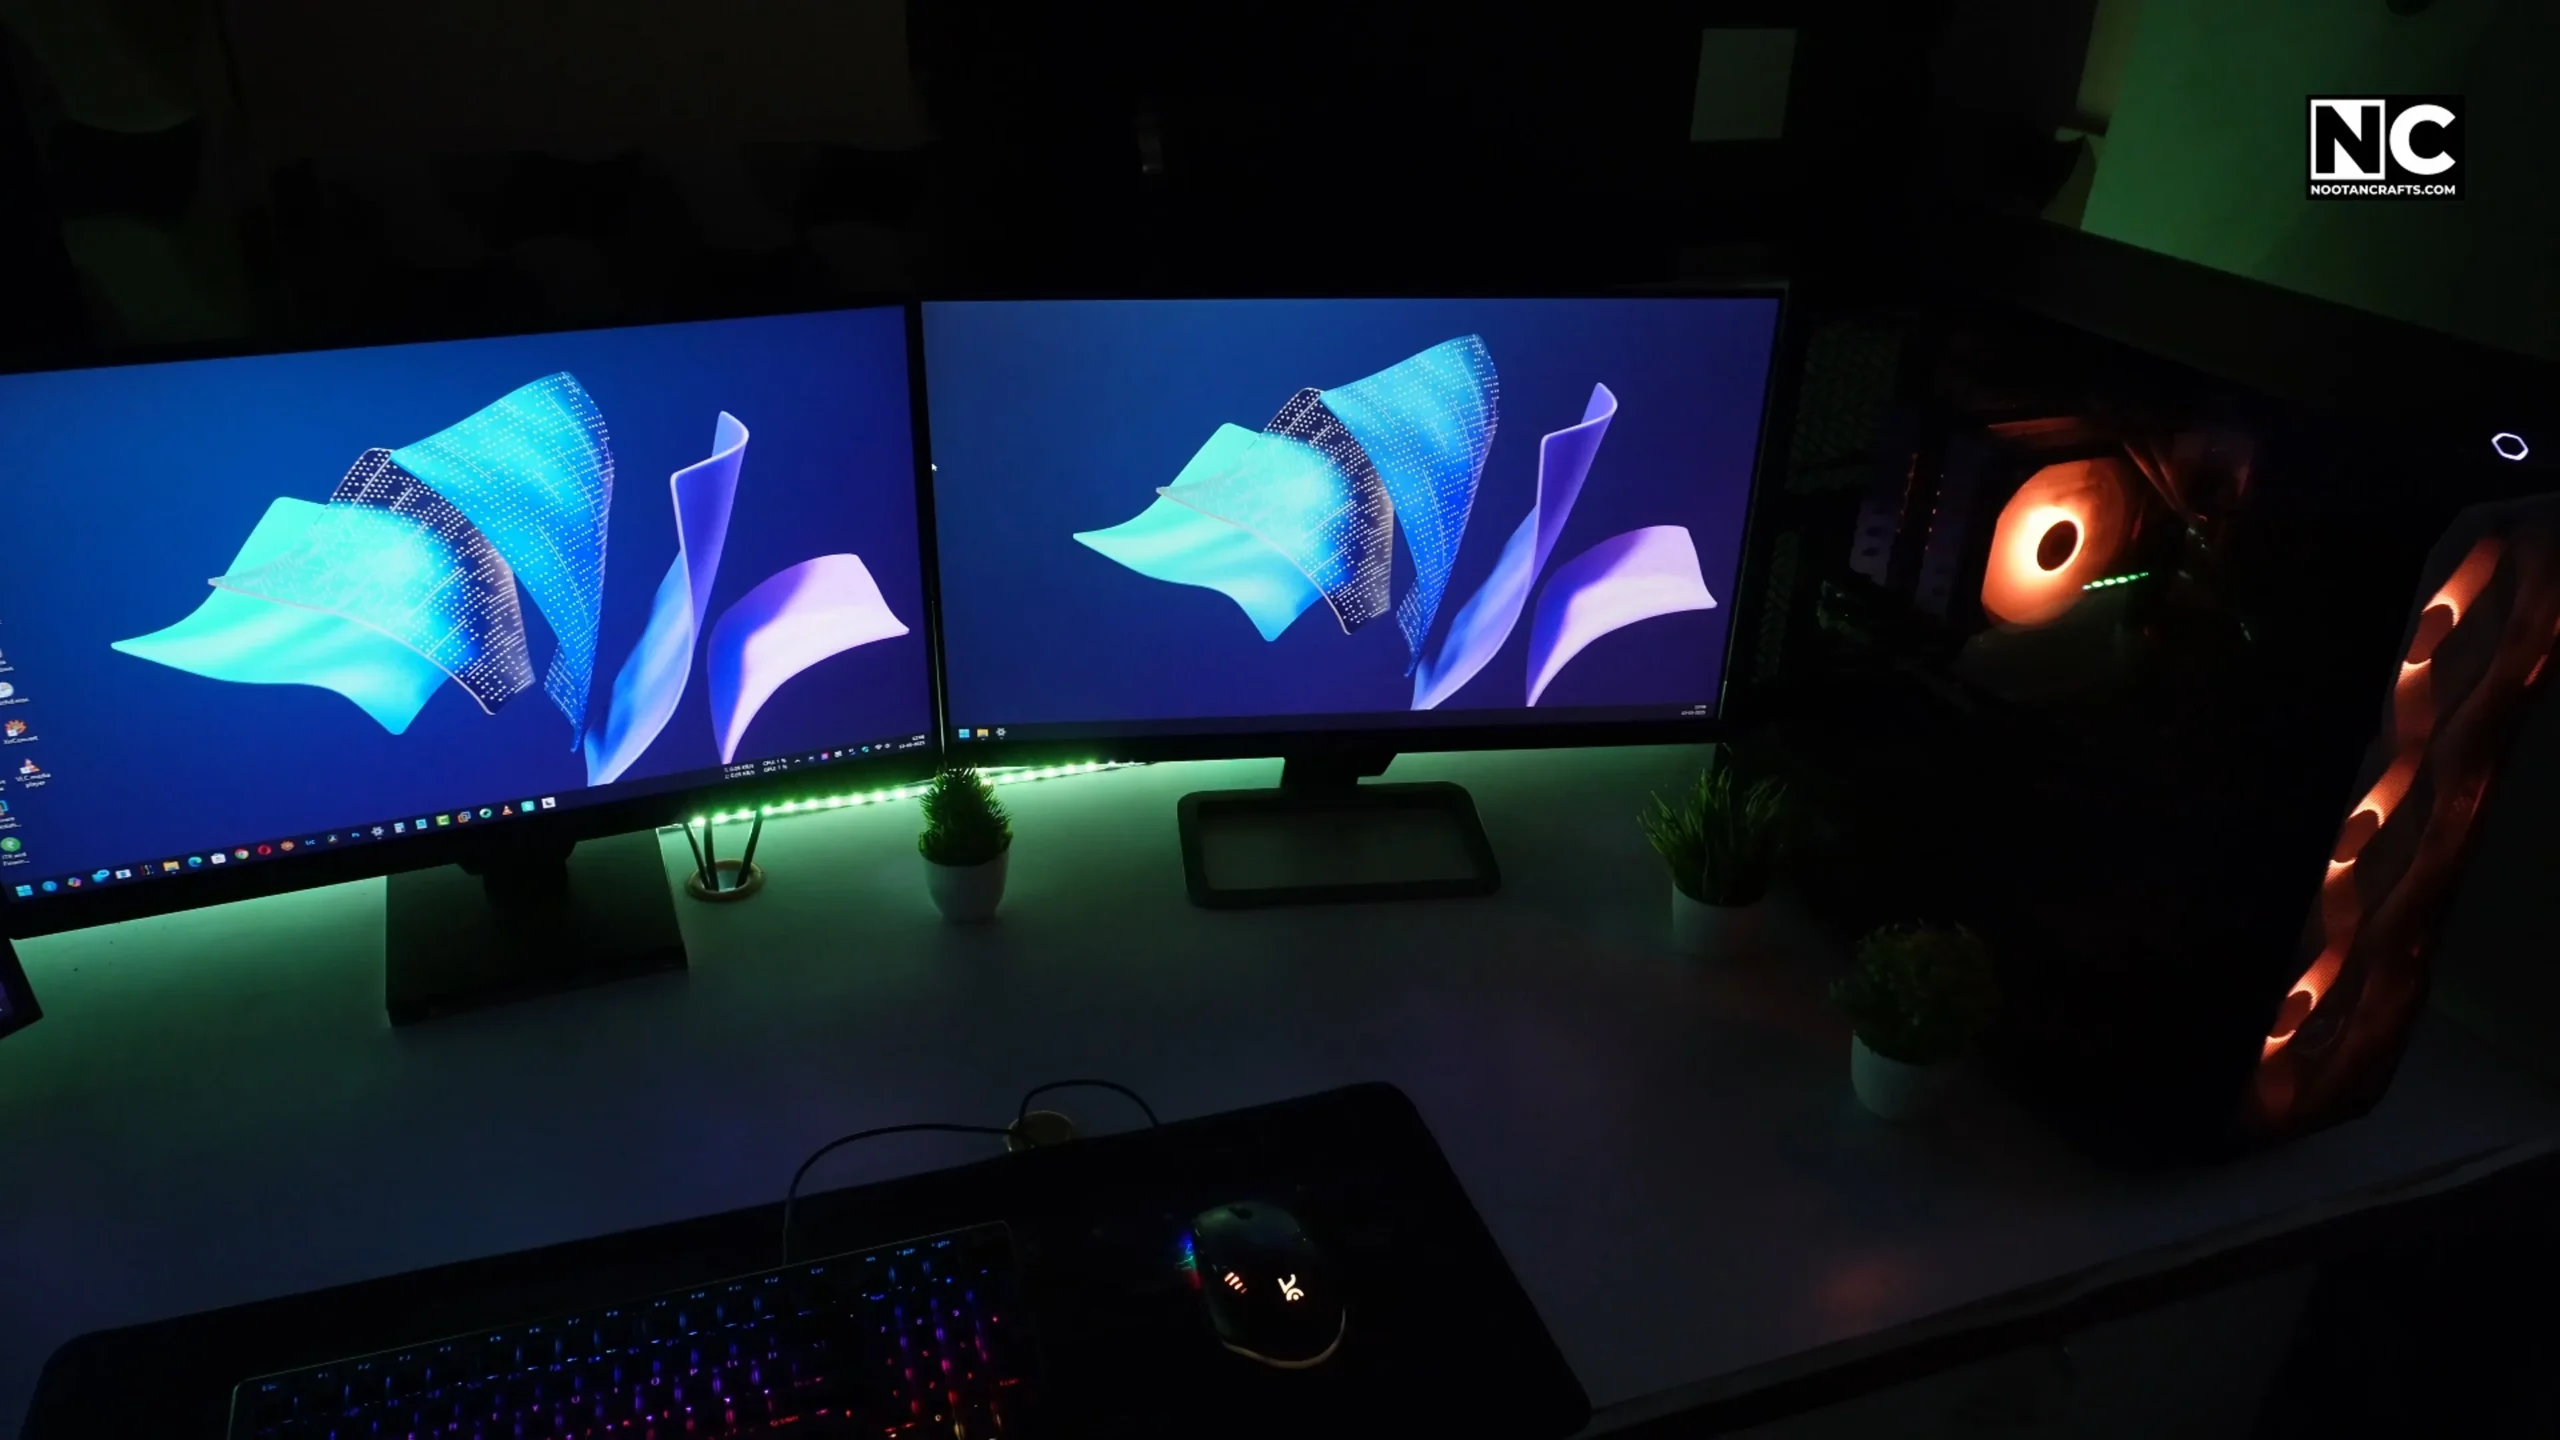
This is a Ryzen 7 7700X and RTX 4060 build that cost about as much as a mid-range gaming laptop and does considerably more work. It edits 4K comfortably, runs two or three virtual machines without complaint, and plays modern games well at 1080p. At 1440p it is honest about its limits, and I will get to why.
I built it because my laptop died and could not be repaired. Every part below is one I actually bought and fitted, photographed as it went together — including the bits I got wrong the first time.
What’s Inside
- 1 – The Full Parts List
- 2 – Why Each Part Is In This Build
- 2.1 – Cooler Master MasterBox TD500 Mesh V2
- 2.2 – MSI PRO B650-S WIFI
- 2.3 – AMD Ryzen 7 7700X
- 2.4 – Cooler Master Hyper 620S
- 2.5 – MSI RTX 4060 Ventus 2X BLACK 8G OC
- 2.6 – Cooler Master MWE 650 Bronze V2
- 2.7 – Crucial P3 Plus 1 TB
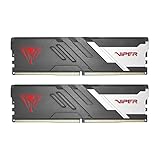
- 2.8 – Patriot Viper Venom DDR5, 2 × 16 GB
- 2.9 – BenQ GW2790, and the peripherals
- 3 – Putting It Together
- 4 – Wiring It Up
- 5 – Cable Management and Closing Up
- 6 – BIOS Update and First Boot
- 7 – What the Build Actually Delivers
- 8 – Questions About This Build
- 9 – Would I Build This Again?
The Full Parts List
- CPU: AMD Ryzen 7 7700X — 8 cores / 16 threads, 5 nm compute / 6 nm I/O die, 105 W TDP, AM5
- Motherboard: MSI PRO B650-S WIFI — AM5, DDR5, PCIe 4.0 x16, Wi-Fi 6E, 12+2+1 power design
- CPU Cooler: Cooler Master Hyper 620S — Dual tower, 6 heat pipes, 2 × 120 mm ARGB fans, 154.9 mm height
- GPU: MSI RTX 4060 Ventus 2X BLACK 8G OC — 8 GB GDDR6, 115 W TGP, single 8-pin, 550 W PSU recommended
- Memory: Patriot Viper Venom DDR5 (2 × 16 GB) — 32 GB total at DDR5-6000 (AM5 sweet spot)
- Storage: Crucial P3 Plus 1 TB PCIe 4.0 — 5,000 MB/s read, 3,600 MB/s write, QLC, DRAM-less
- Power Supply: Cooler Master MWE 650 Bronze V2 — 650 W, 80 PLUS Bronze, non-modular
- Case: Cooler Master MasterBox TD500 Mesh V2 — Mesh front, tempered glass, 3 × 120 mm ARGB fans + hub included
- Monitor: BenQ GW2790 — 27″, IPS, 1080p, 100 Hz, 99% sRGB
- Keyboard: Kreo Hive (Brown Switches) — Hot-swap, USB-C, RGB
- Mouse: Kreo HAWK — PixArt PAW3327 sensor, 200–12,400 DPI





Last update on 2026-10-08 / Affiliate links / Images from Amazon Product Advertising API
Every part here was bought at retail. Nothing was supplied or sponsored.
Why Each Part Is In This Build
A parts list is easy to copy. What is worth knowing is why each one is here, and where two of them are genuine compromises.
Cooler Master MasterBox TD500 Mesh V2
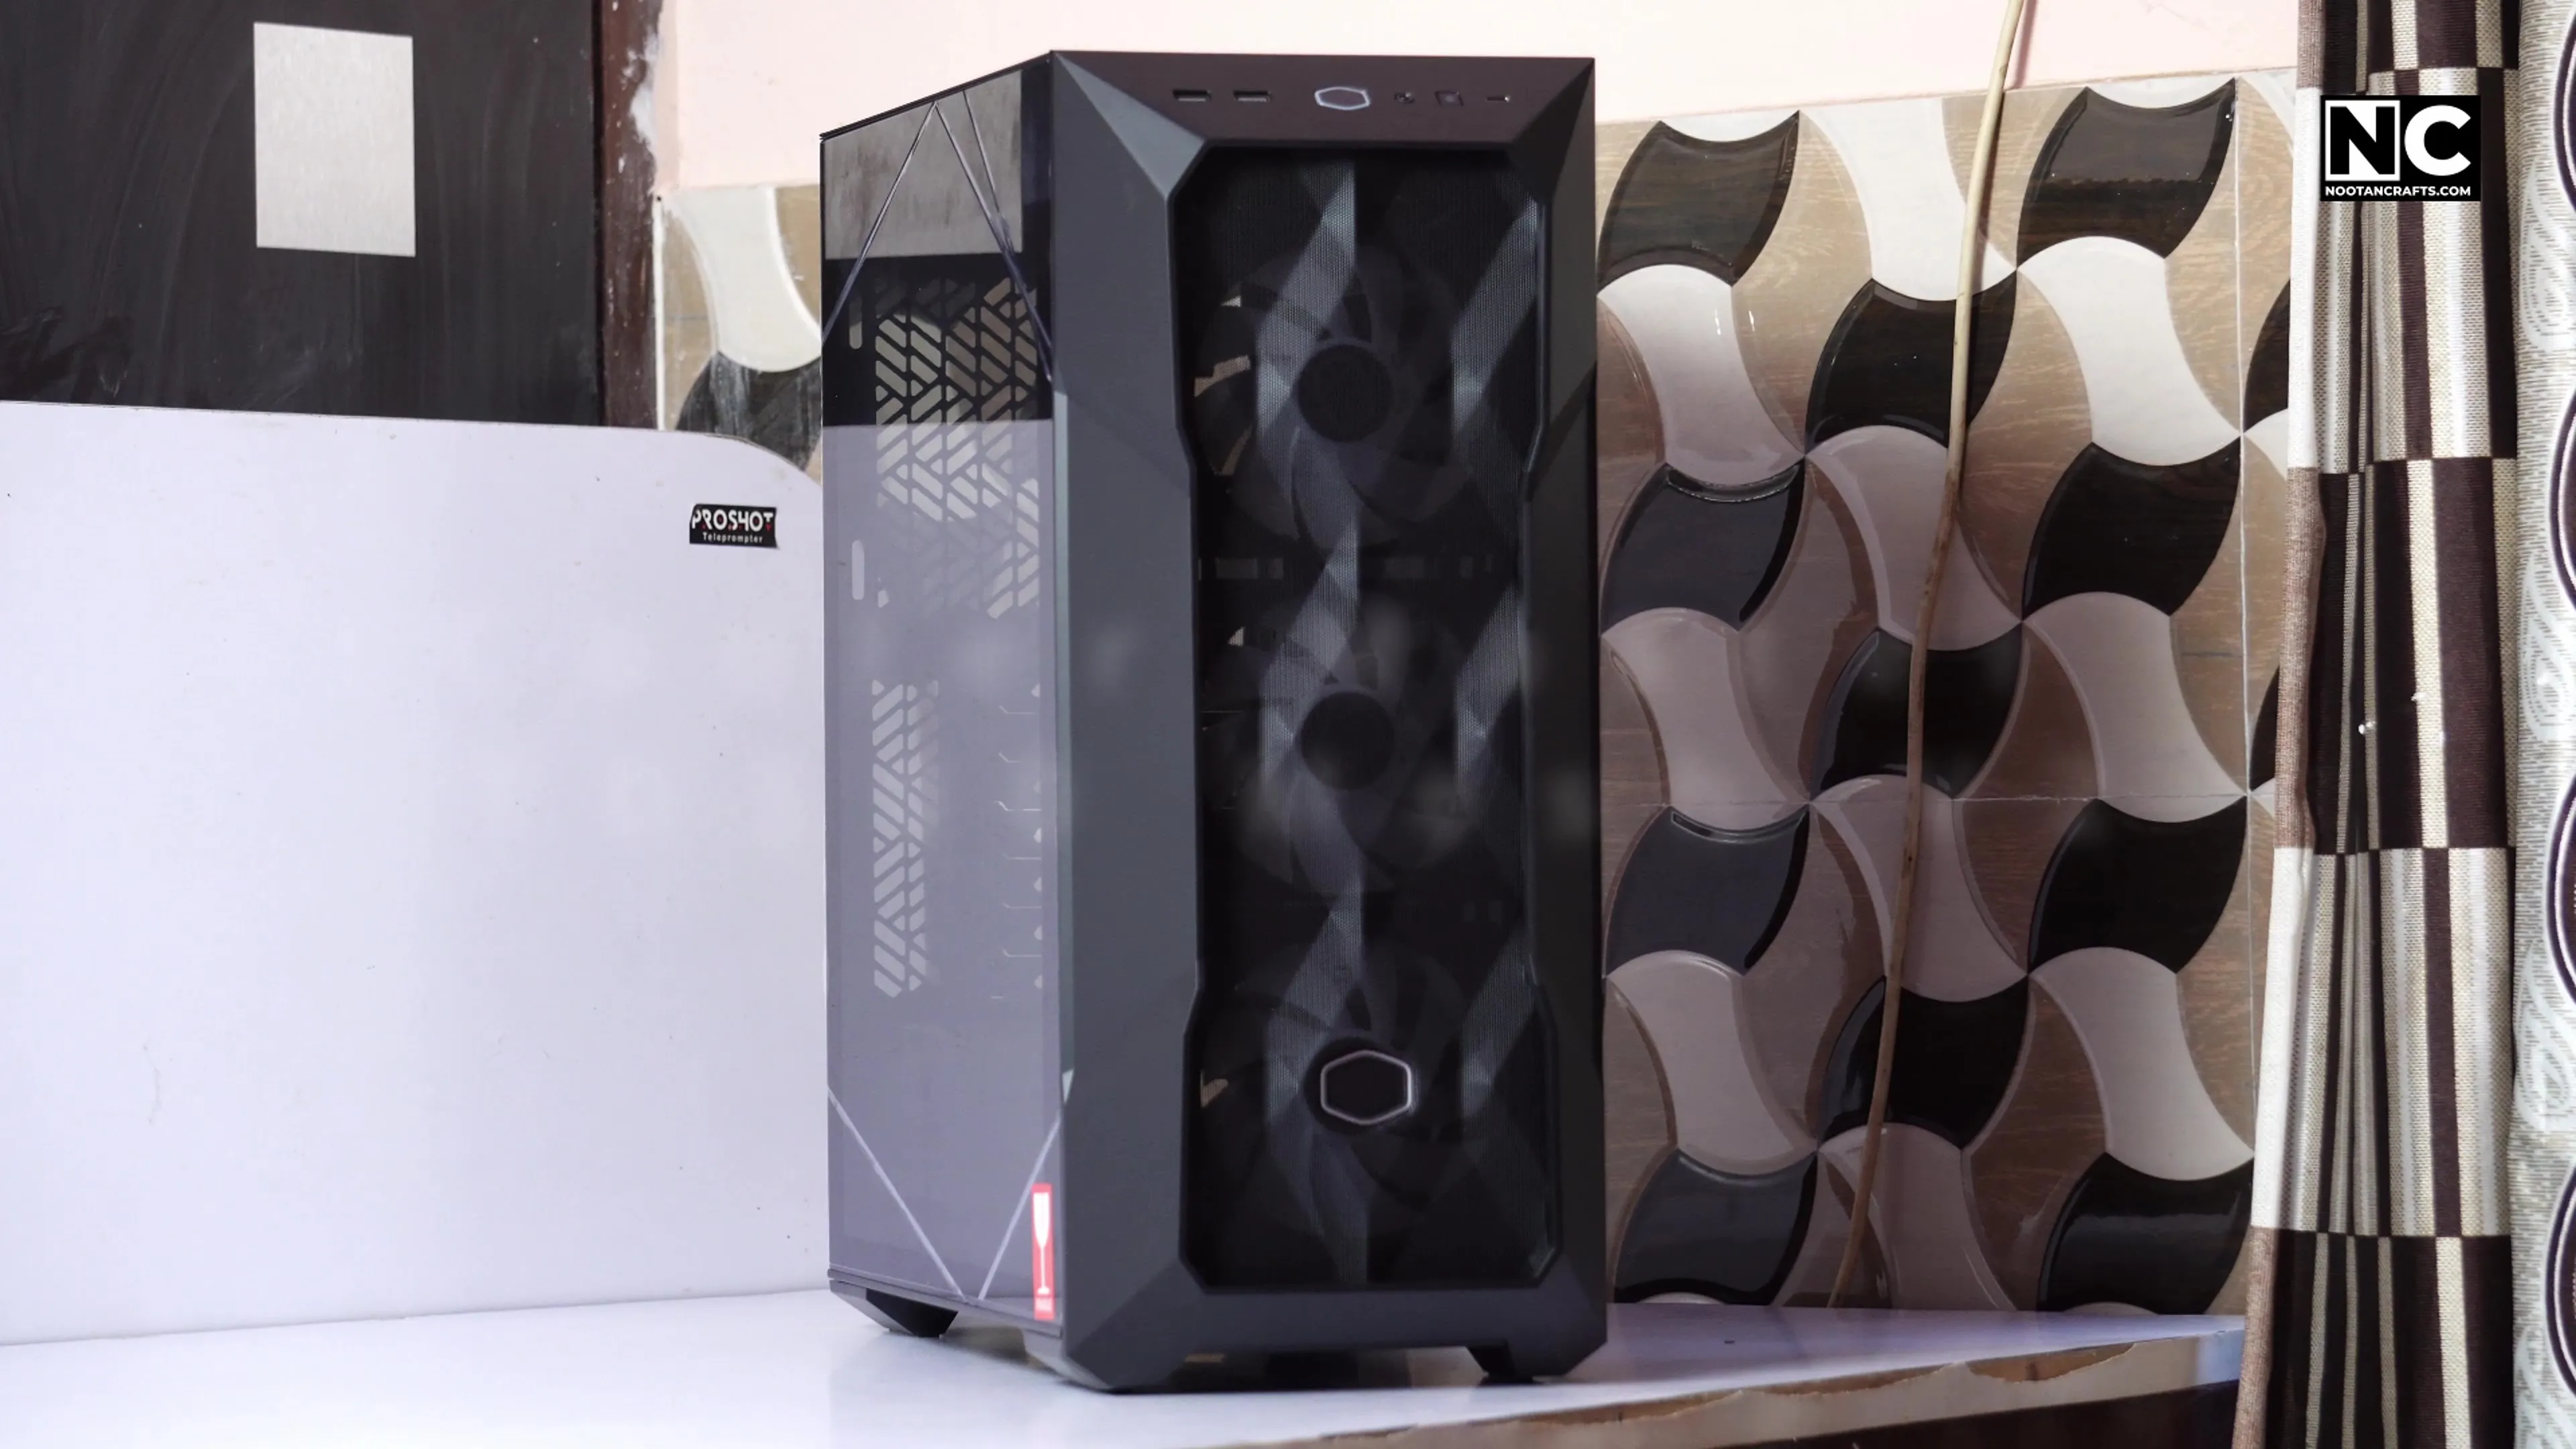
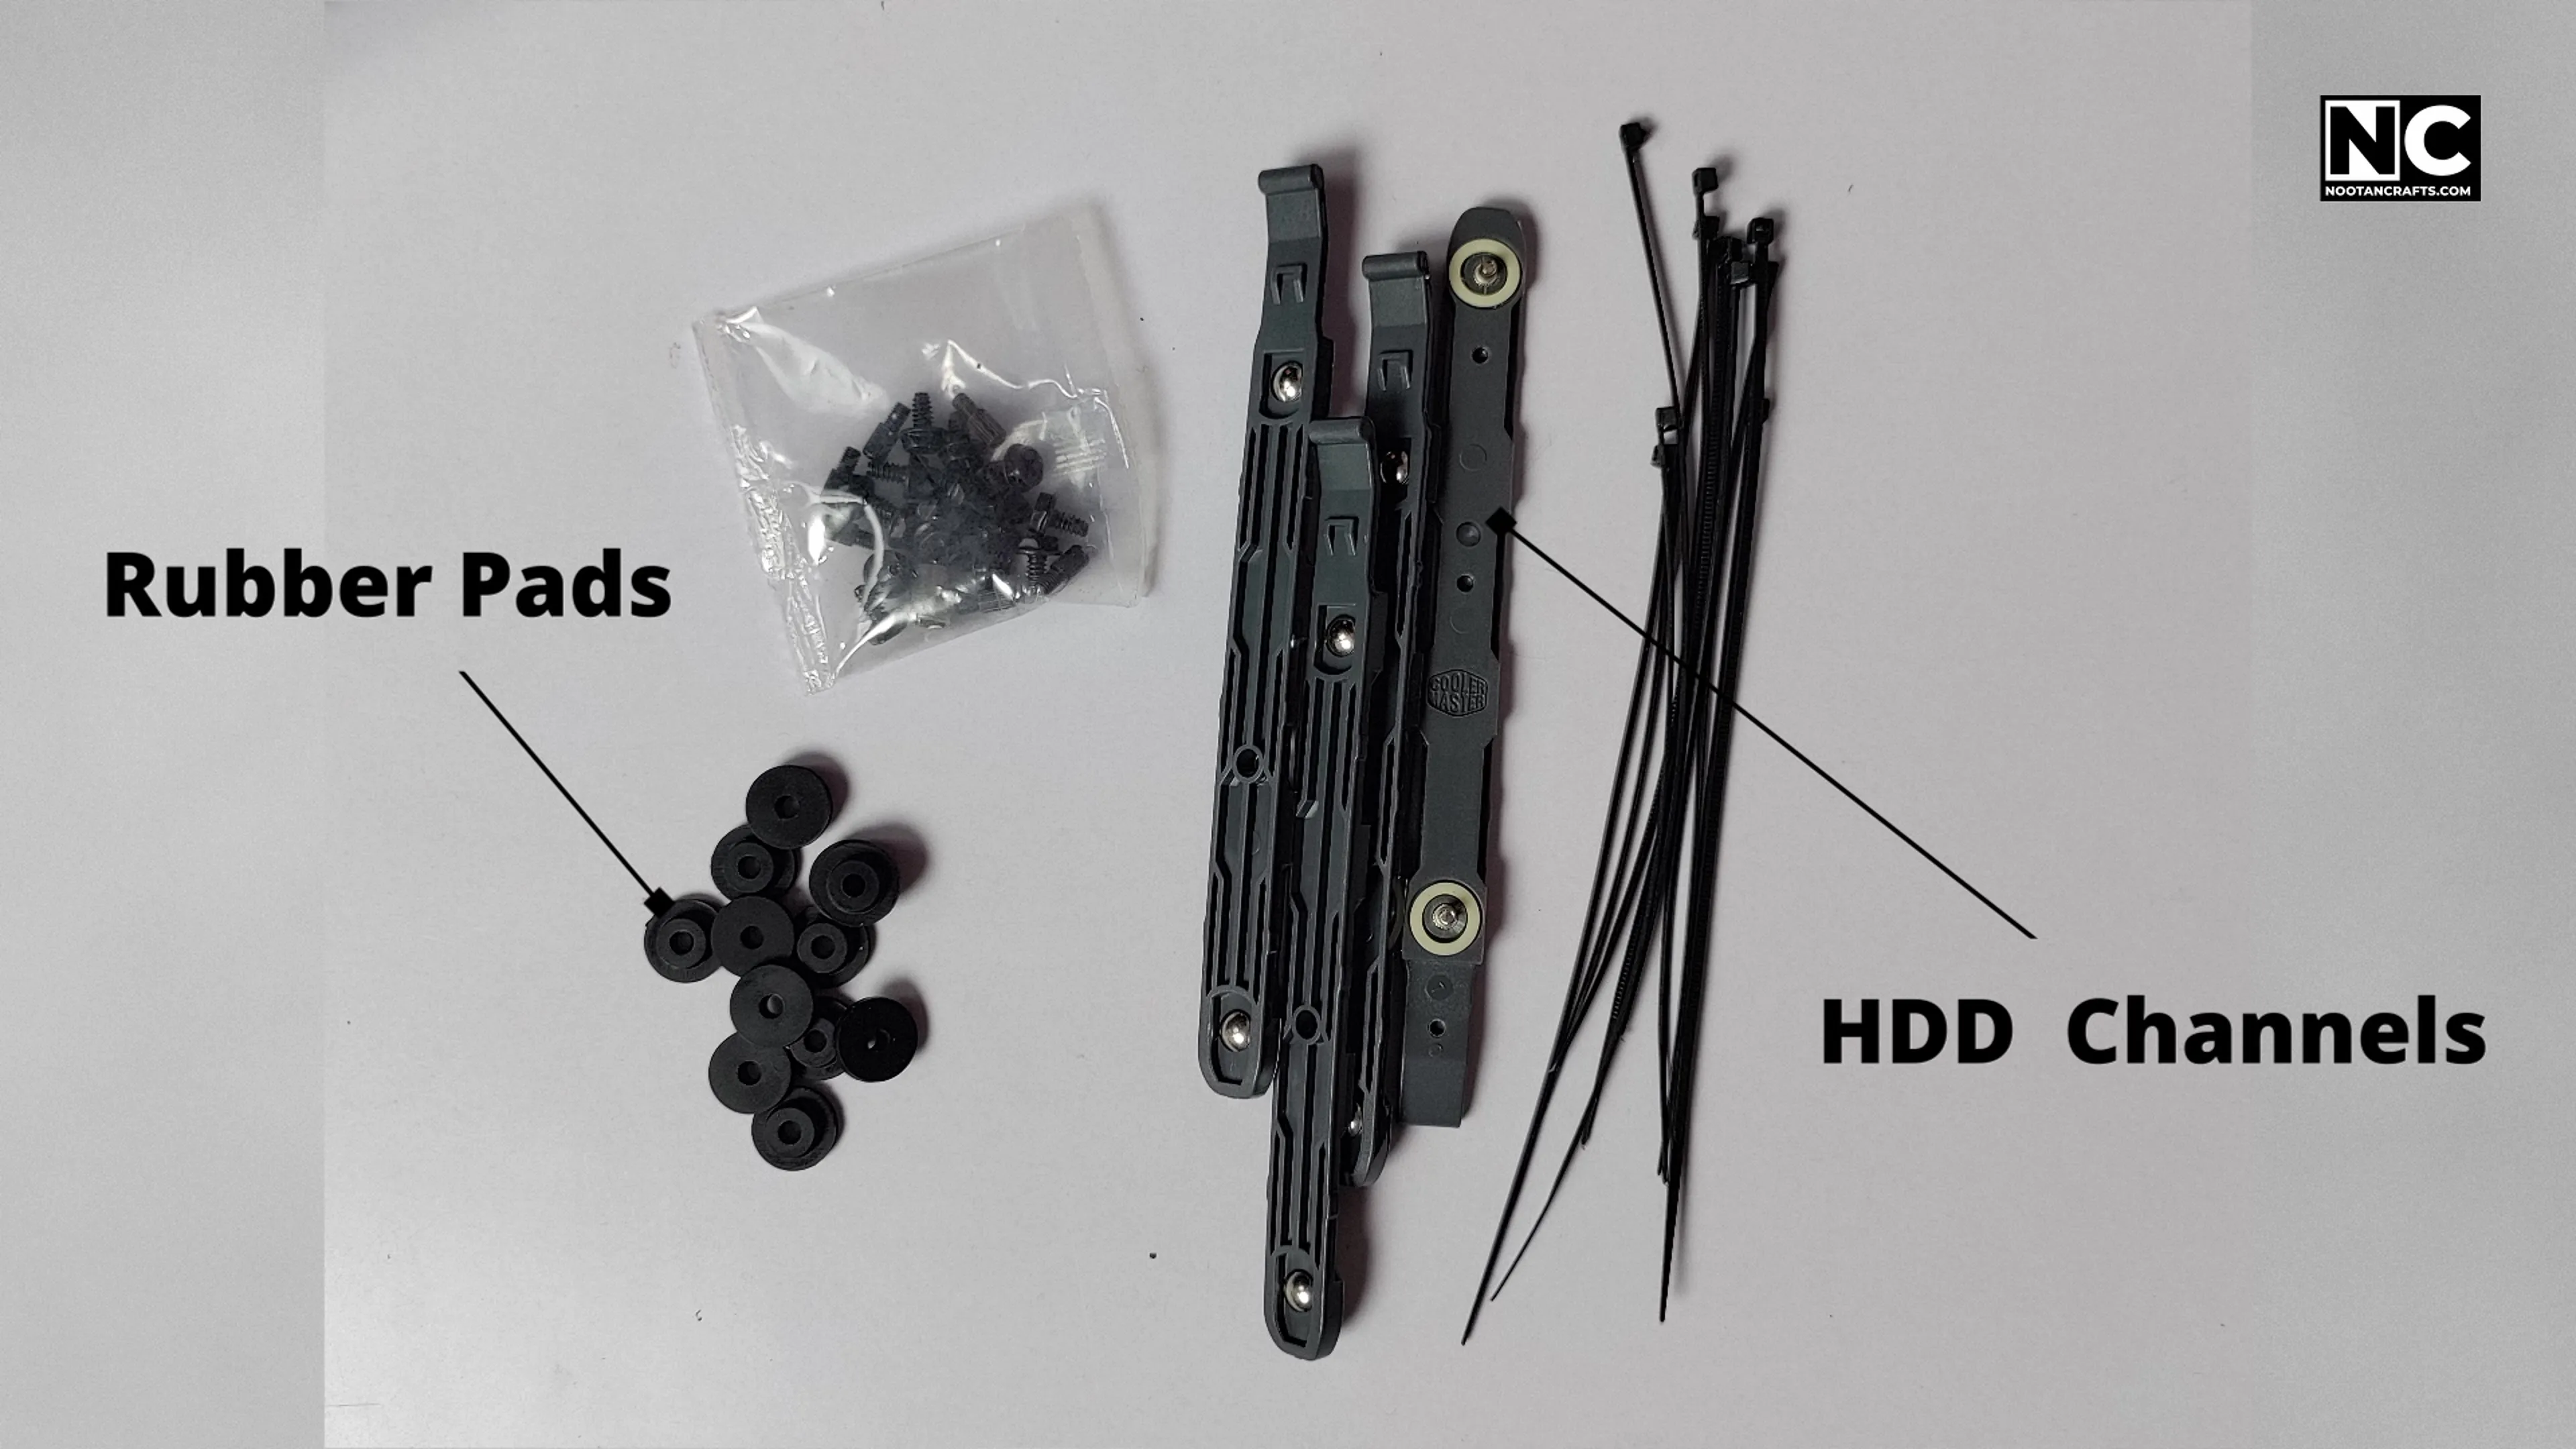
Three 120 mm ARGB fans are preinstalled in the front, and — the part that actually saved me money — an ARGB and fan hub is included, with four spare headers. Without it I would have been buying a controller separately to sync the lighting.
The mesh front is the reason I picked it. A glass-fronted case looks better in photos and strangles the intake; a mesh front lets the three intake fans actually pull air.
MSI PRO B650-S WIFI

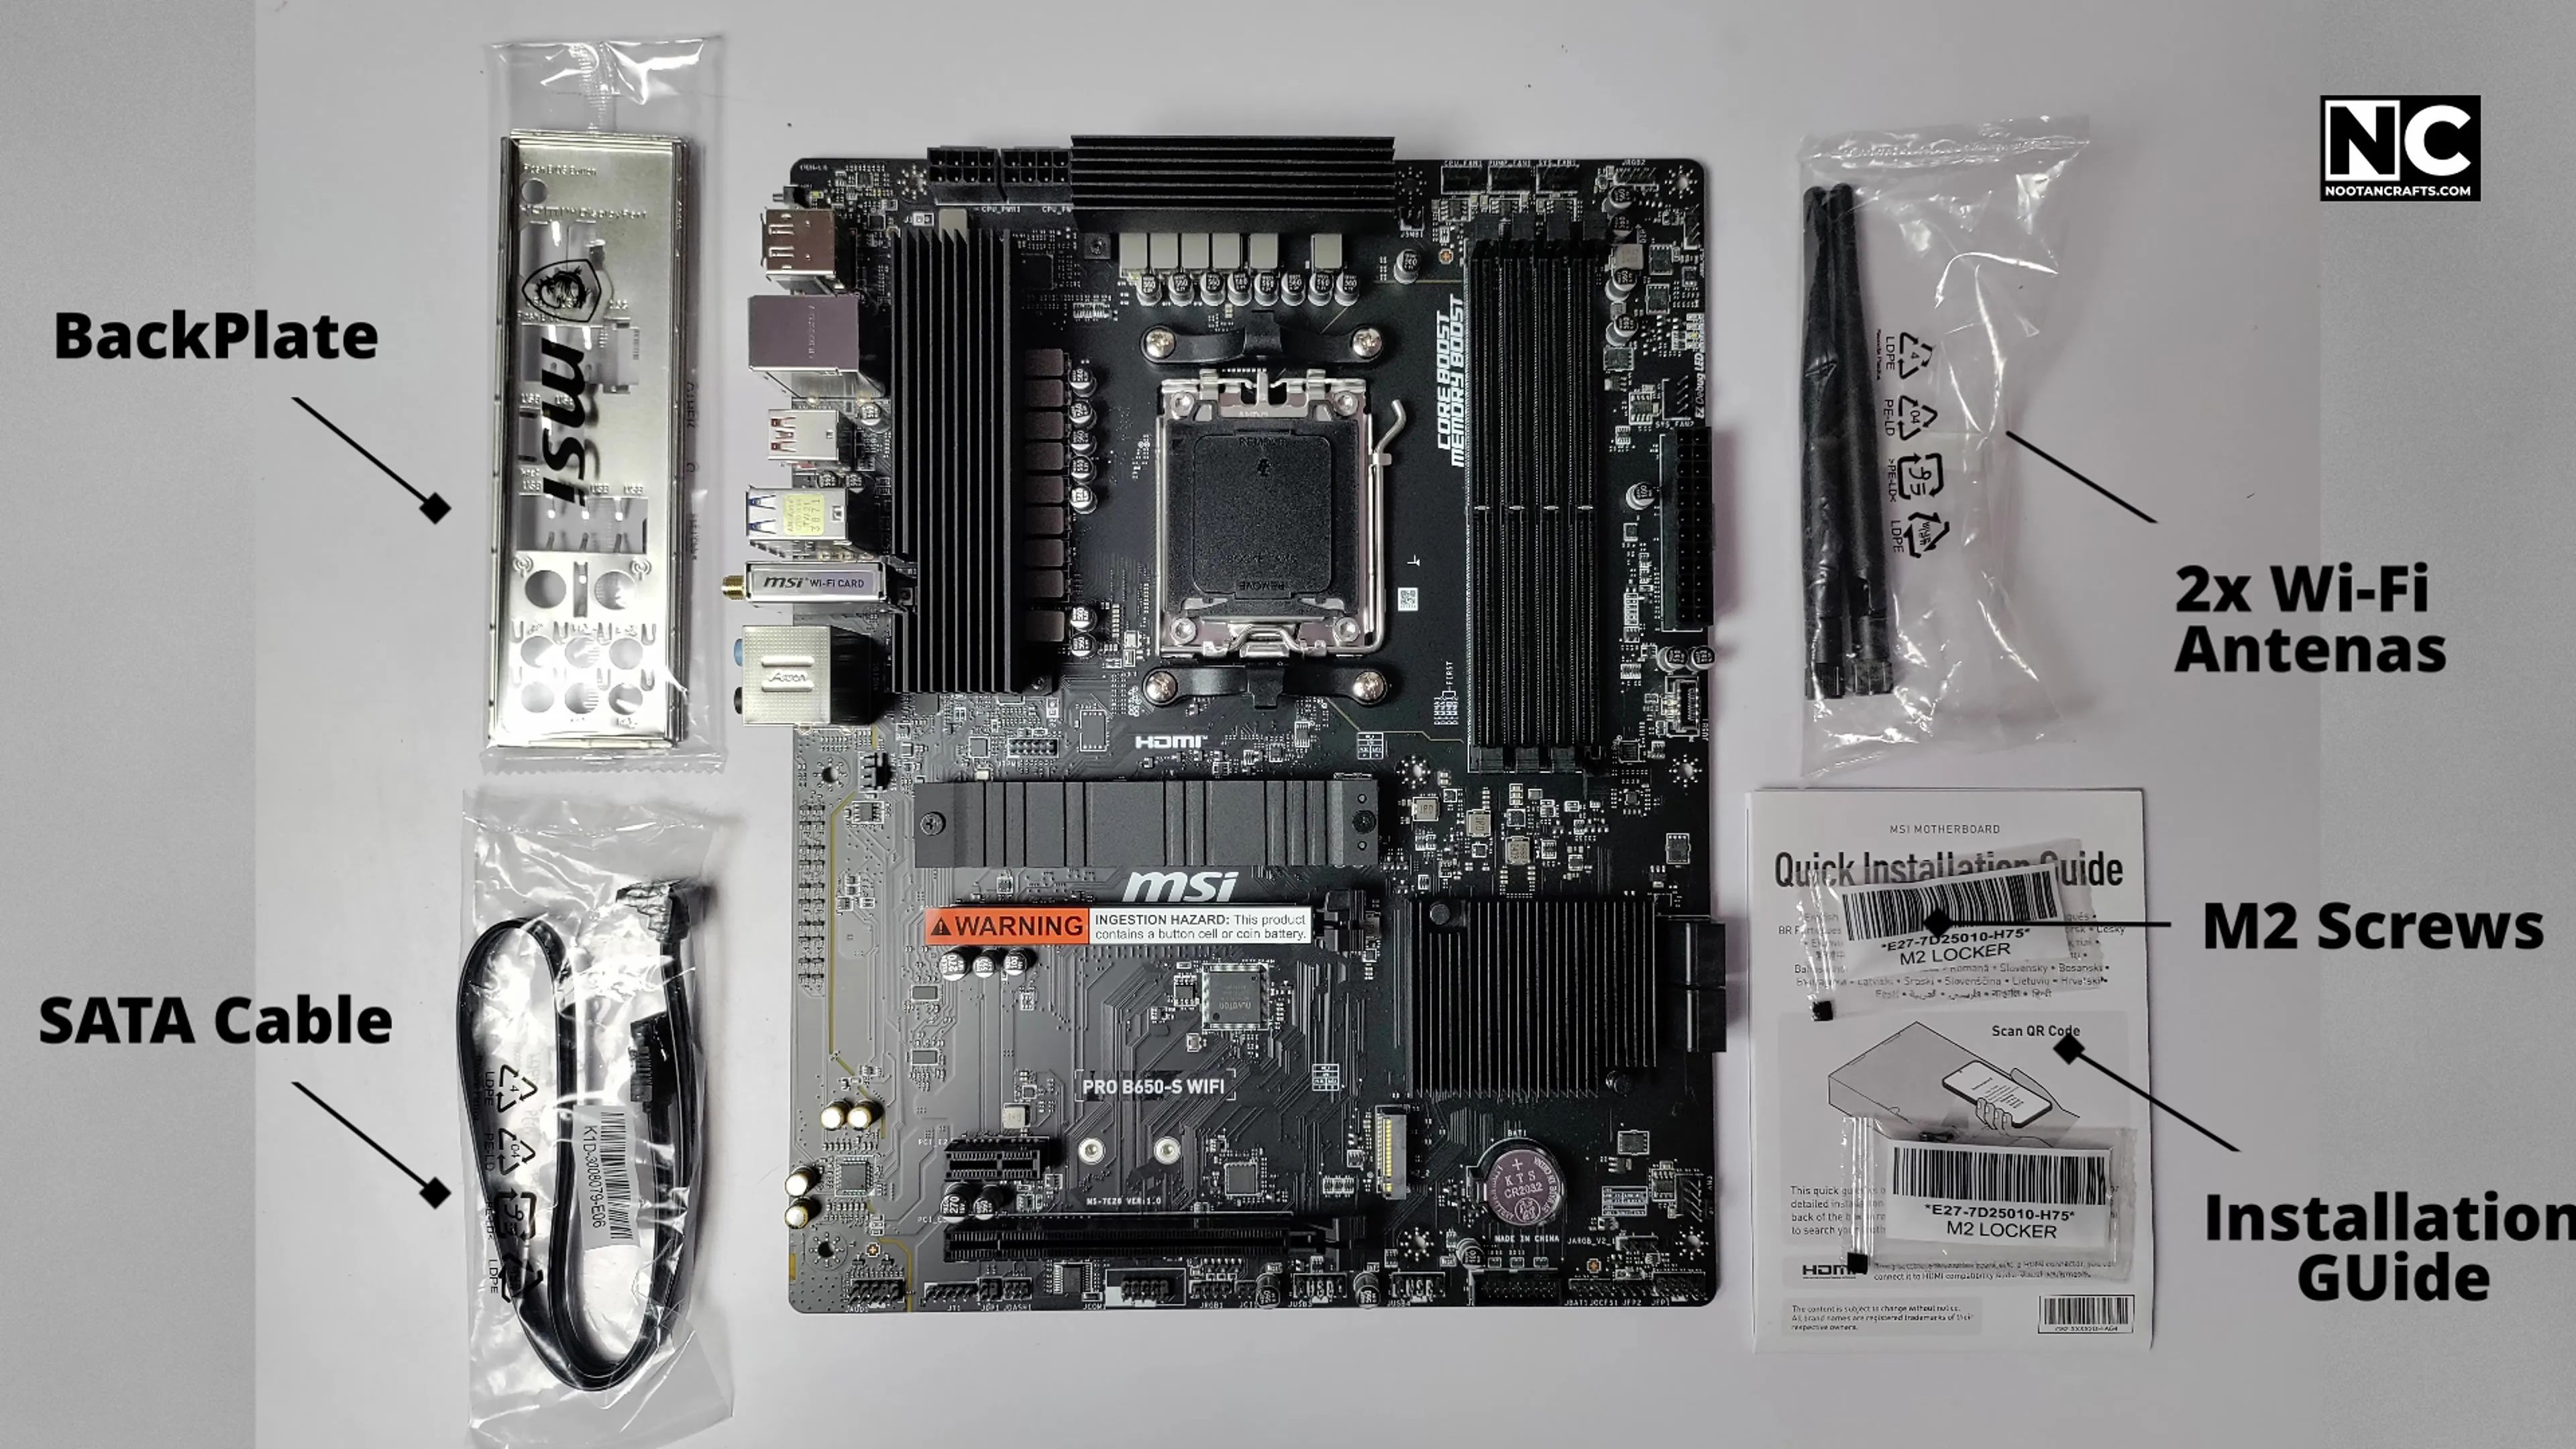
AM5 socket, DDR5, and a 12+2+1 power design that holds the 7700X steady without the VRM getting dramatic. Wi-Fi 6E and 2.5G LAN are both on board.
Two things to be precise about, because board spec sheets are routinely misread. The primary x16 slot is PCIe 4.0 — the second x16 slot runs at Gen3 off the chipset. And there are two M.2 slots, both PCIe 4.0 x4, but only one ships with the M.2 Shield Frozr heatsink.
AMD Ryzen 7 7700X
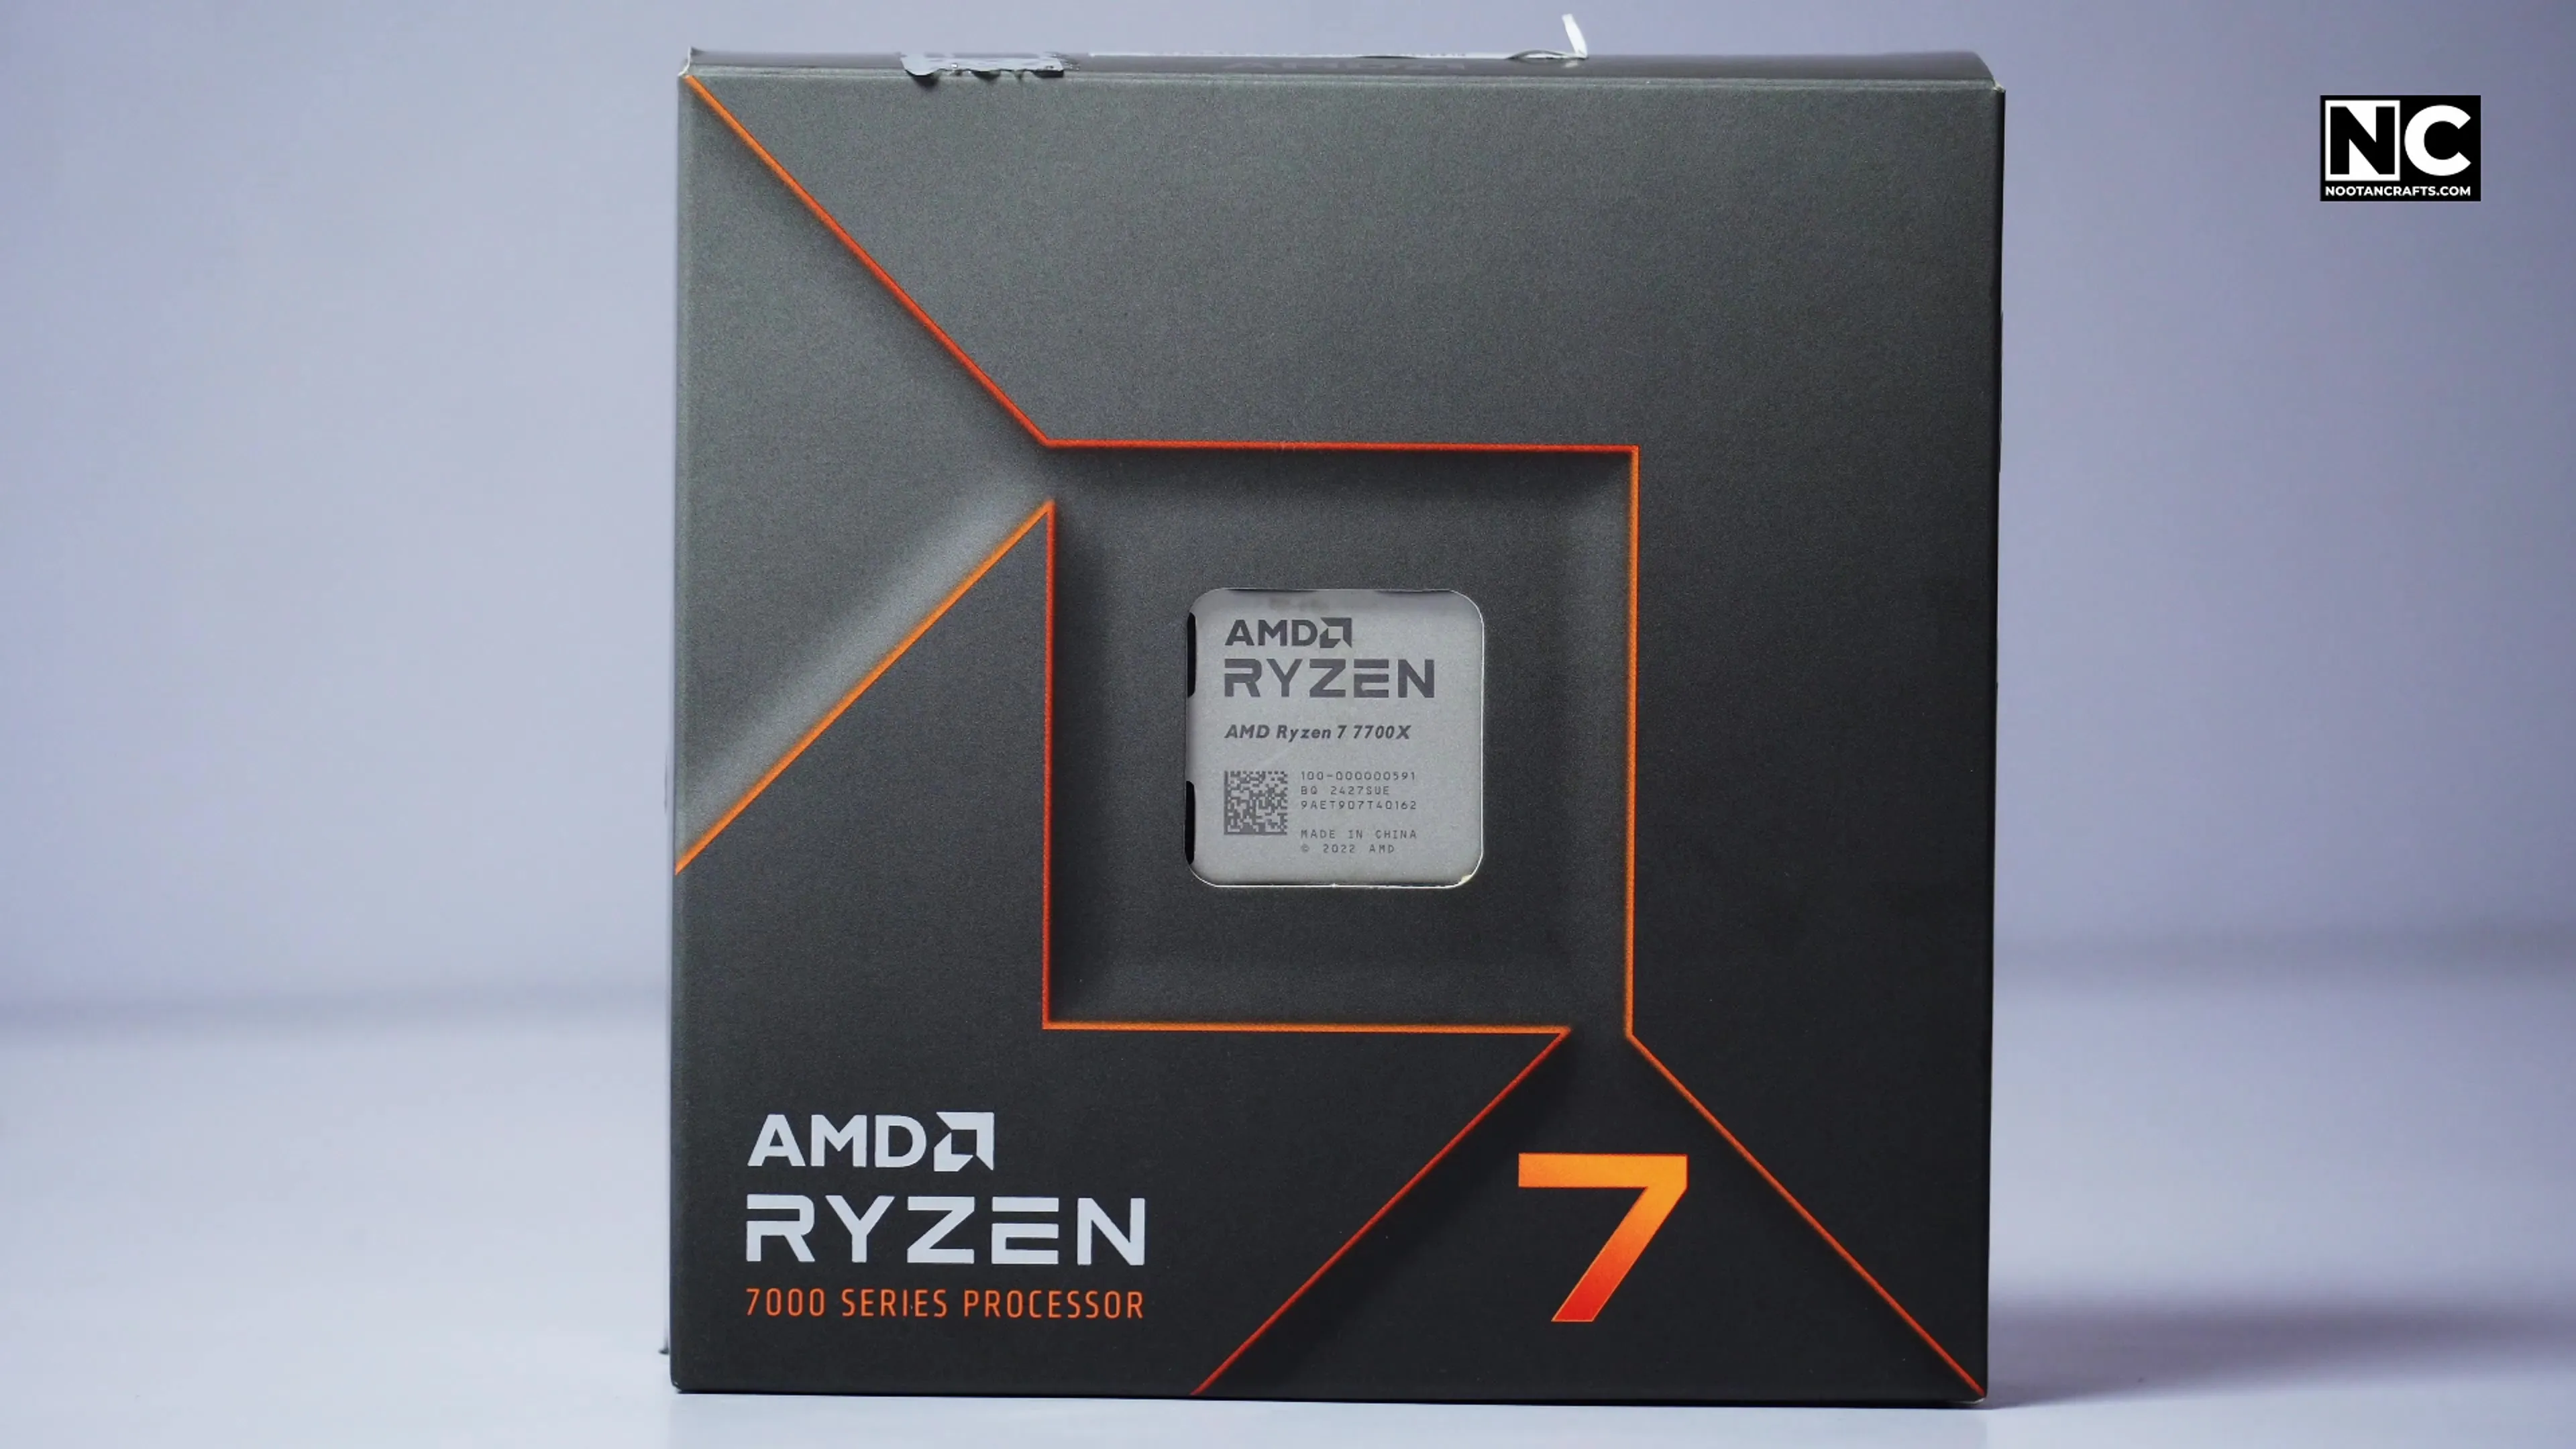
Eight cores, sixteen threads, boosting to 5.4 GHz. It is a chiplet design — the compute die is TSMC 5 nm and the I/O die is 6 nm, which is worth knowing because the “5 nm CPU” shorthand you see everywhere only describes half the chip.
The 7700X runs at 95 °C under sustained load by design, not because something is wrong. AMD sets Tjmax at 95 °C and the chip boosts until it reaches that number. A cooler that holds it at 95 °C is working correctly — you get more clock speed, not lower temperatures.
Cooler Master Hyper 620S
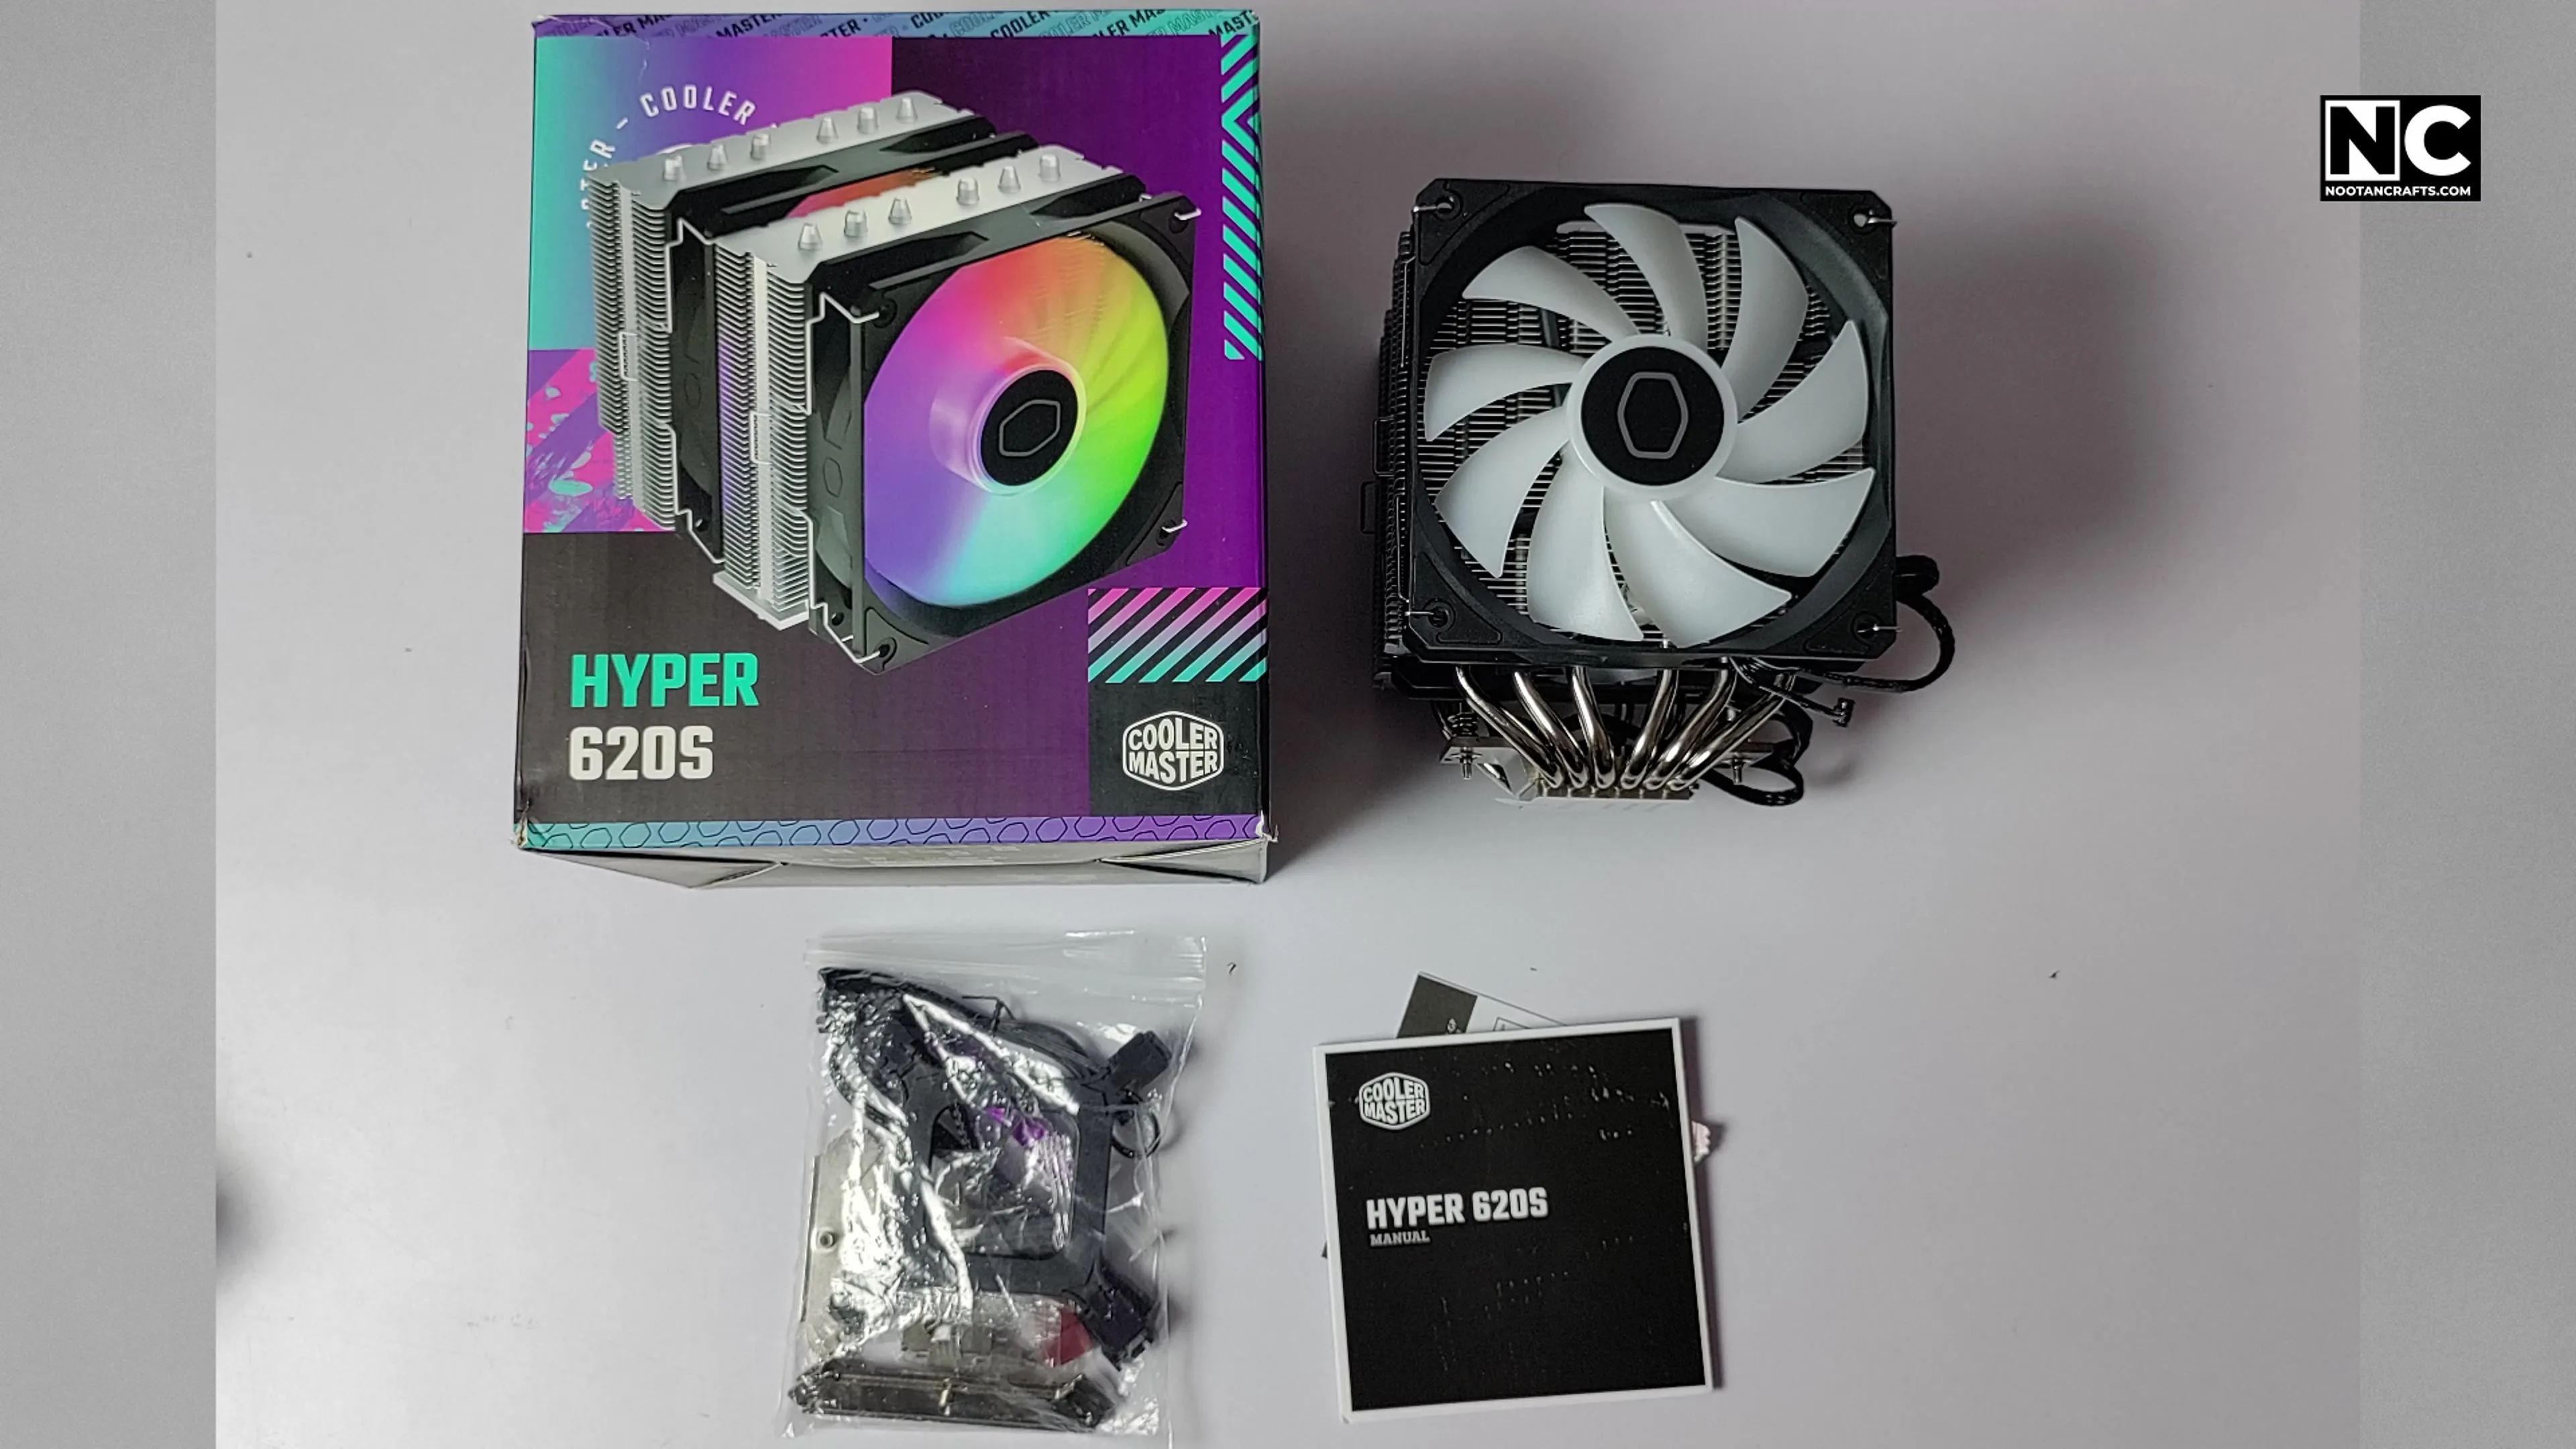

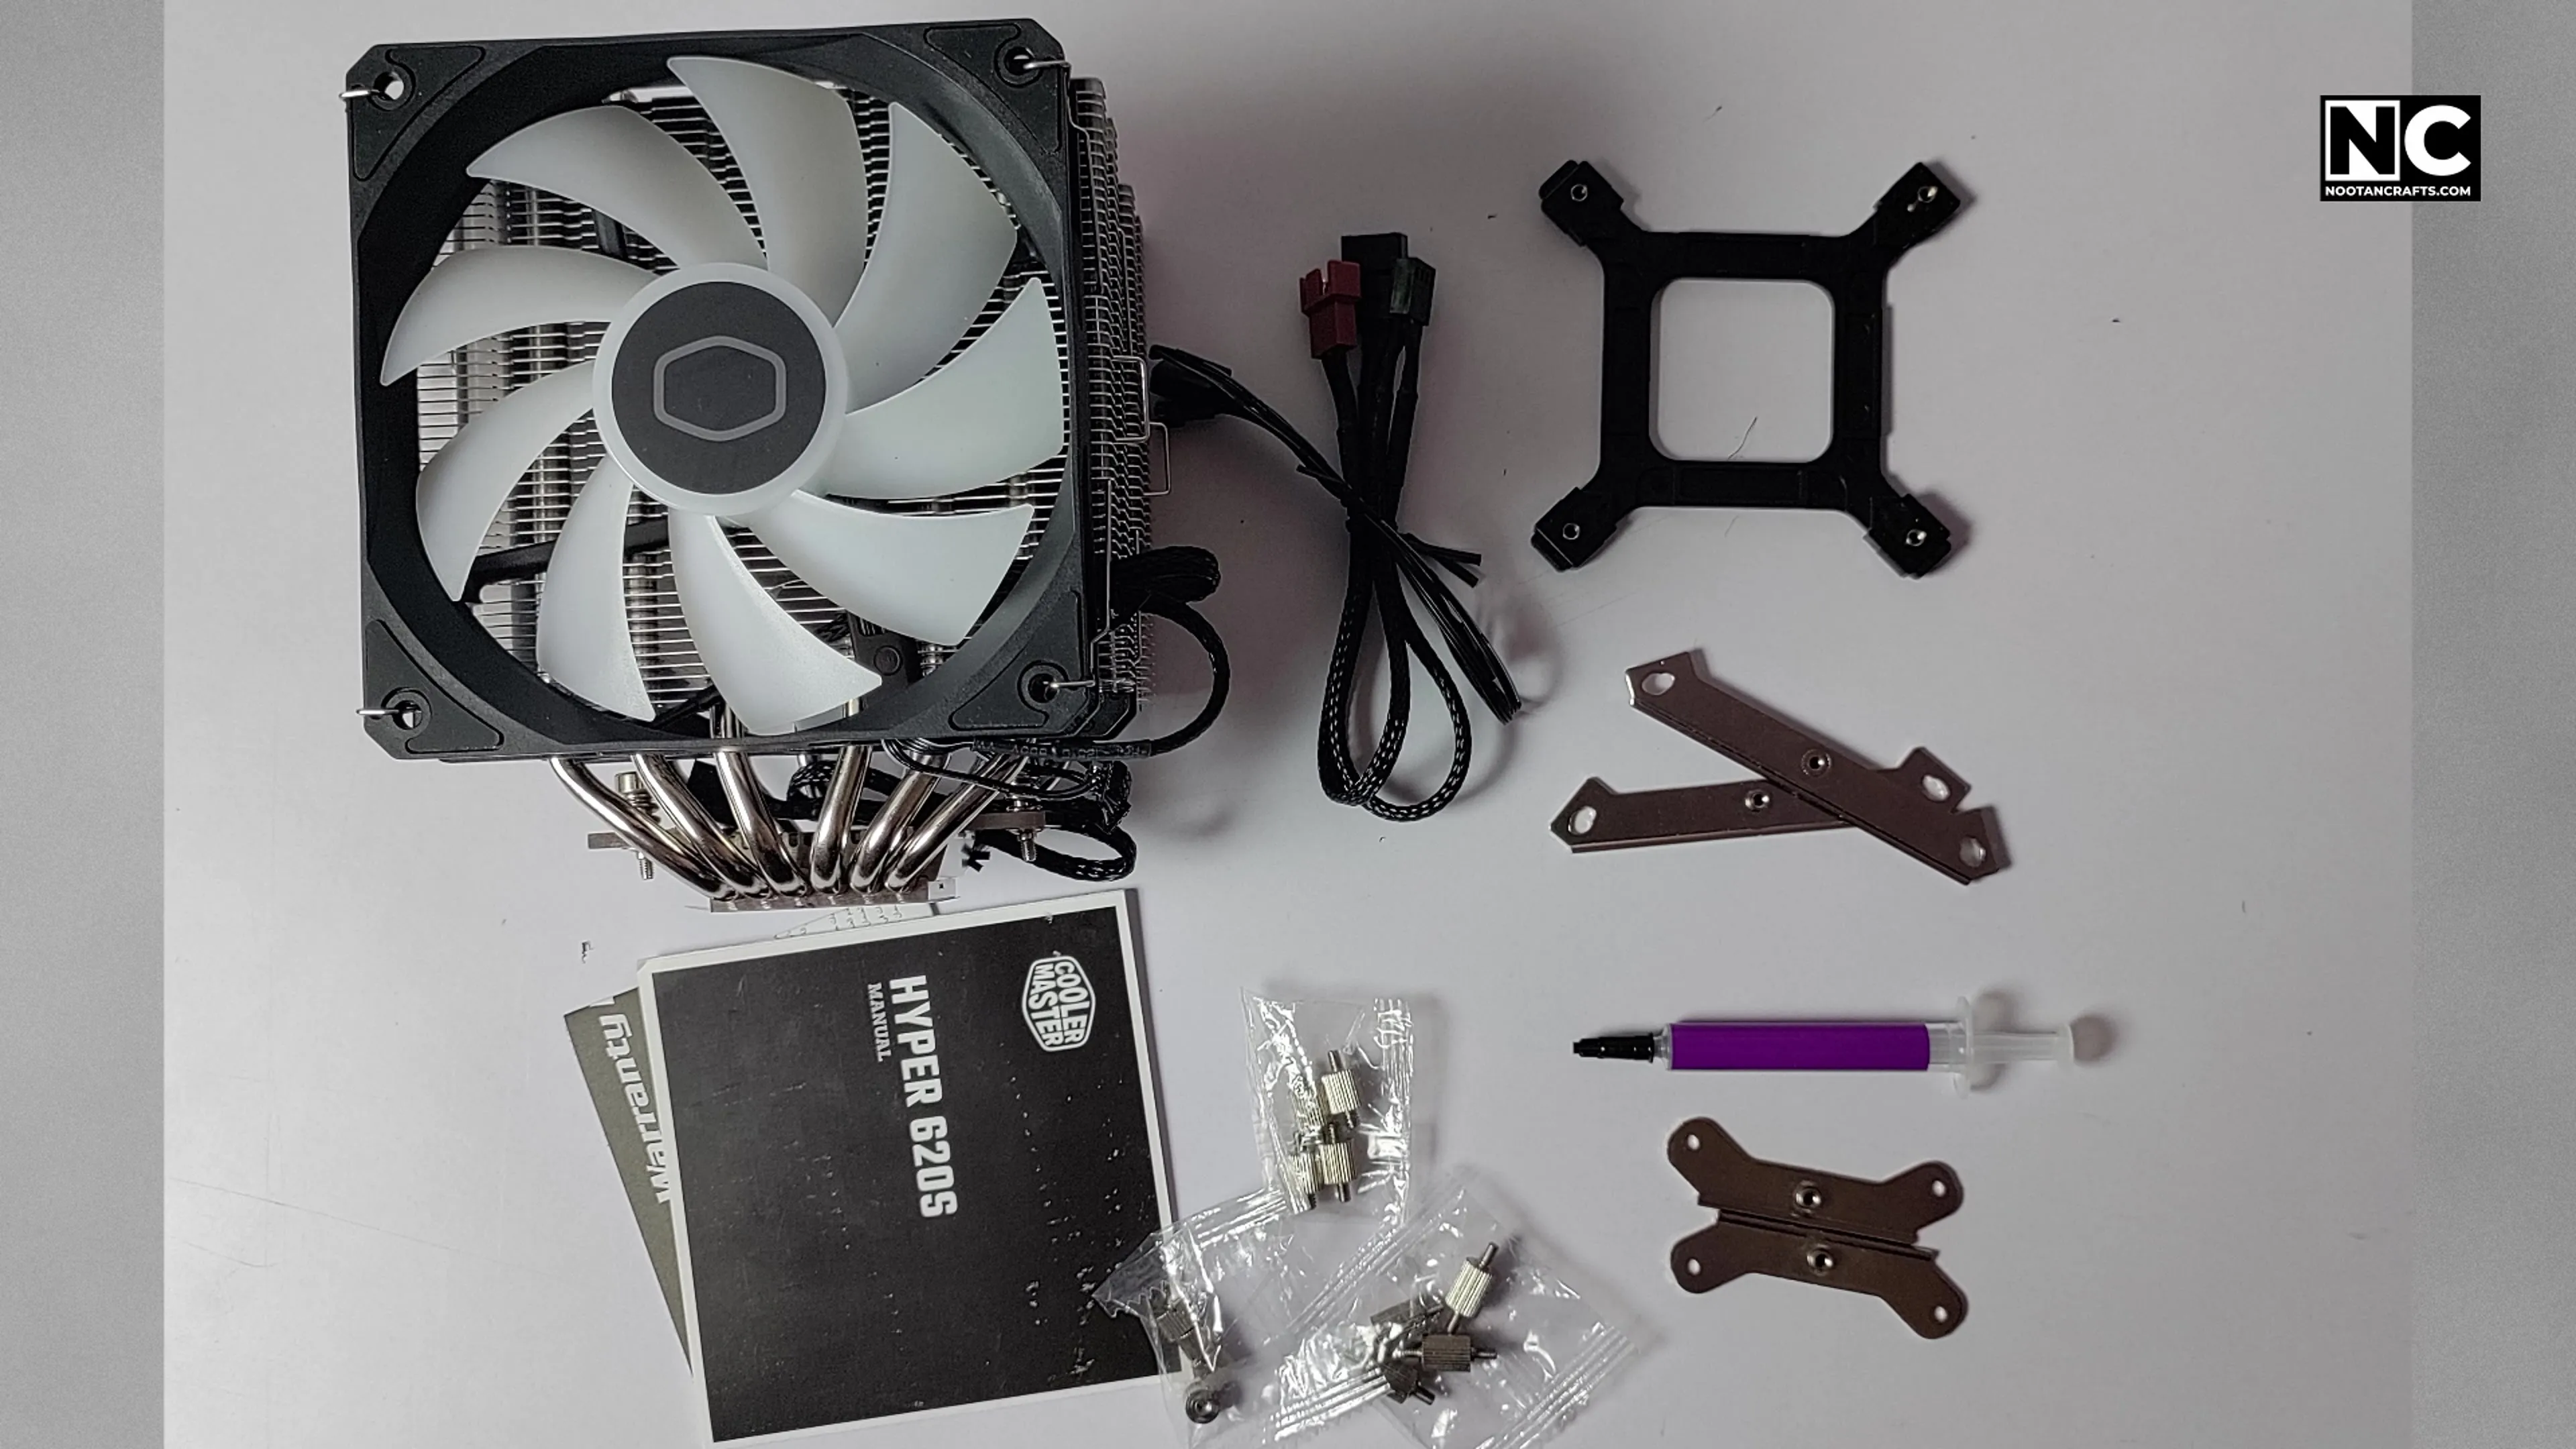
A genuine dual-tower cooler with six heat pipes and two 120 mm ARGB fans, using Cooler Master’s CryoFuze compound. It is 154.9 mm tall, which clears the TD500 Mesh V2 comfortably — worth checking before you buy, because dual-tower coolers foul the side panel on plenty of mid-towers.
MSI RTX 4060 Ventus 2X BLACK 8G OC
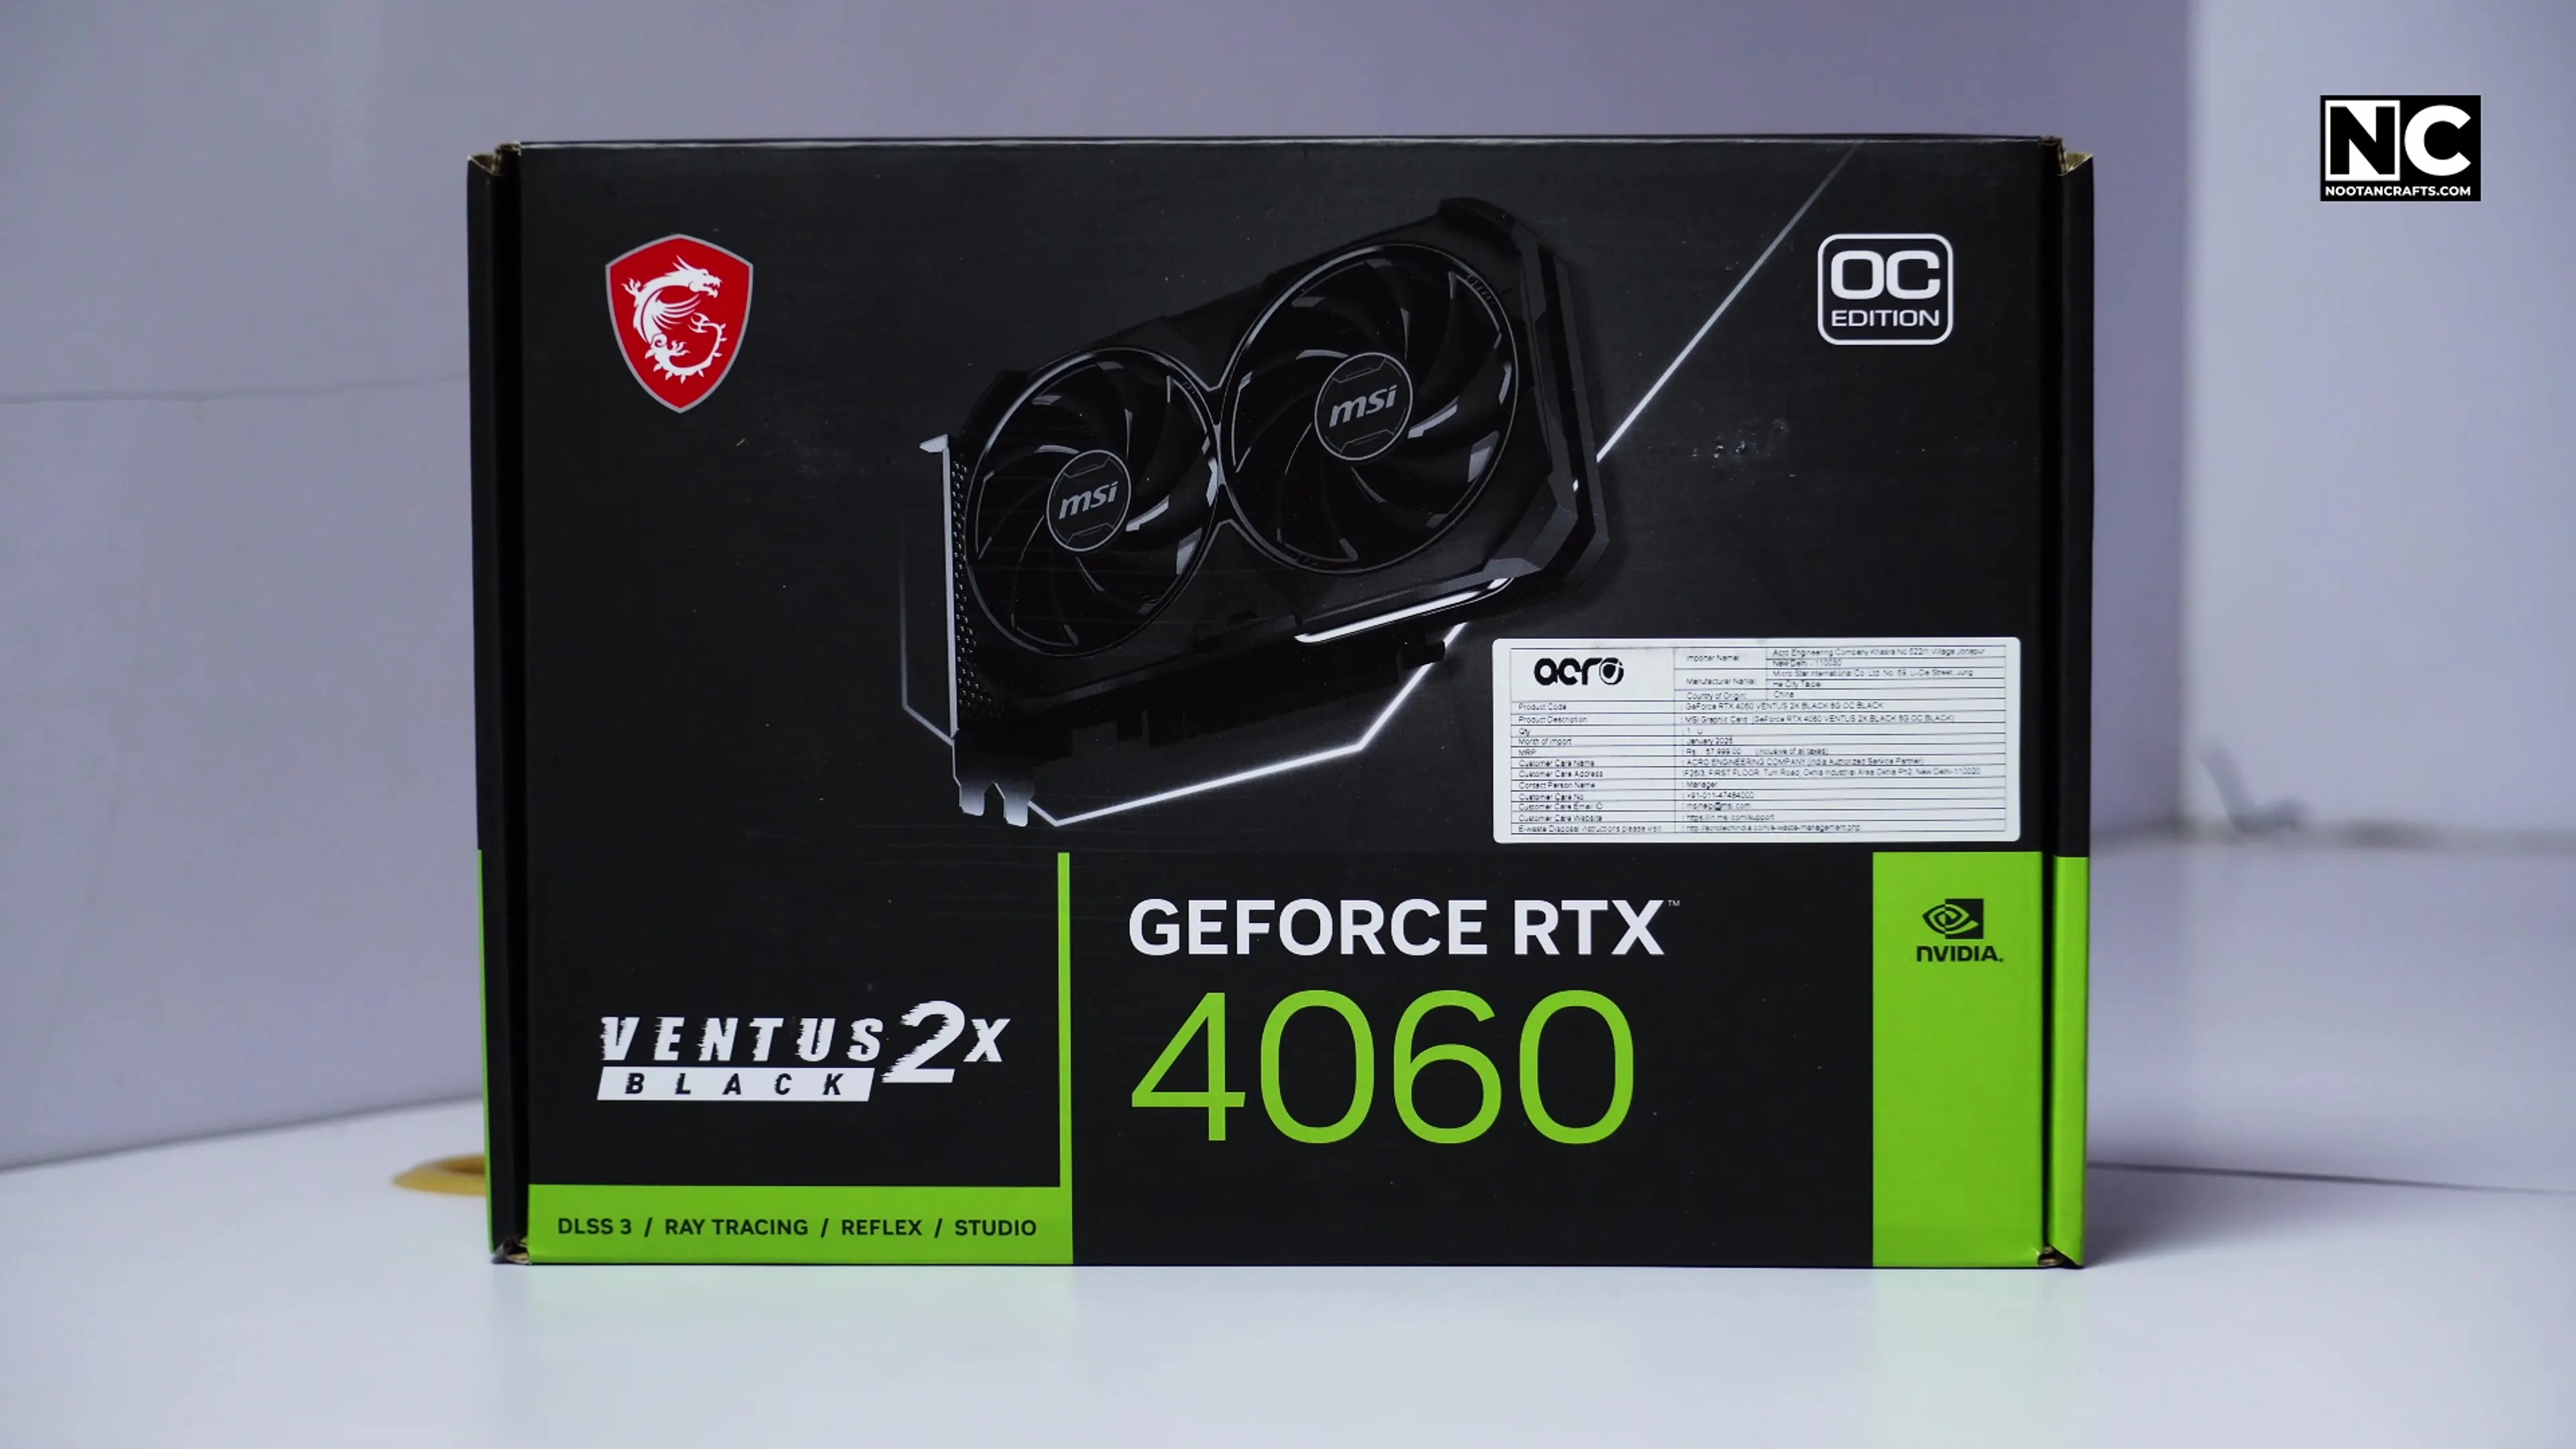
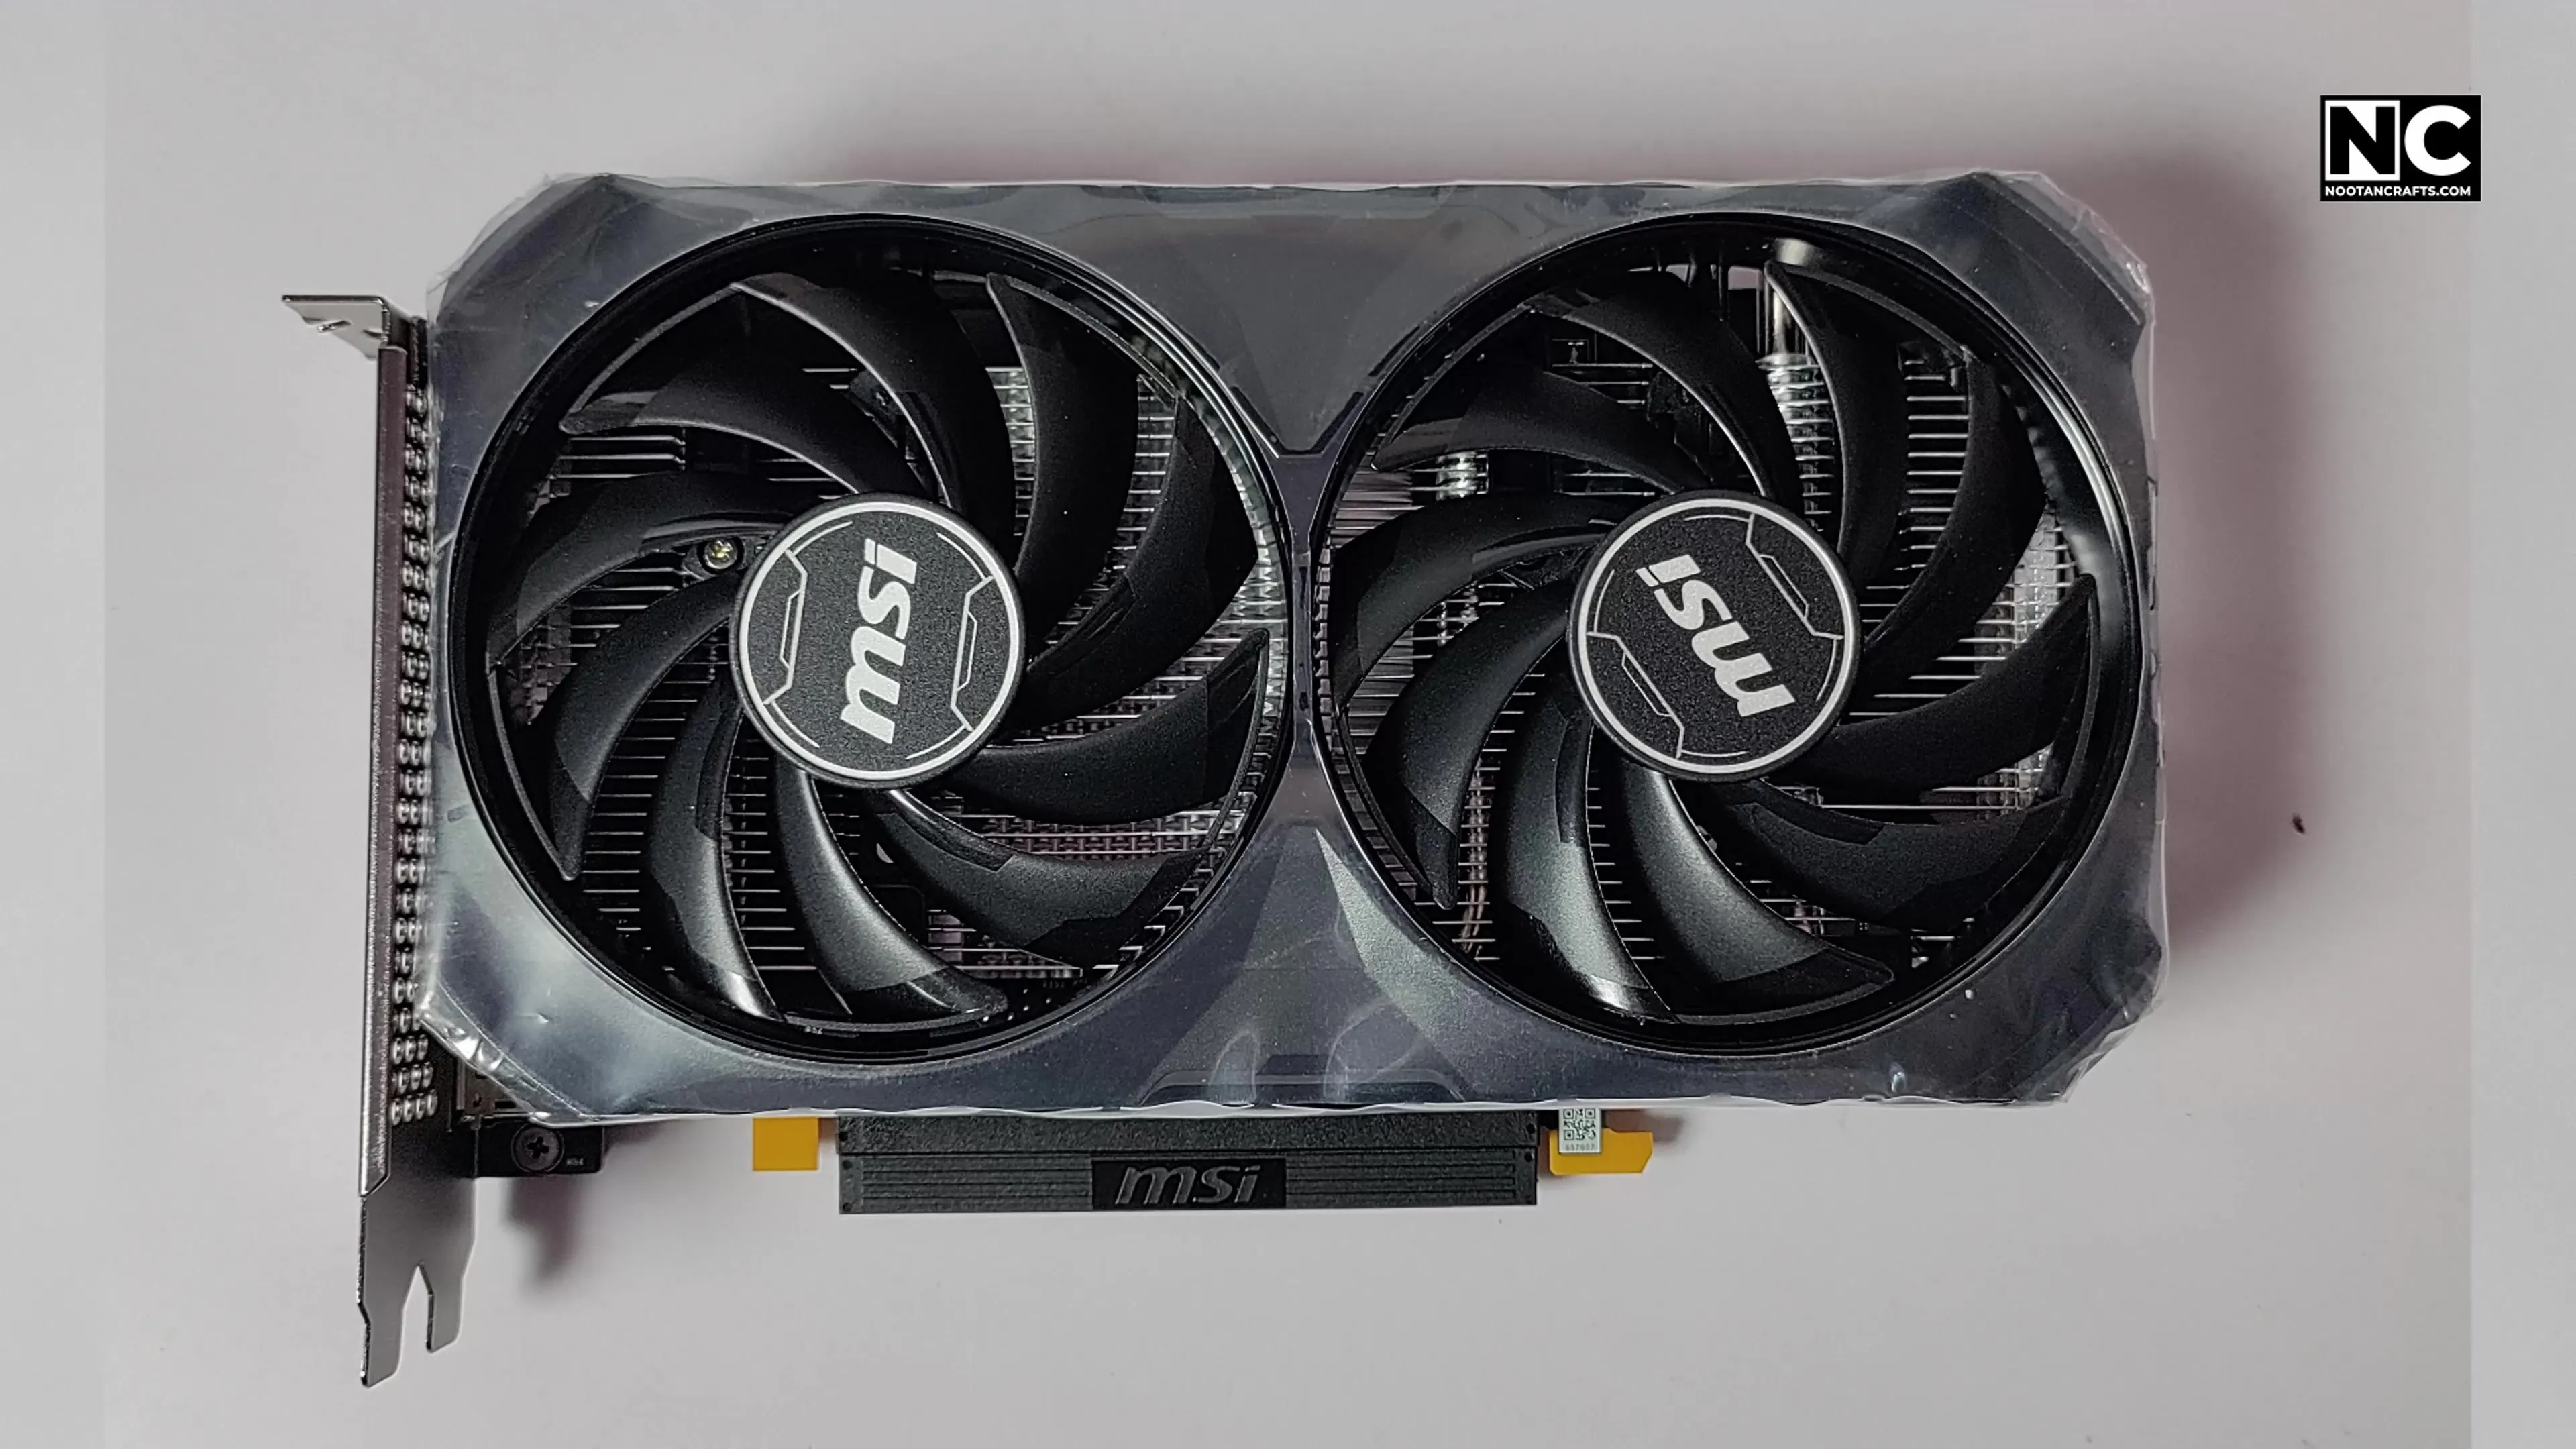

8 GB of GDDR6 — not GDDR6X, whatever some retail listings claim — on a 115 W board with a single 8-pin connector. MSI recommends a 550 W supply.
It is the right card for what I do: DaVinci Resolve renders quickly, NVENC handles encoding, and it draws little enough power that the whole system stays quiet. It is also the part of this build I would change first, and the 1440p numbers further down explain why.
Cooler Master MWE 650 Bronze V2
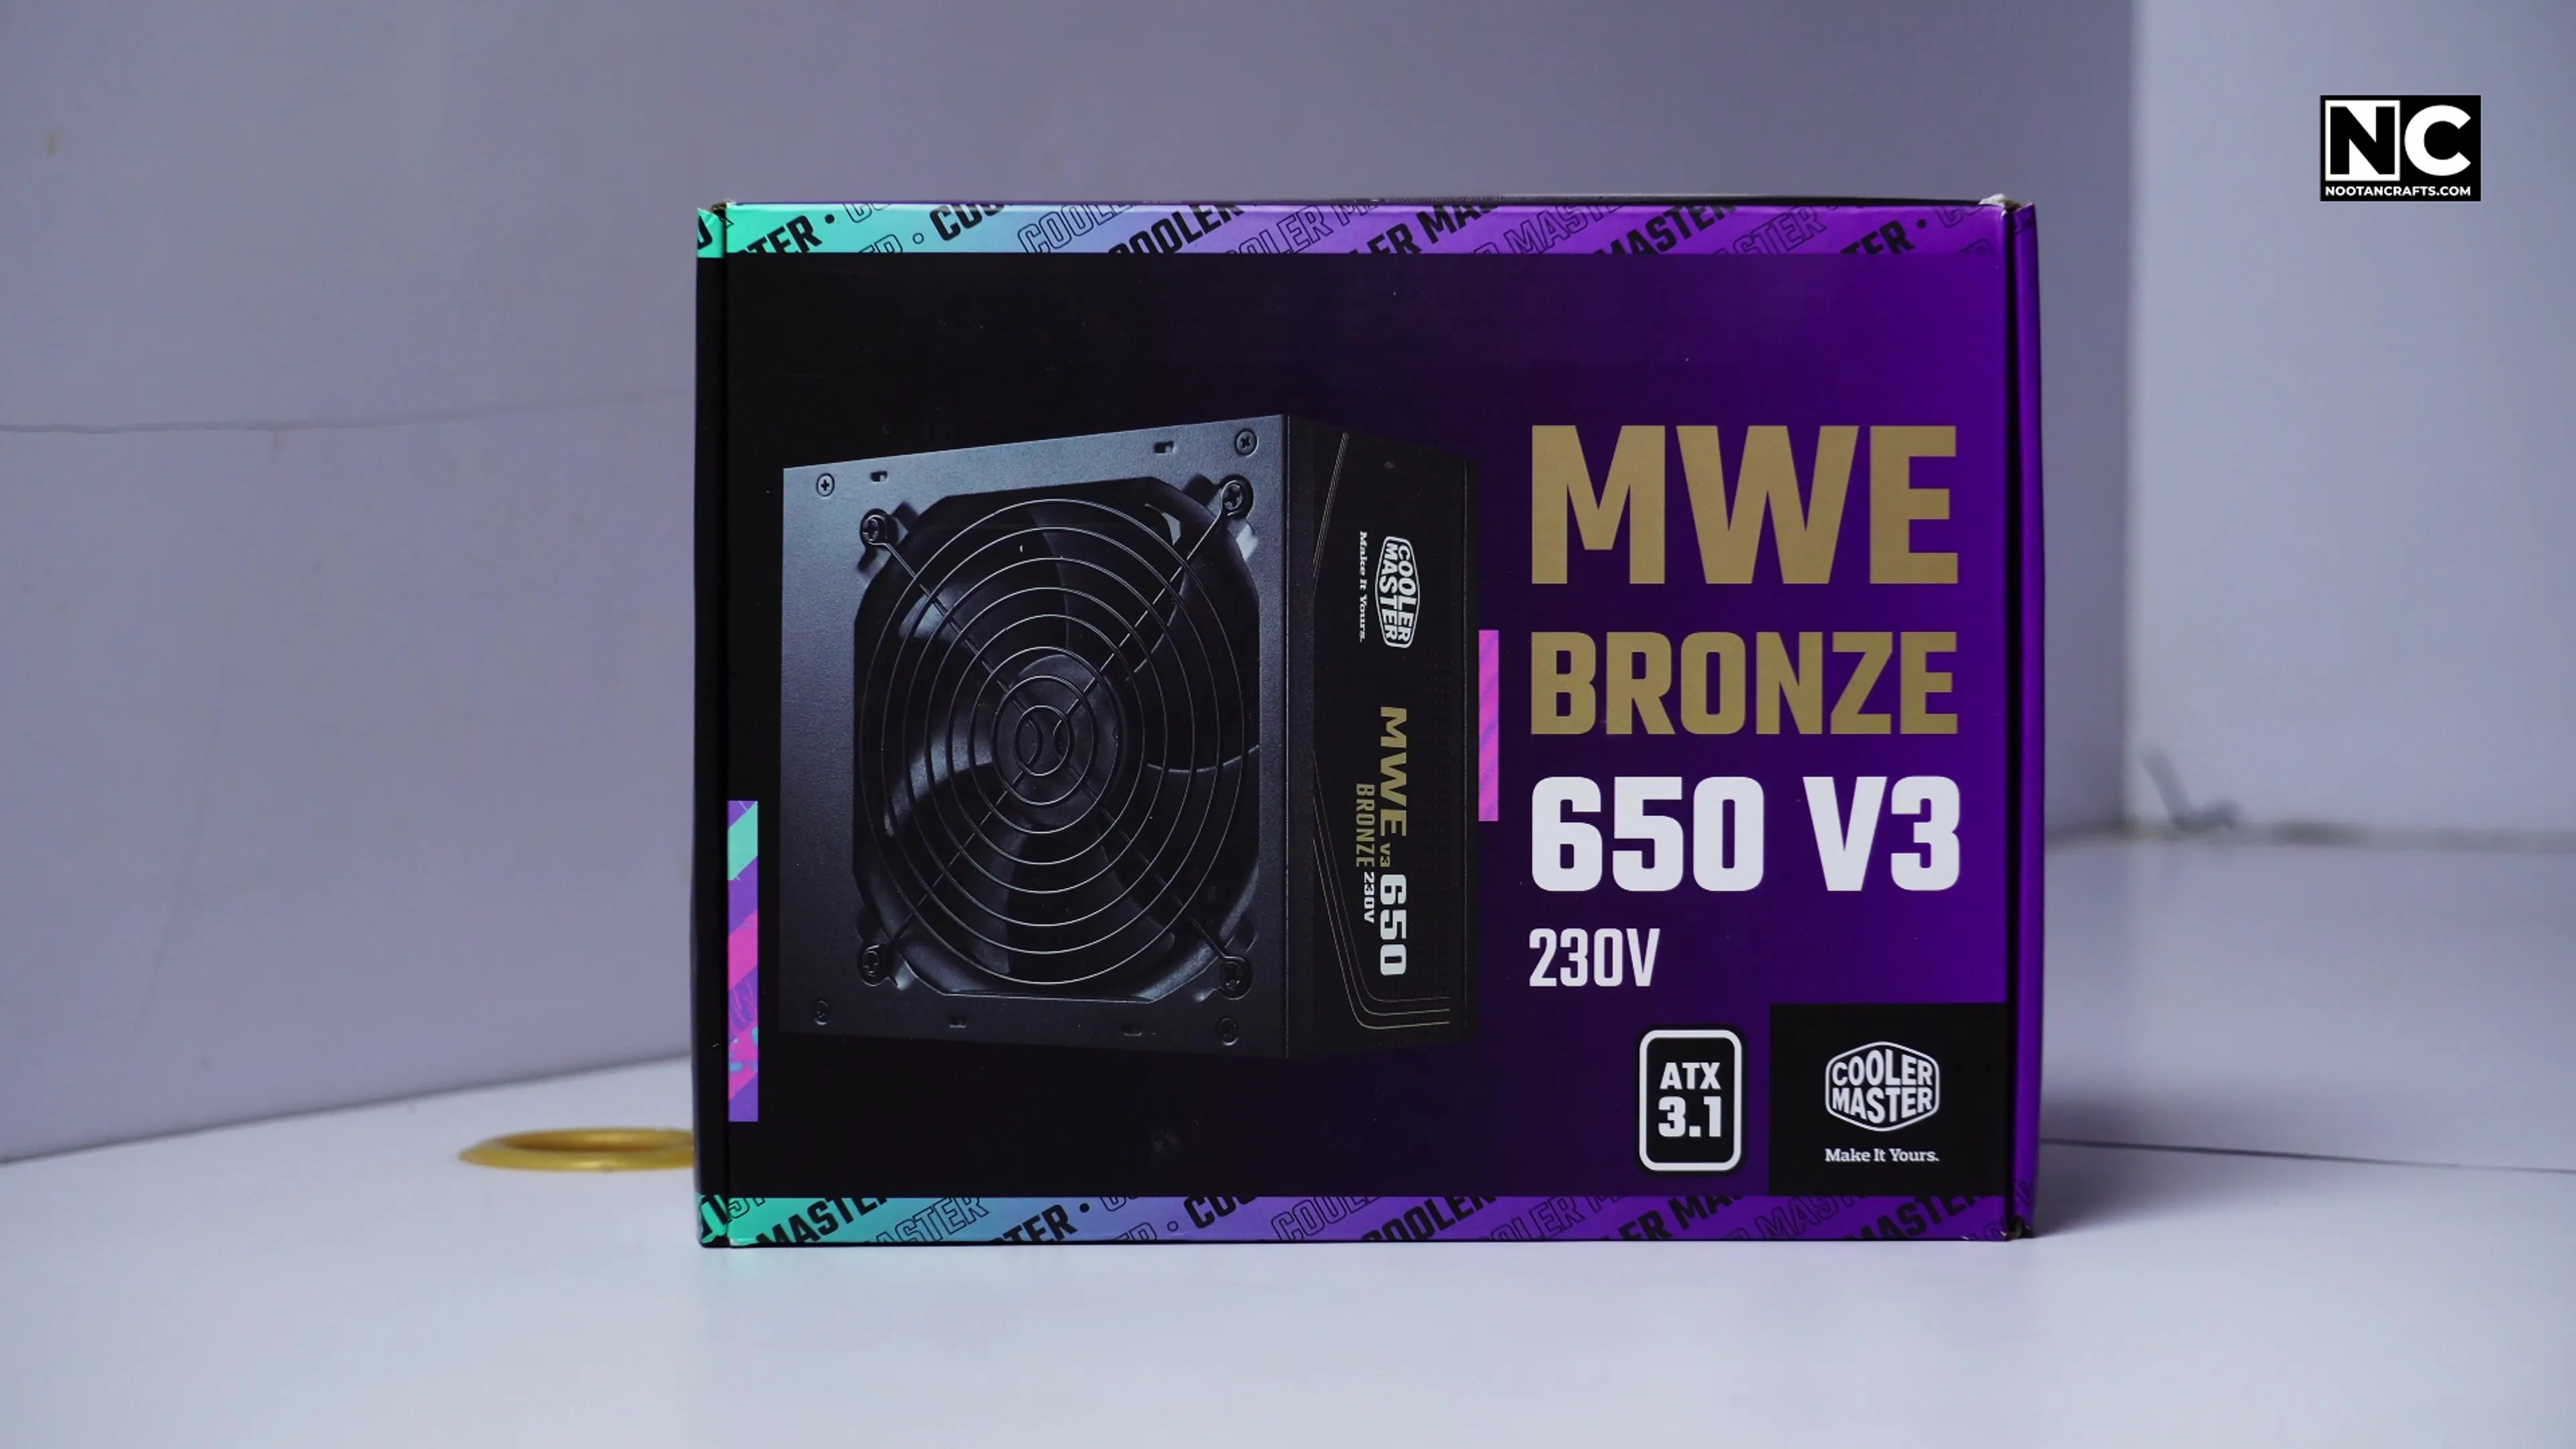
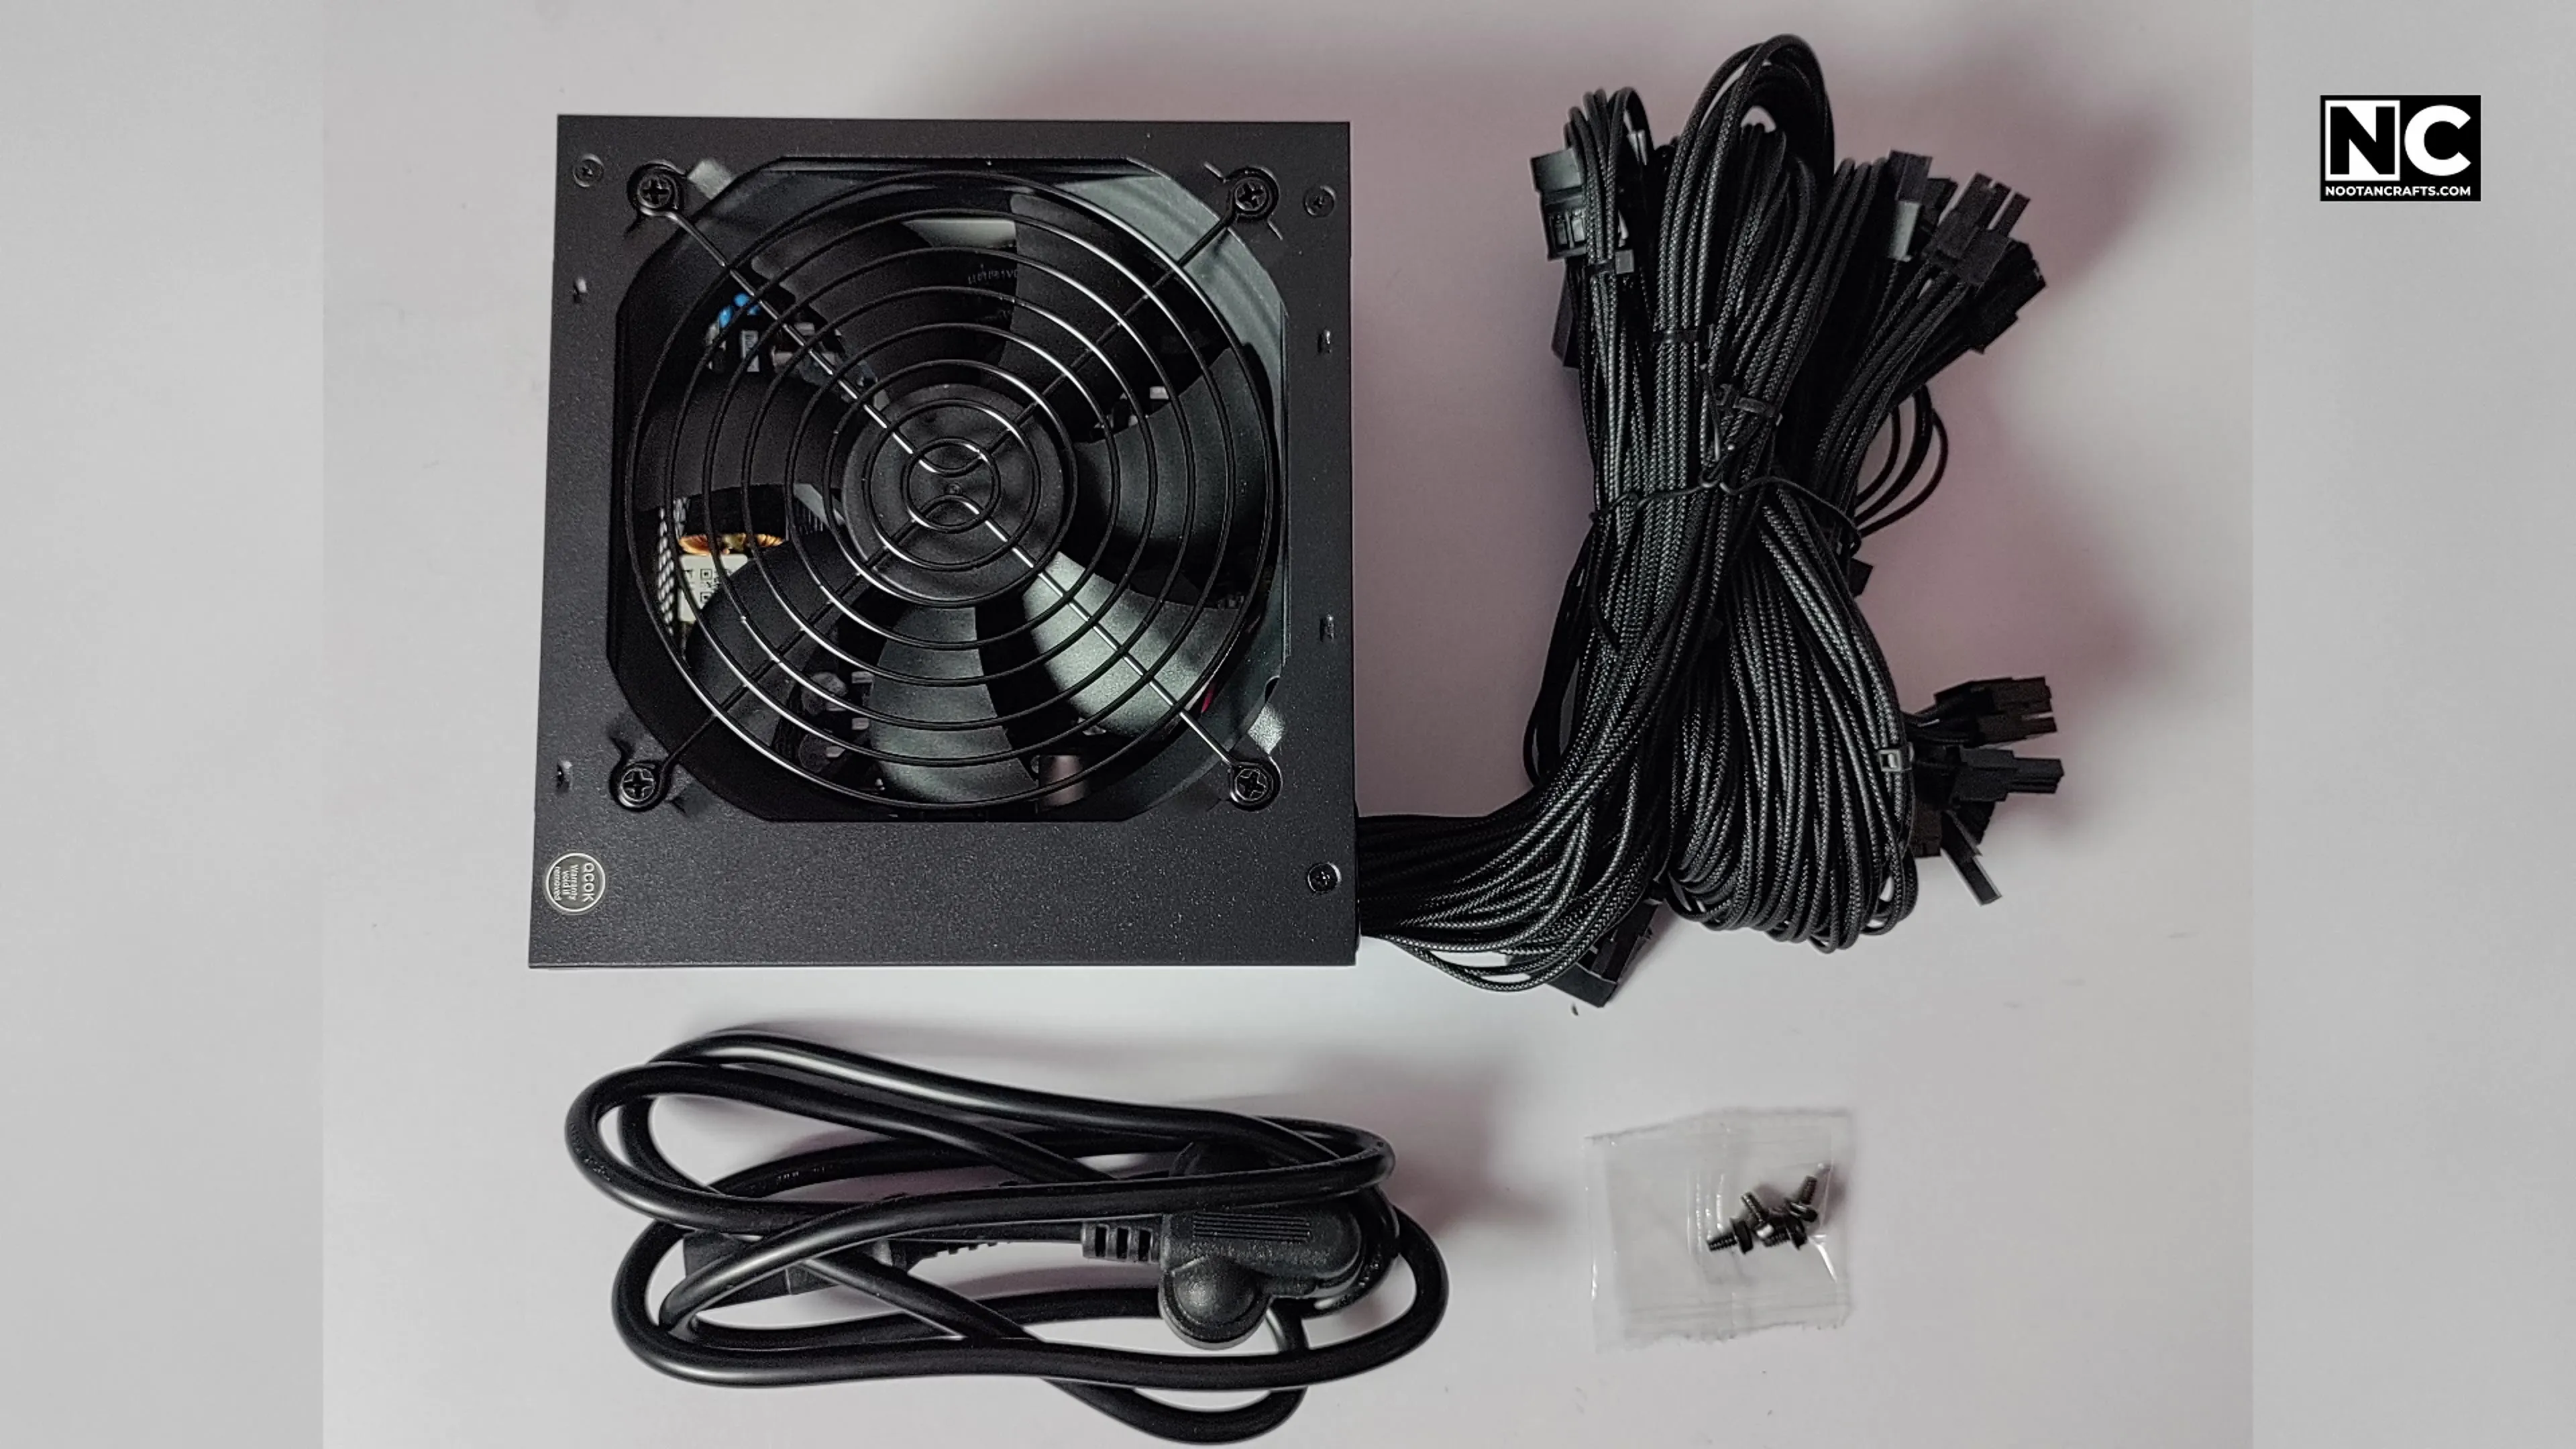

650 W at 80 PLUS Bronze, which is far more headroom than a 115 W GPU and a 105 W CPU need.
Be clear about one thing though: it is non-modular. Every cable is permanently attached, including the ones you will not use, and they all have to go somewhere. In a case with good cable routing that is manageable. It is the single biggest reason the back of this build took longer to tidy than it should have.
Crucial P3 Plus 1 TB
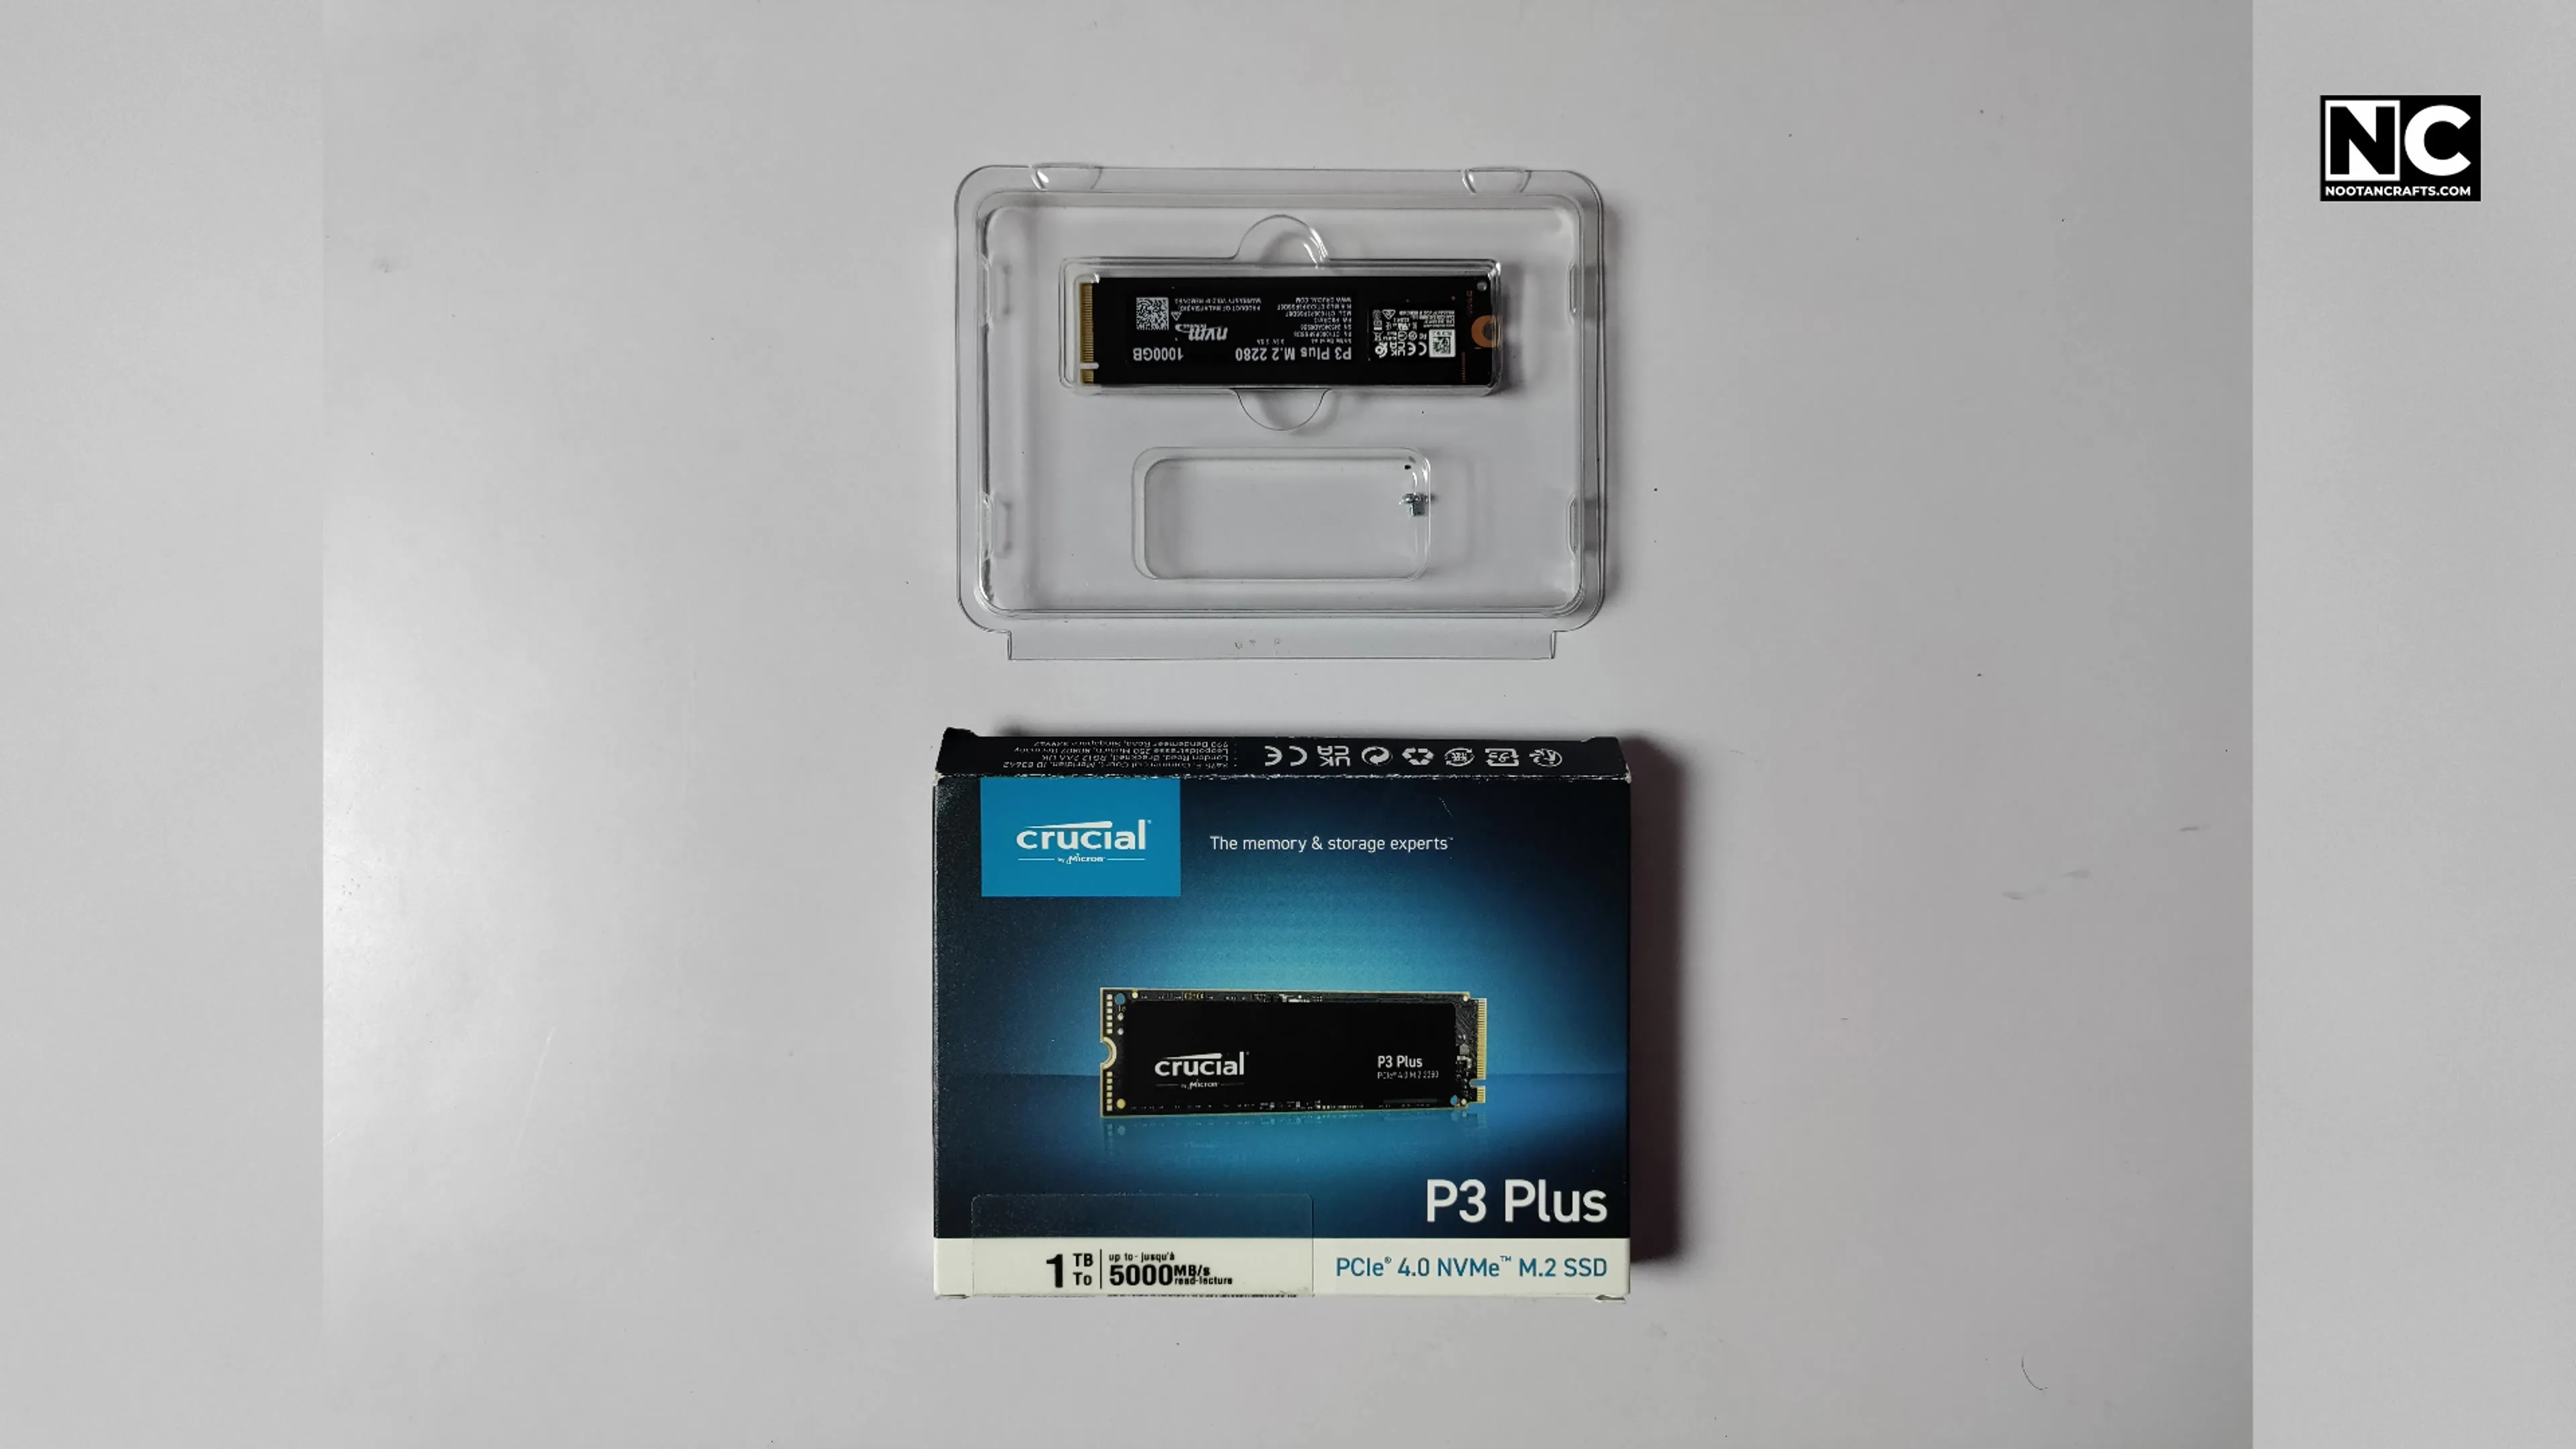

Rated at 5,000 MB/s read and 3,600 MB/s write, with 220 TBW endurance on the 1 TB model.
This is the compromise in the build, and it matters for video work. The P3 Plus uses QLC NAND and has no DRAM cache. Short transfers hit the rated speed because they land in the SLC cache — but once that cache fills, sustained write speed drops to a fraction of the headline figure. For a boot and application drive it is fine. If you are dumping hours of 4K footage onto it in one go, buy a TLC drive with DRAM instead.
Patriot Viper Venom DDR5, 2 × 16 GB


32 GB total at DDR5-6000. That speed is not arbitrary — AMD’s own technical marketing lead called DDR5-6000 “the sweet spot for Zen 4”, because it keeps the memory controller running 1:1 with the memory clock. Push past it and the controller drops to a 2:1 ratio, and you can end up slower despite the higher number on the box.
BenQ GW2790, and the peripherals


A 27-inch IPS panel at 1080p and 100 Hz with 99% sRGB coverage. For colour work at this budget, sRGB accuracy mattered more to me than resolution.
The keyboard is a Kreo Hive with brown tactile switches, chosen because I type all day. The mouse is a Kreo HAWK running a PixArt PAW3327 sensor at up to 12,400 DPI — a solid mid-range sensor, not a flagship one, and entirely adequate unless you are playing competitively for money.
Putting It Together
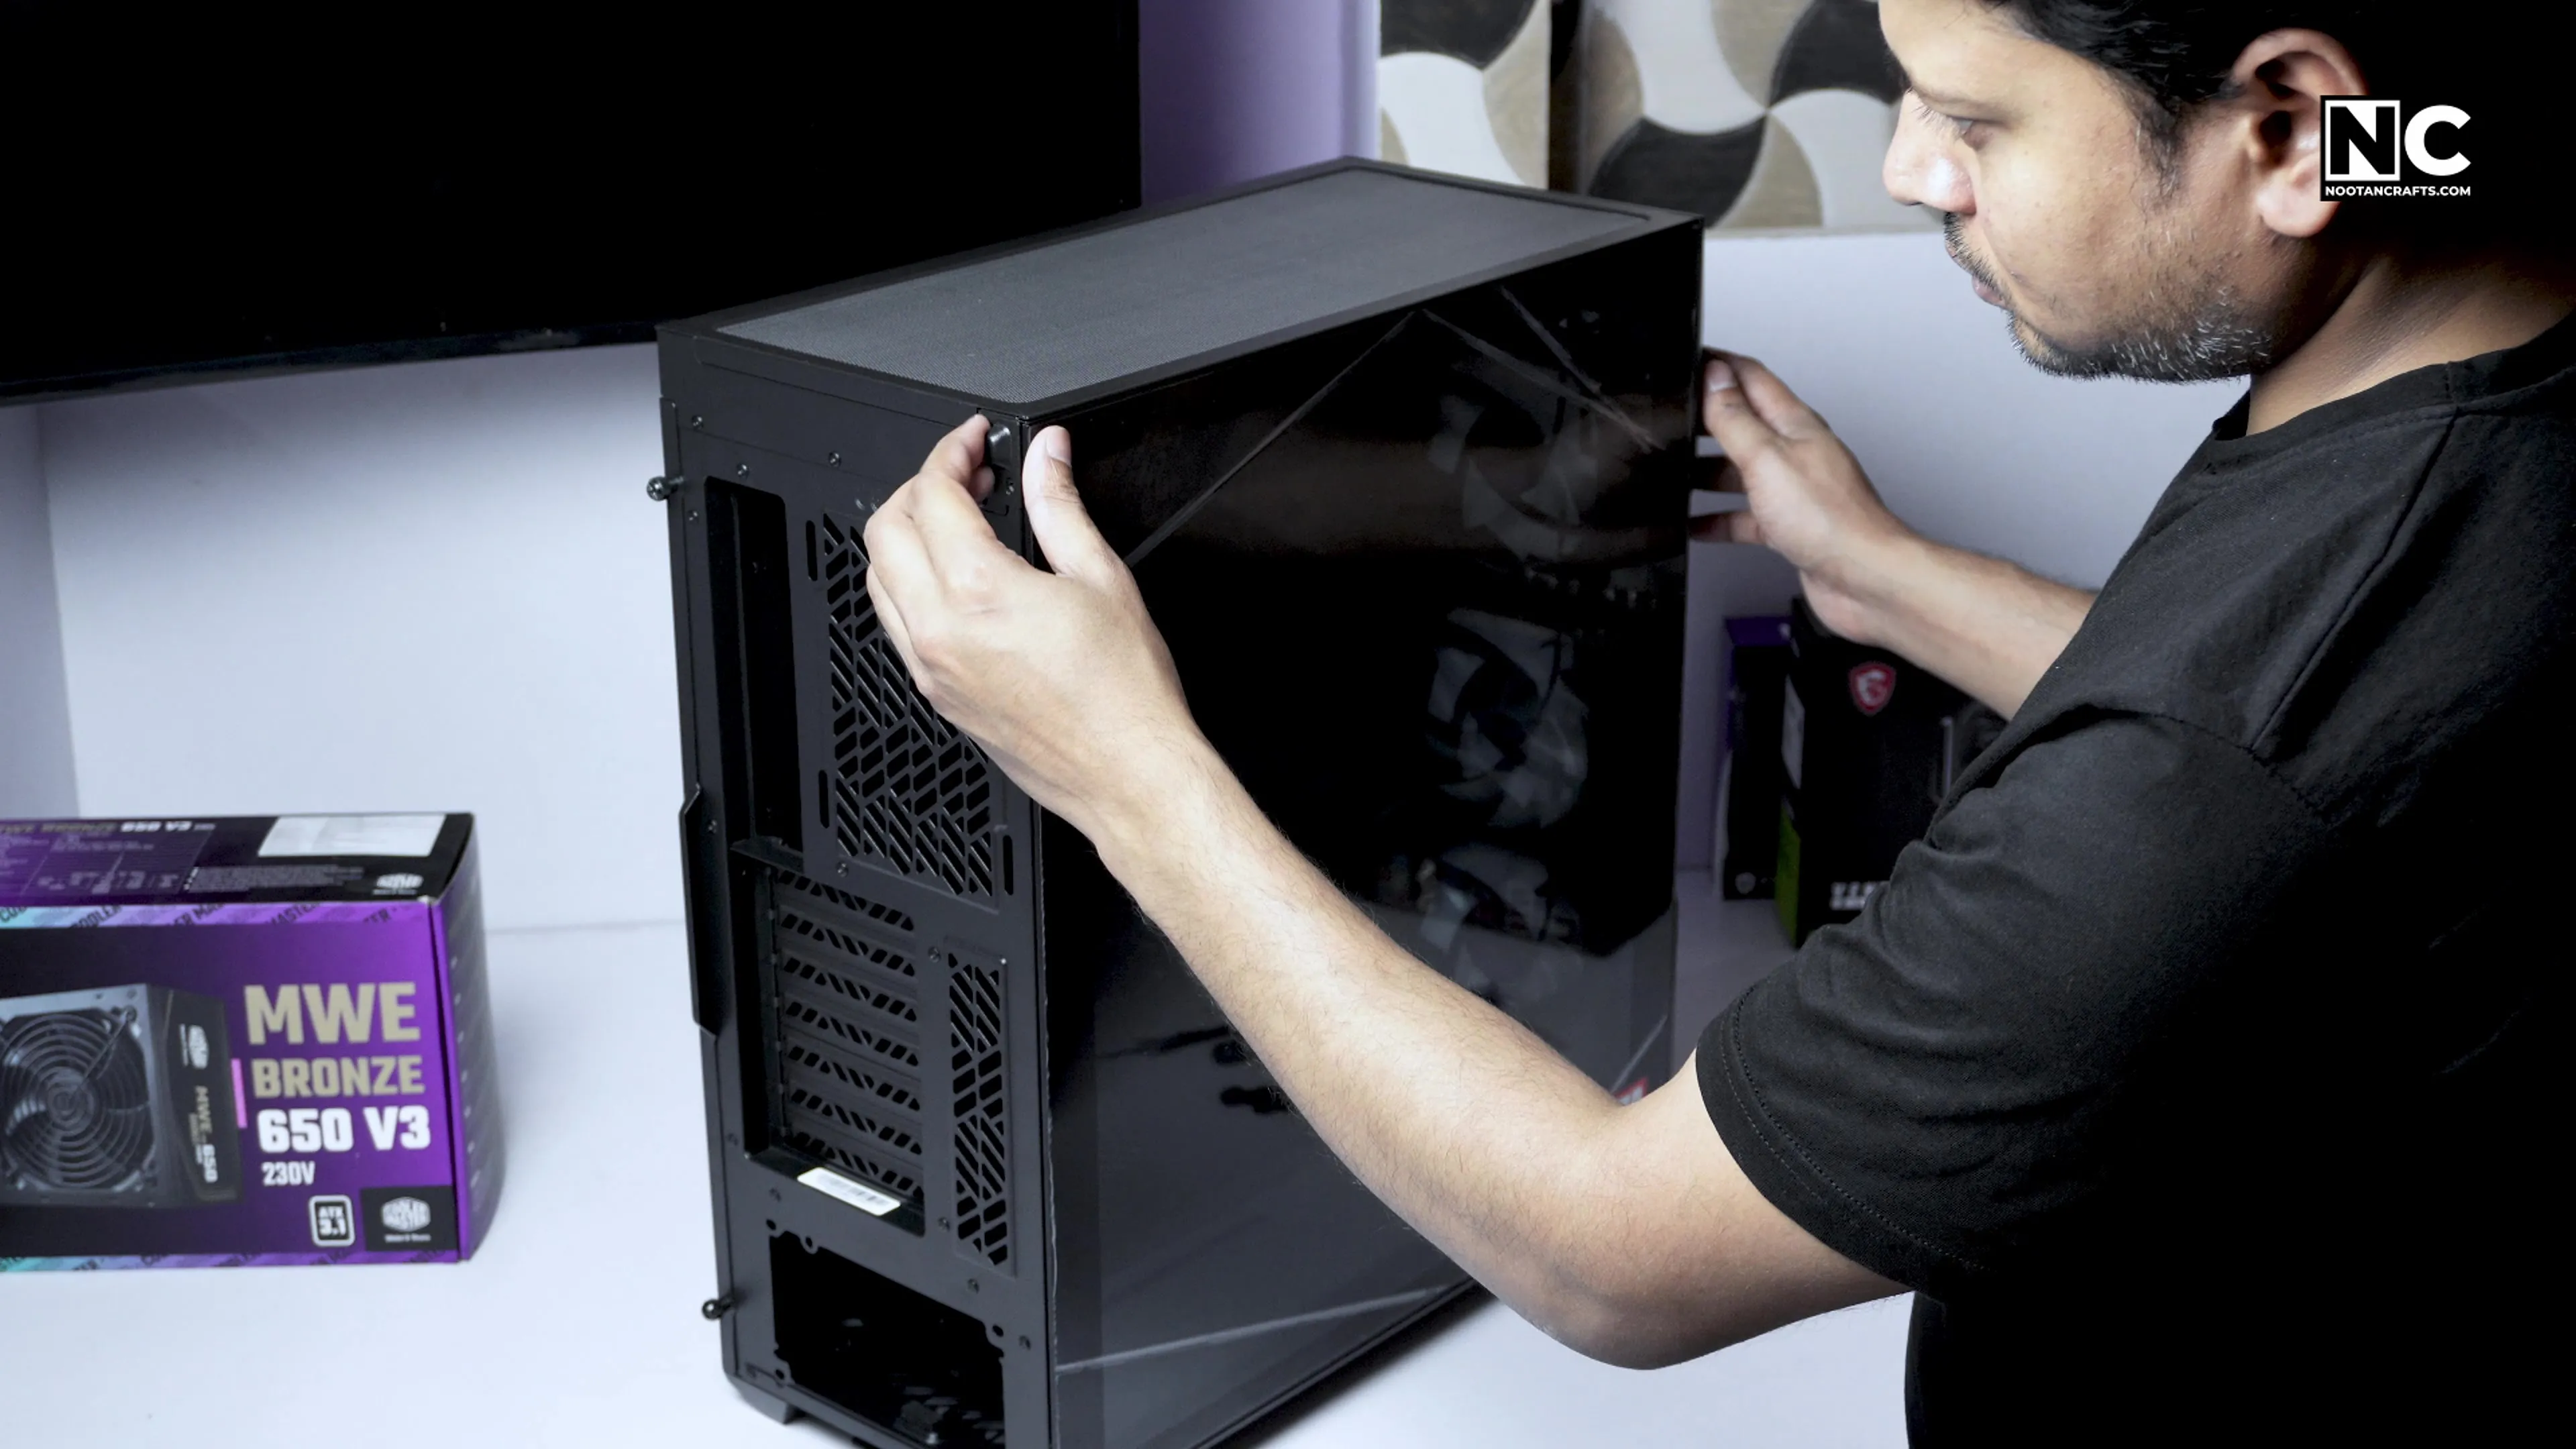

Both side panels come off with thumbscrews. The glass panel is the one to put somewhere safe rather than lean against a desk leg.
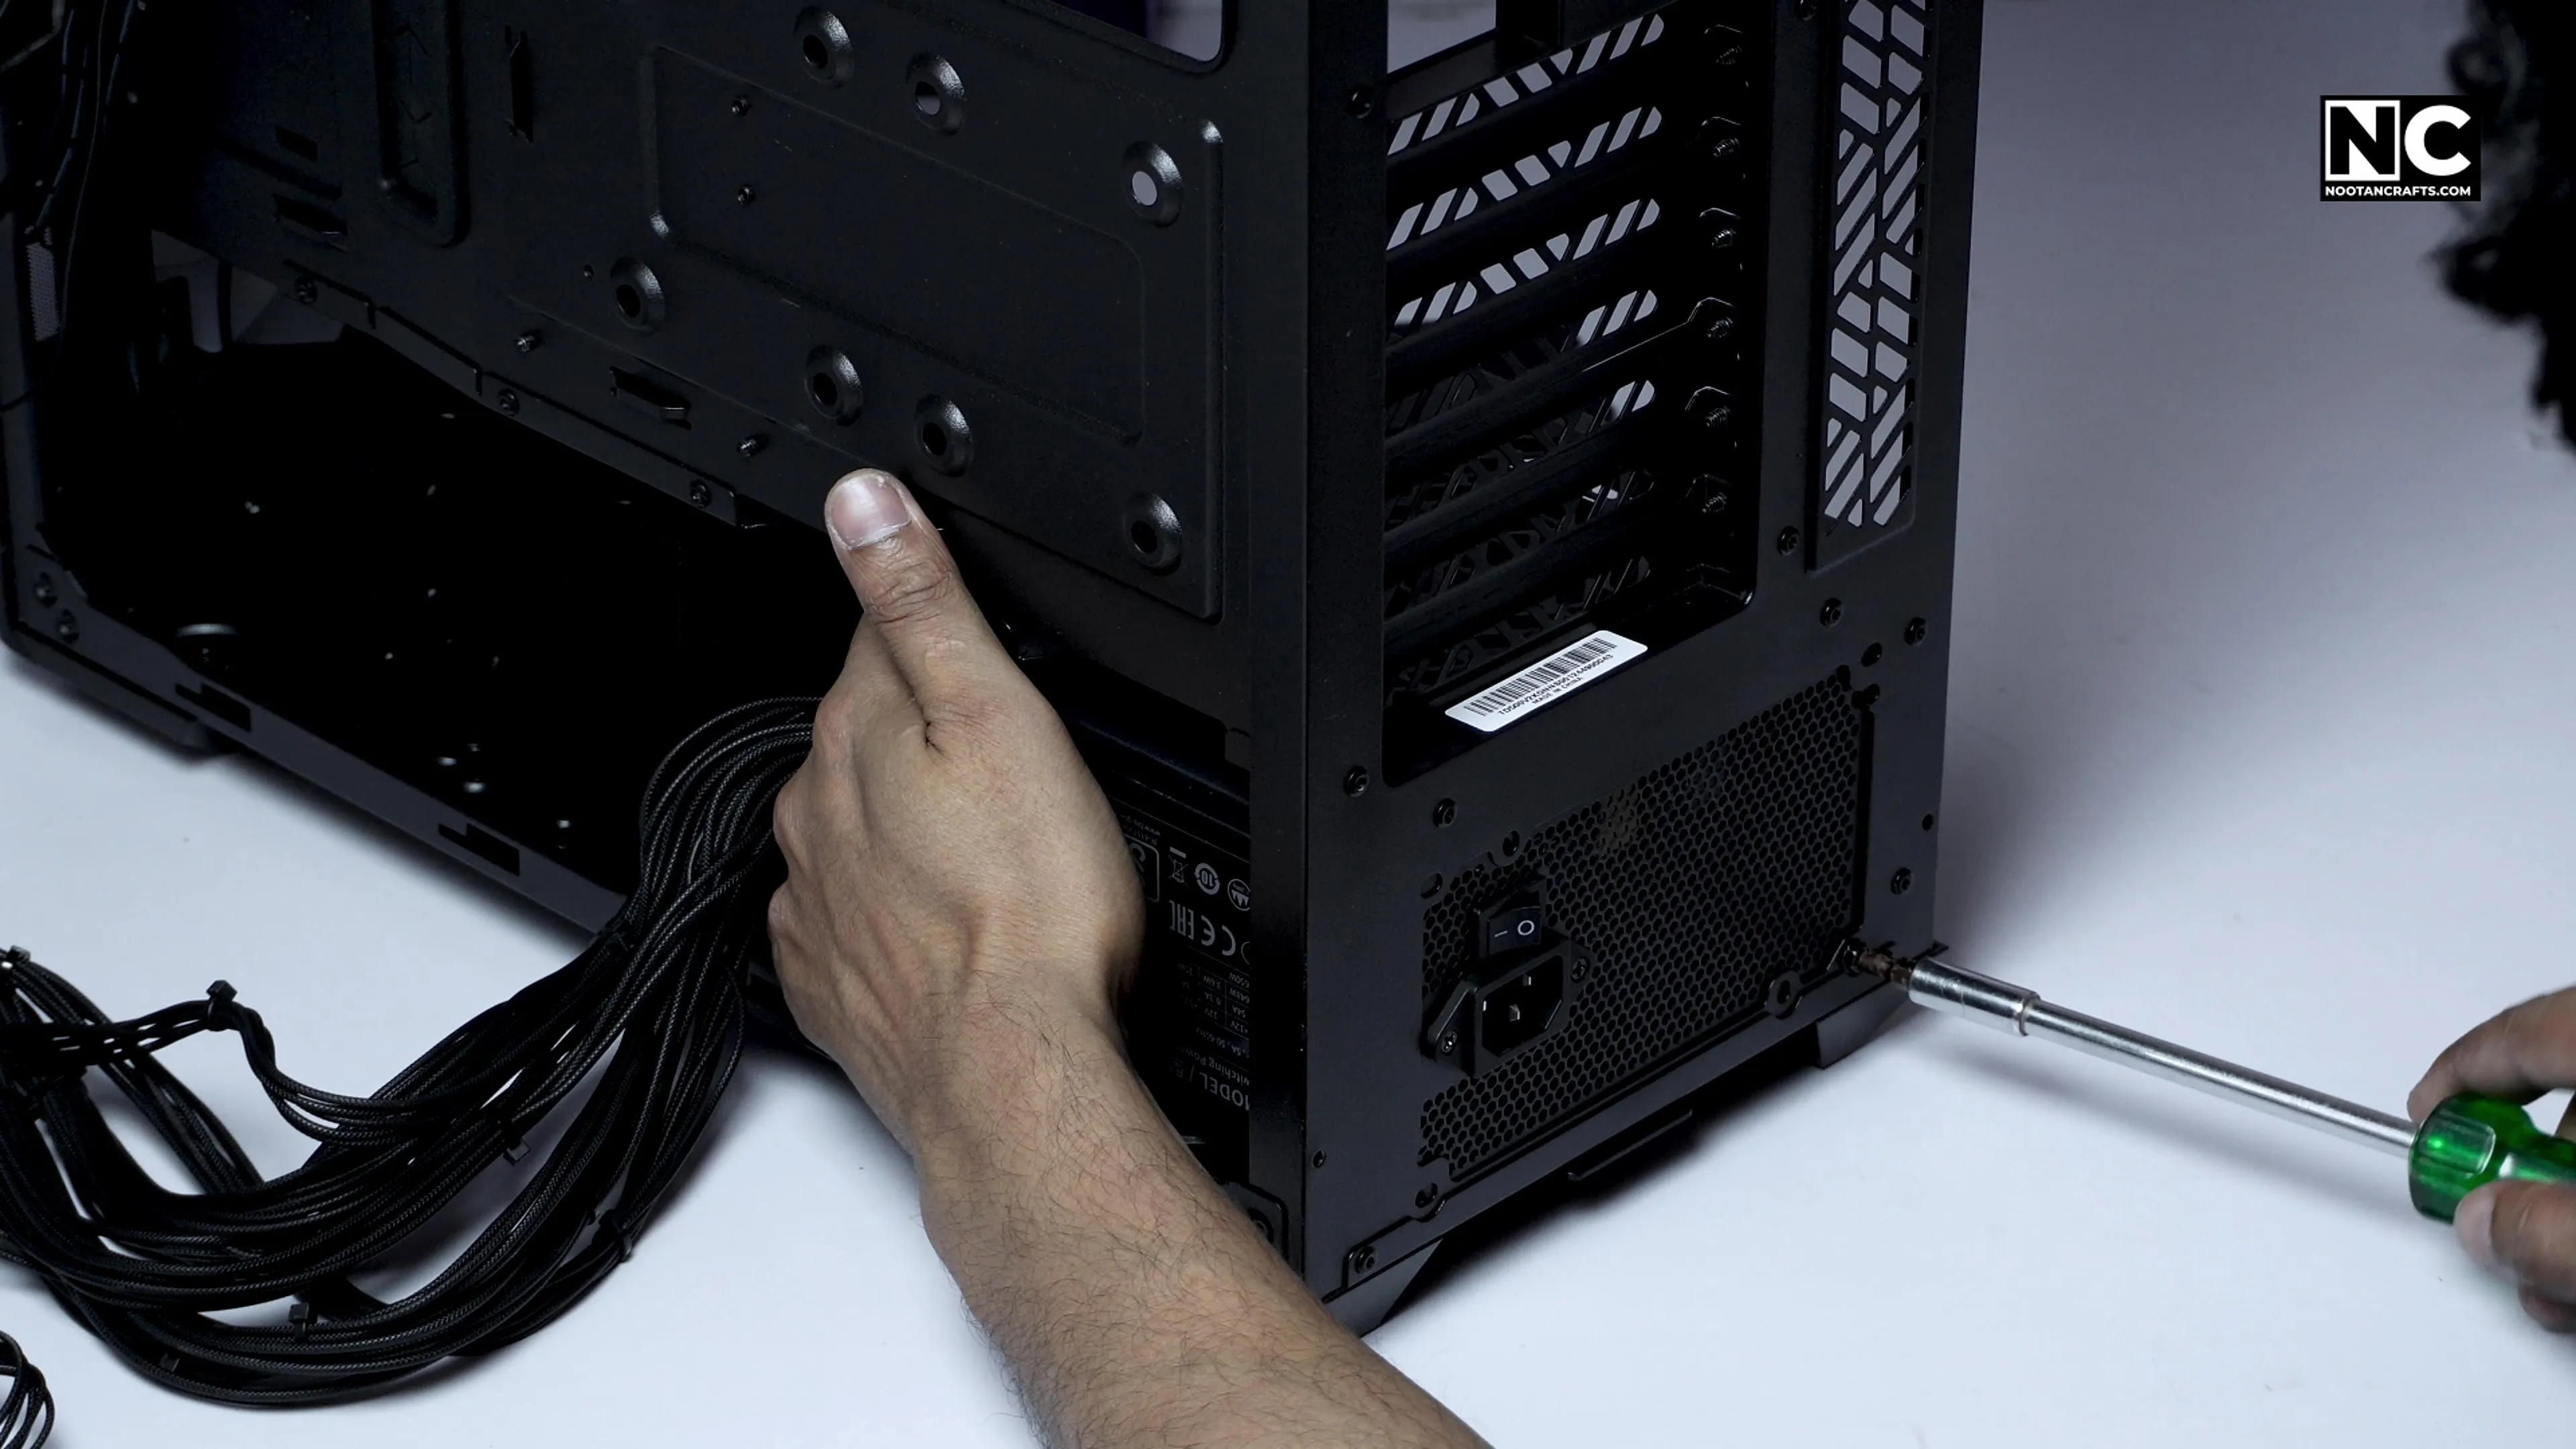
The PSU goes in first, fan facing down through the bottom dust filter. Four screws, started by hand so the threads bite cleanly, then tightened.


Lift the retention arm, drop the CPU in aligned to the triangle marker, lower the arm. AM5 is a land grid array, so the pins are in the socket rather than on the chip — there is no force needed and never should be.
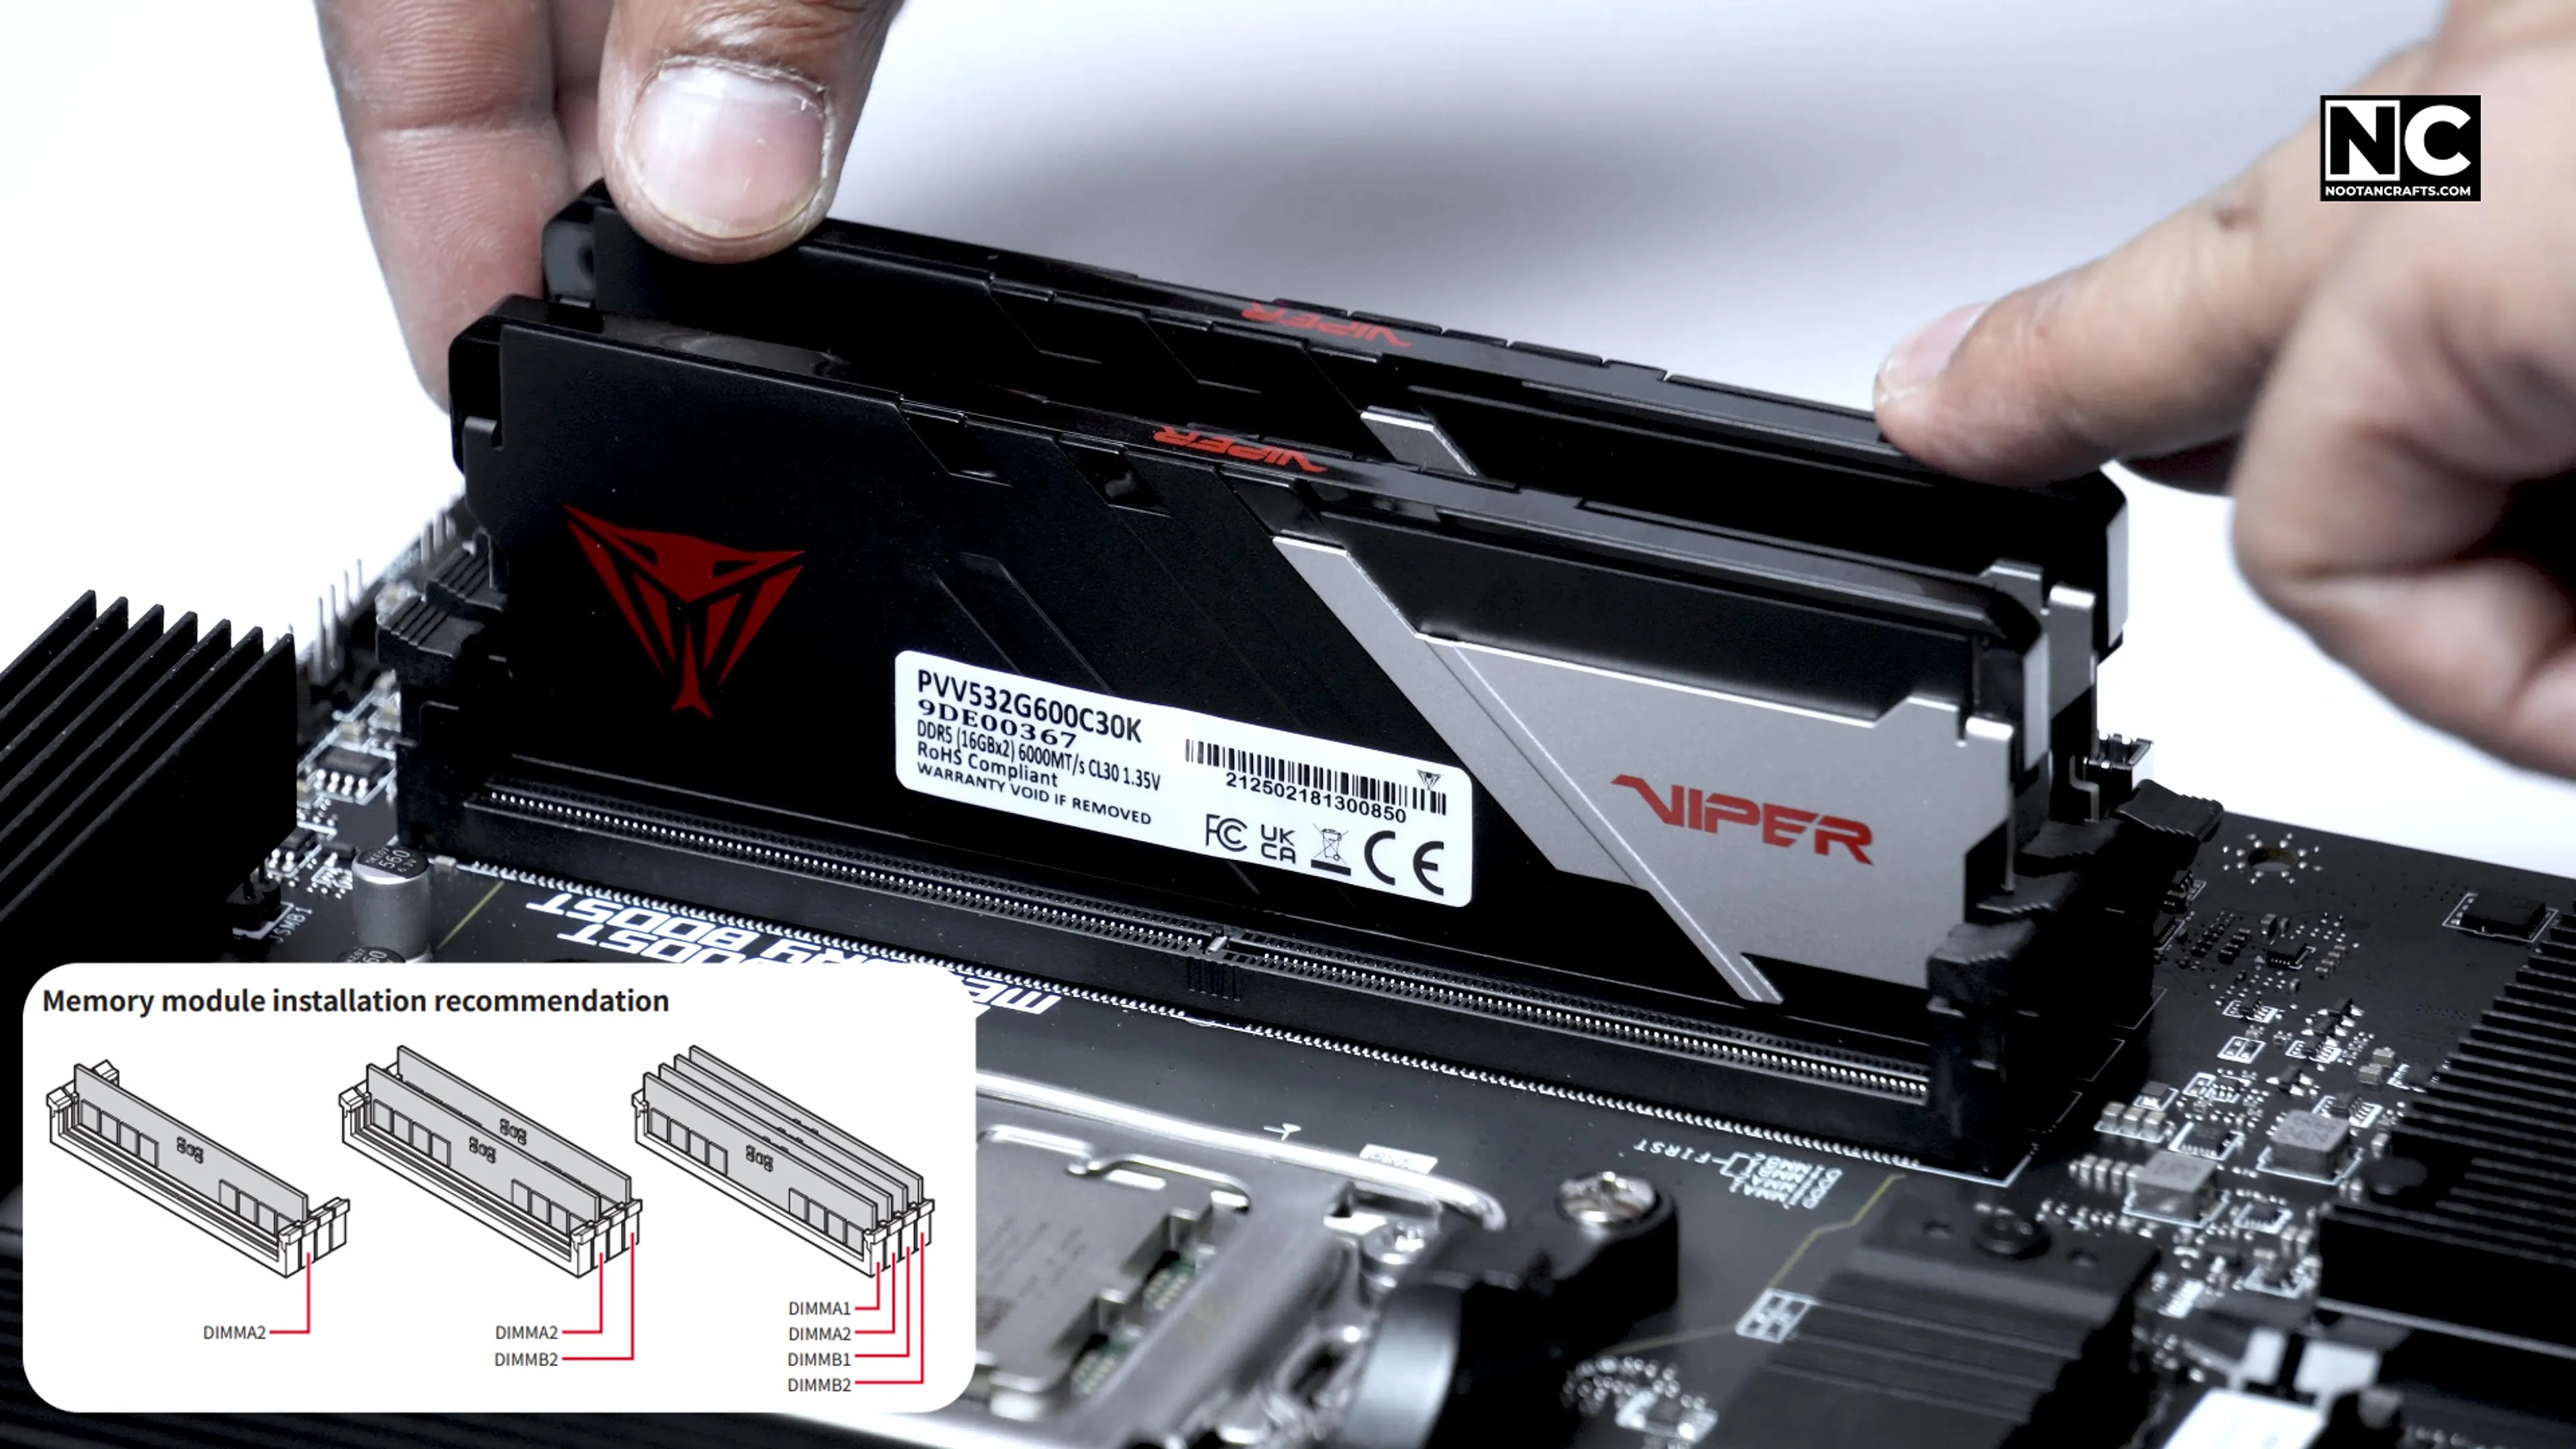
Memory next, into A2 and B2 — the second and fourth slots from the CPU. MSI’s own documentation specifies those two slots for a two-module install. These boards use a daisy-chained DIMM layout, and A2/B2 sit at the electrical end of each channel, which is what gives DDR5 a clean enough signal to run at its rated speed.
Get this wrong and the symptom is not a dead PC. The machine boots, runs at a slower default speed, and refuses to hold its EXPO profile — which is exactly the kind of fault people spend a weekend chasing in BIOS.
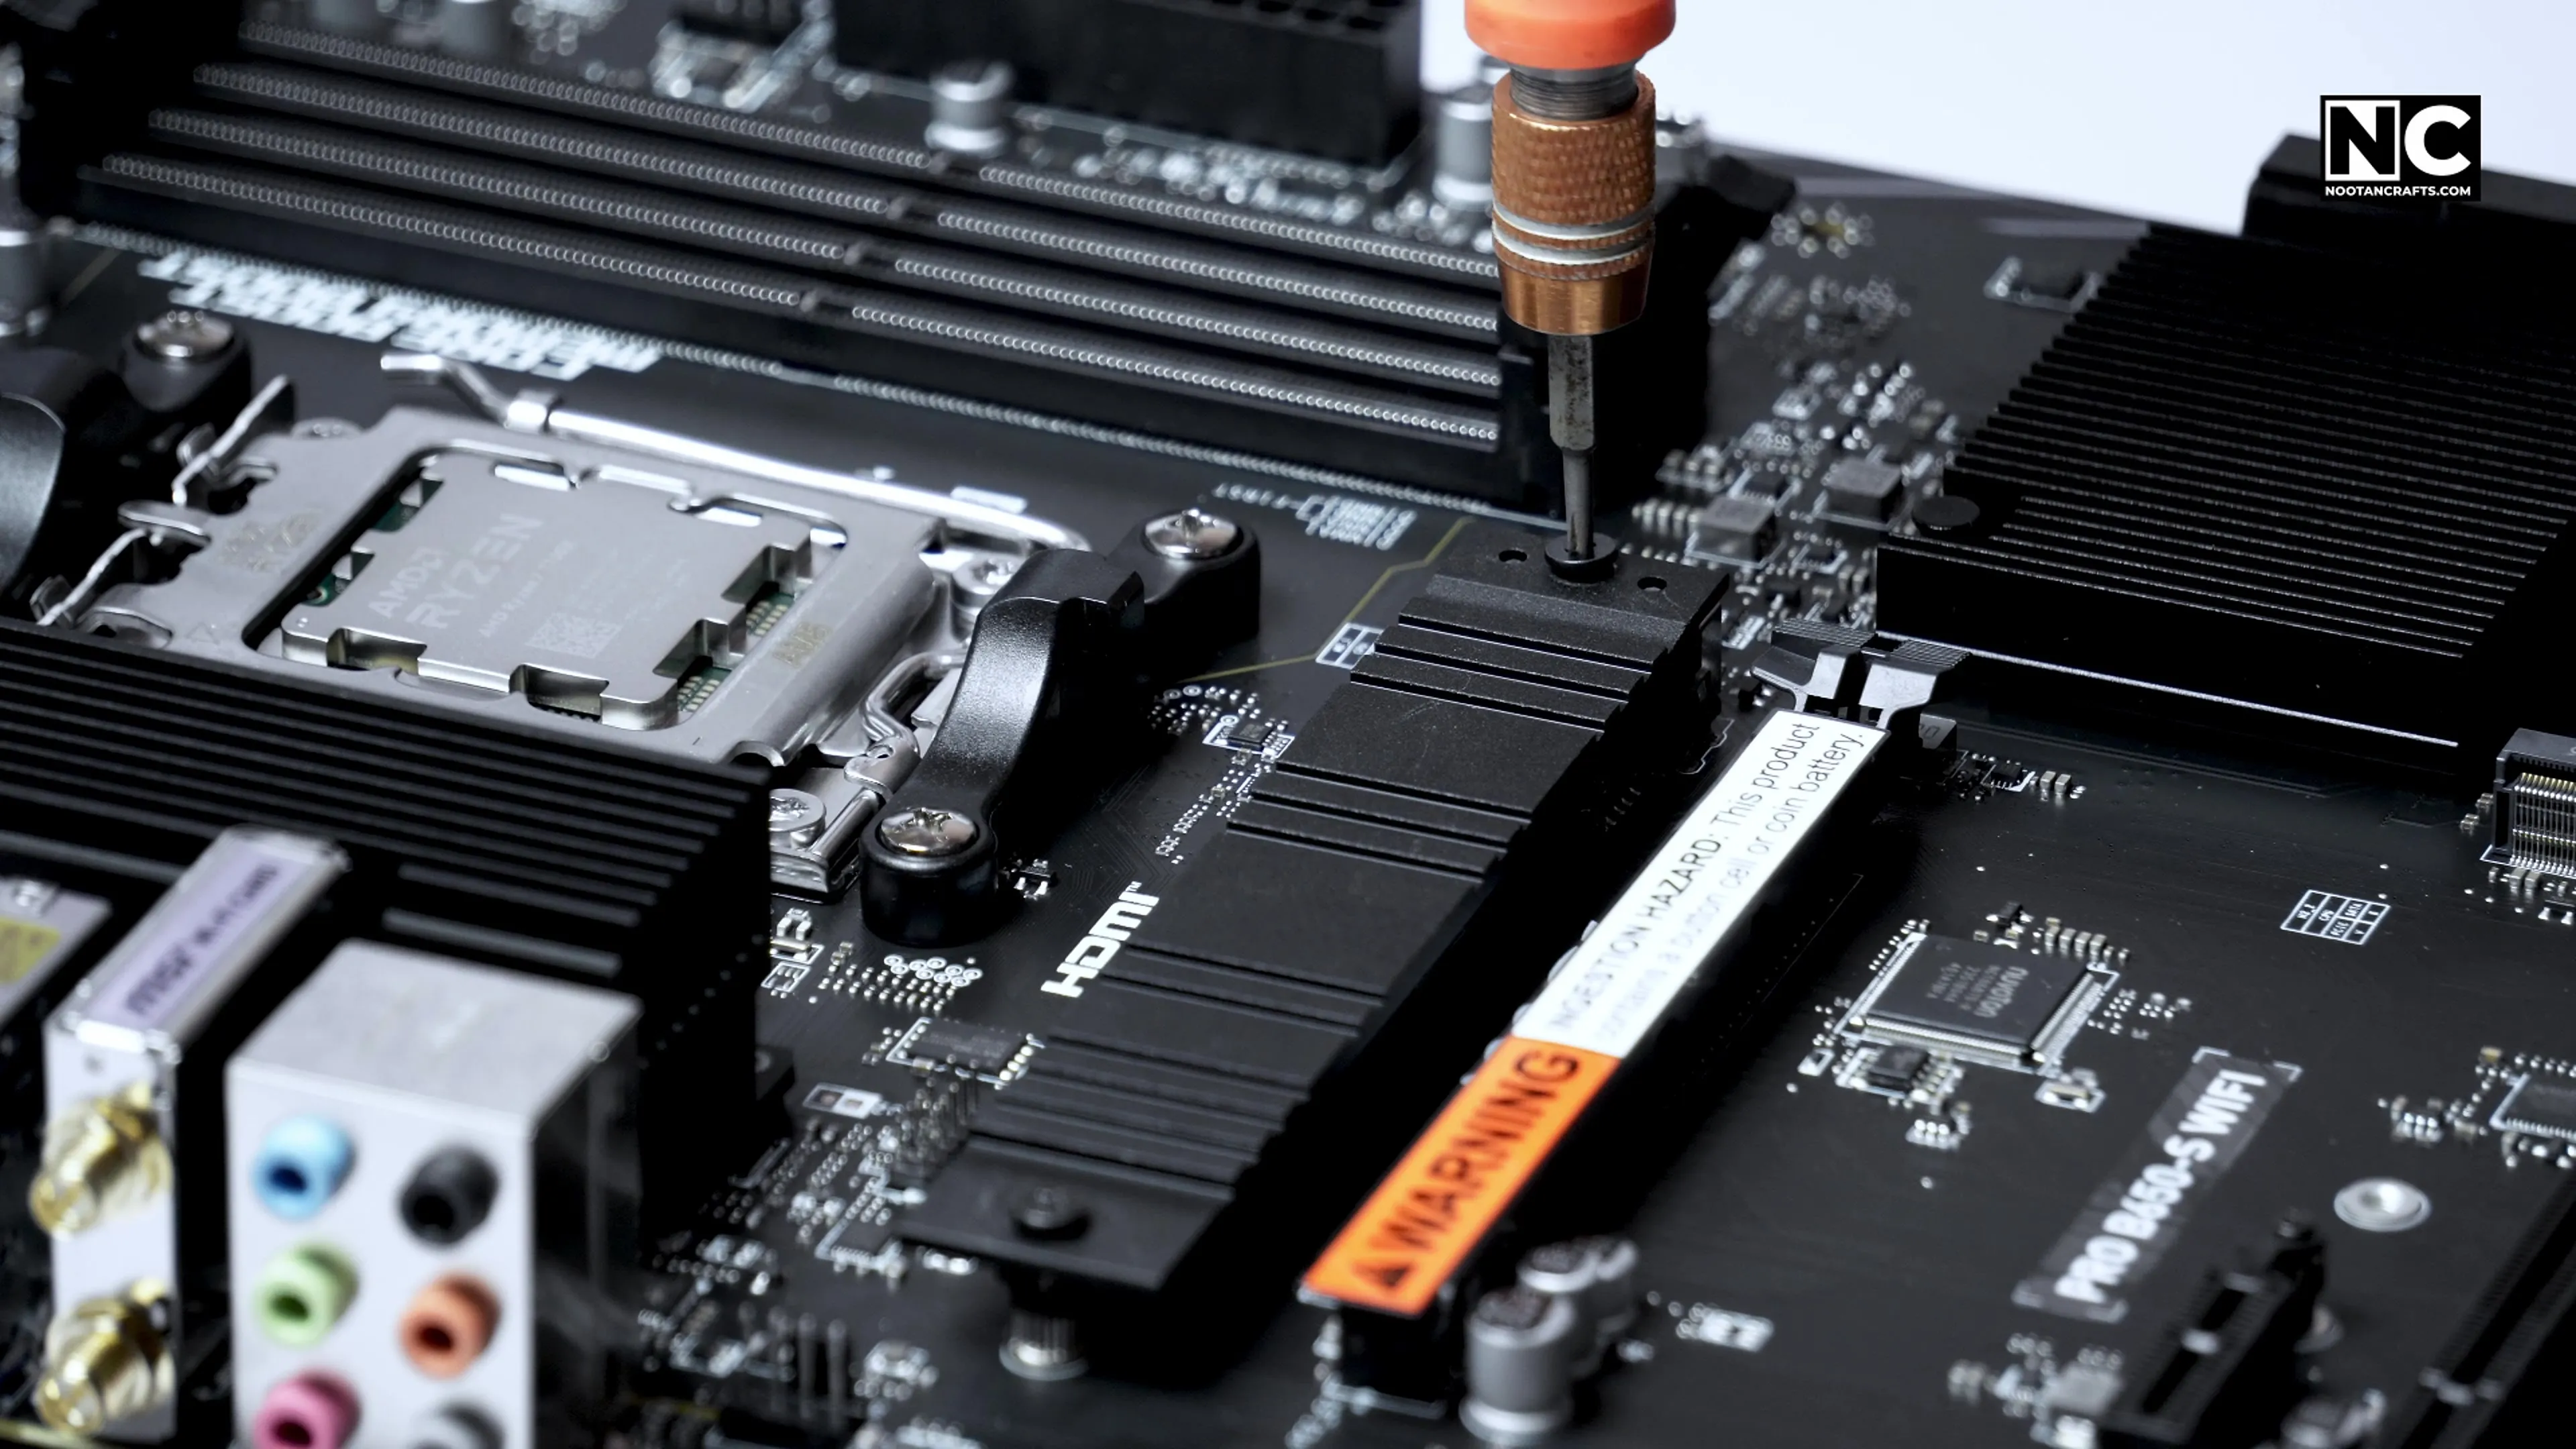


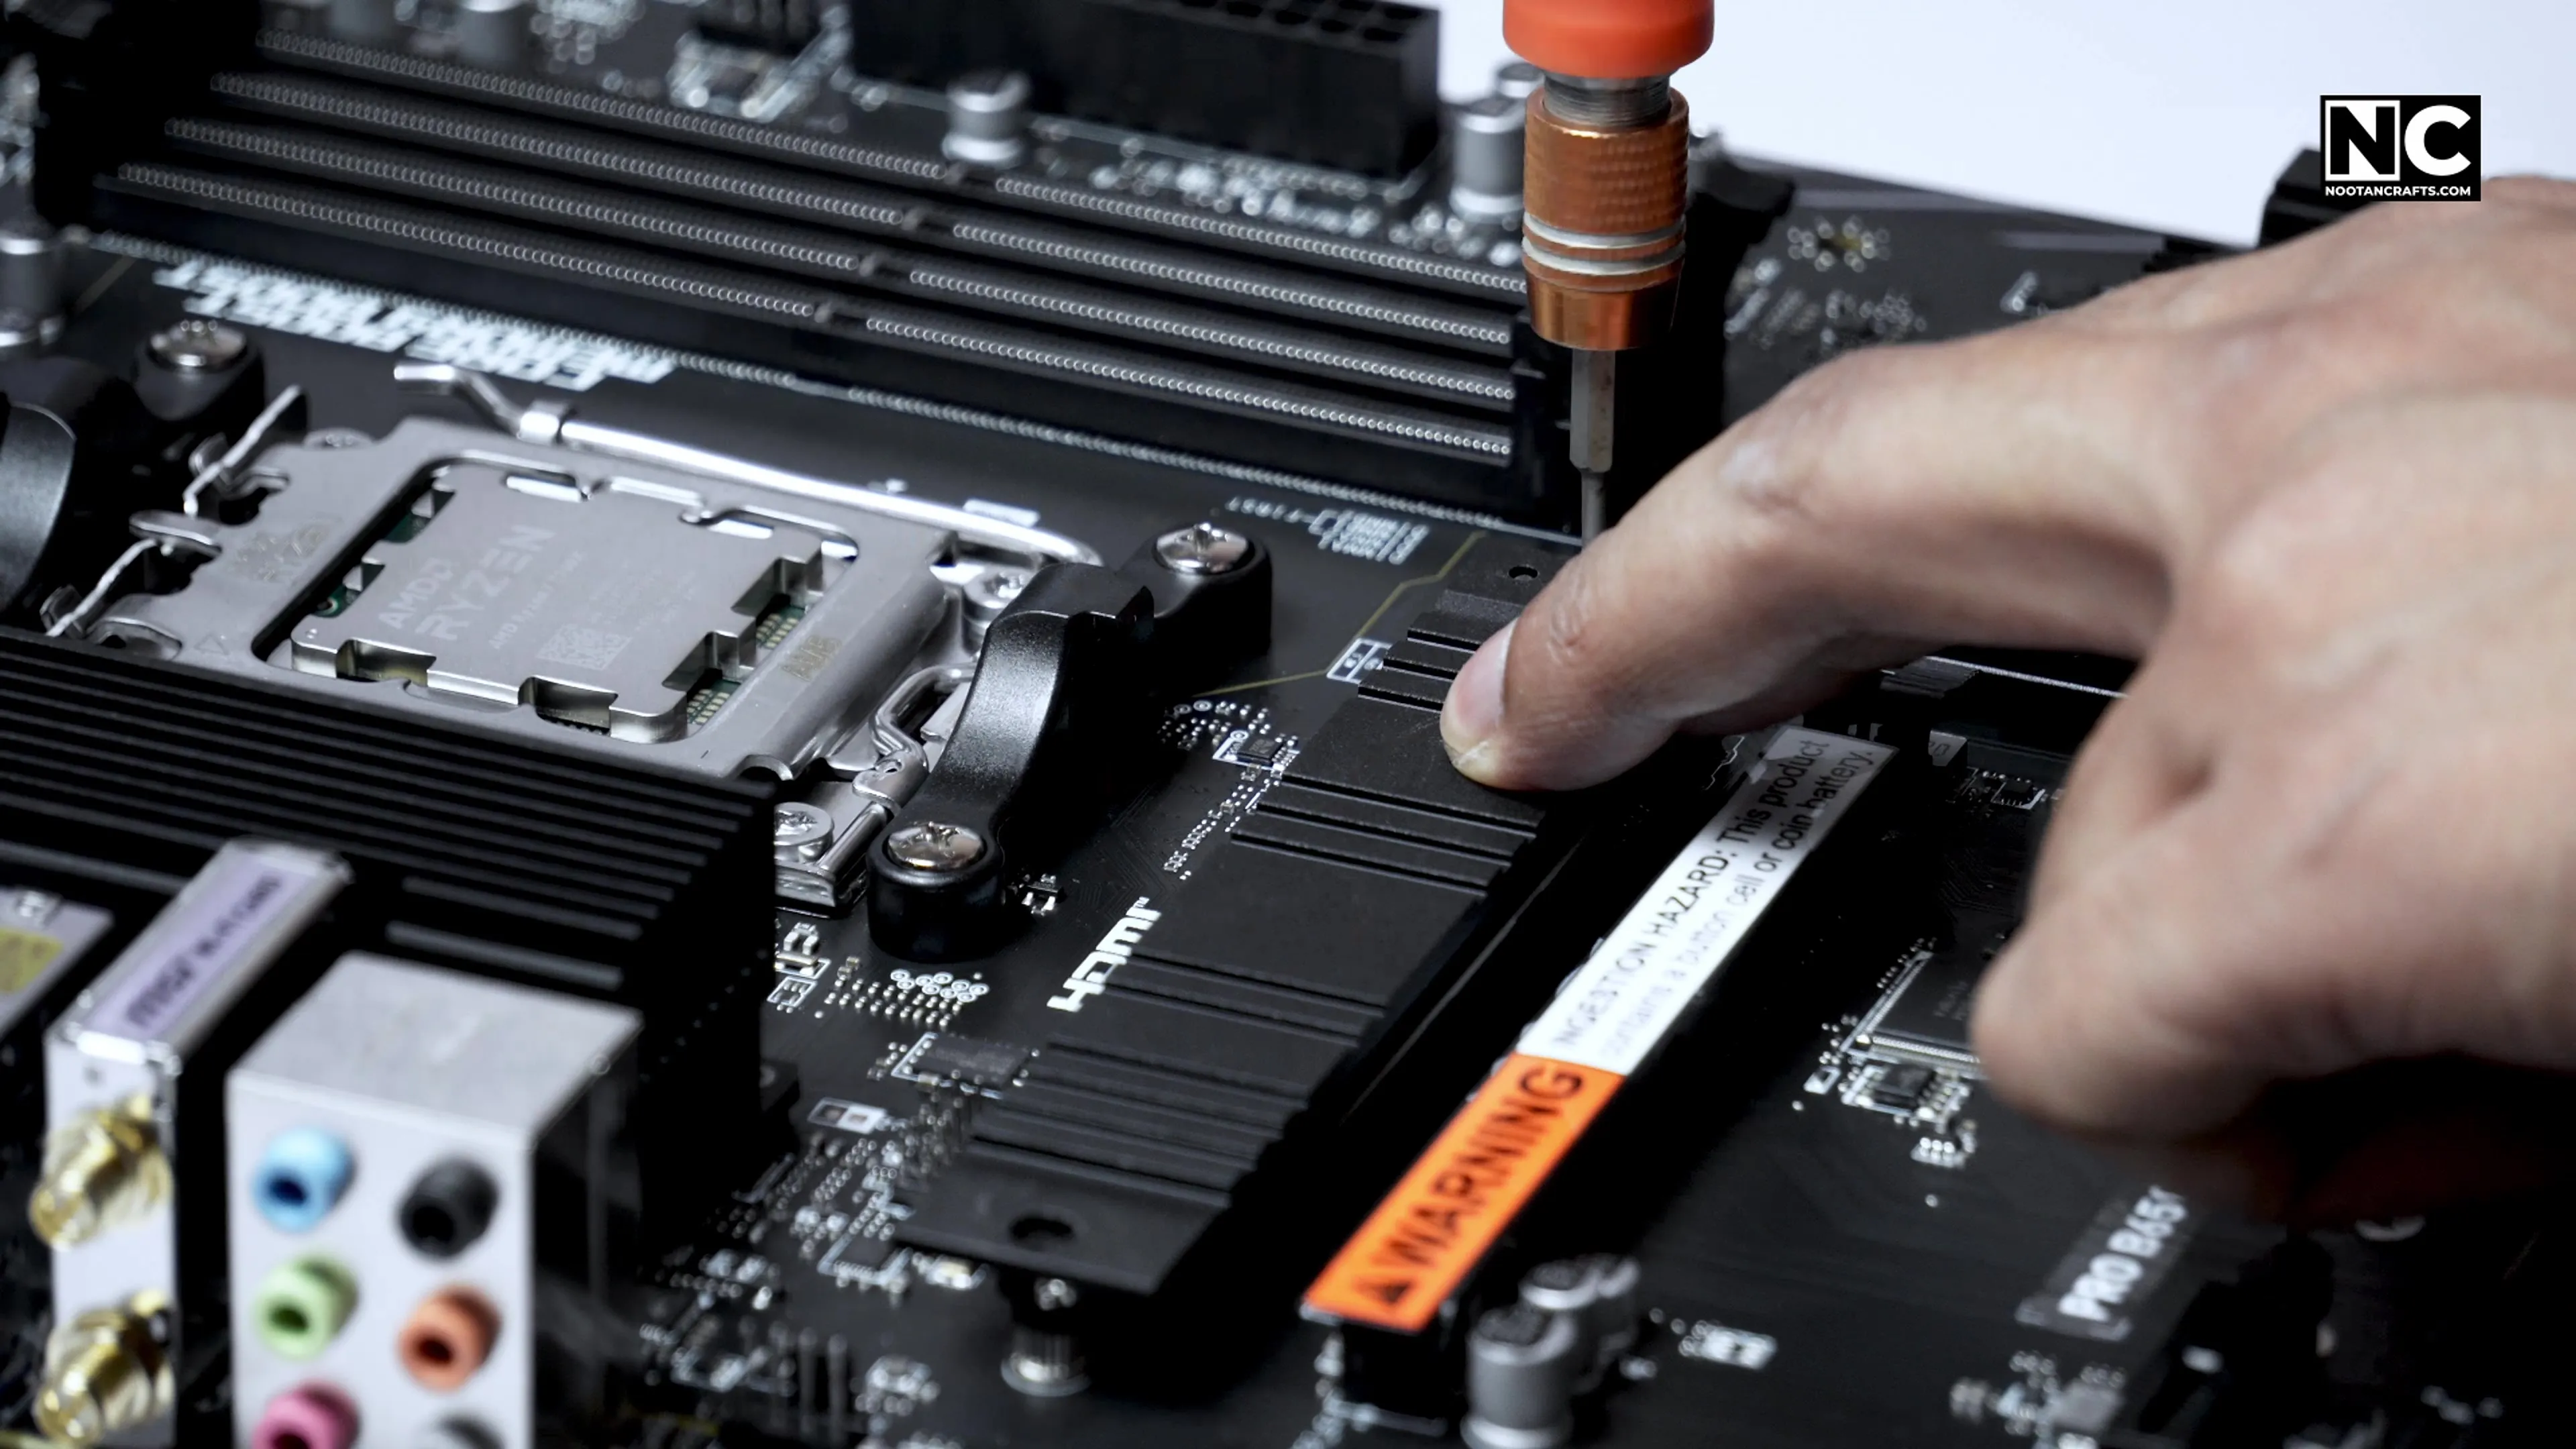
The board’s M.2 Shield Frozr unscrews, the drive goes in at an angle and clips down, and the shield goes back on. One step people skip: the heatsink has a protective film on its thermal pad, and leaving it on turns the heatsink into an insulator.

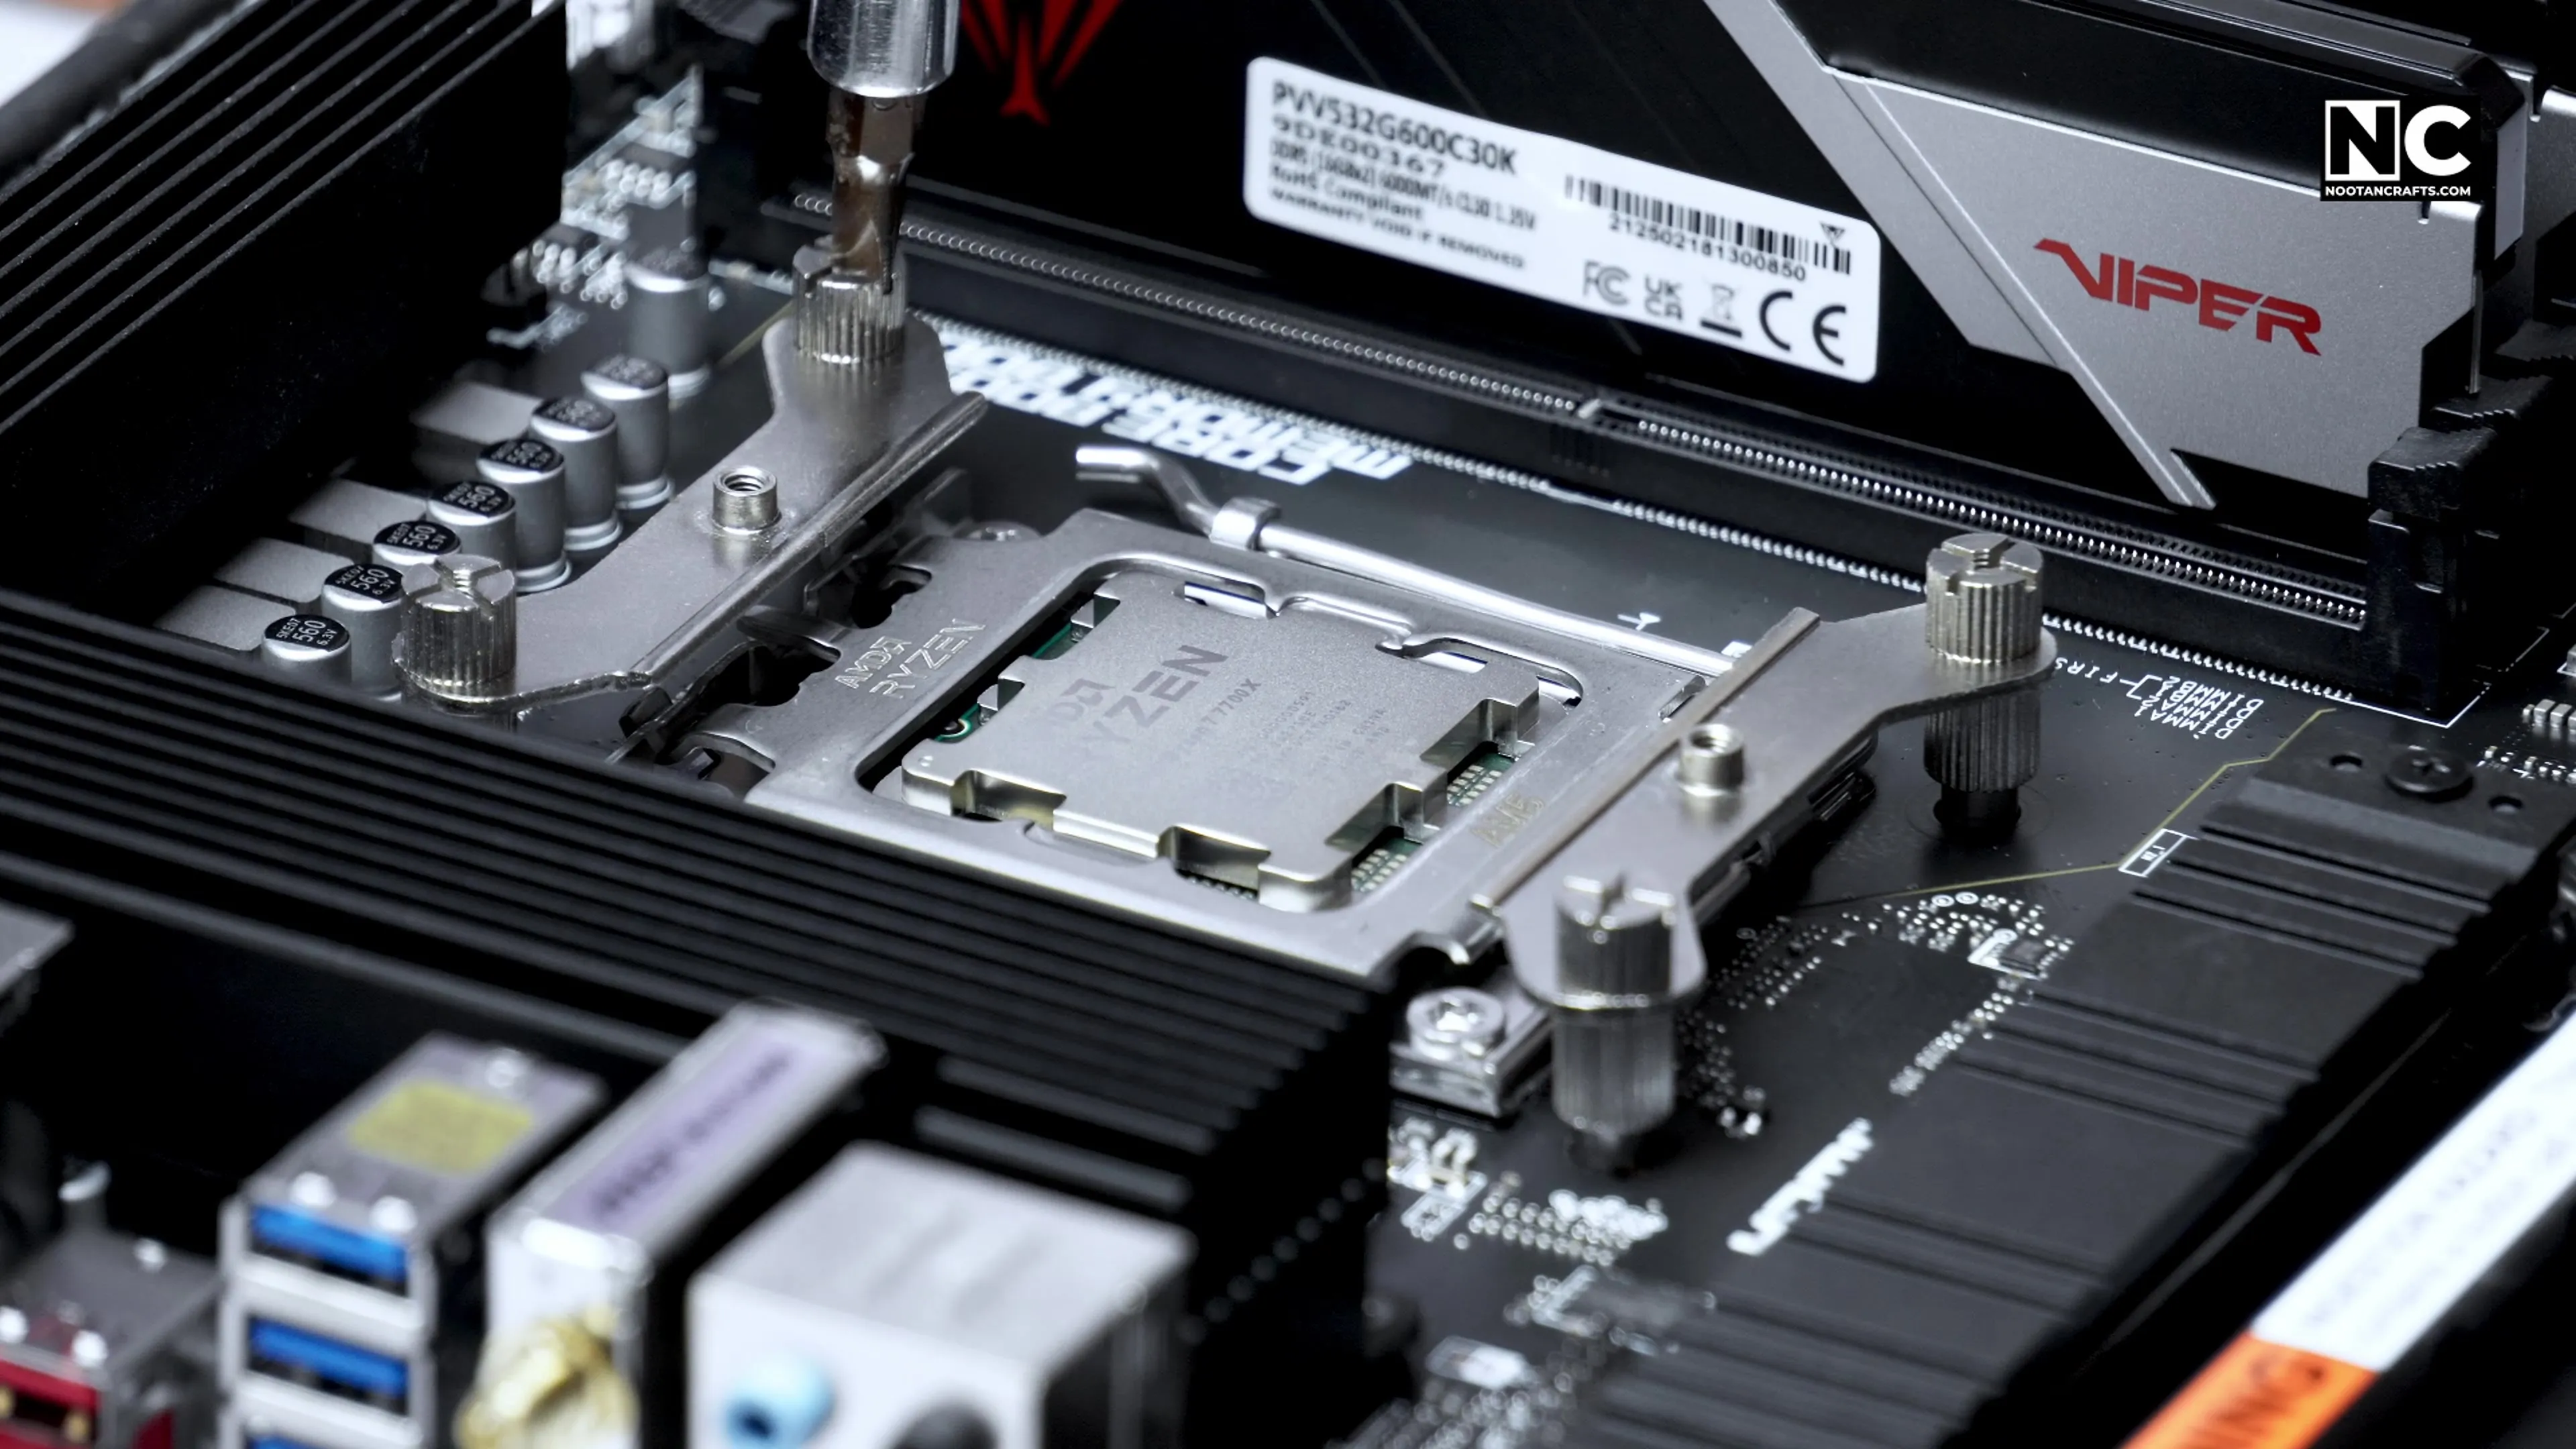
The Hyper 620S uses its own mounting hardware, so the stock AM5 bracket comes off — four screws — and the cooler’s backplate and standoffs go on in its place.

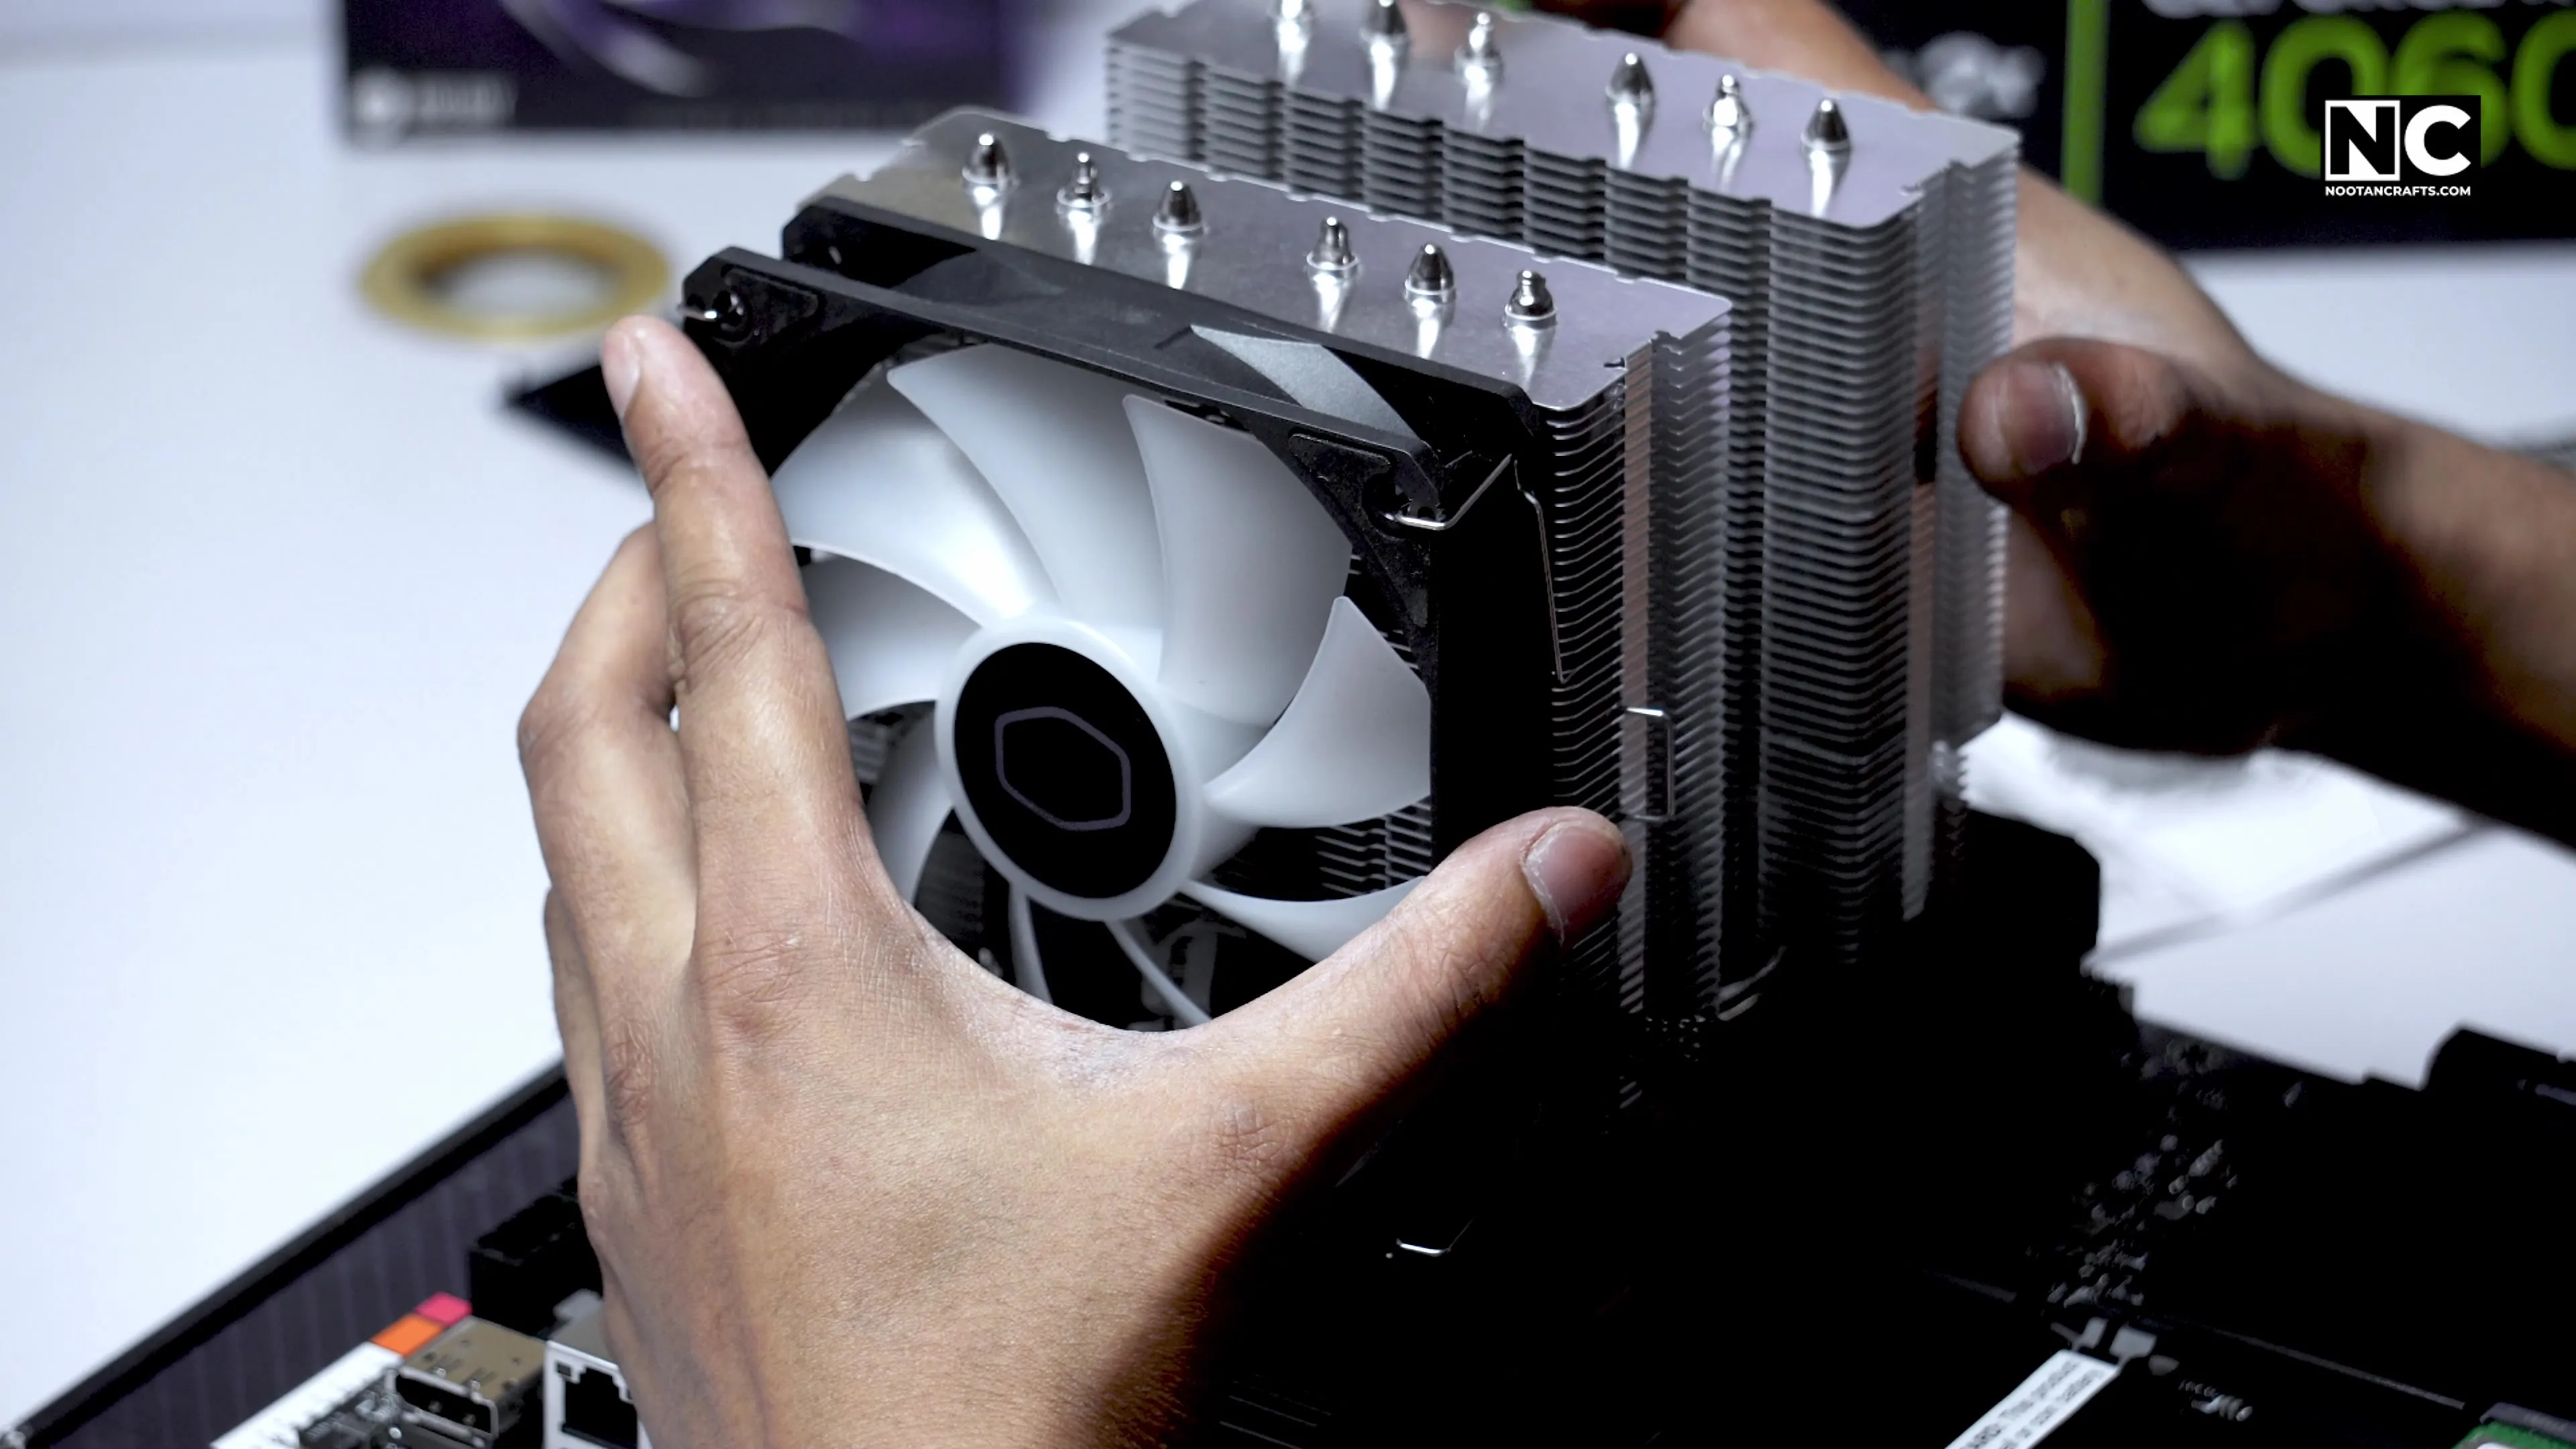

More paste went on than needed — a pea-sized blob in the centre is plenty on a heatspreader this size, and the mounting pressure spreads it. Then the cooler goes on, and the two mounting screws get tightened alternately, a few turns each, so the block seats evenly.
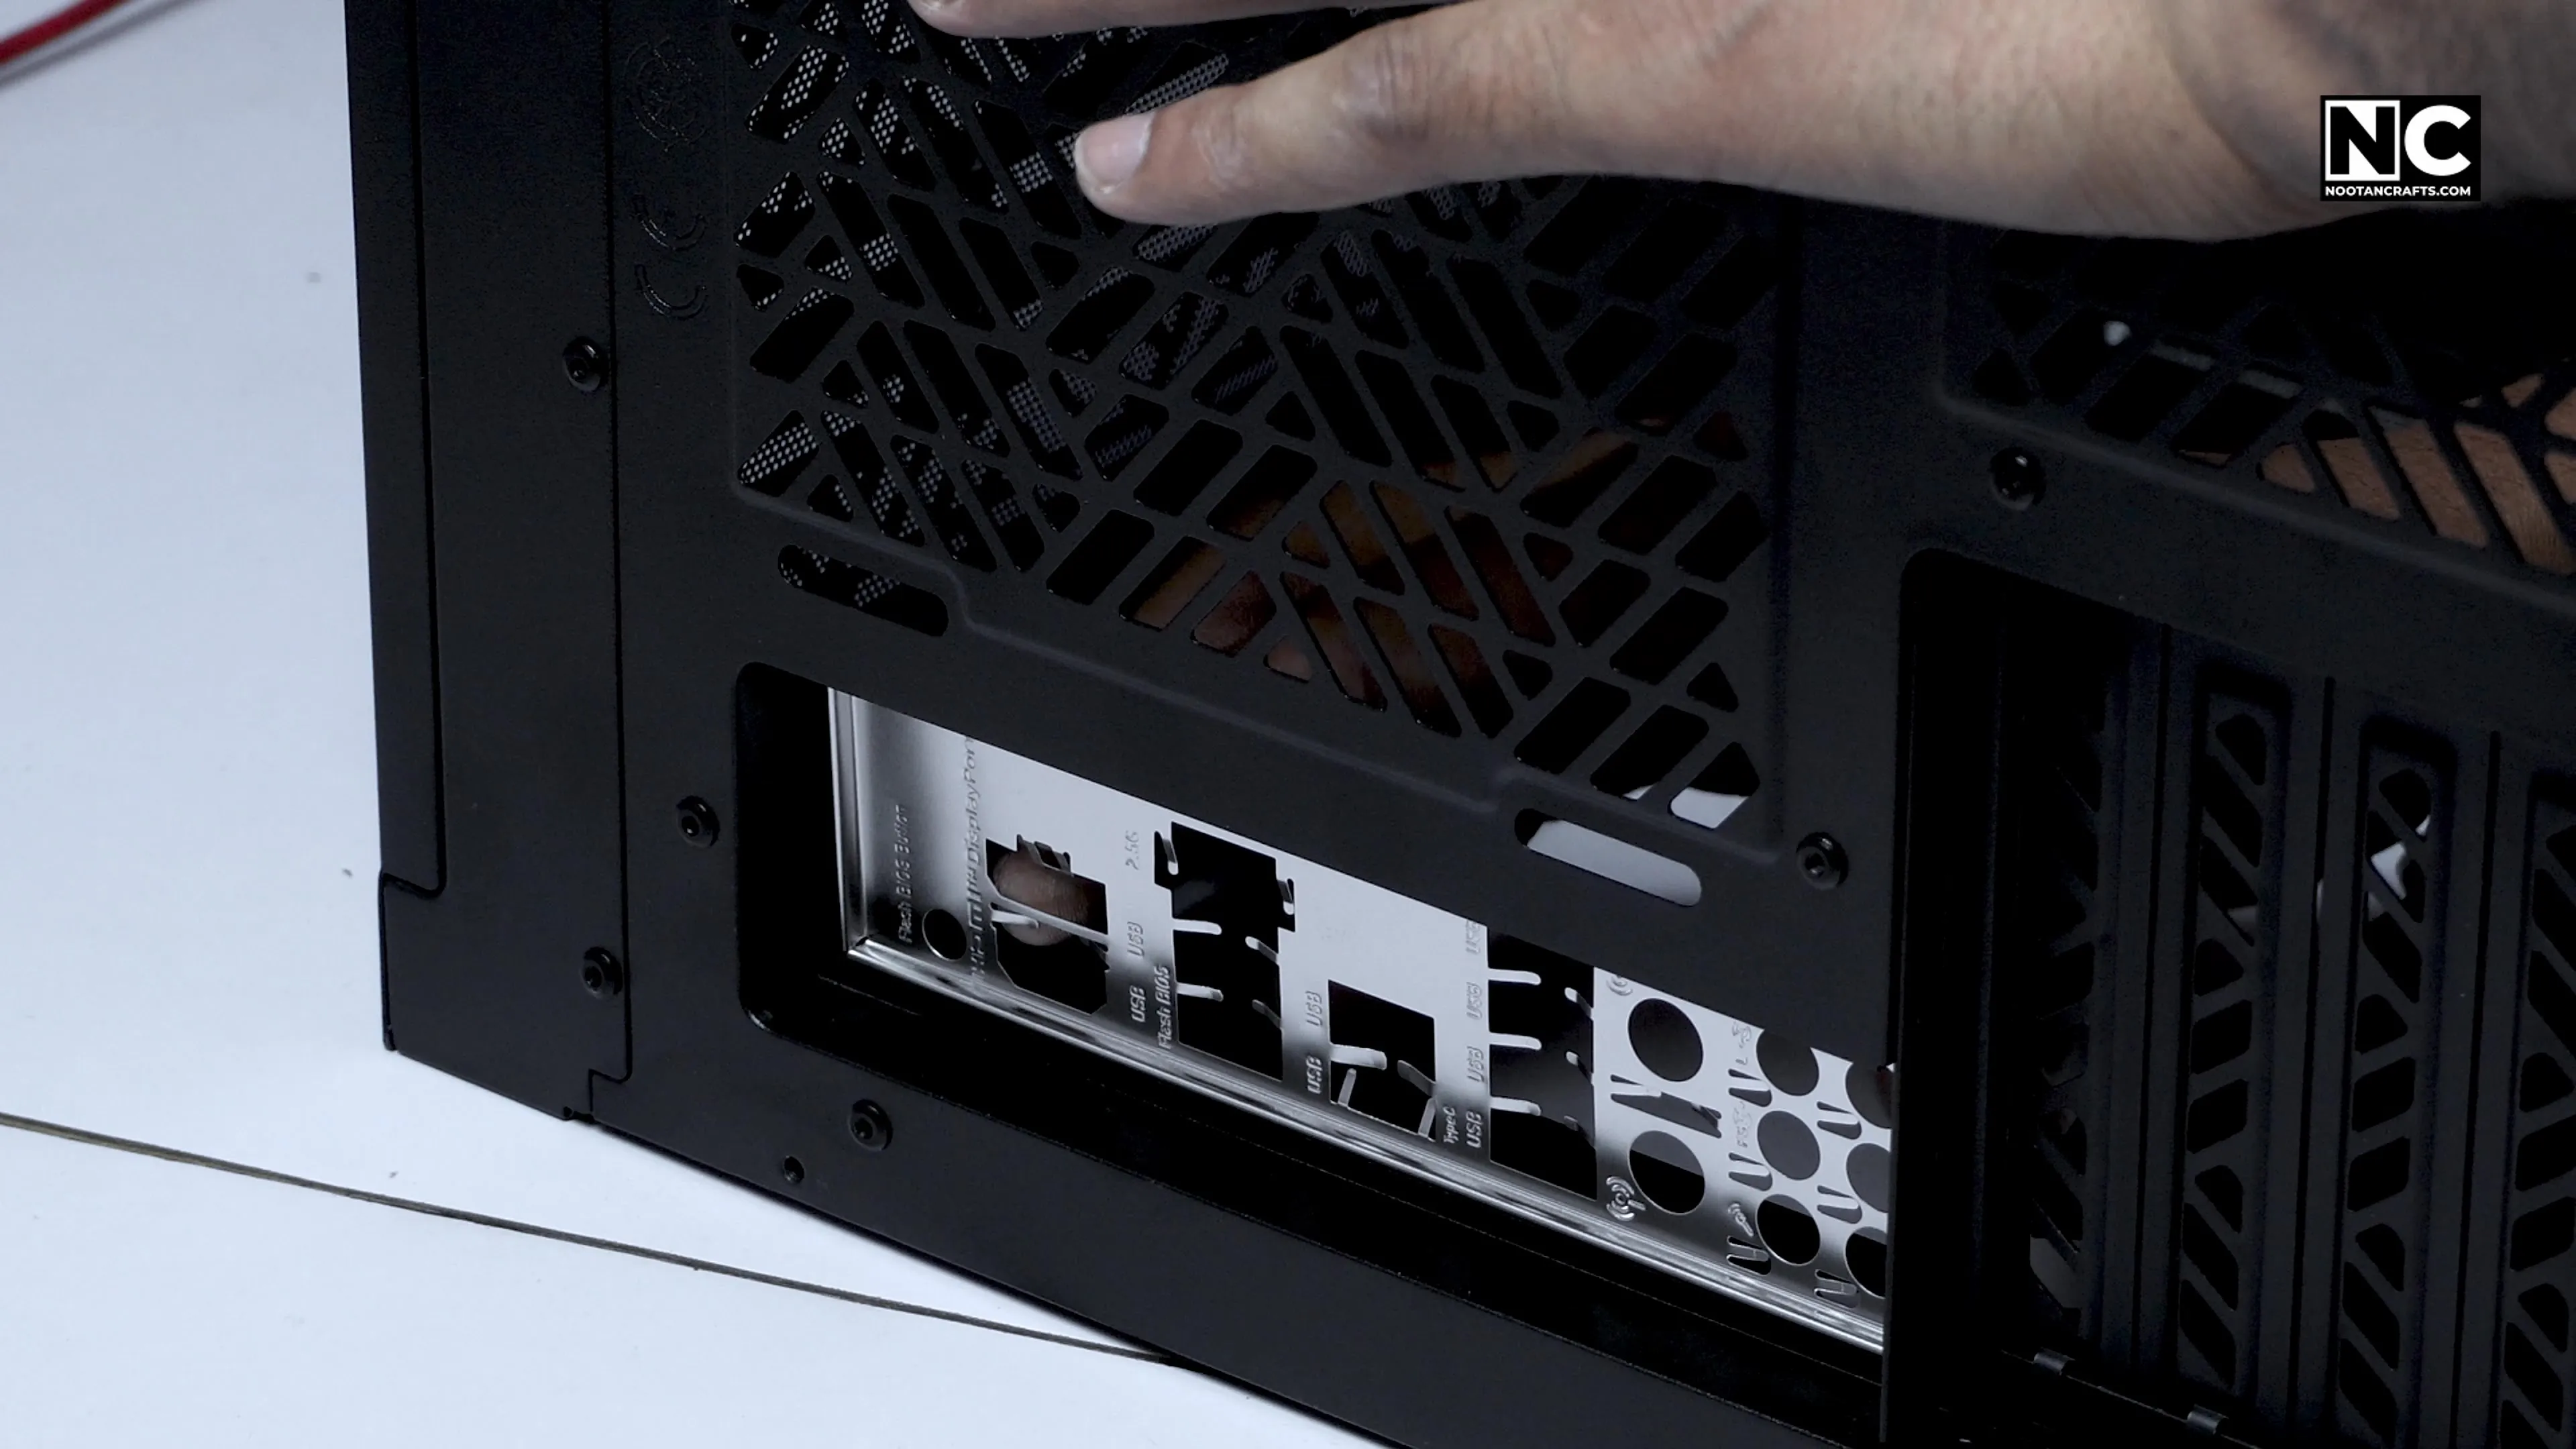

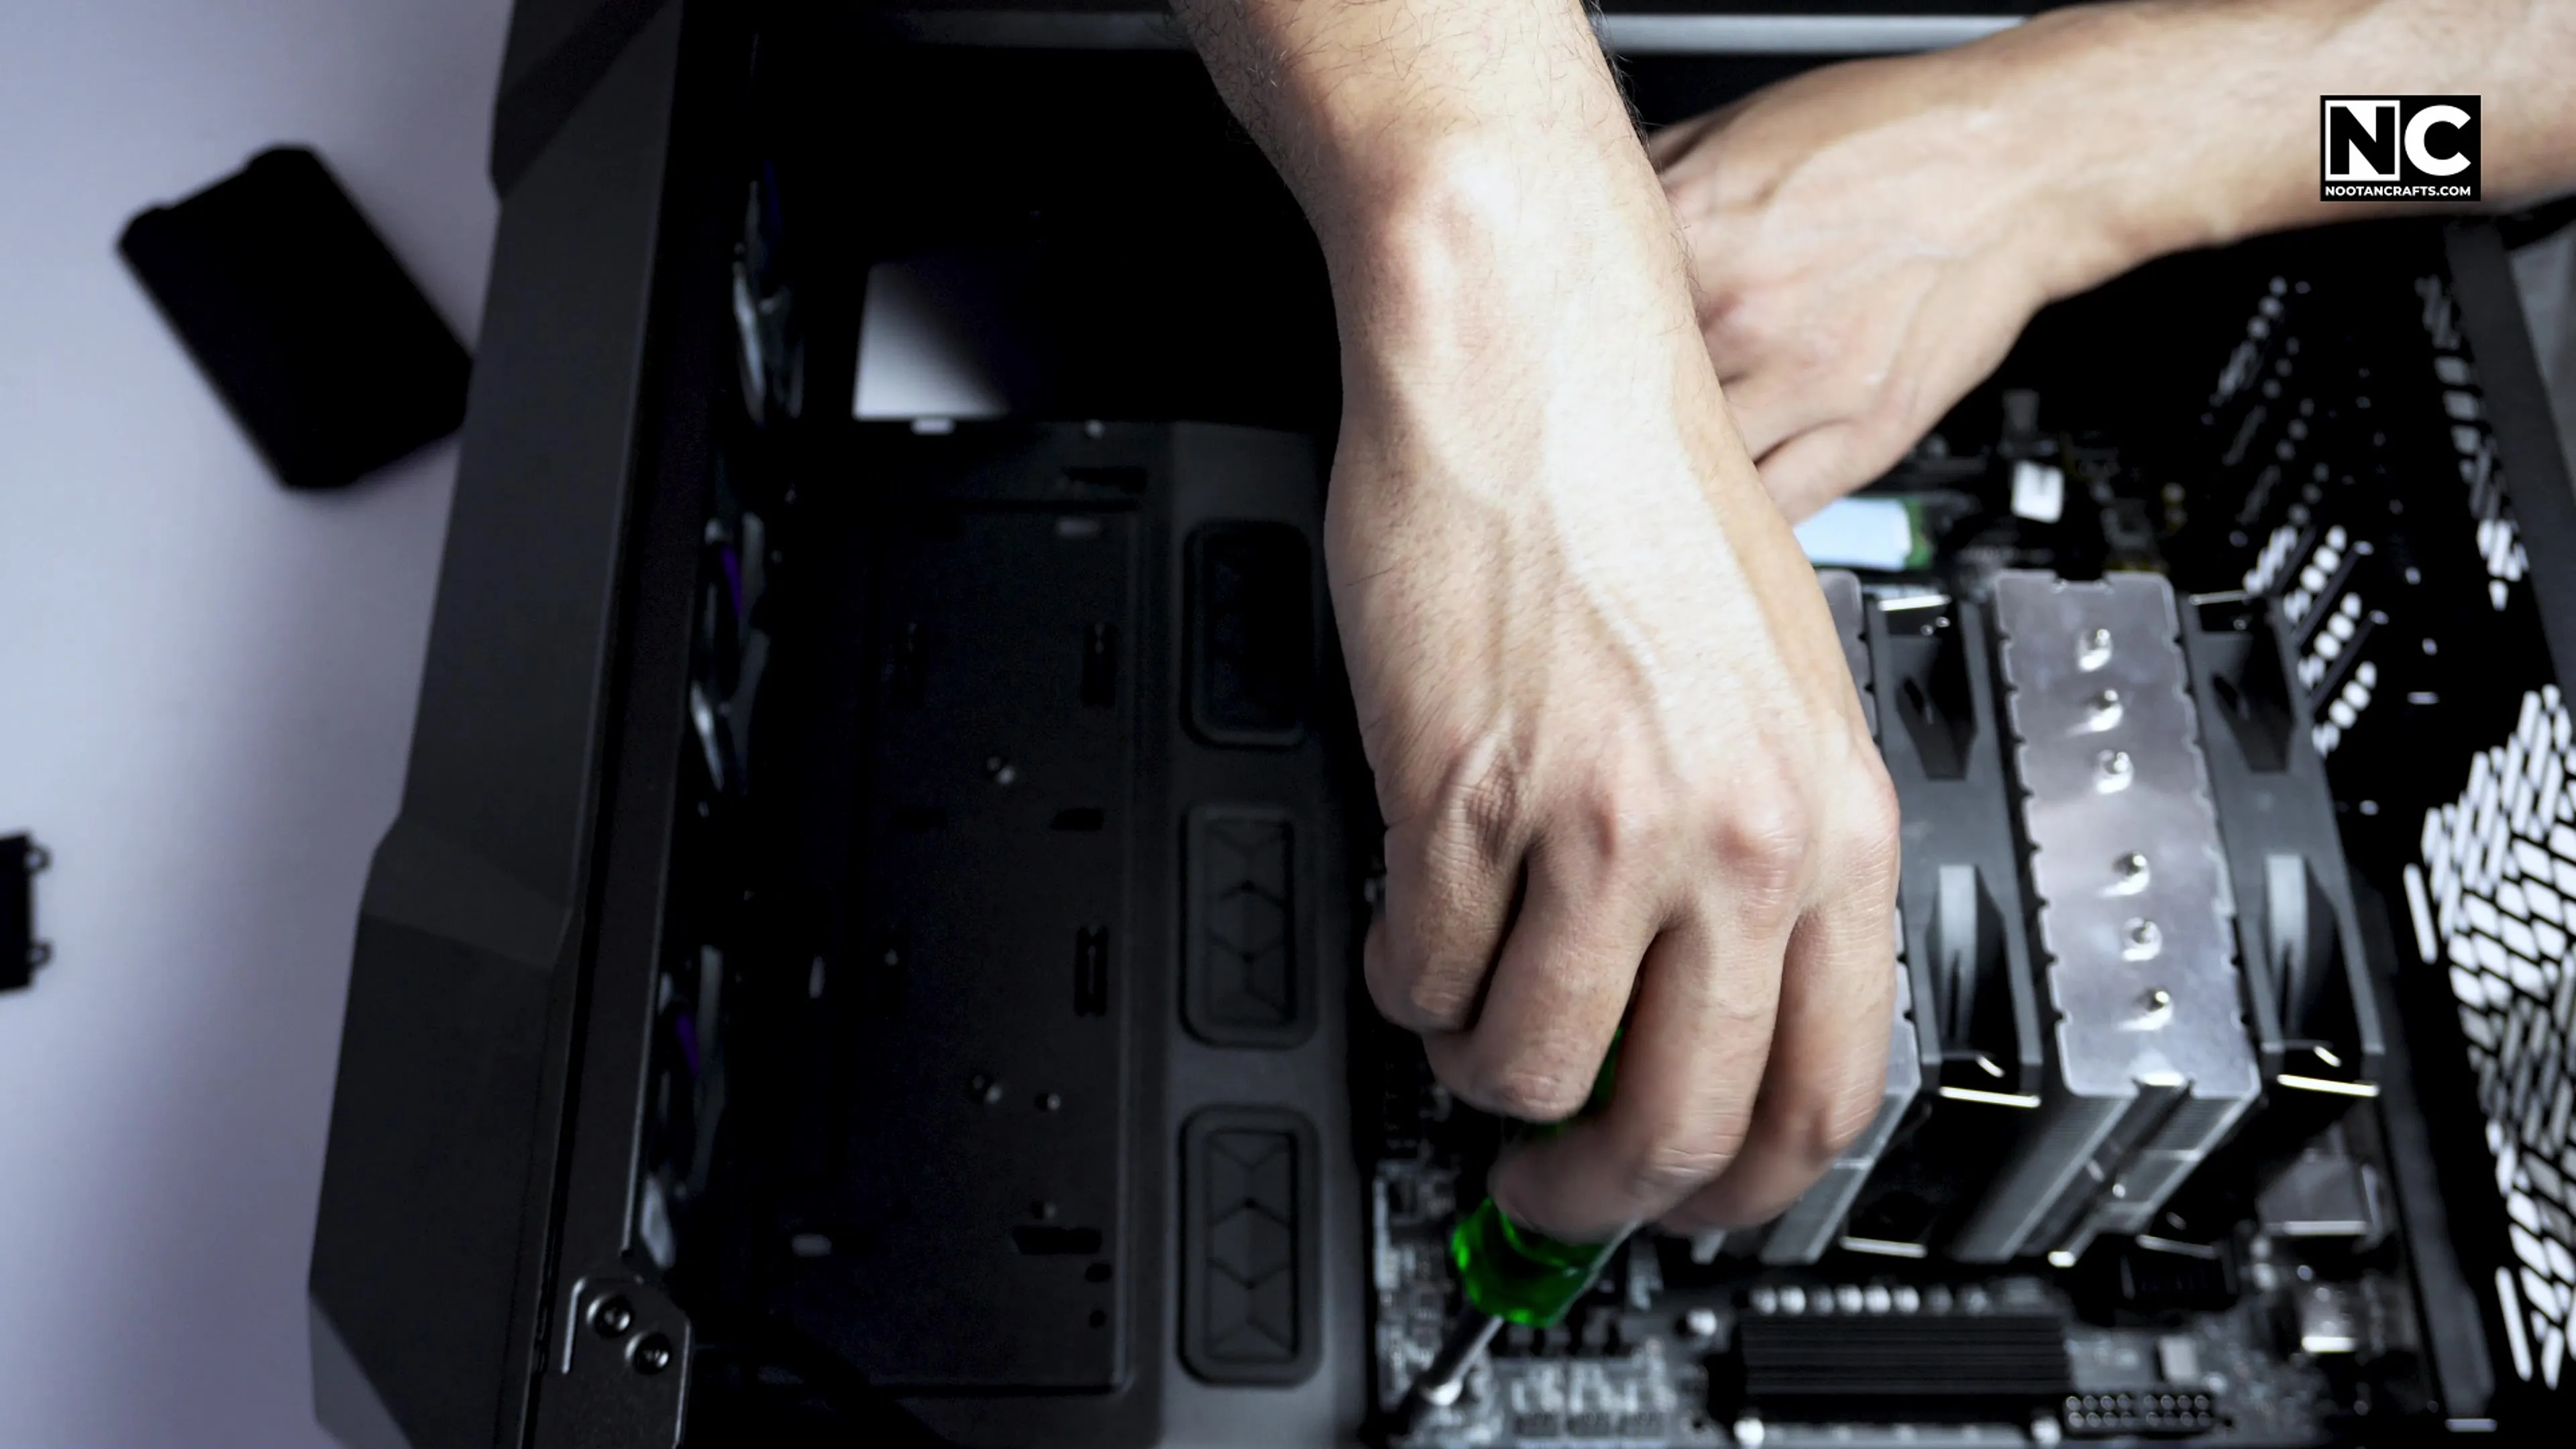
Lay the case on its side, click the I/O shield in from the inside, then lower the board onto the standoffs and line the ports up with the cutout. Around ten screws, snug rather than tight — the PCB is thinner than it looks.


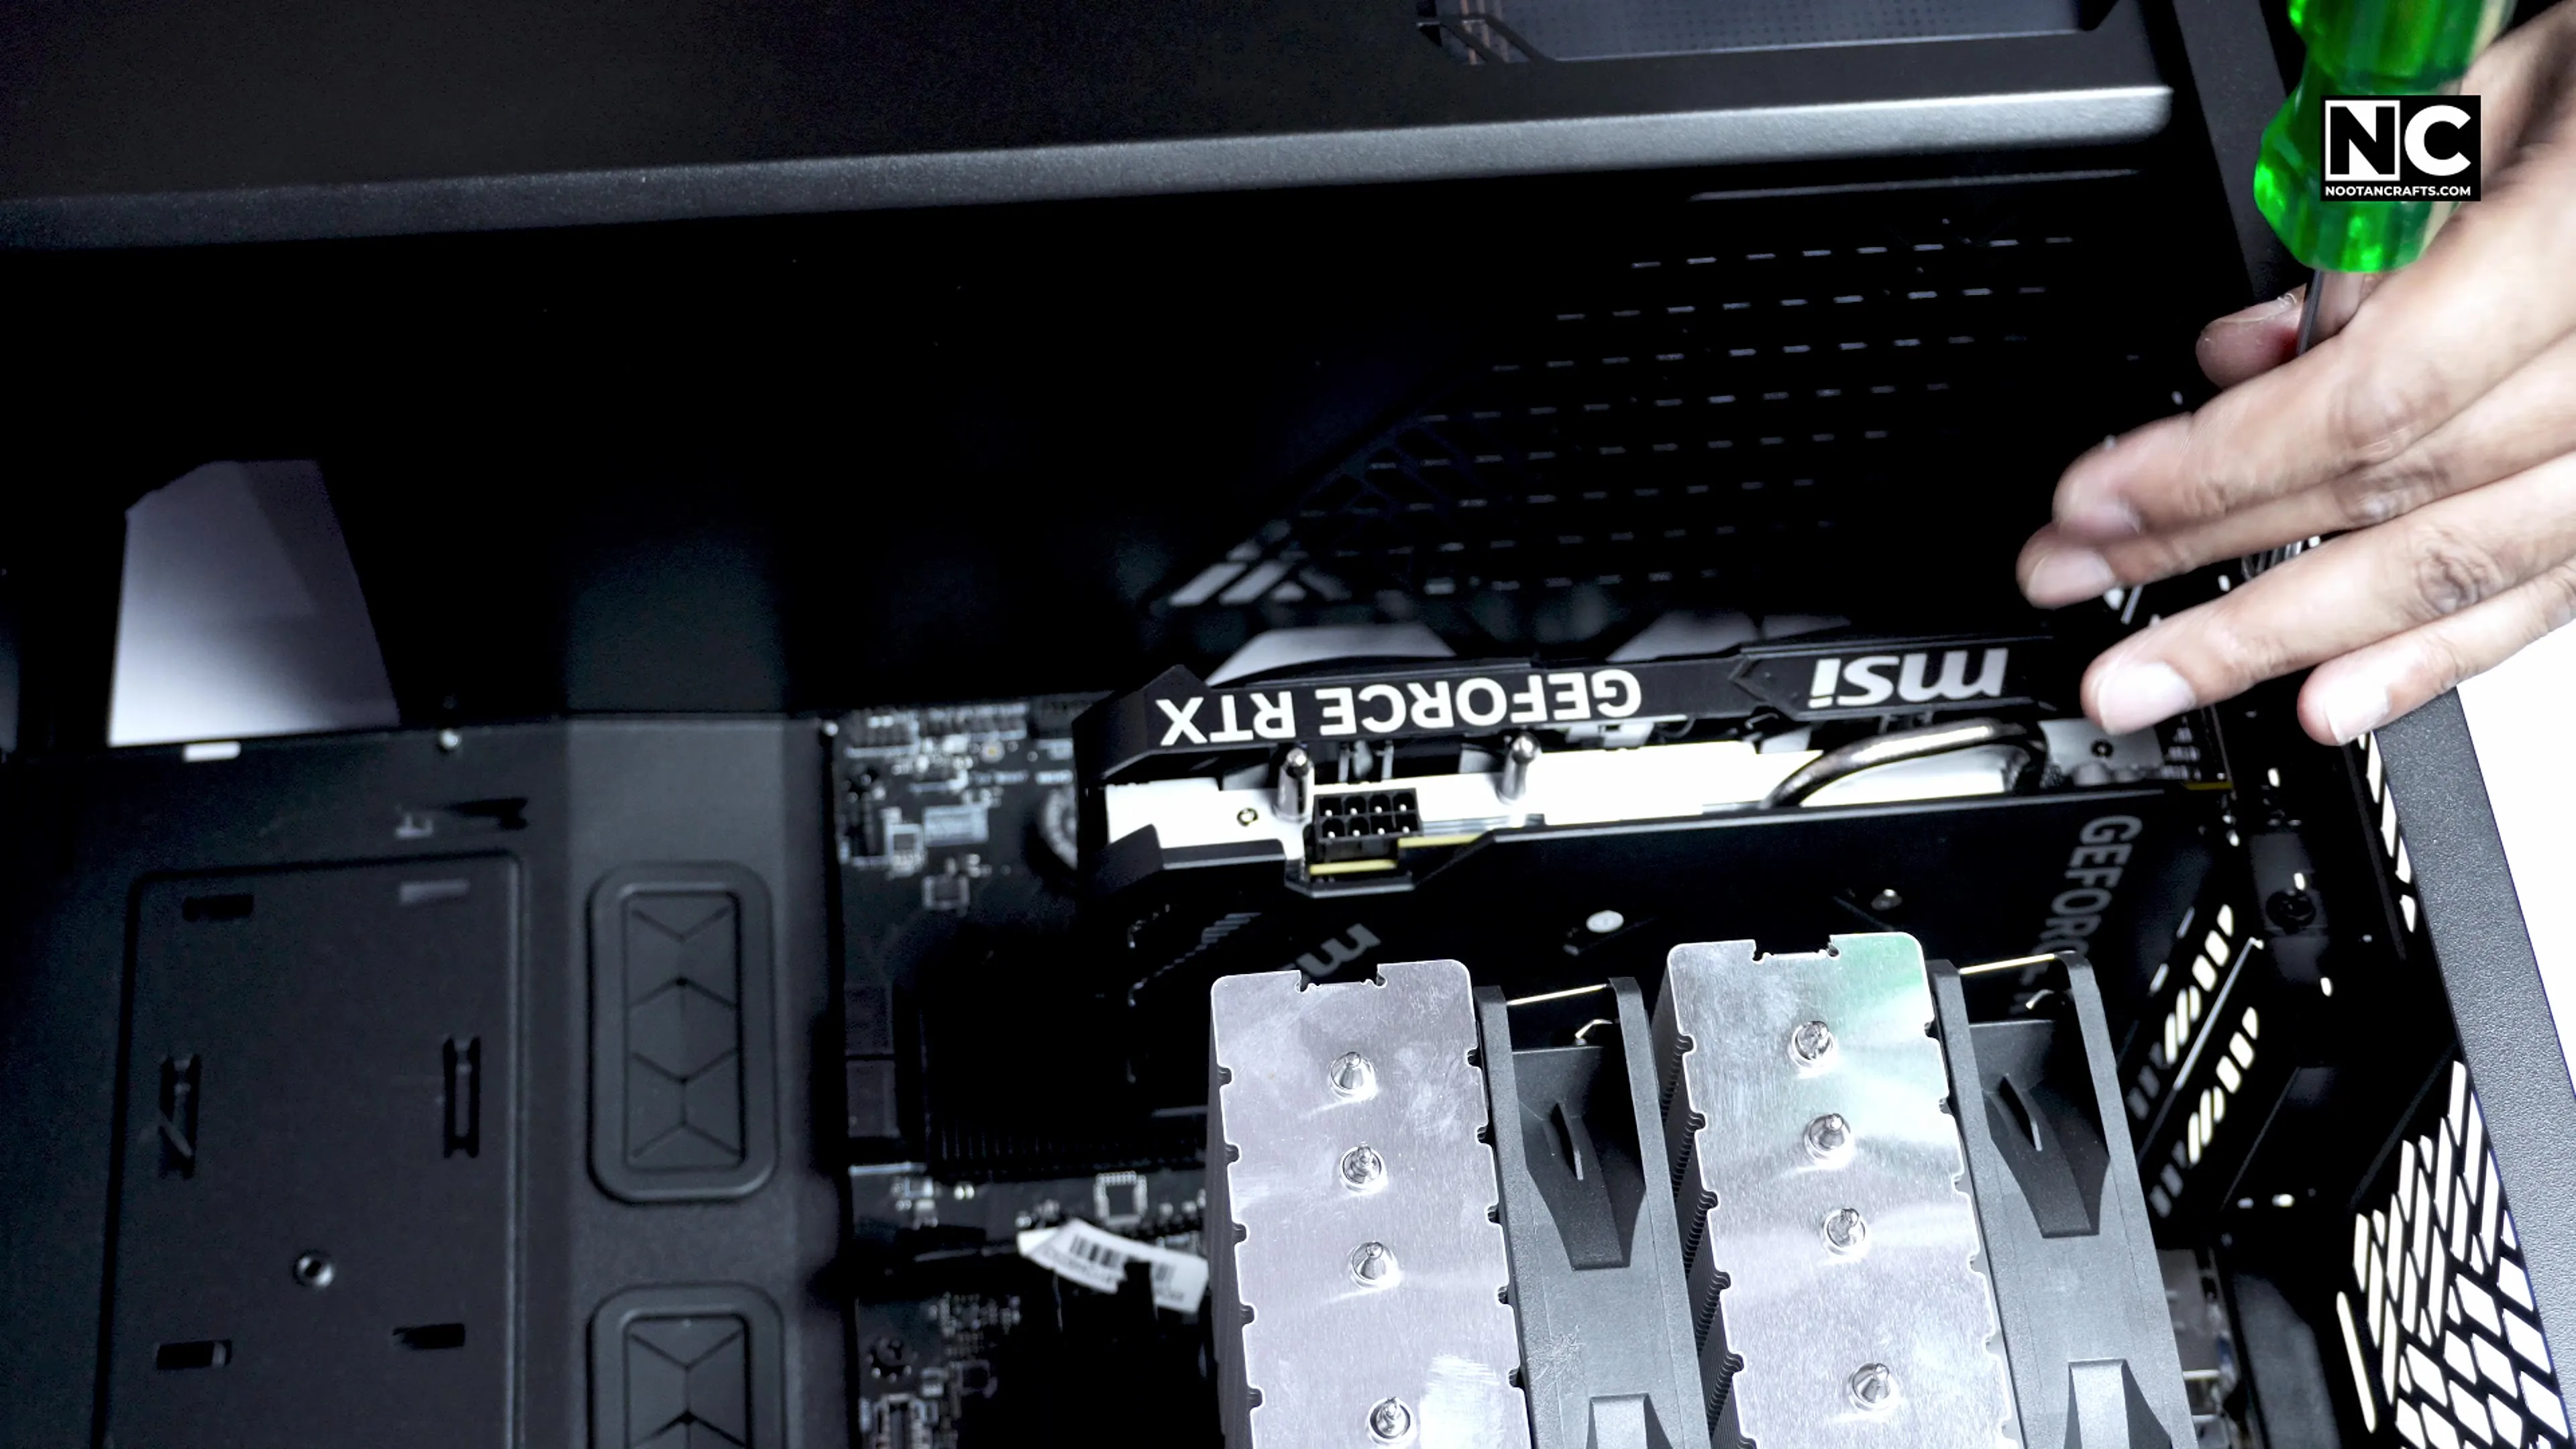
Peel the film off the card’s cooler before fitting it, not after. Pop out the expansion slot covers, line the gold fingers up with the slot and press until the retention clip clicks, then screw the bracket down. That screw is doing real work — it is what stops a heavy card sagging over the months.

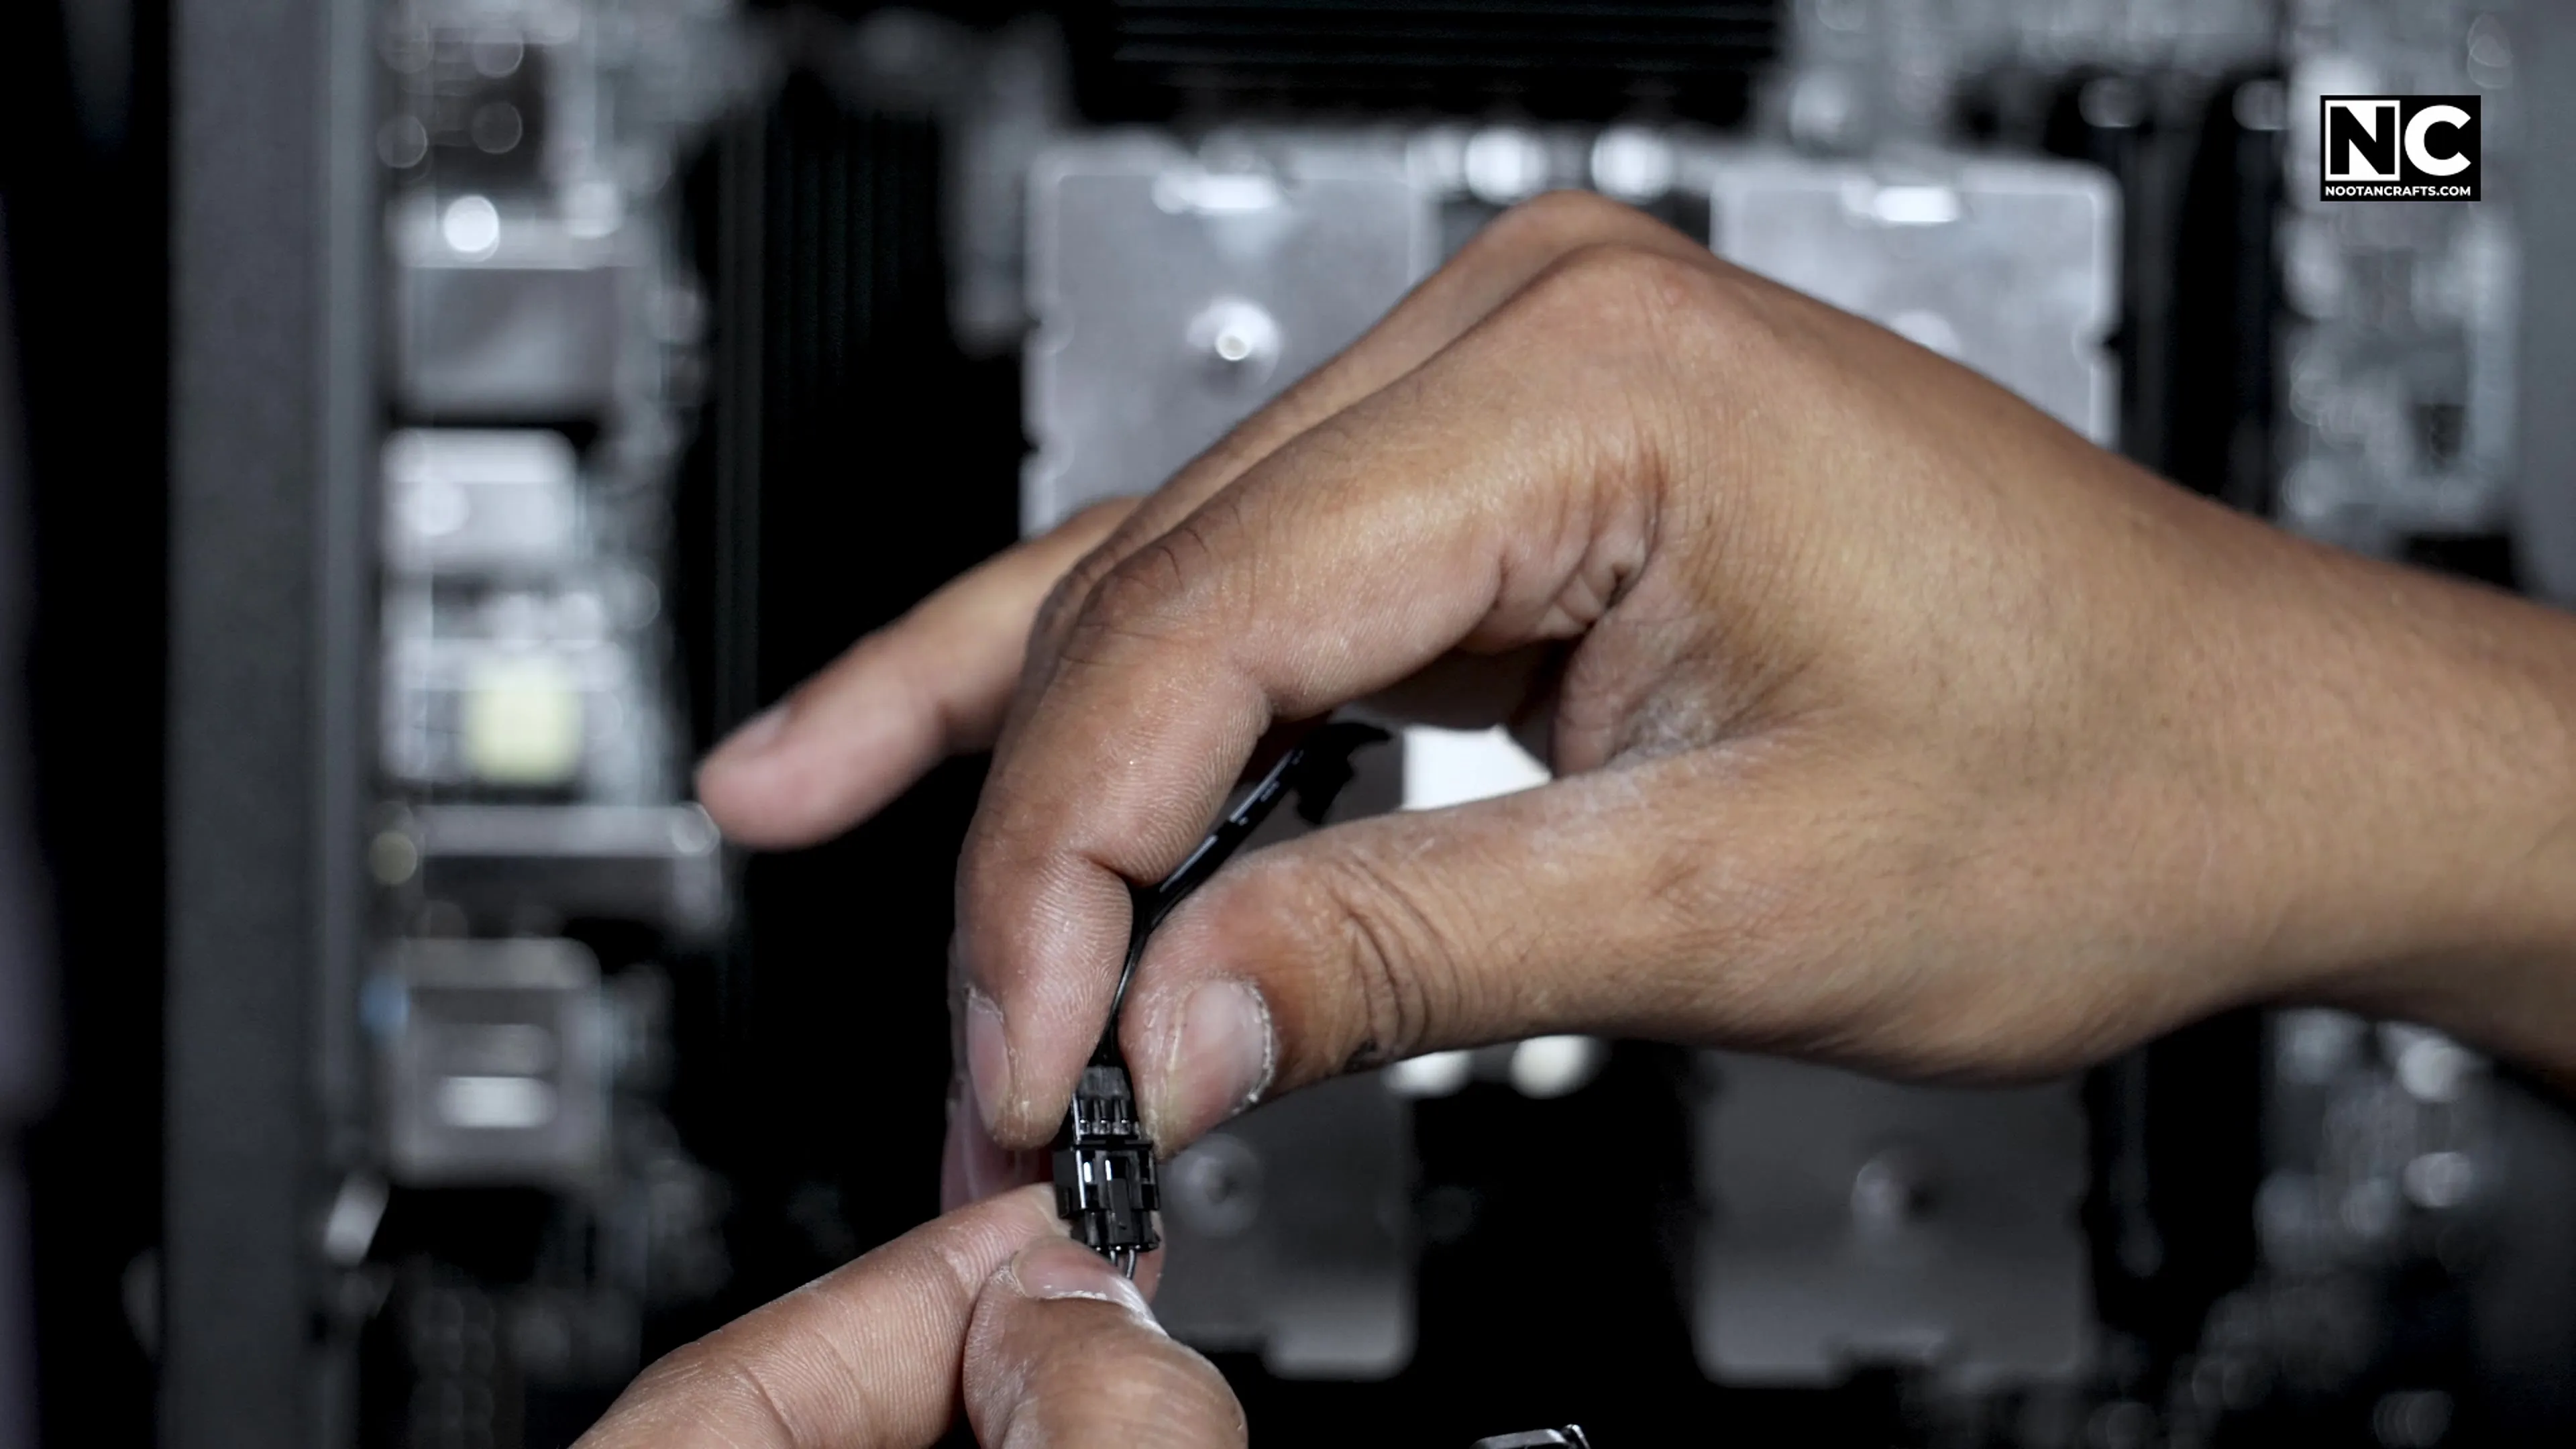

Each cooler fan has two cables — one for the fan, one for its ARGB lighting. Both fans join to a single motherboard header through the supplied splitter.
I fitted these fans facing the wrong way first time round and caught it before the first boot. On a dual-tower cooler both fans must push air the same direction, front to back, towards the rear exhaust. The arrows are moulded into the fan frame.
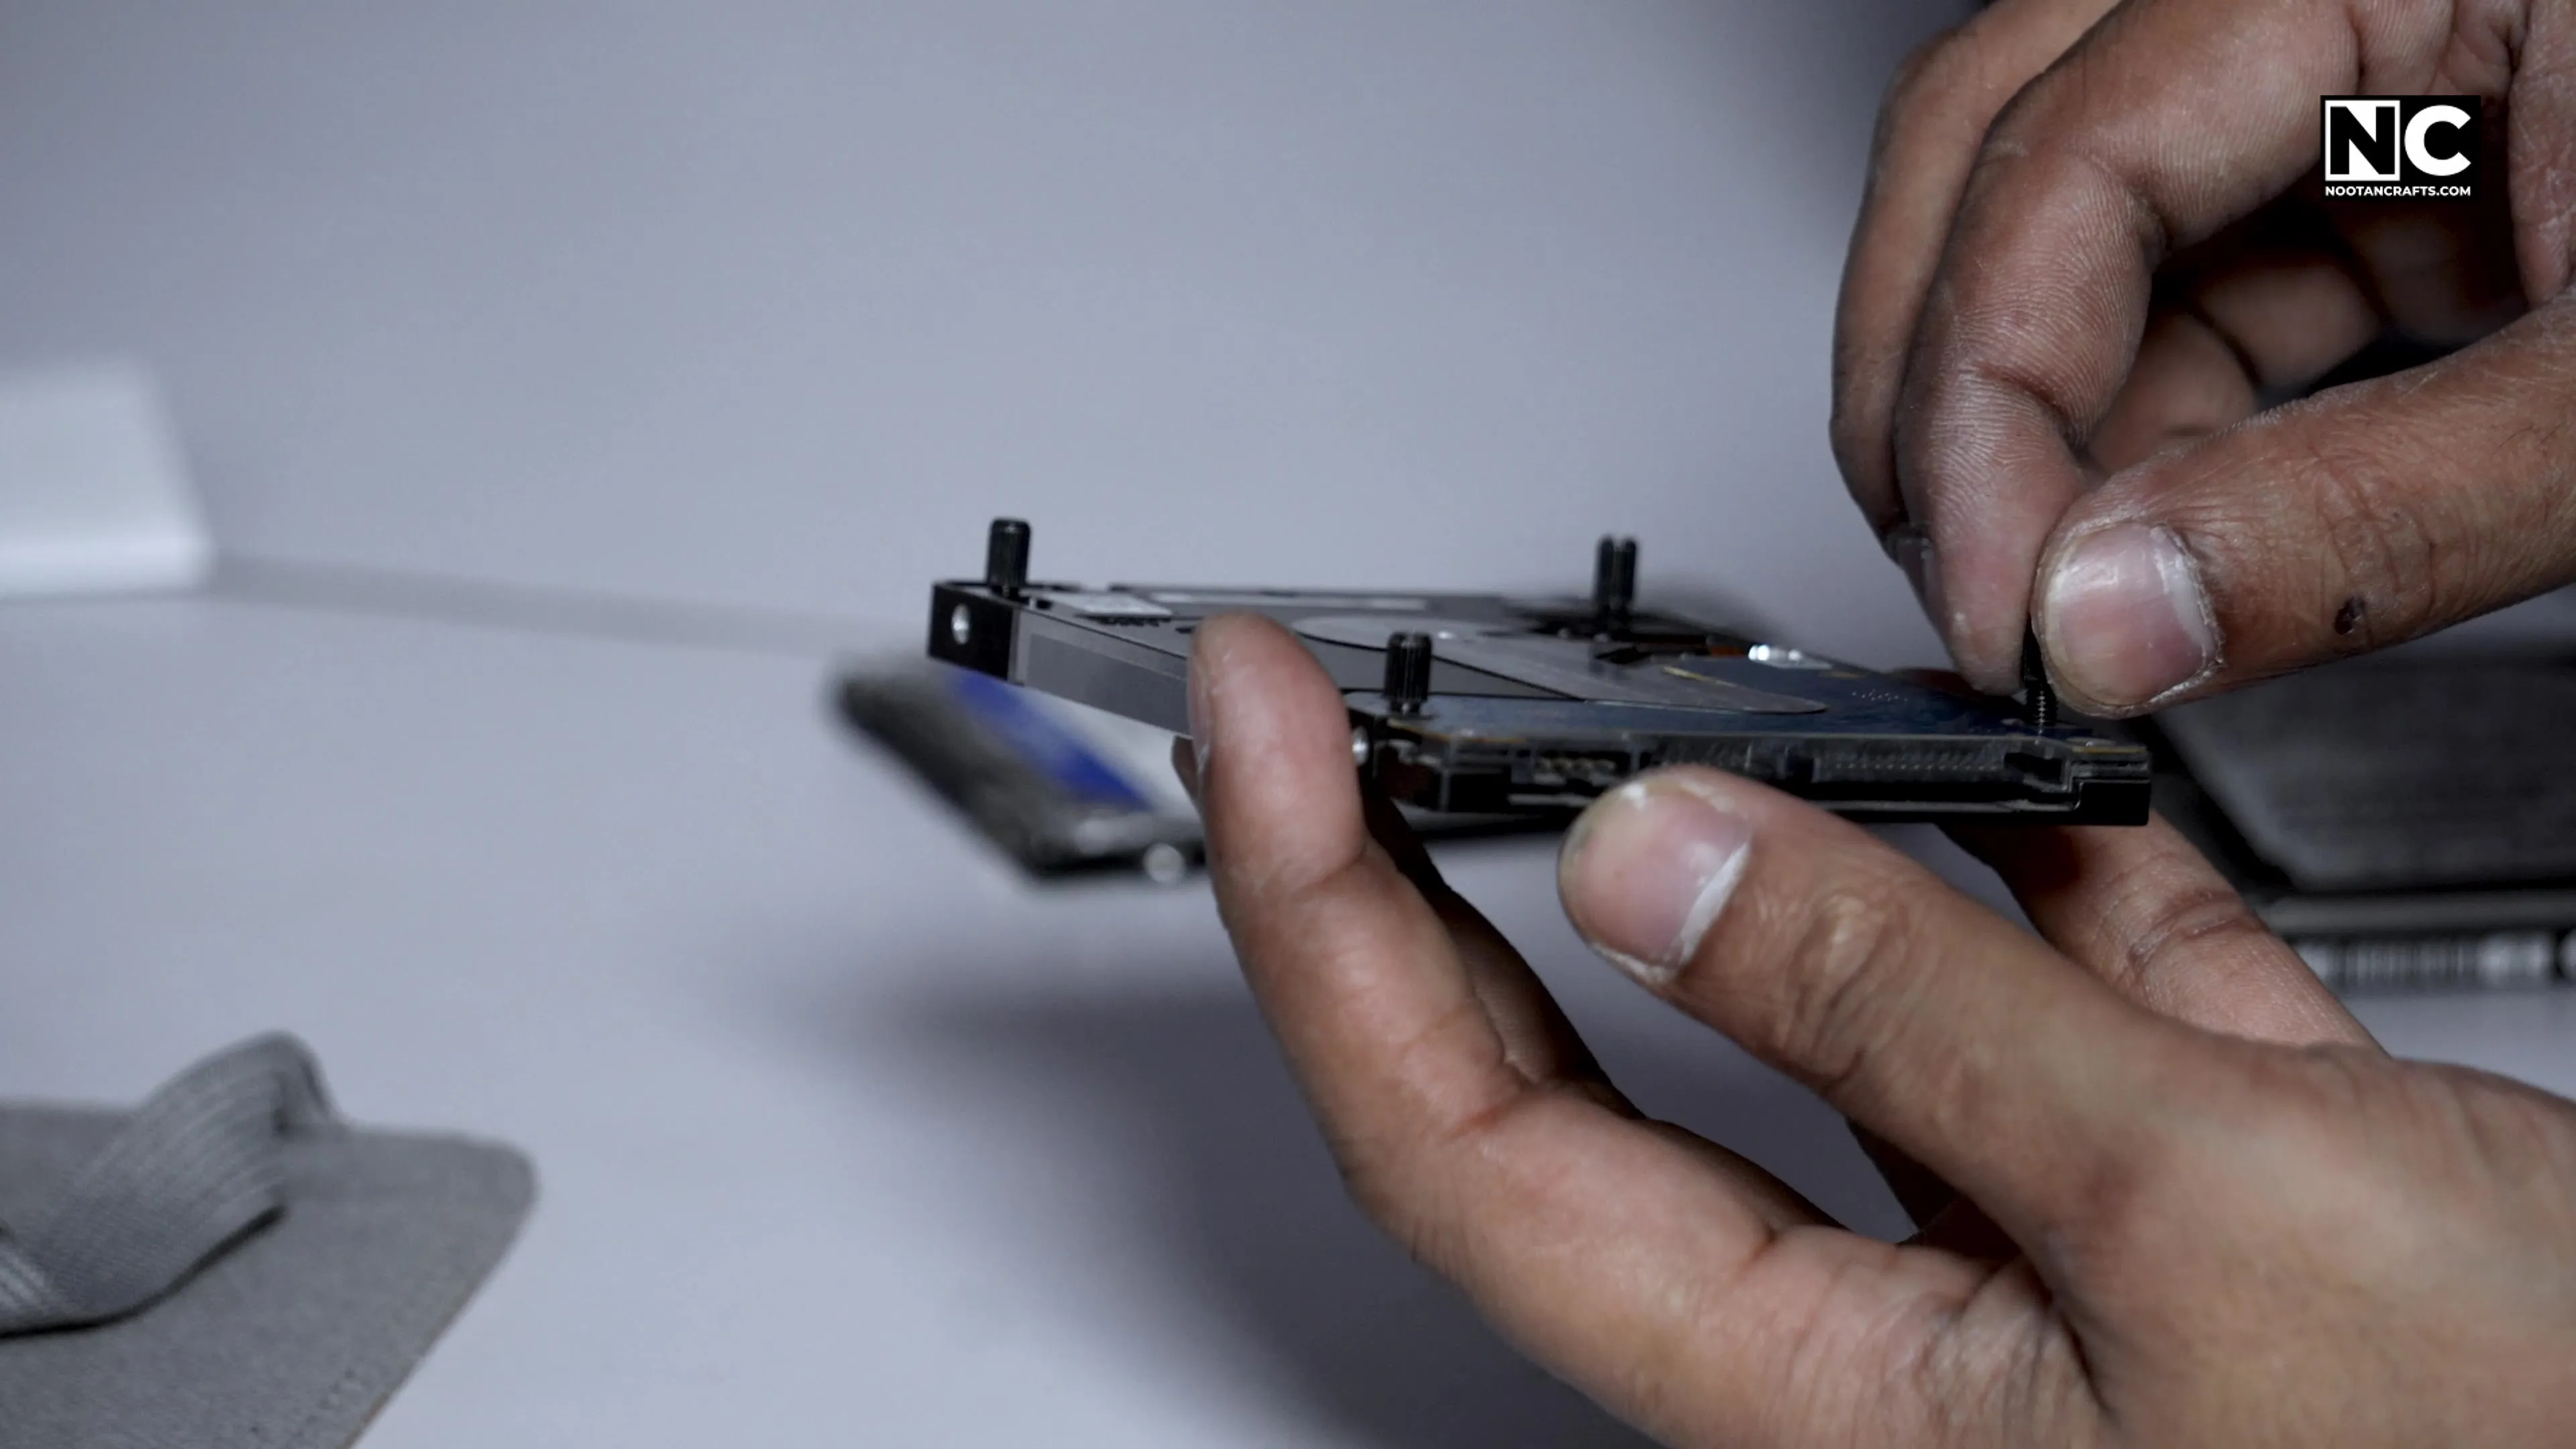

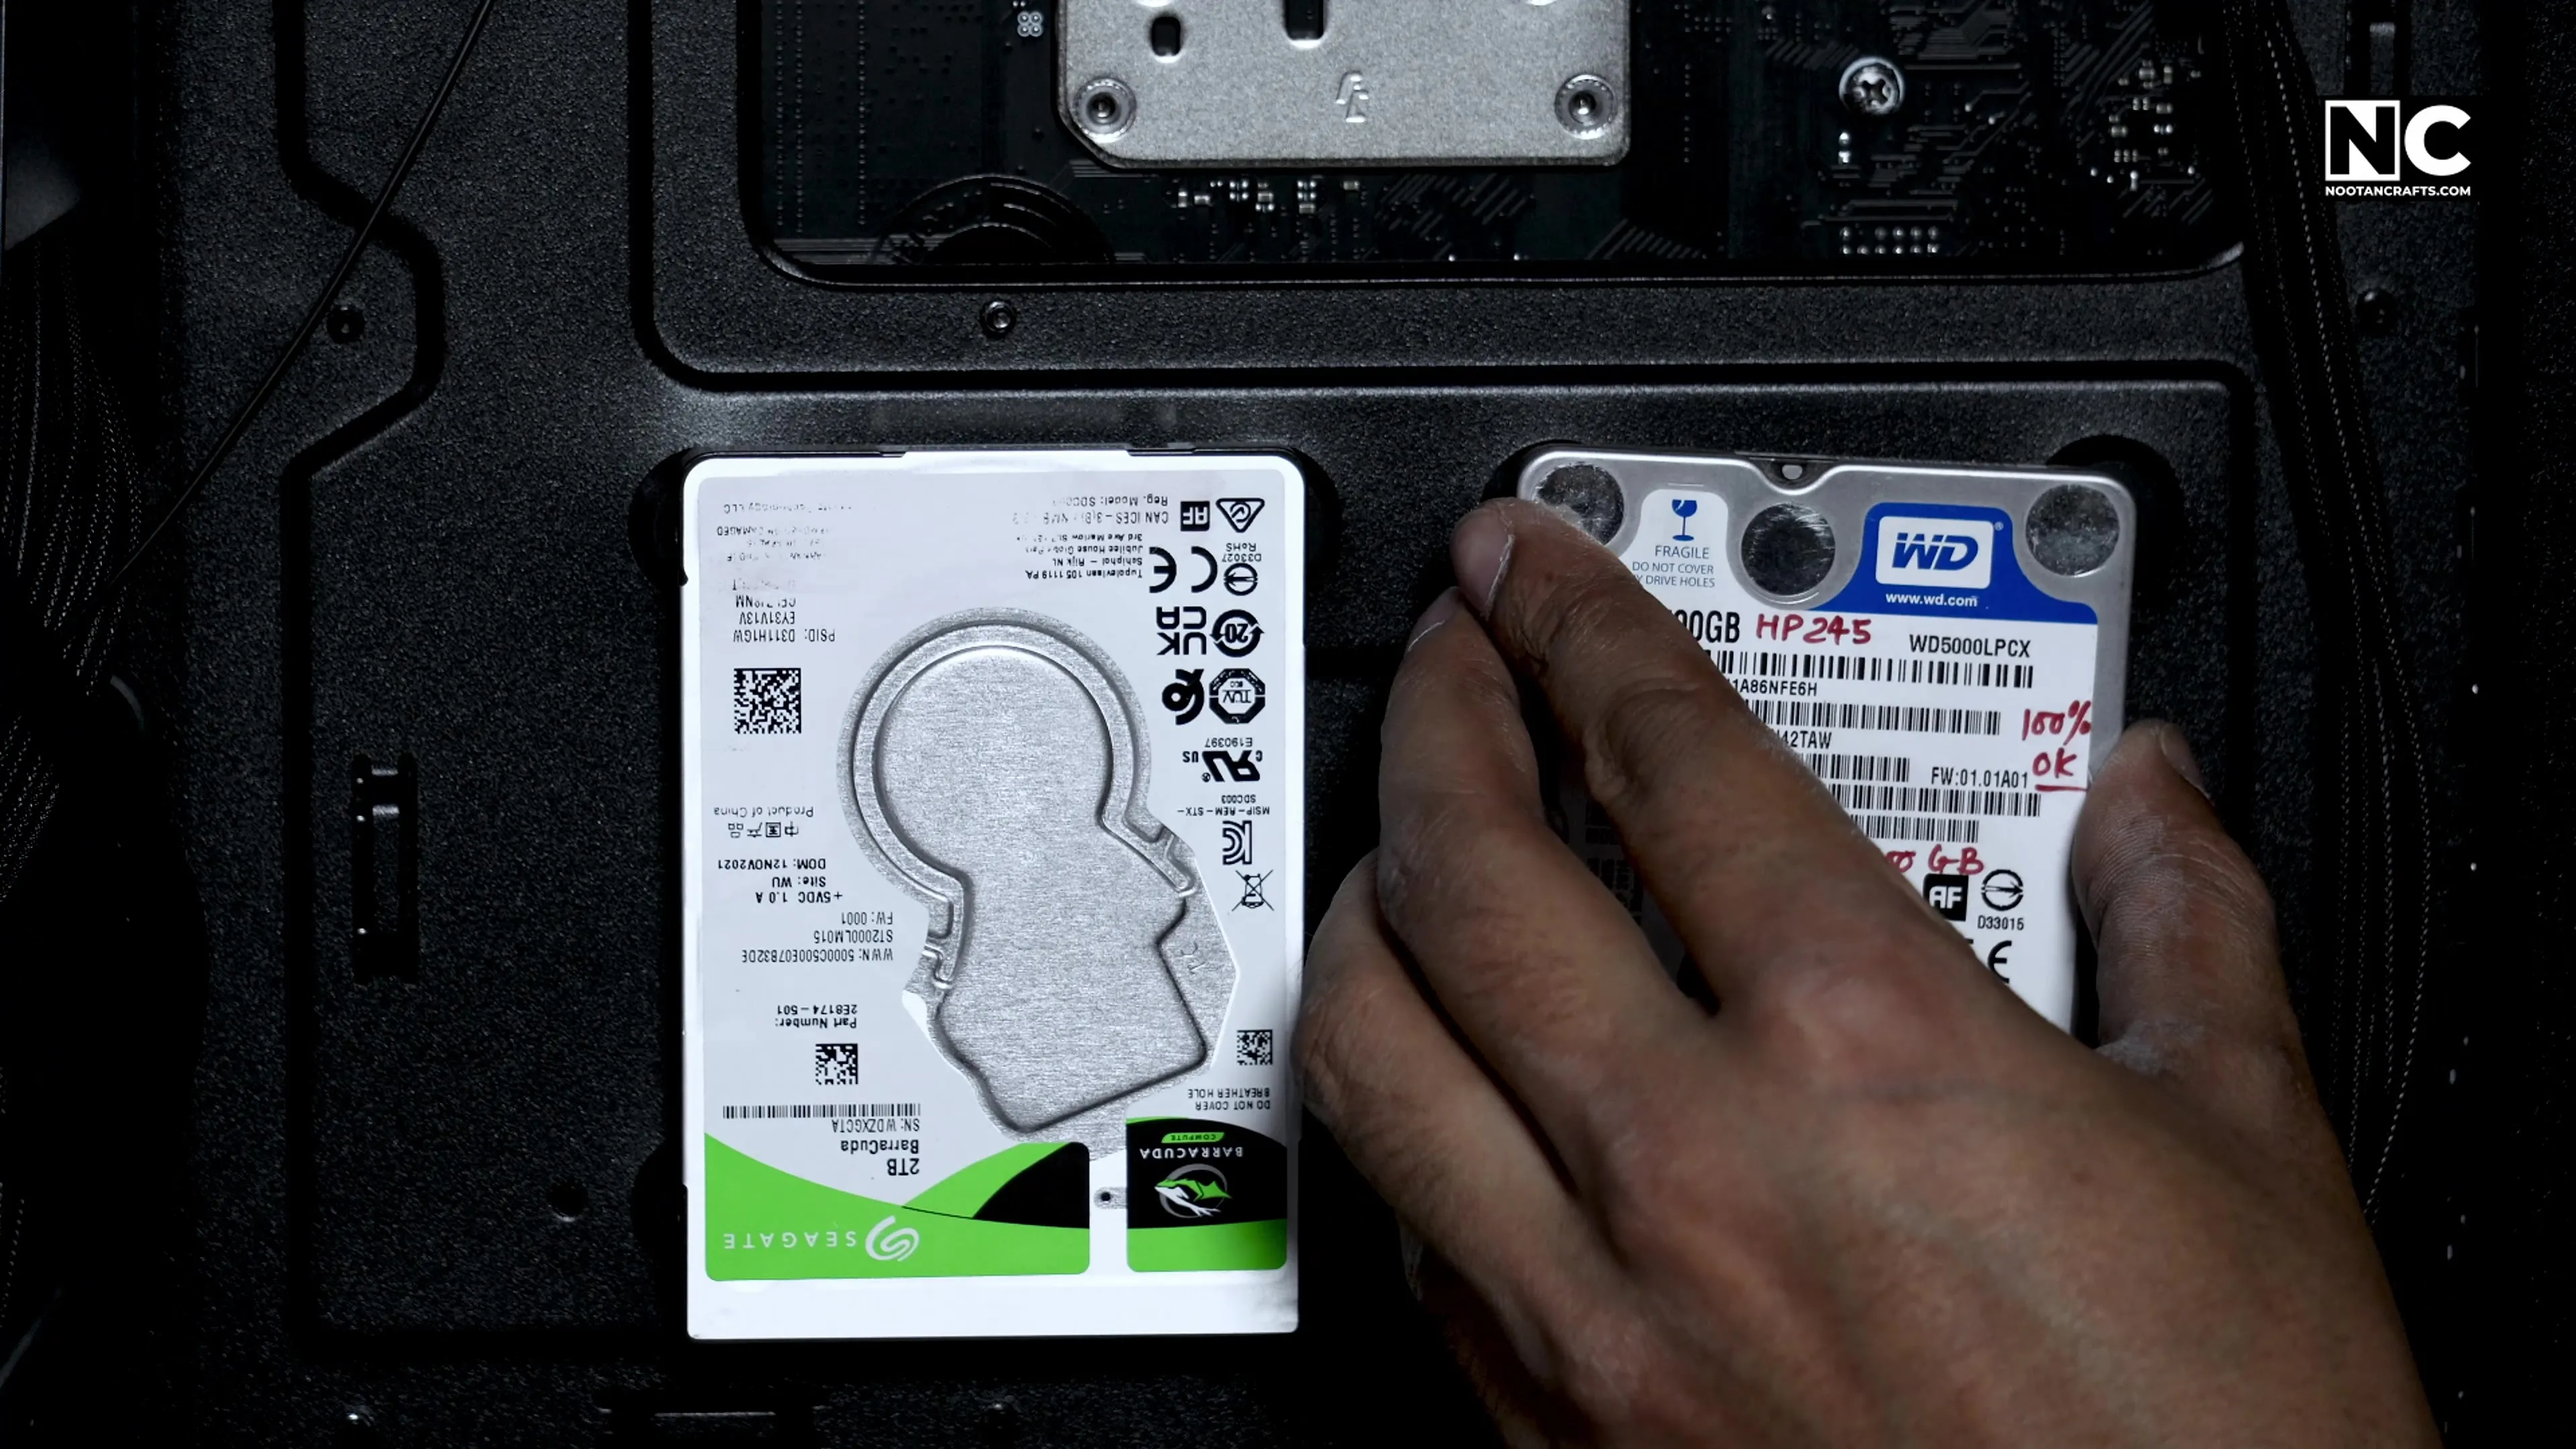
I had some SATA drives spare, so they went in on the tool-free mounts. A screw goes into the side of each drive, rubber pads push into the case mounting holes, and the drive presses onto the pads. The rubber is there to stop mechanical drives transmitting vibration into the chassis.
Wiring It Up

The 24-pin ATX connector goes through the cutout first, while there is still room to get a hand behind the board.

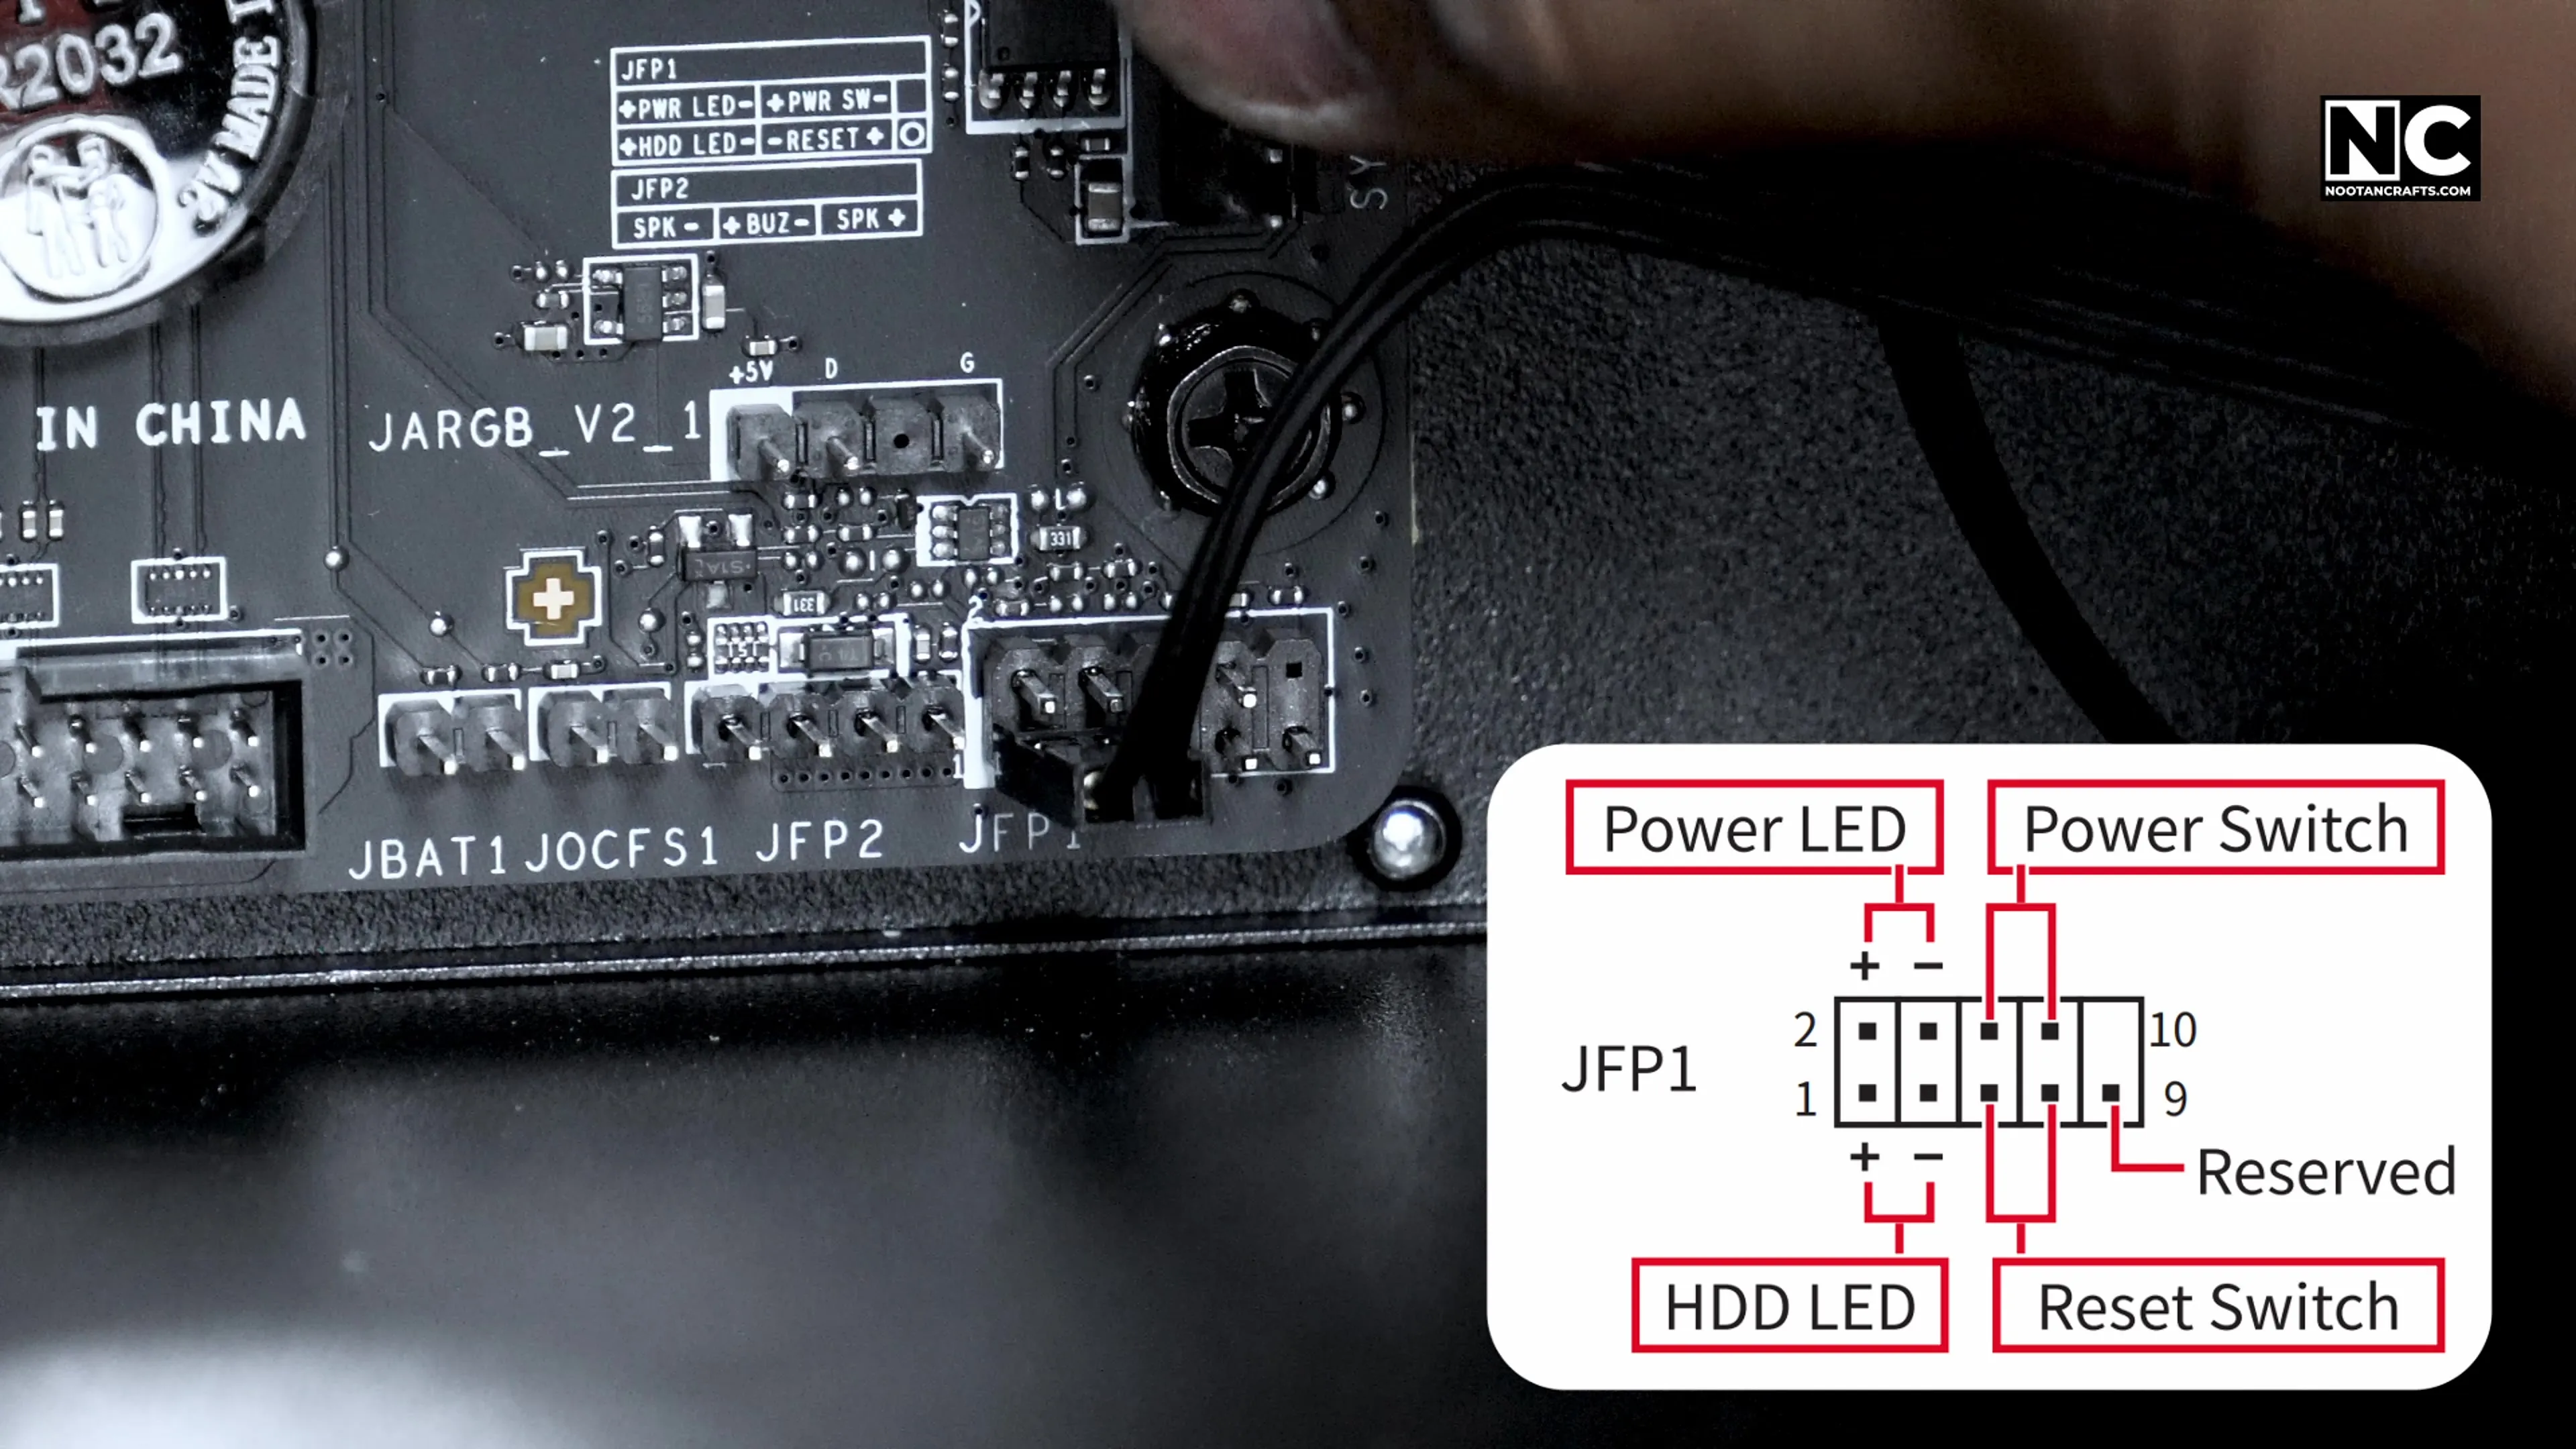
Front panel headers next — power switch, HDD LED, power LED. These are the fiddliest connectors in any build and the diagram is printed in the motherboard manual. On this case the reset switch cycles lighting patterns rather than resetting, so it does not go to the reset header.
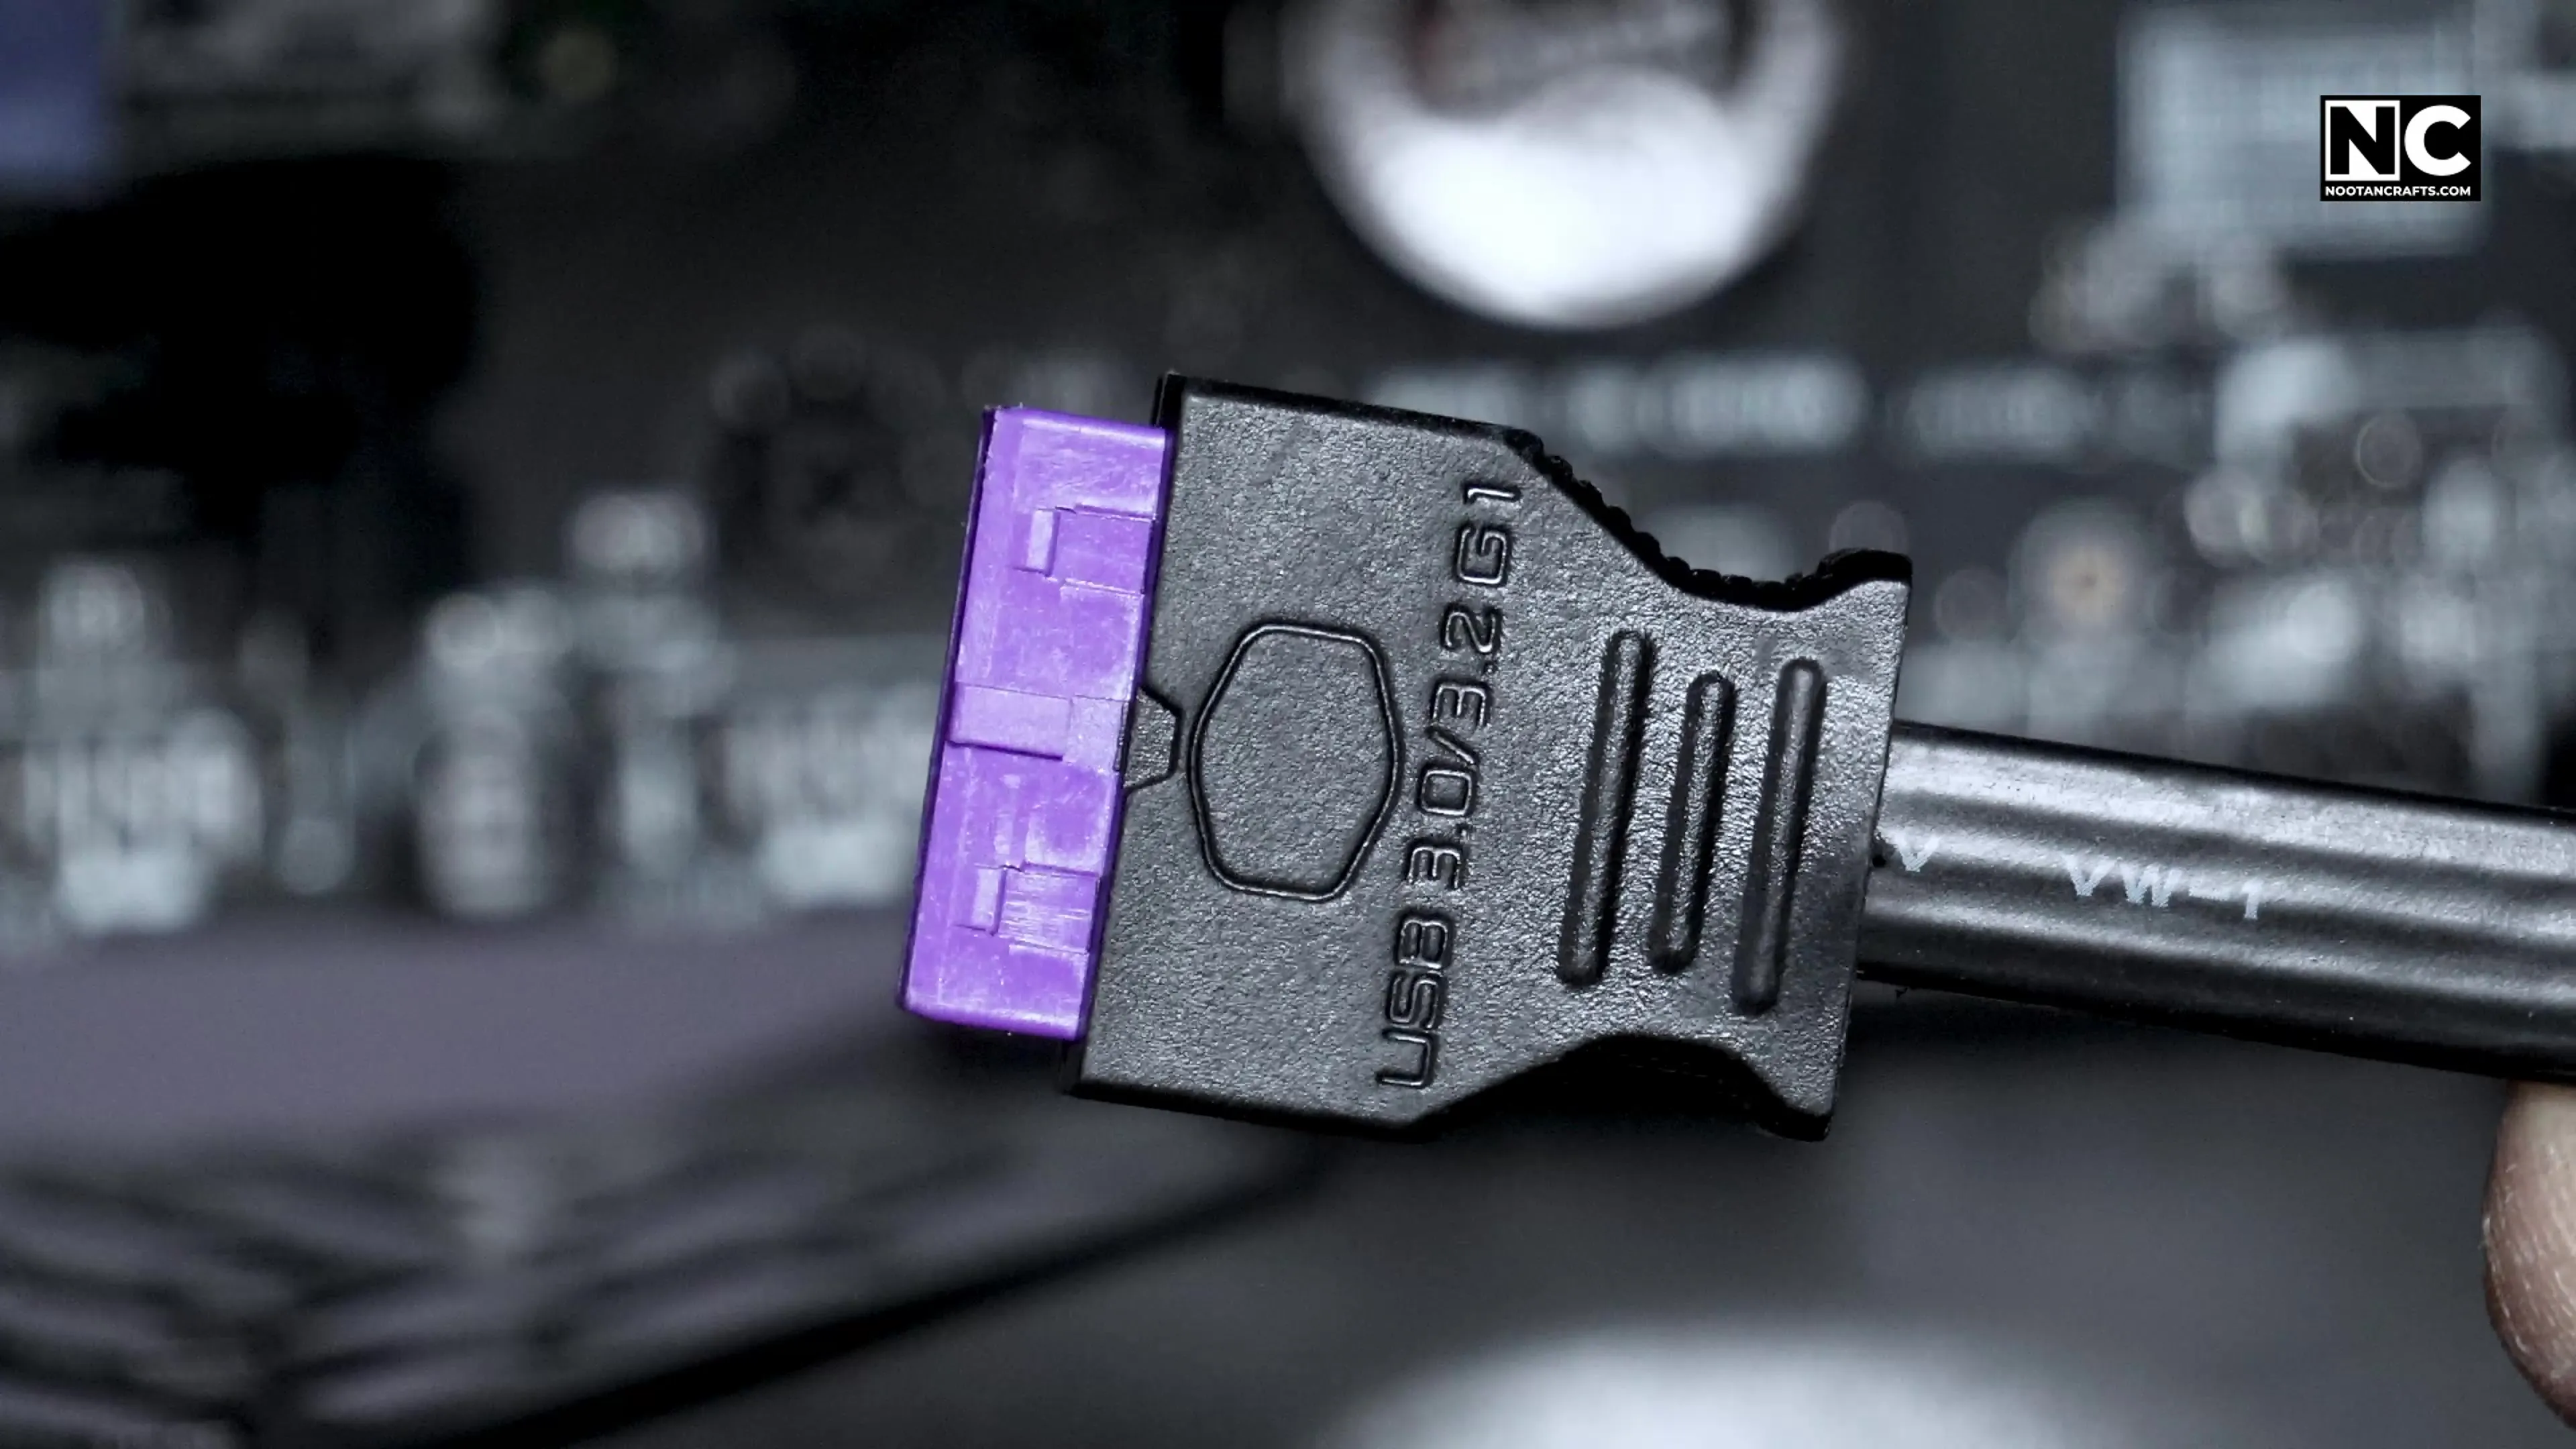
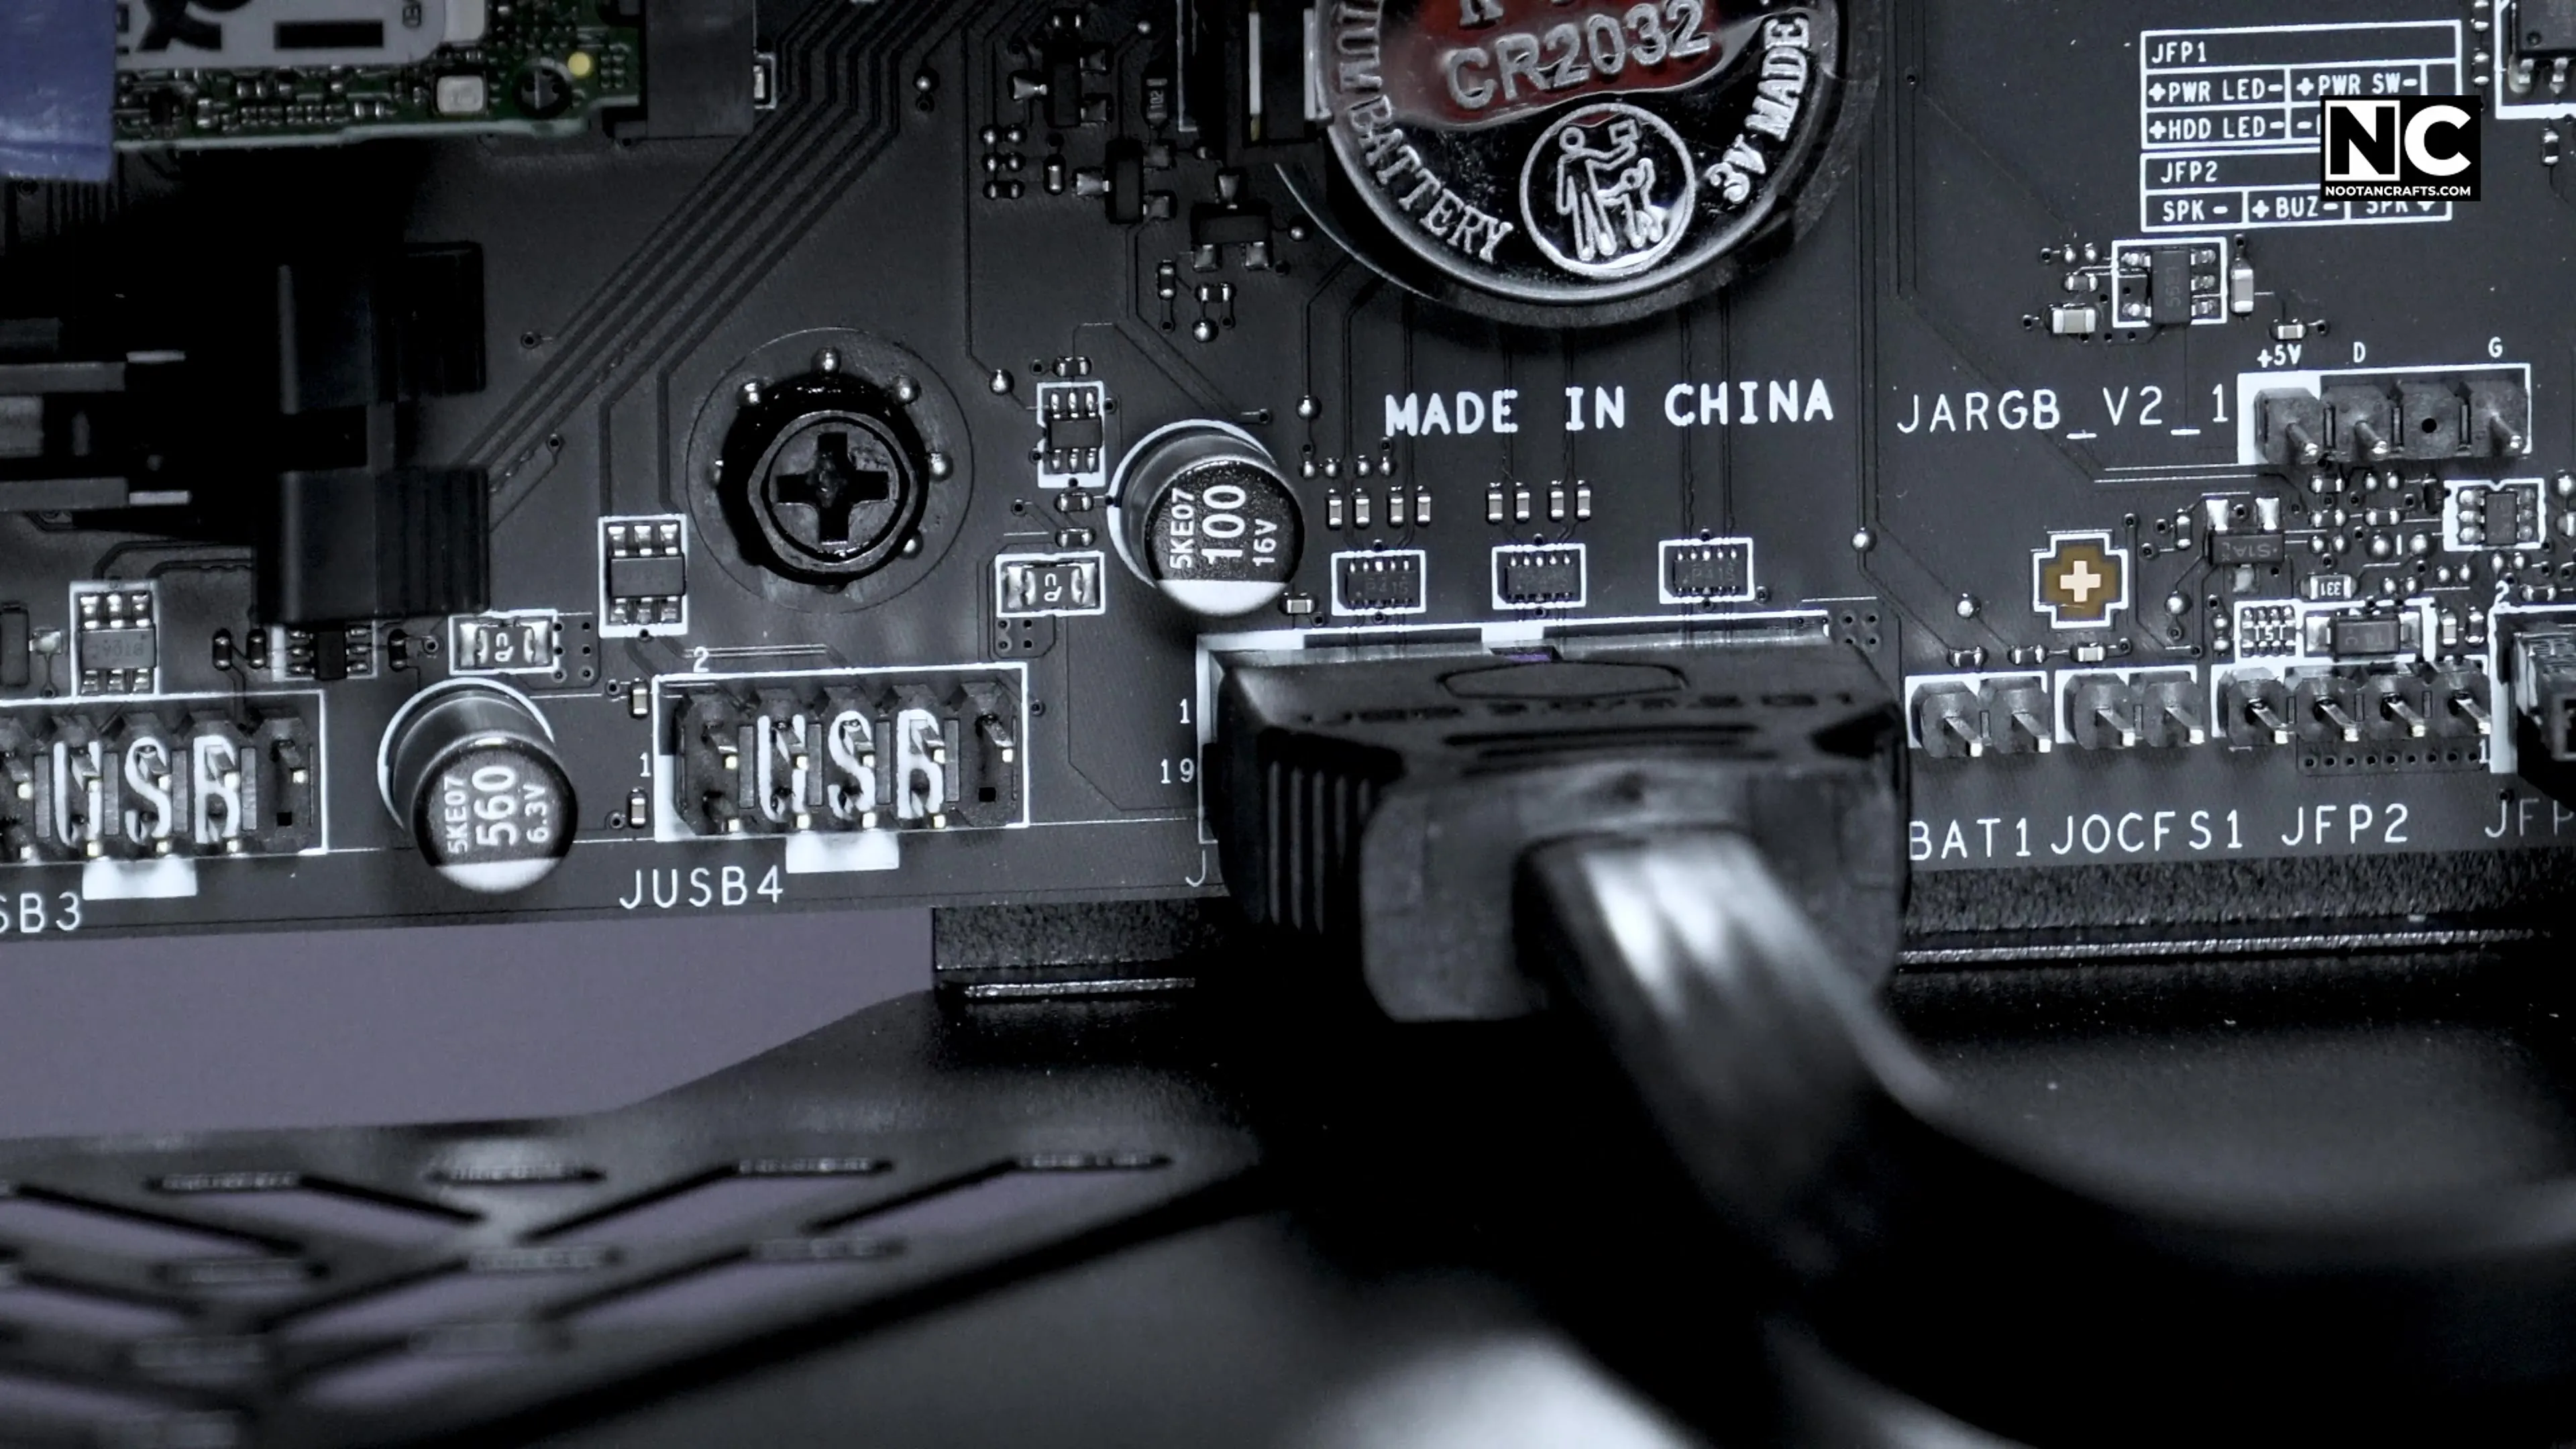

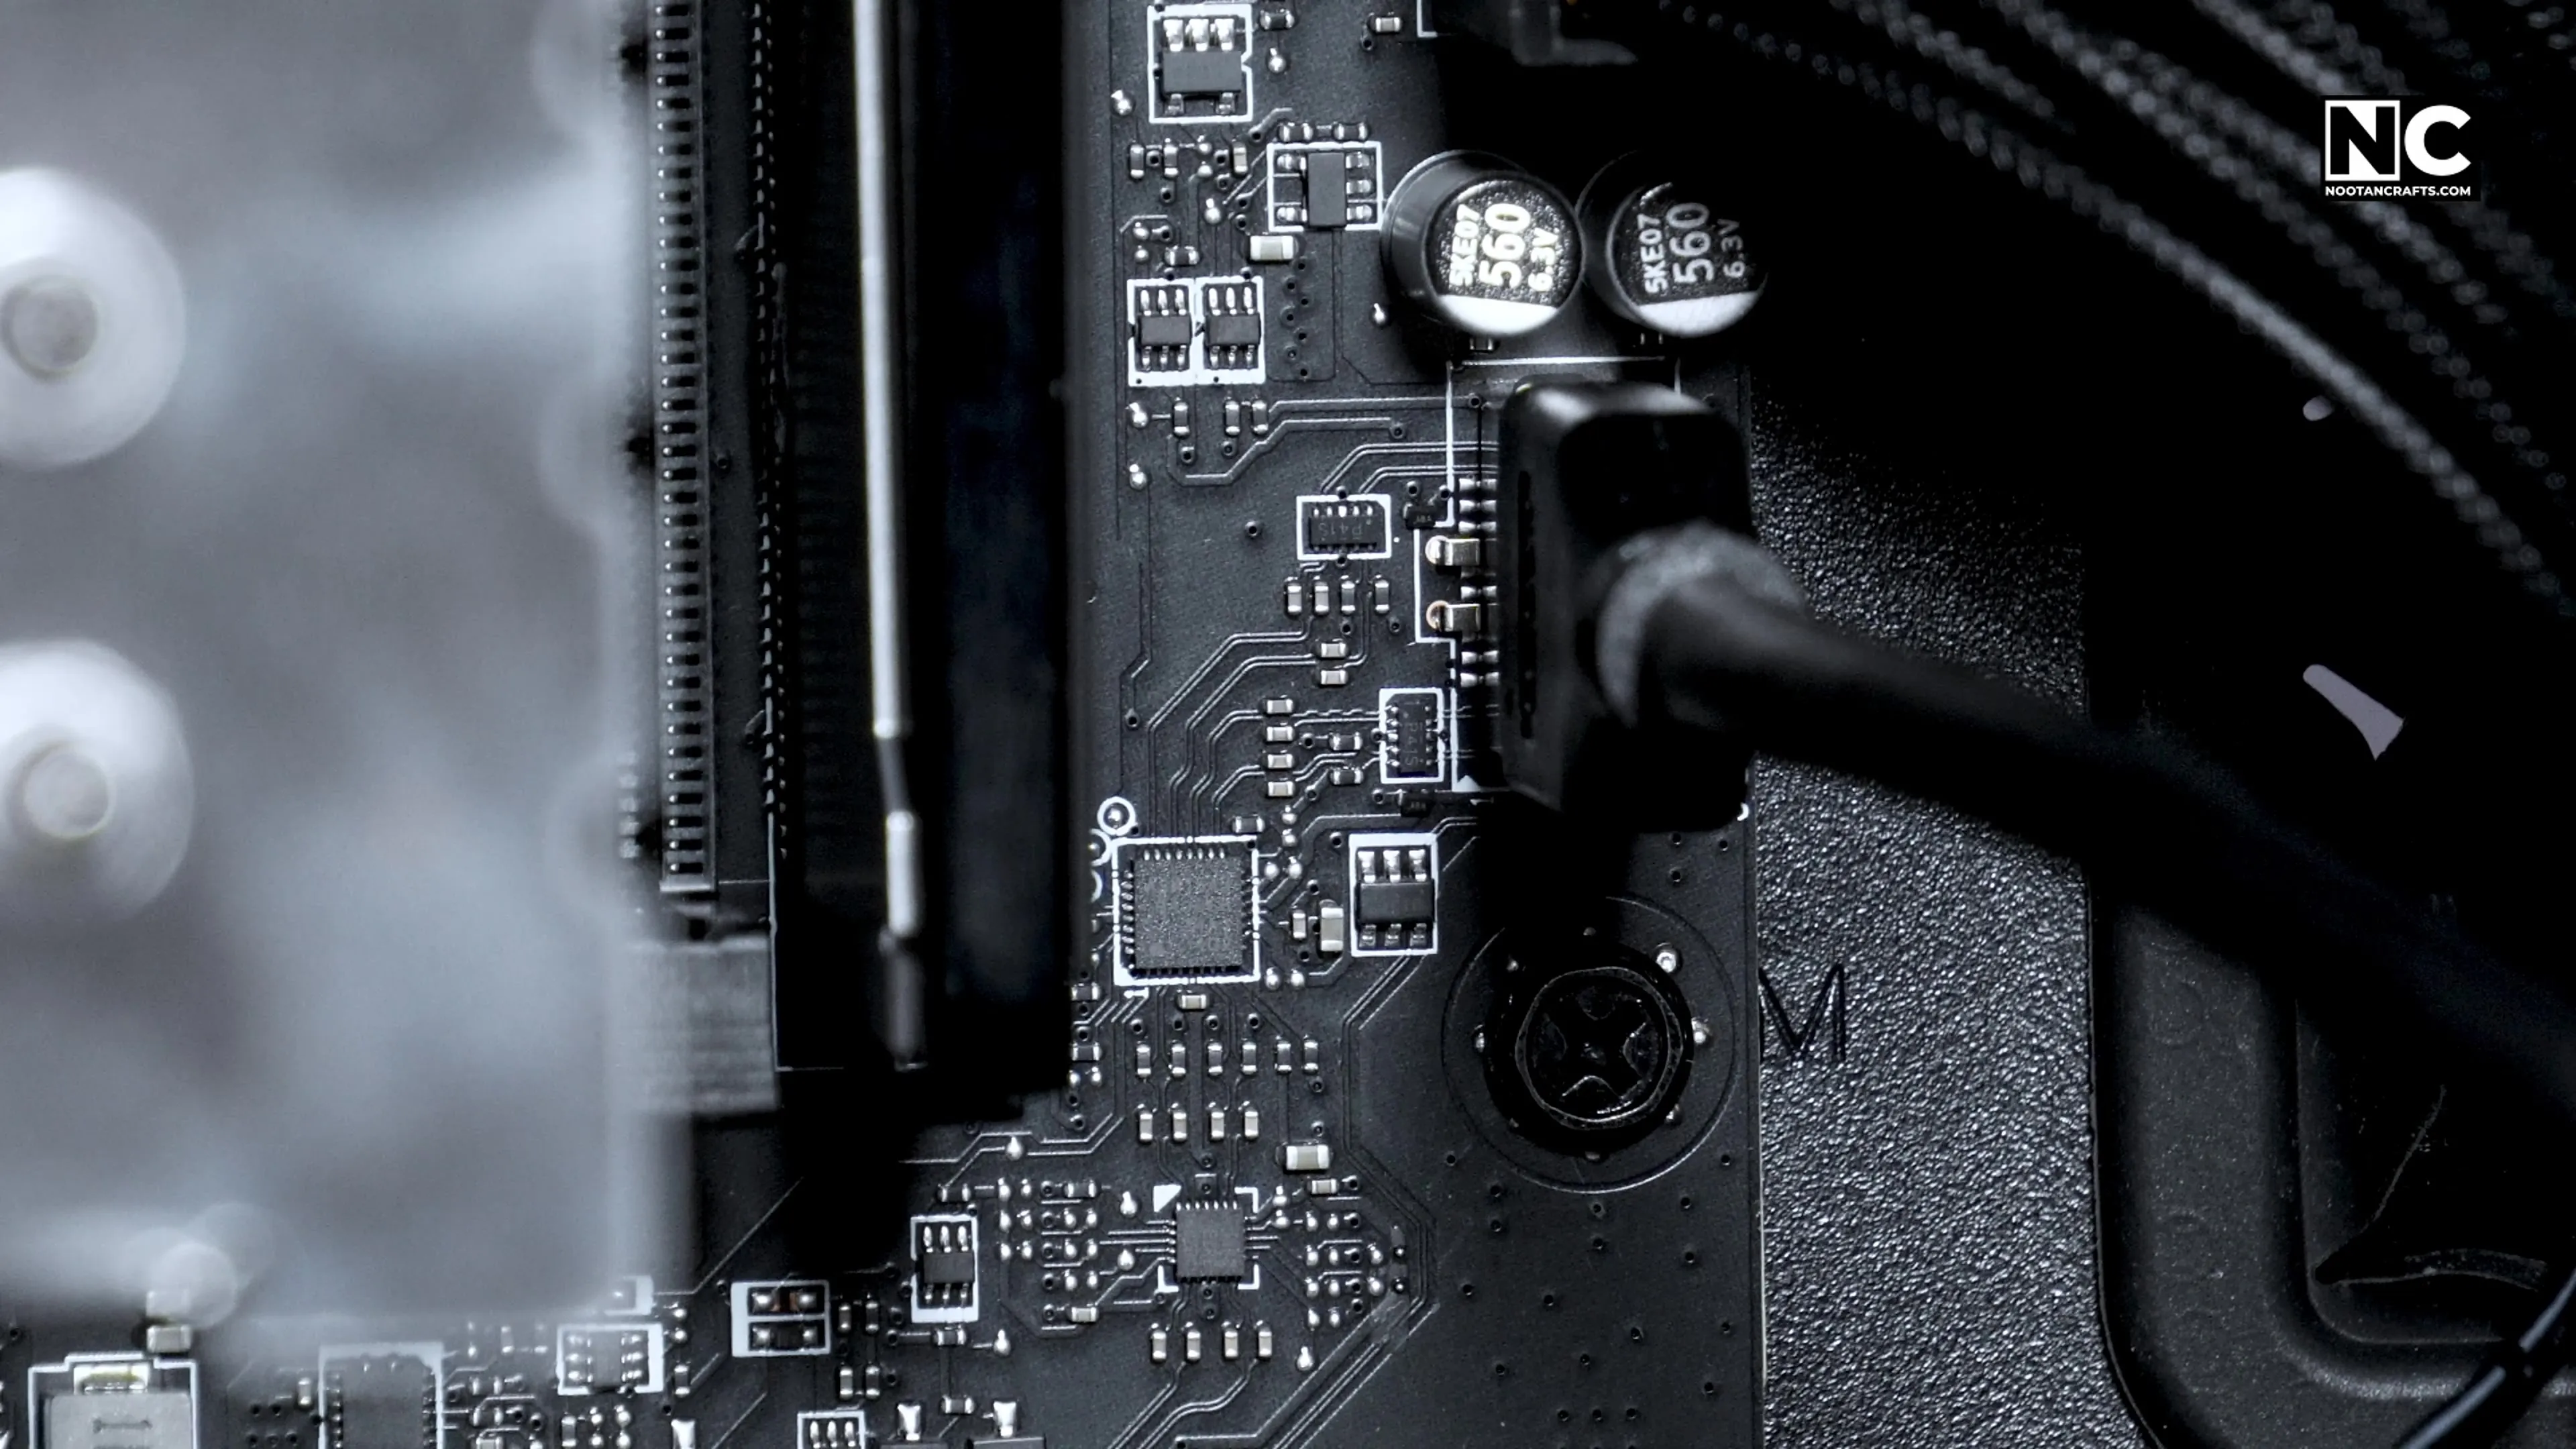
Two USB 3.2 Type-A ports and a Type-C port on the front panel, each with its own keyed header.


SATA drives need two cables each — data to the board, power from the PSU.
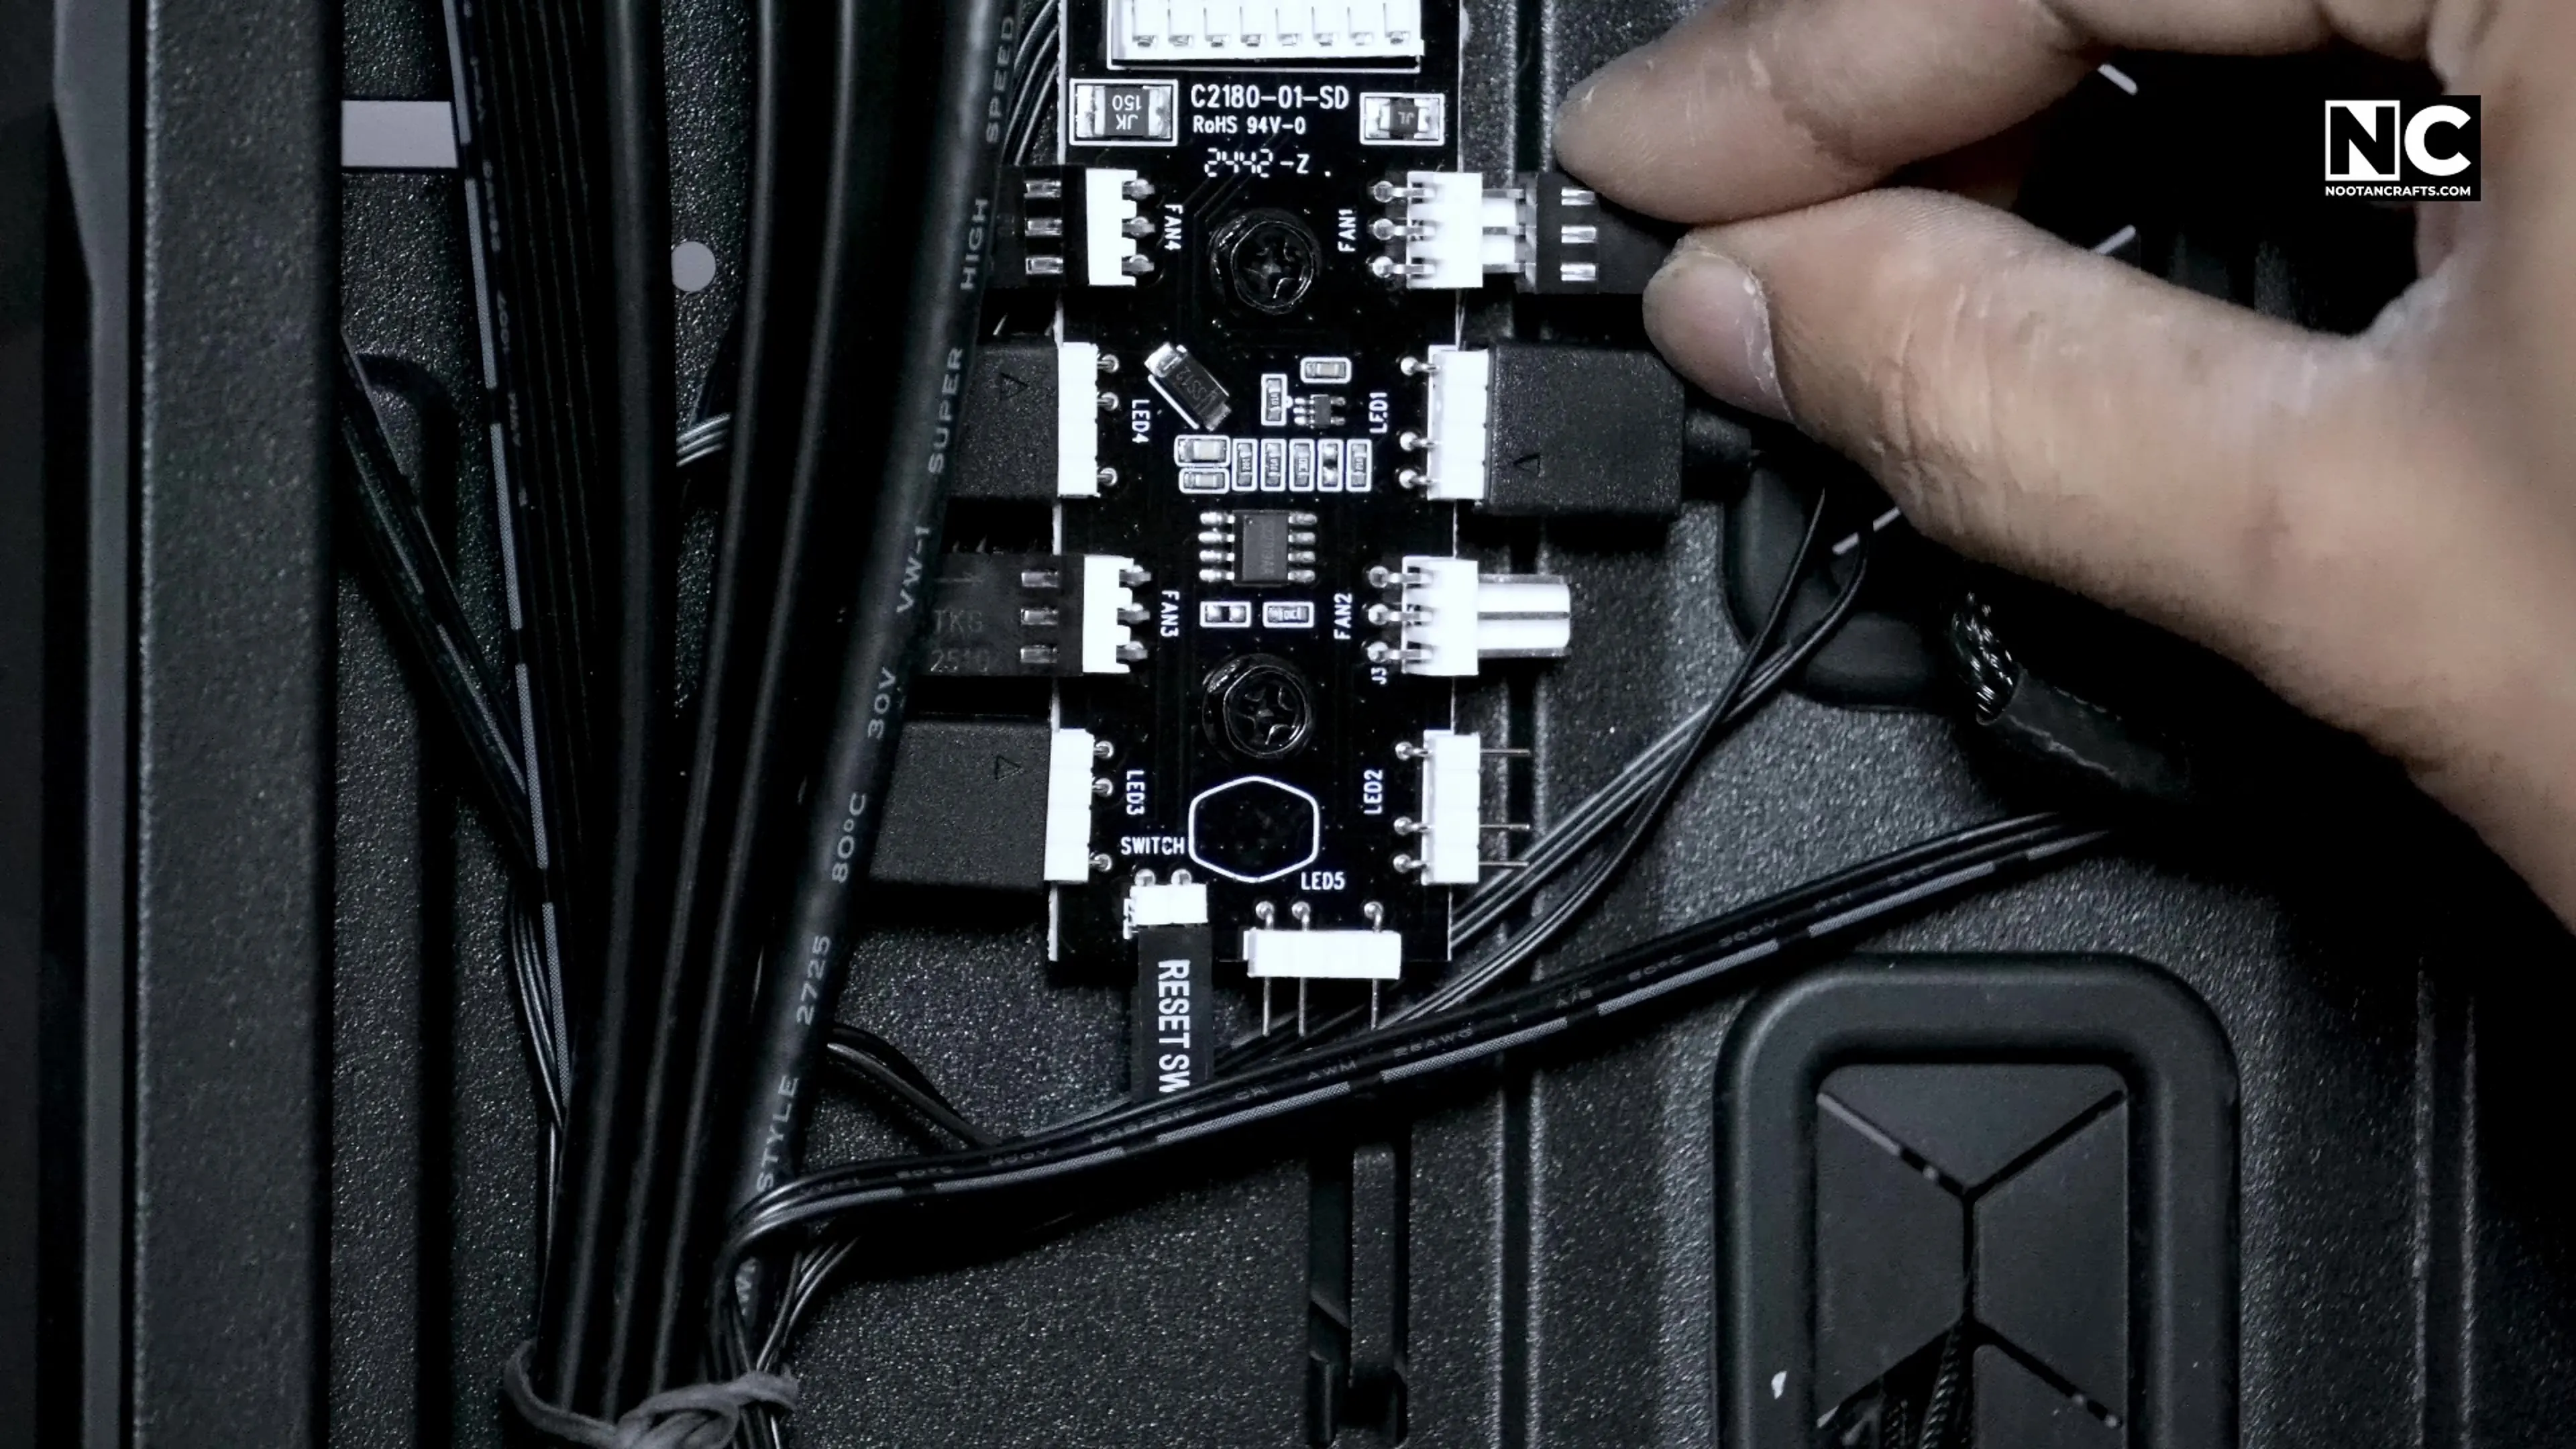
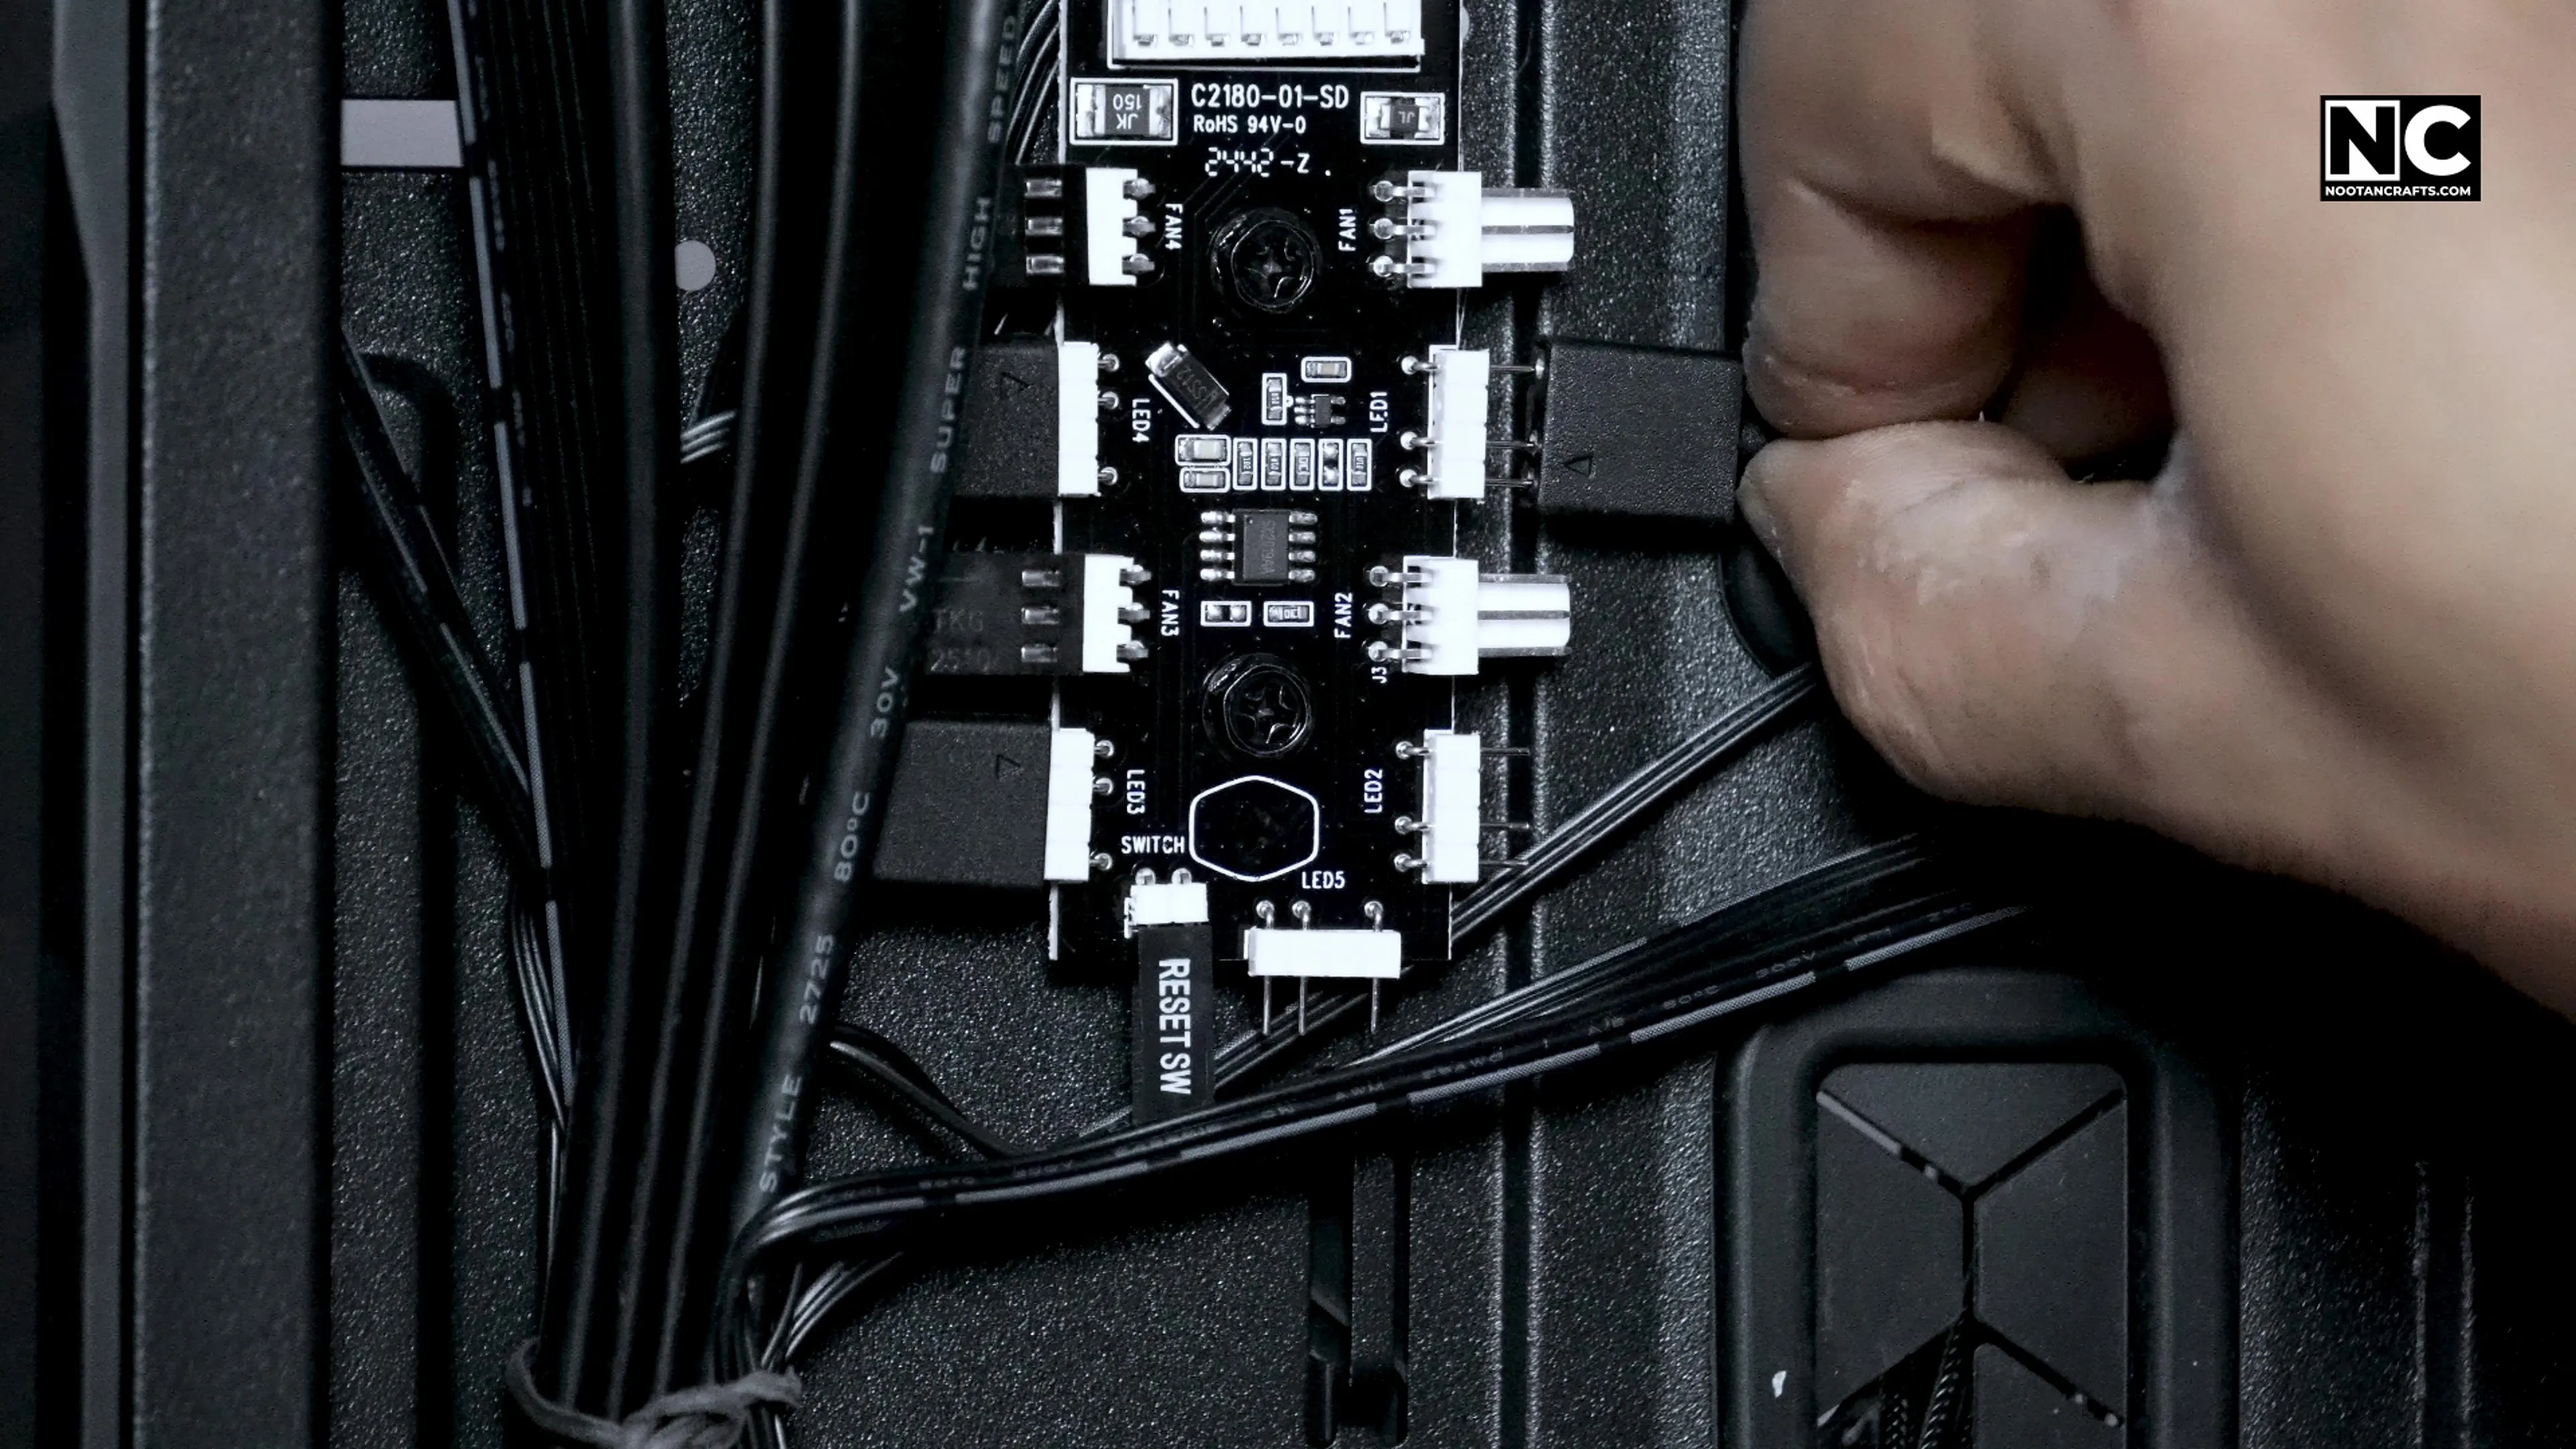
The cooler fans’ joined ARGB cable goes to the case’s ARGB hub rather than straight to the board, so the whole system — case fans, cooler fans, everything — syncs from one controller.


The 7700X takes two EPS connectors. Both get fitted. People routinely connect one, and the machine will often boot — then throttle or shut down the moment the CPU pulls real current.
Cable Management and Closing Up
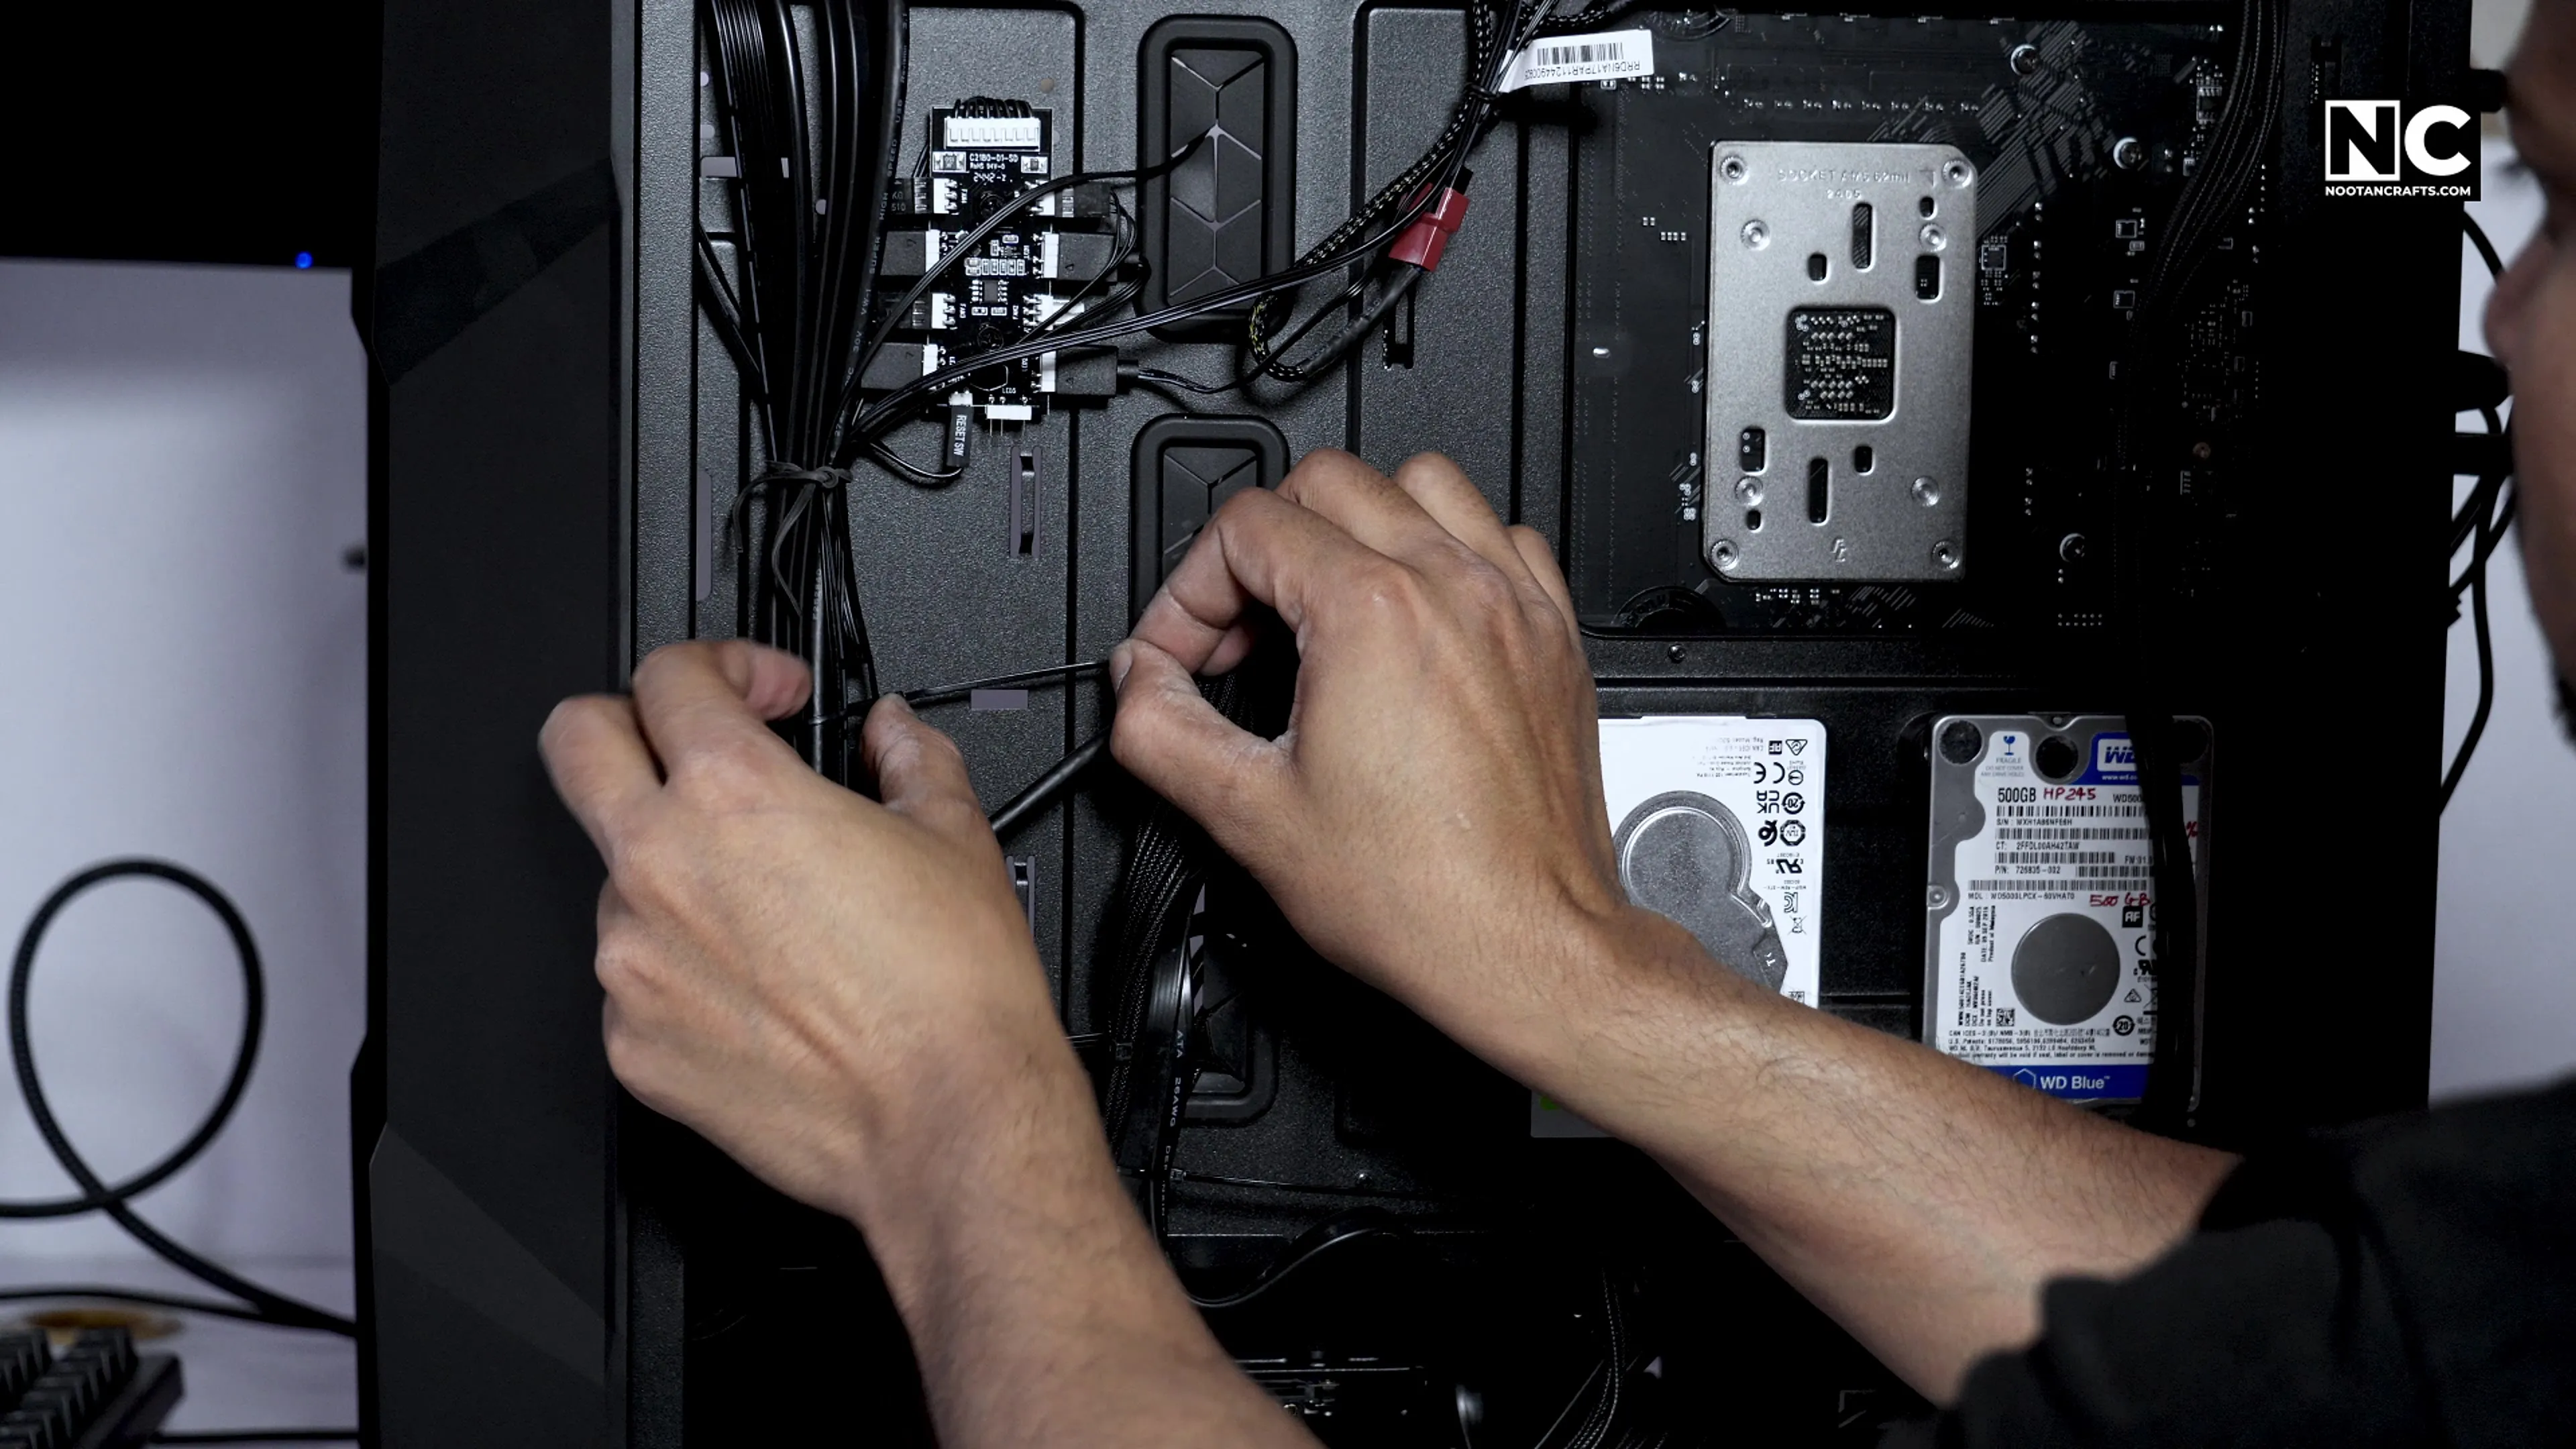
This is where the non-modular PSU costs you. Every unused cable is still attached and has to be folded away behind the tray. The TD500 has enough tie points and routing cutouts to make it work, and the supplied nylon ties did the job.
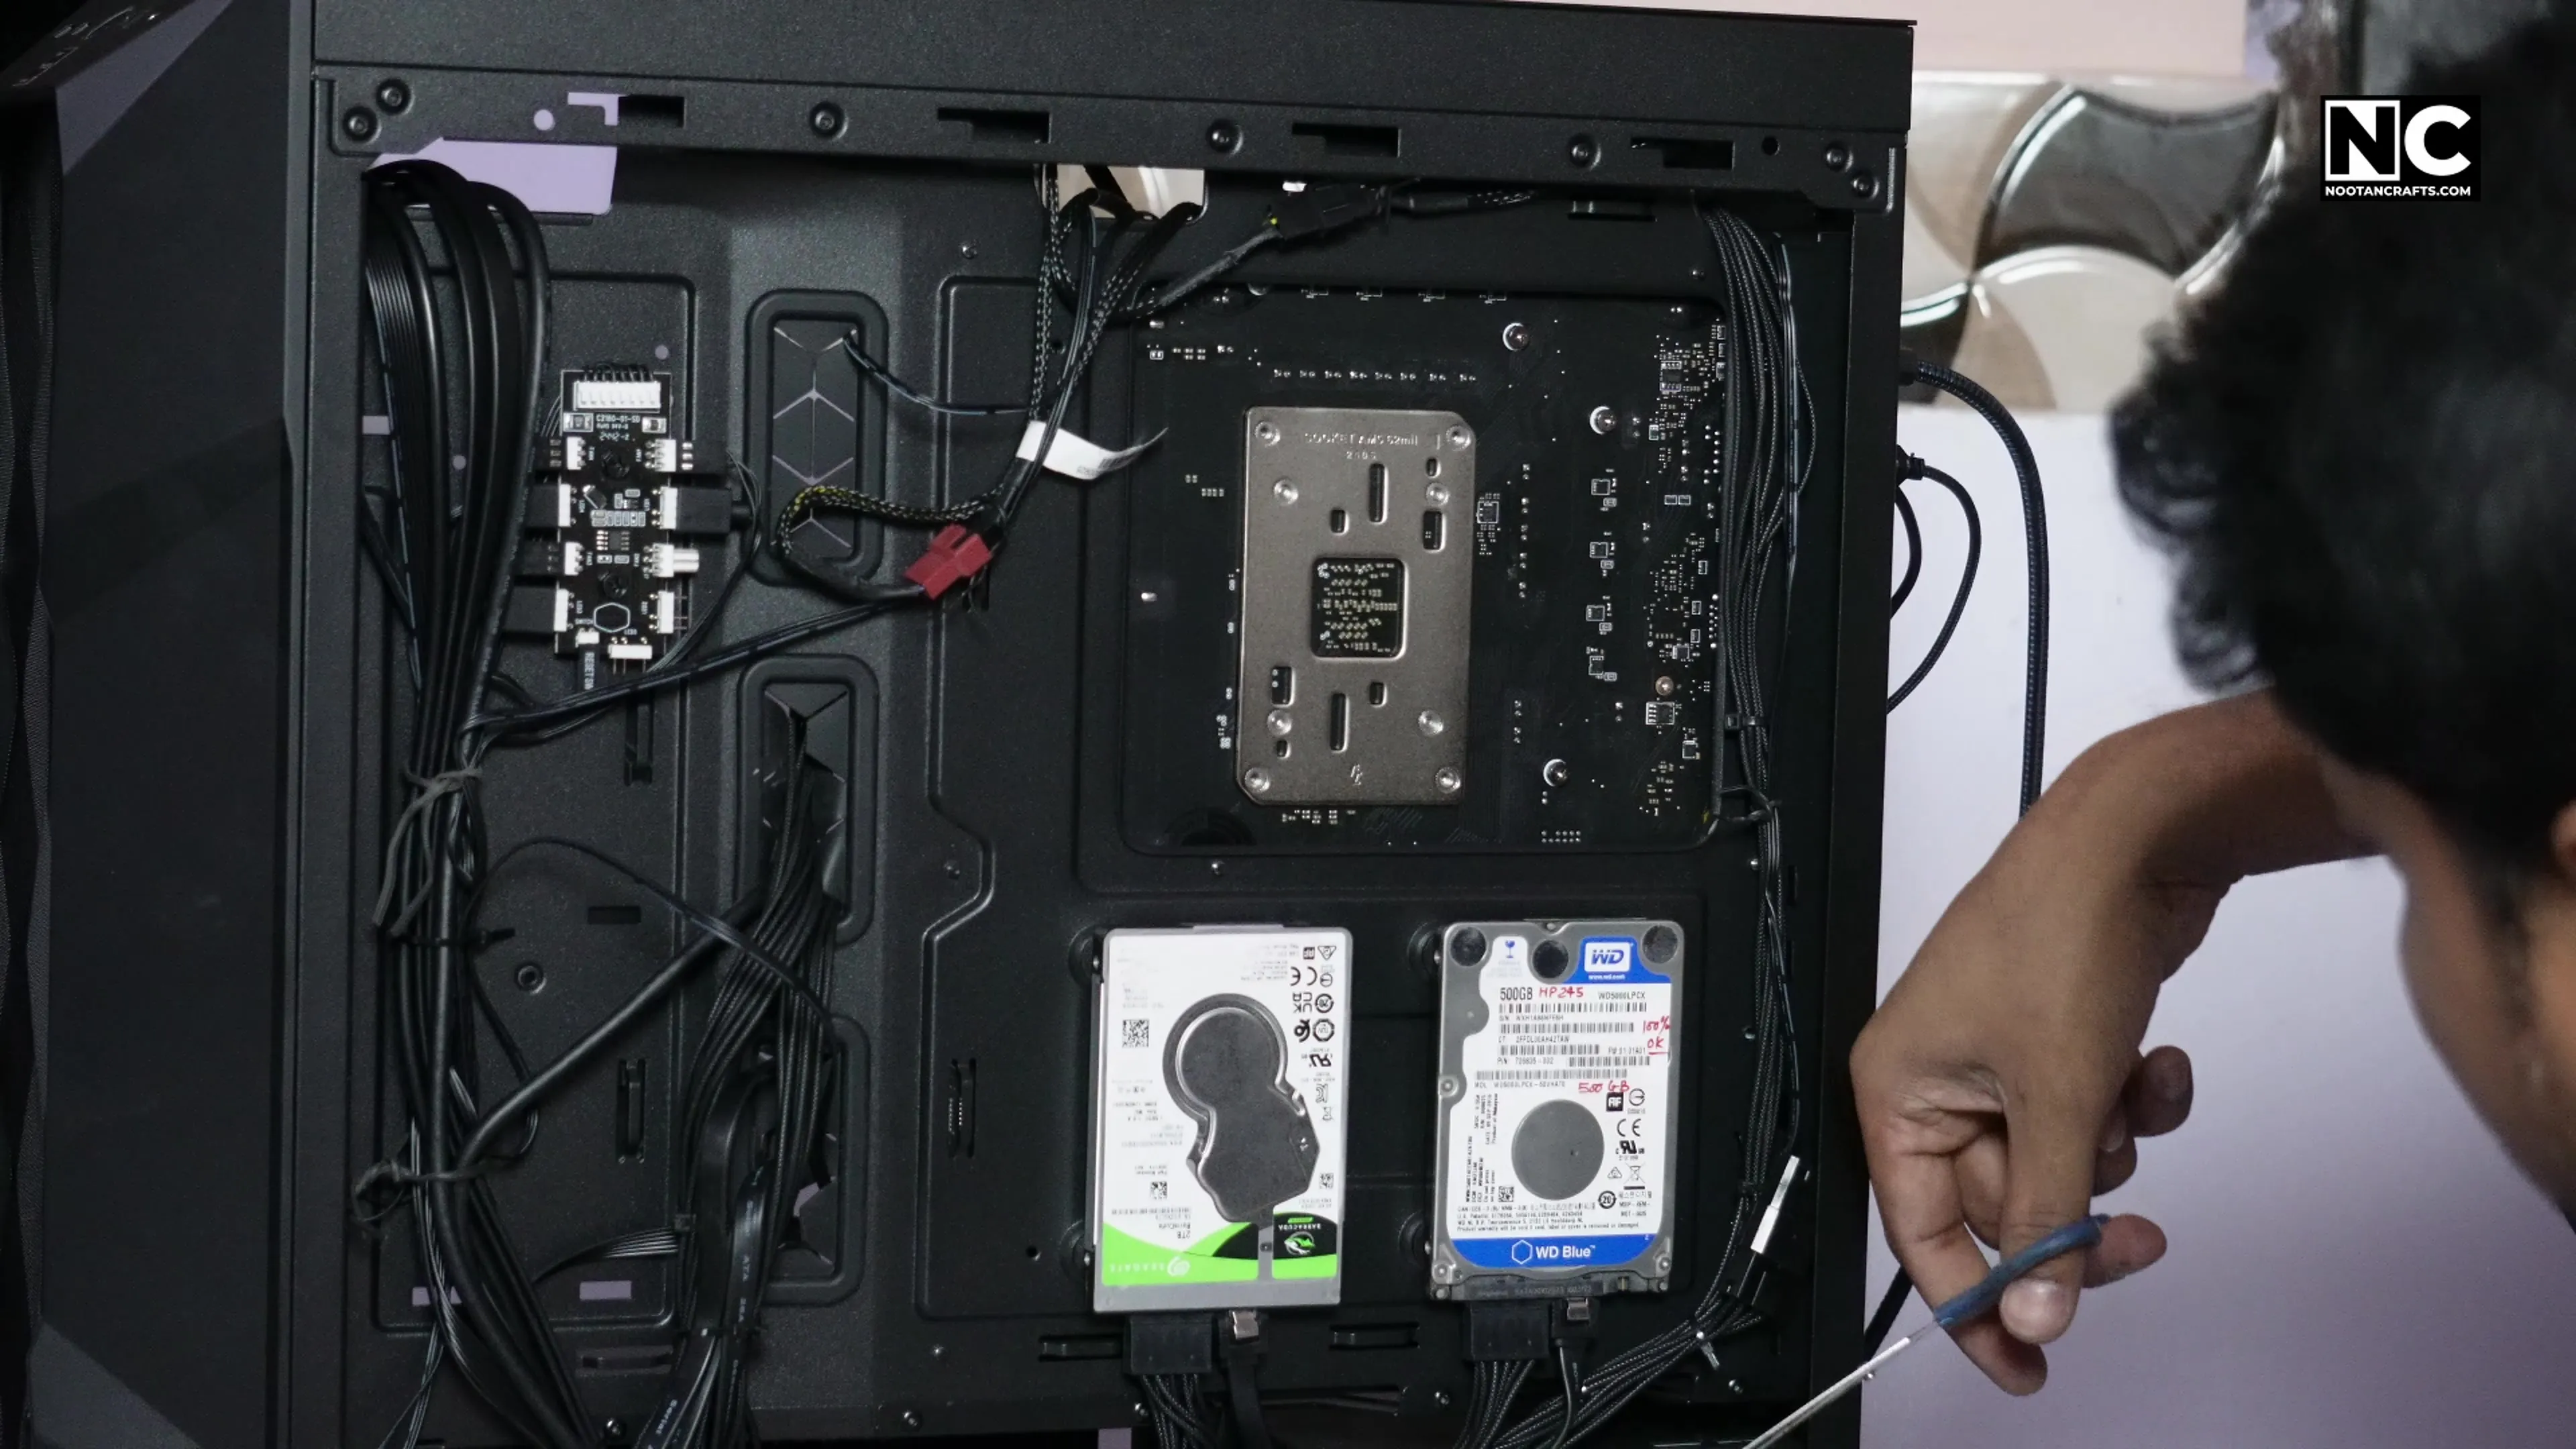
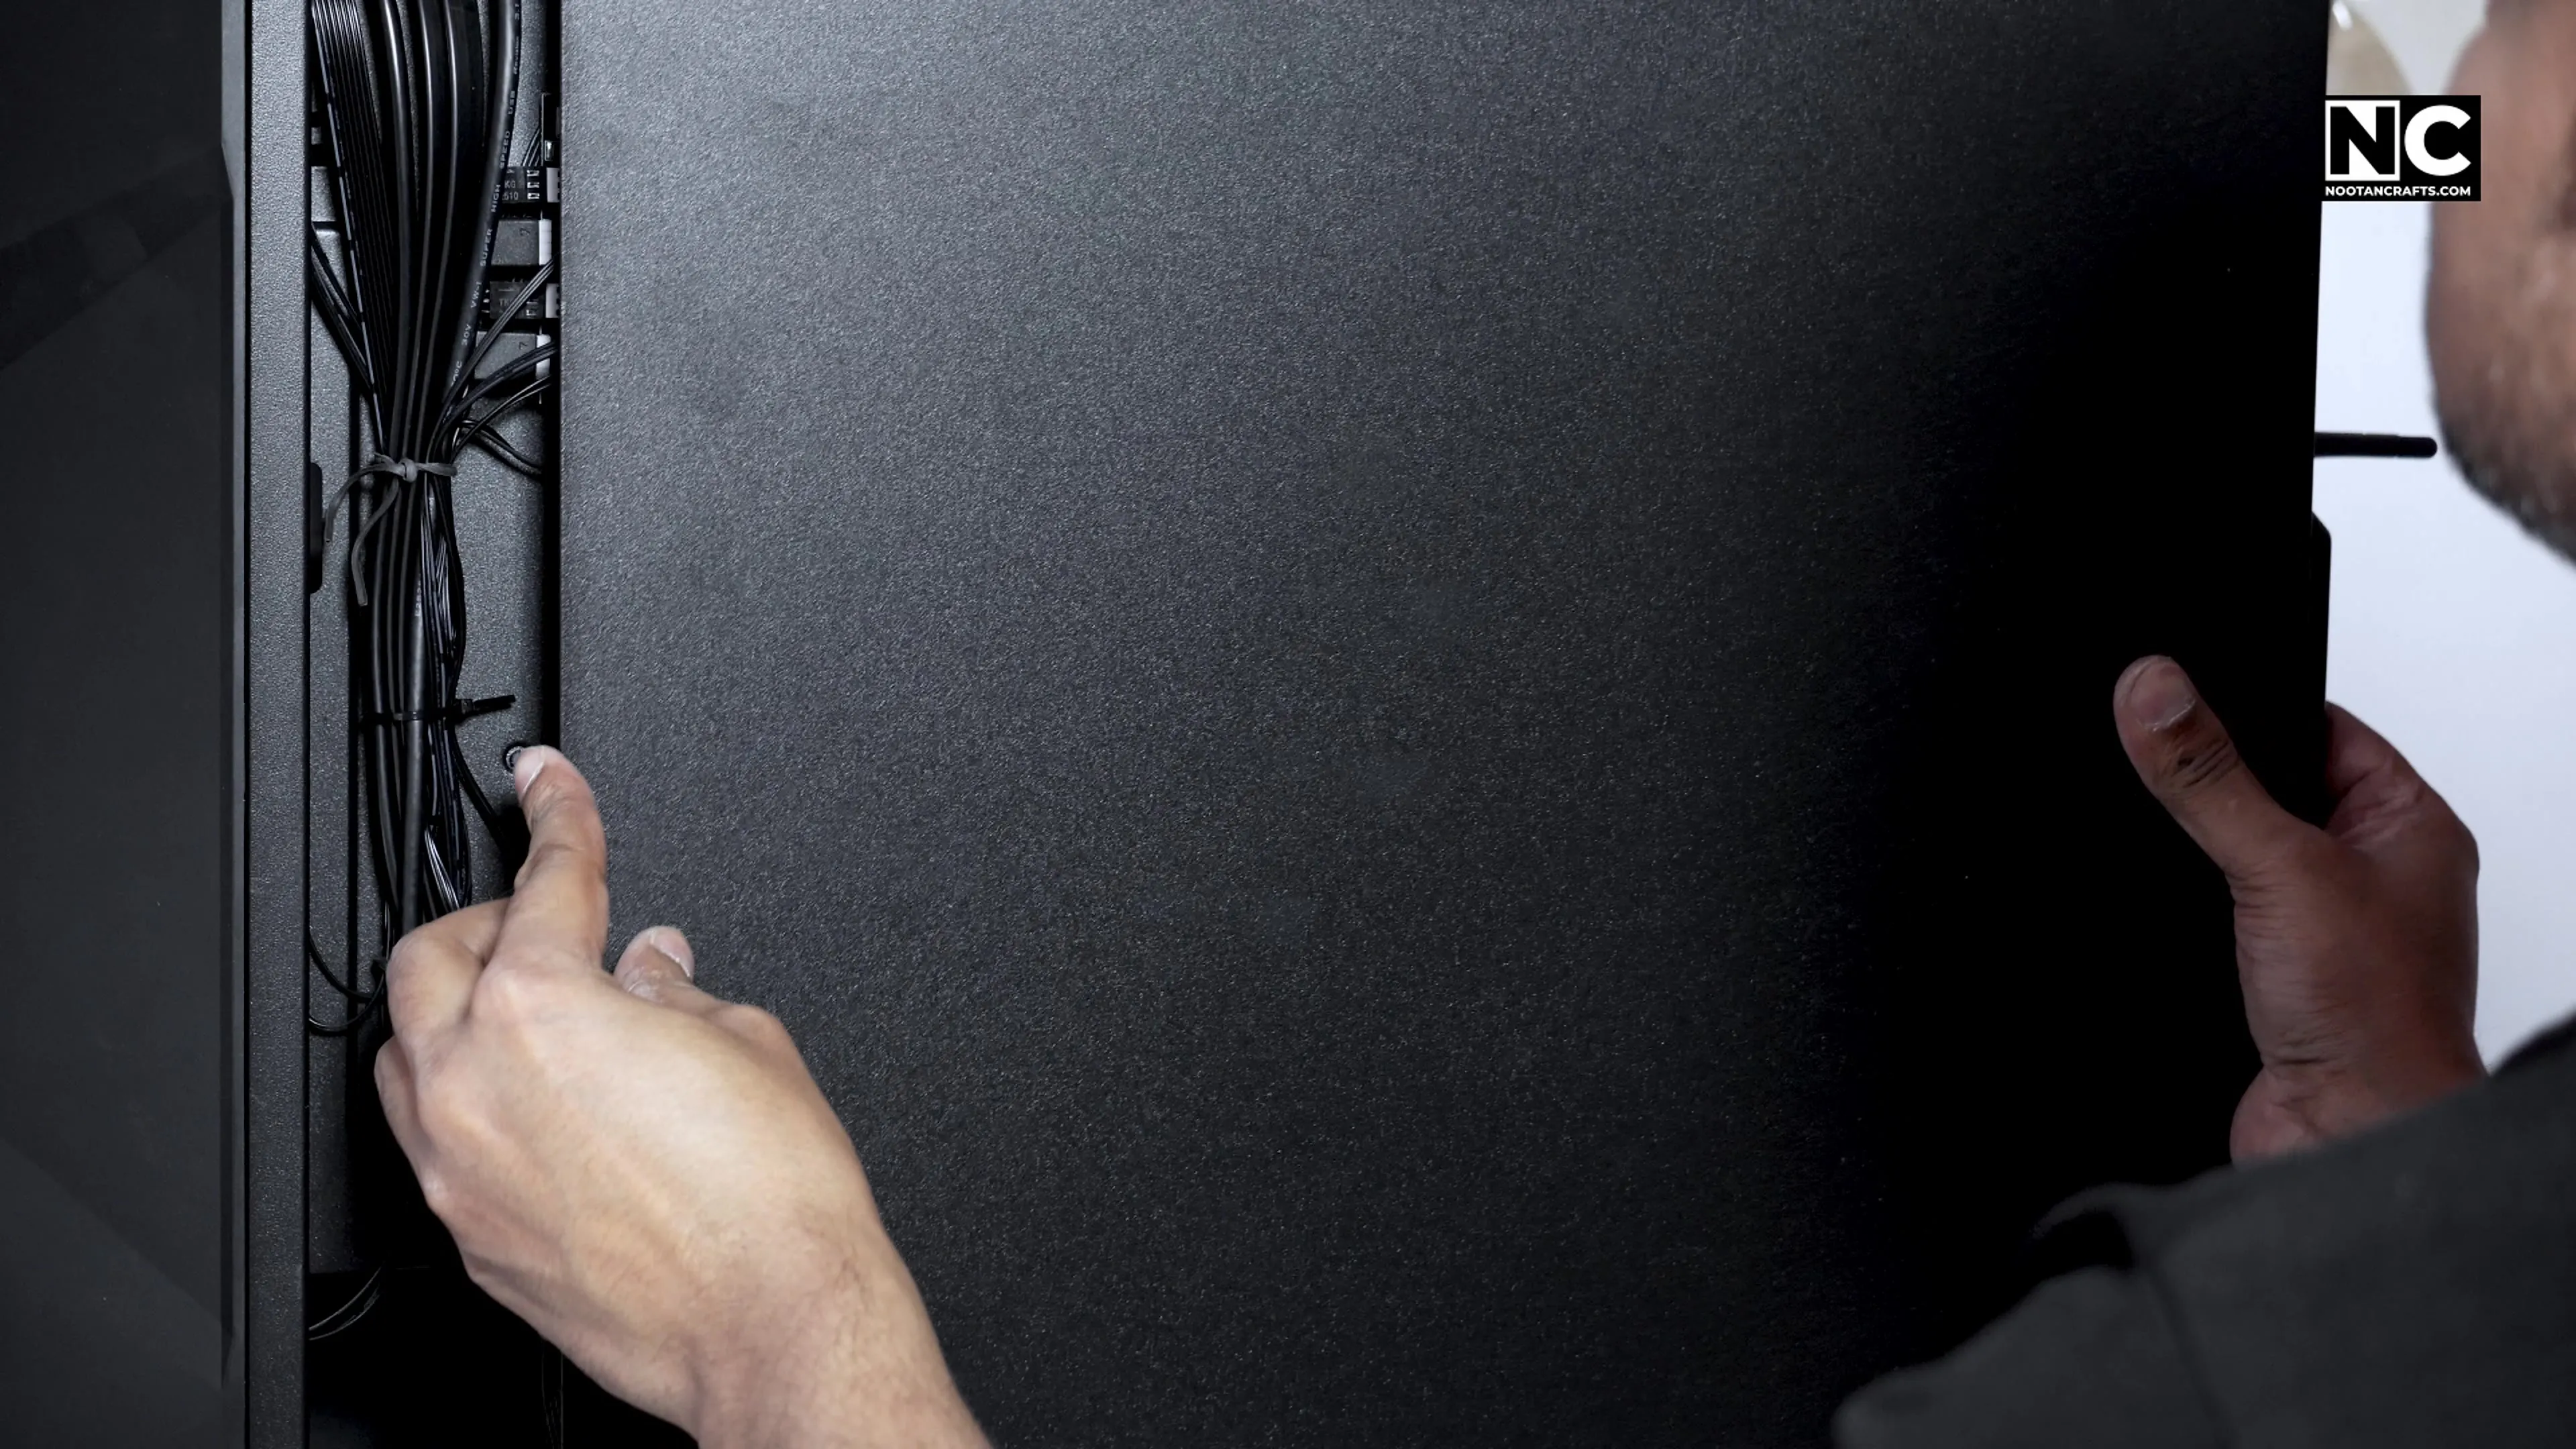
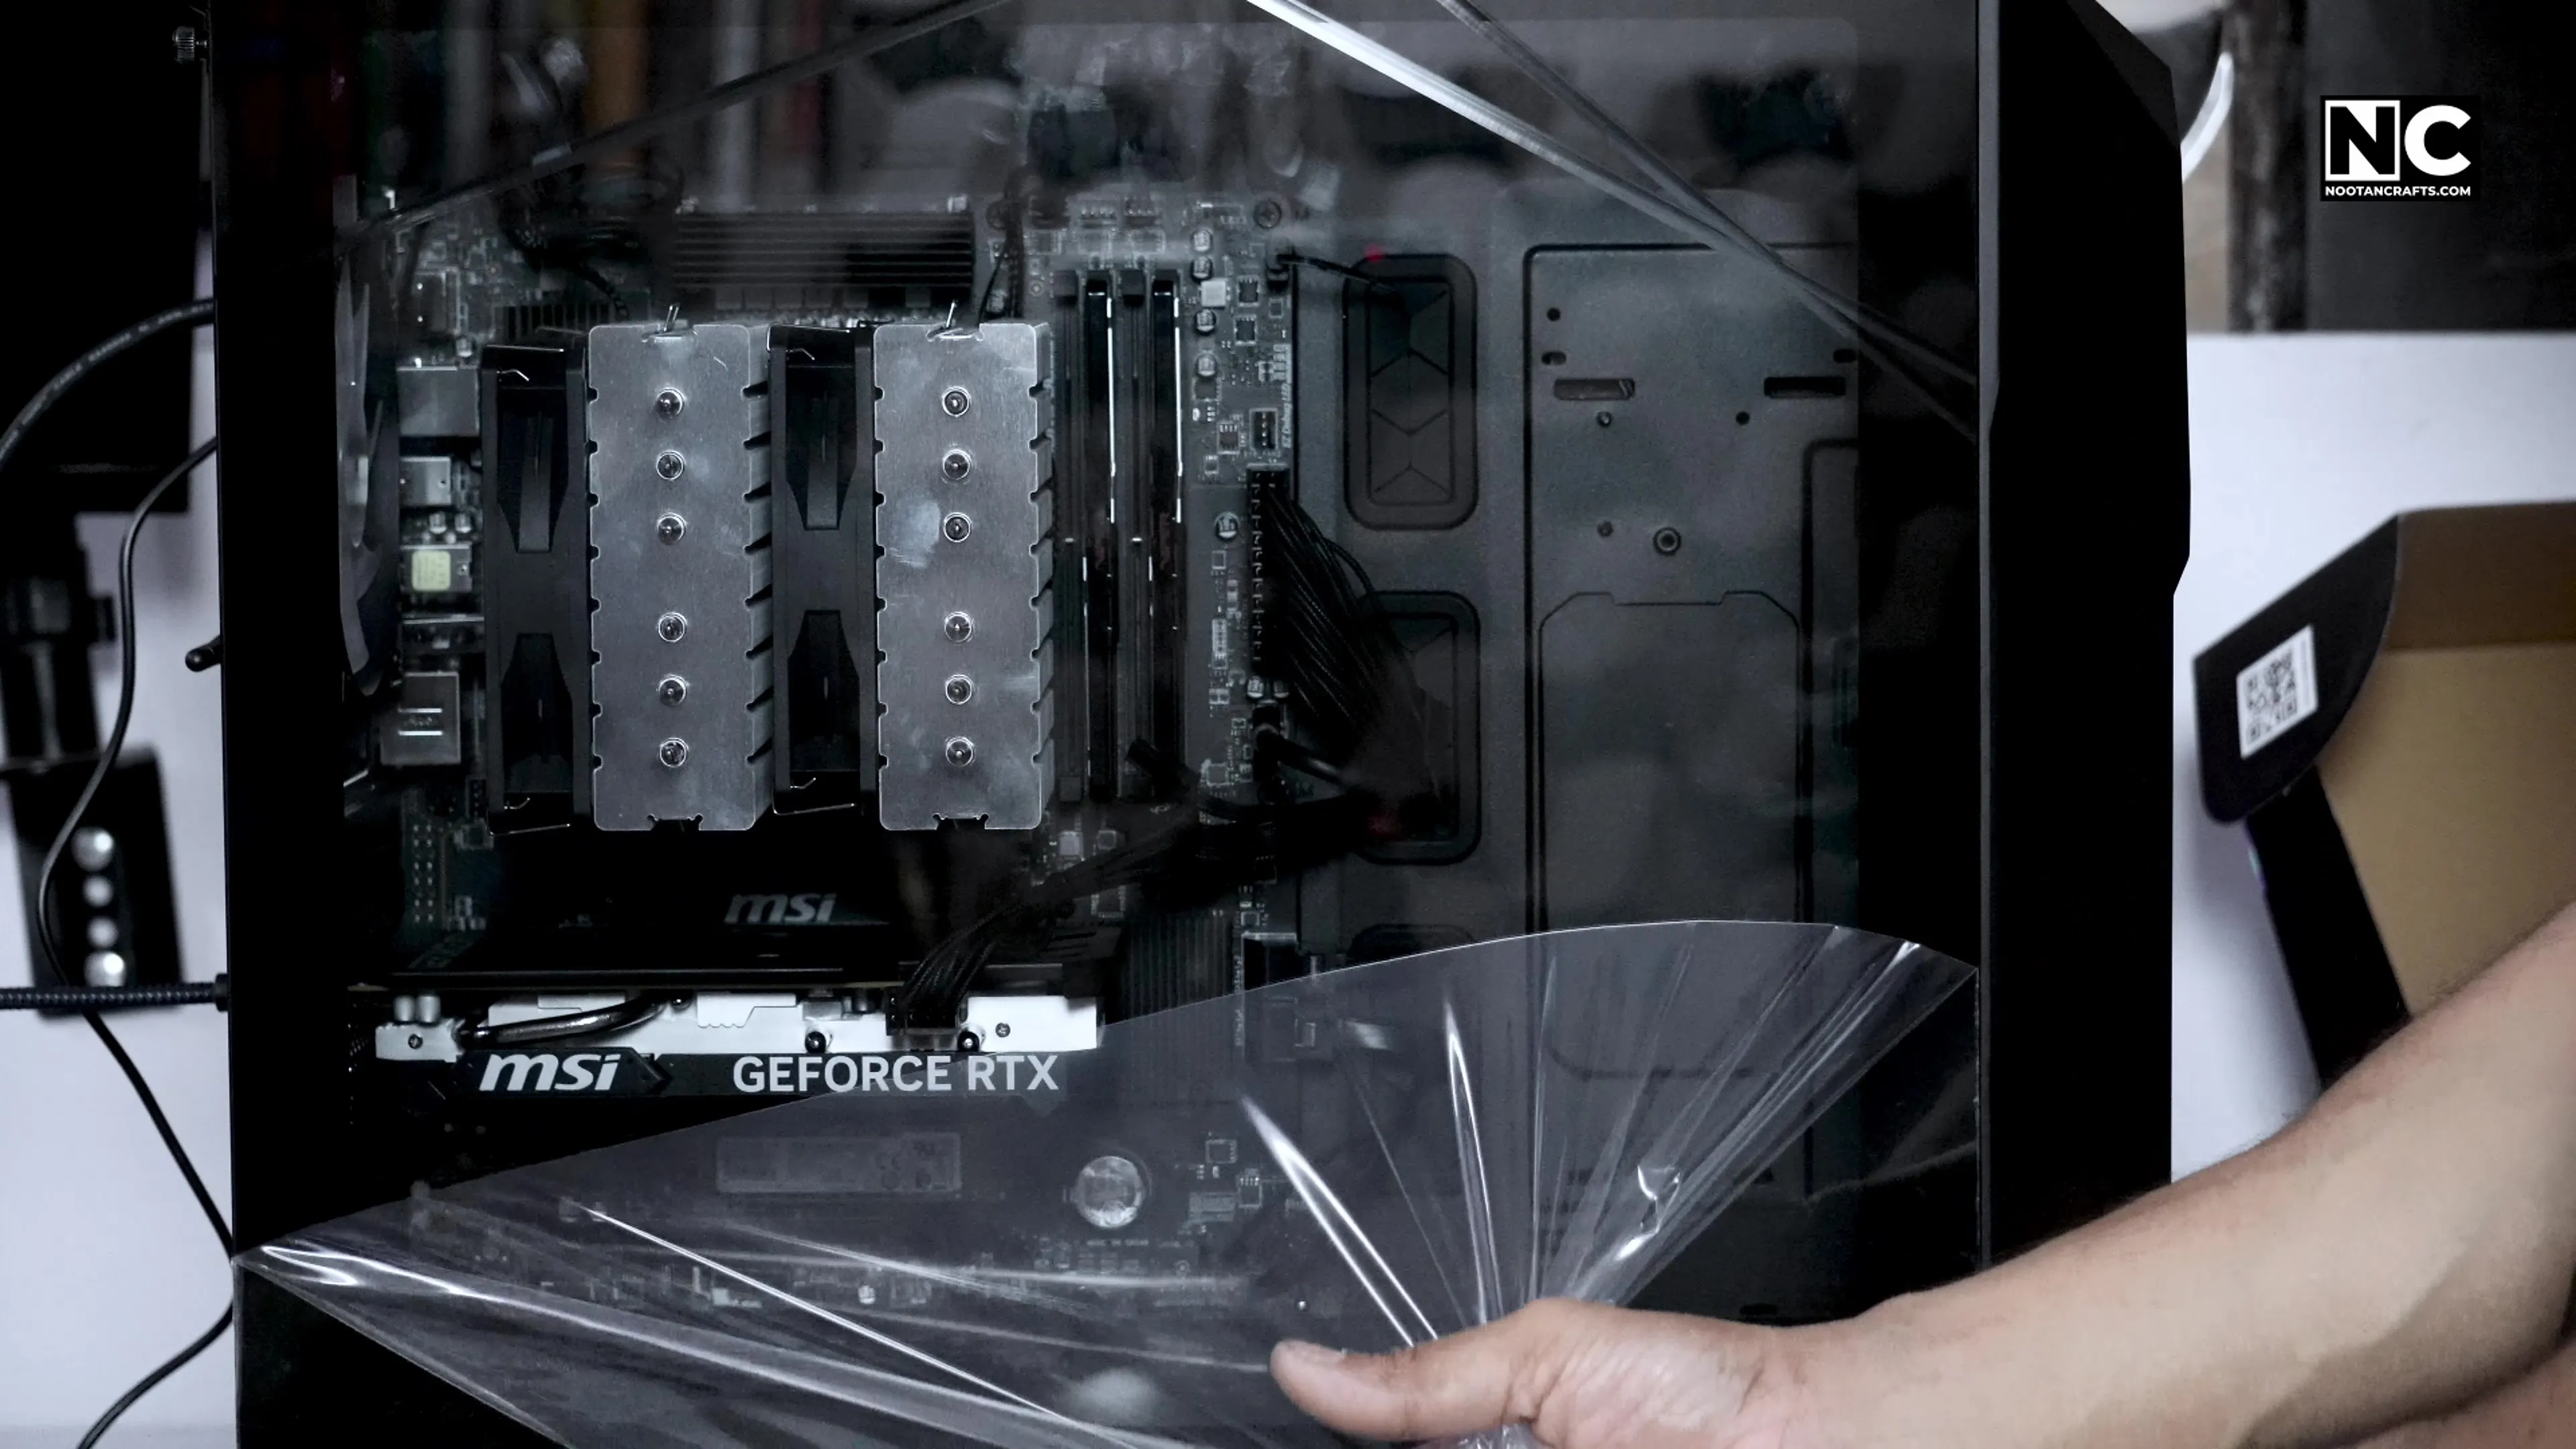
Trim the tie ends, refit the back panel, then the glass. The film on the glass comes off last, for obvious reasons.
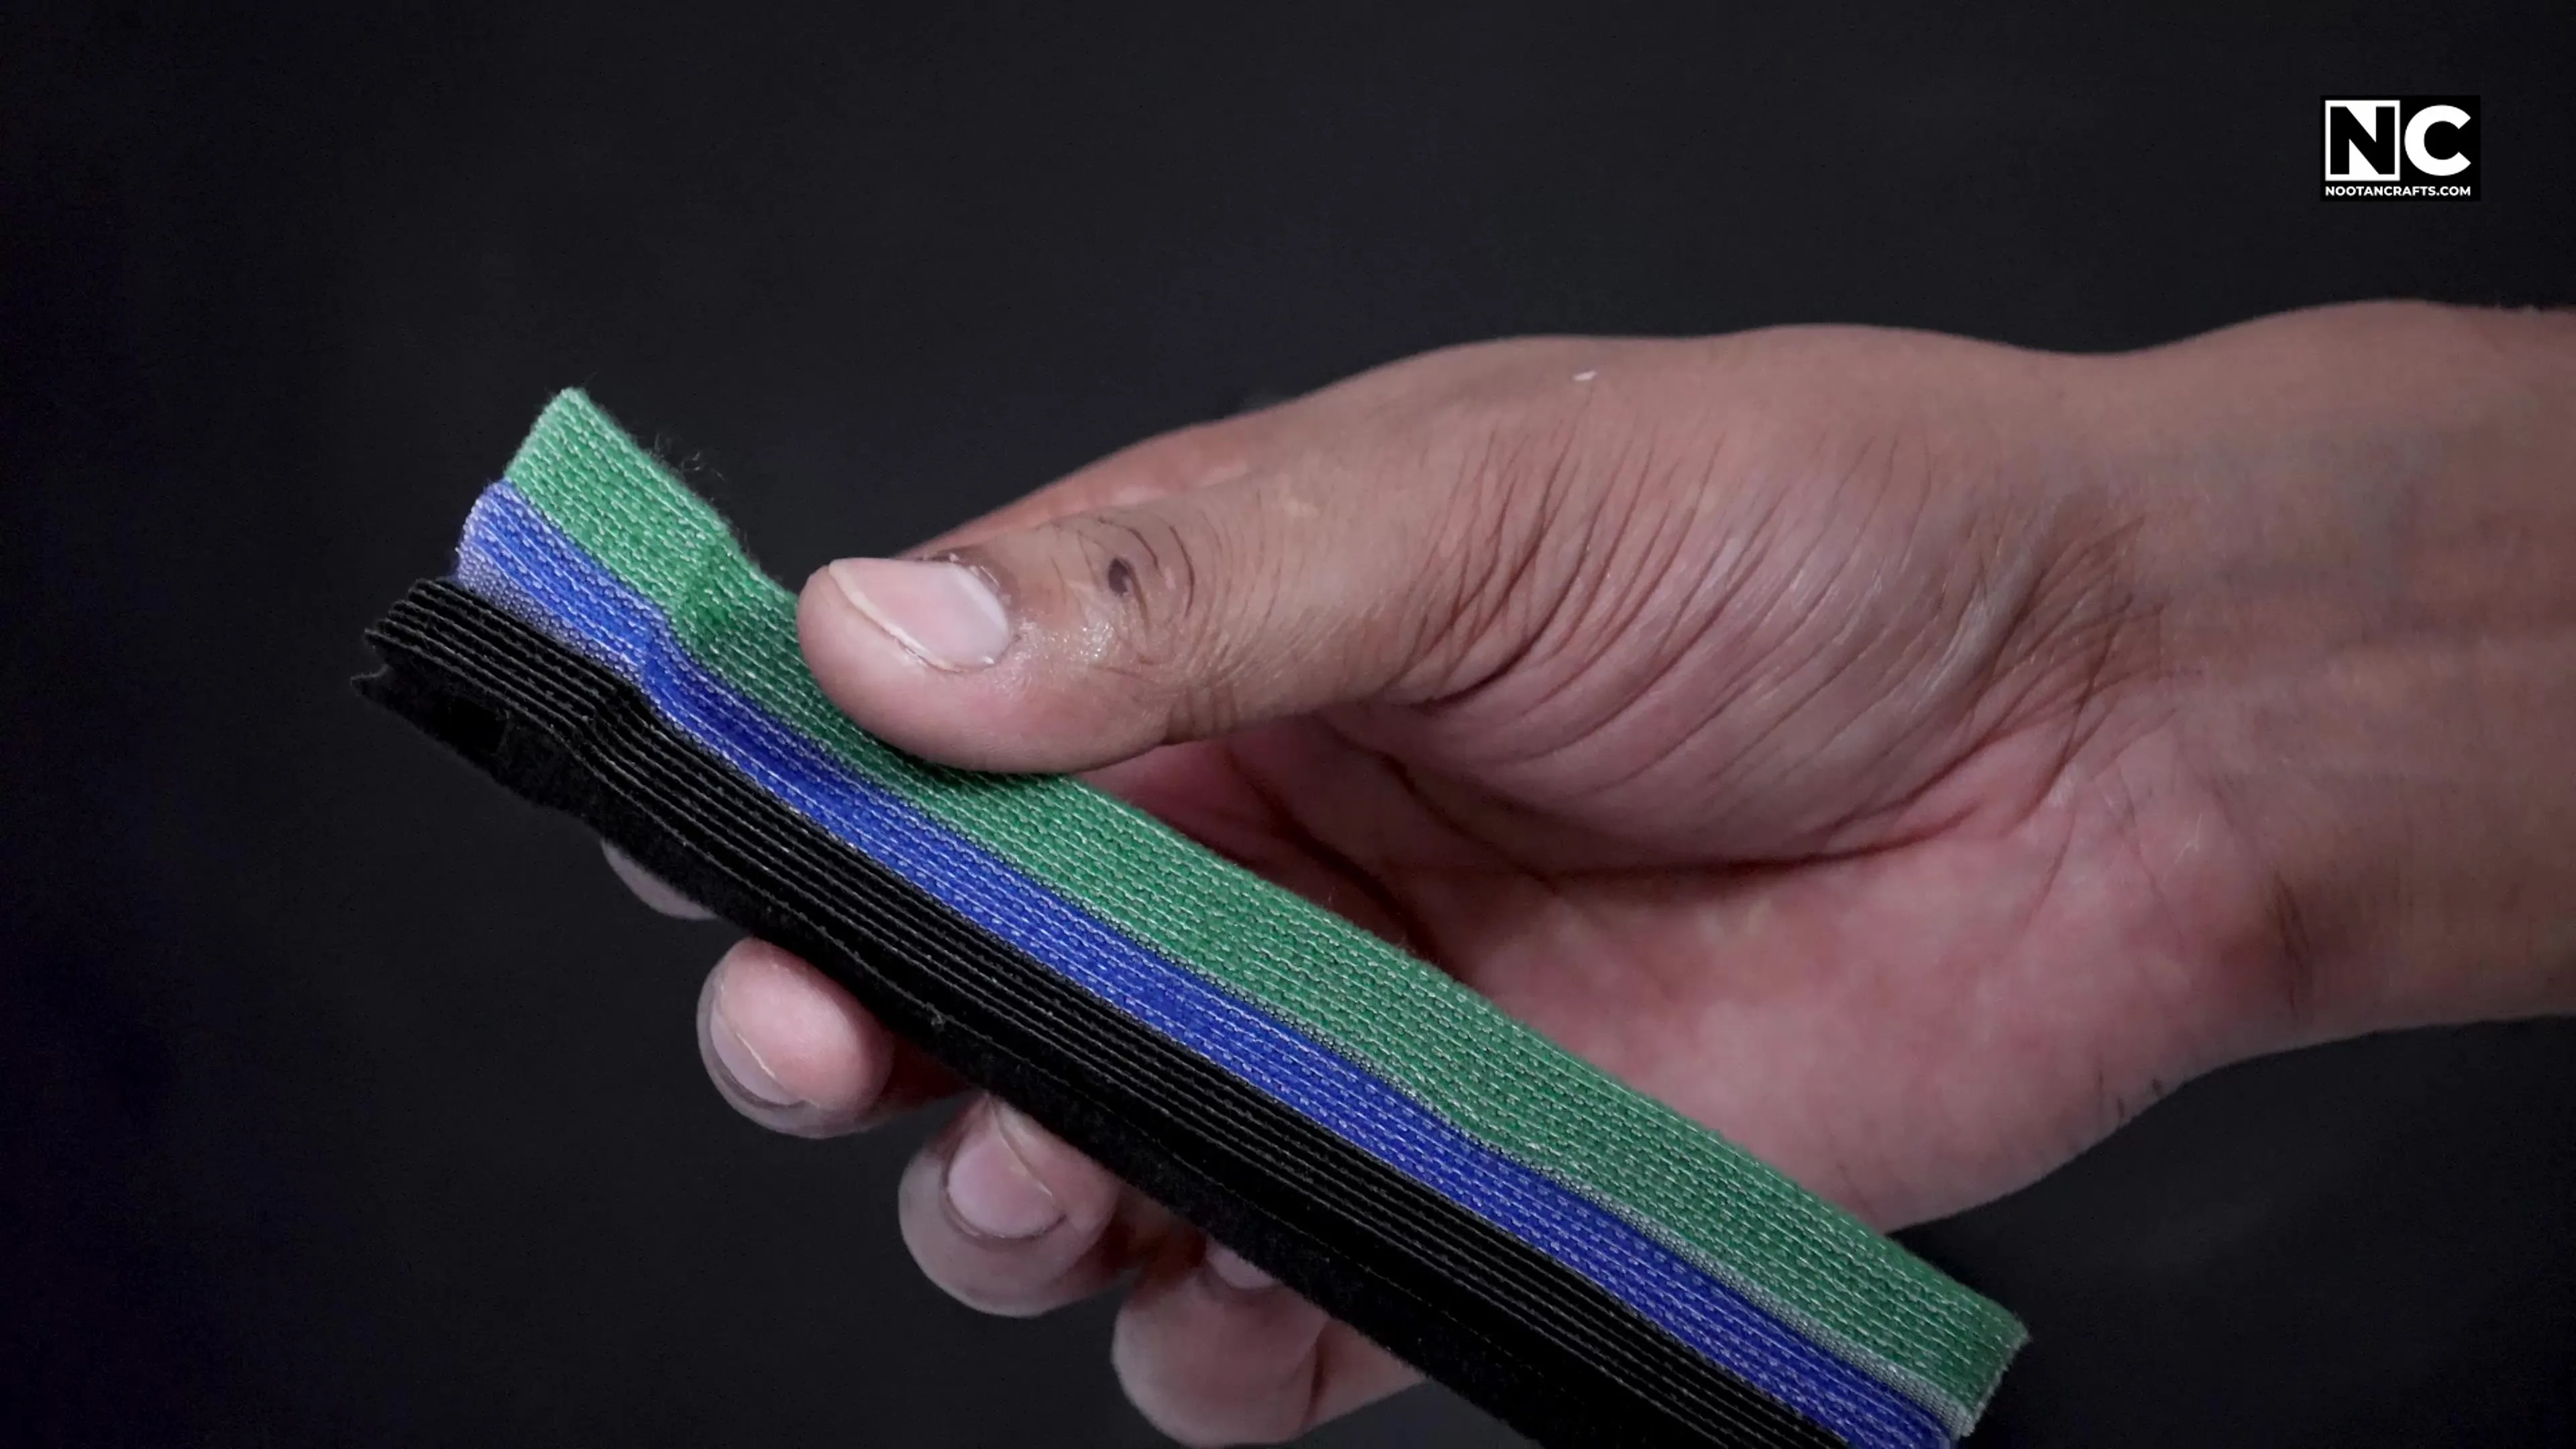

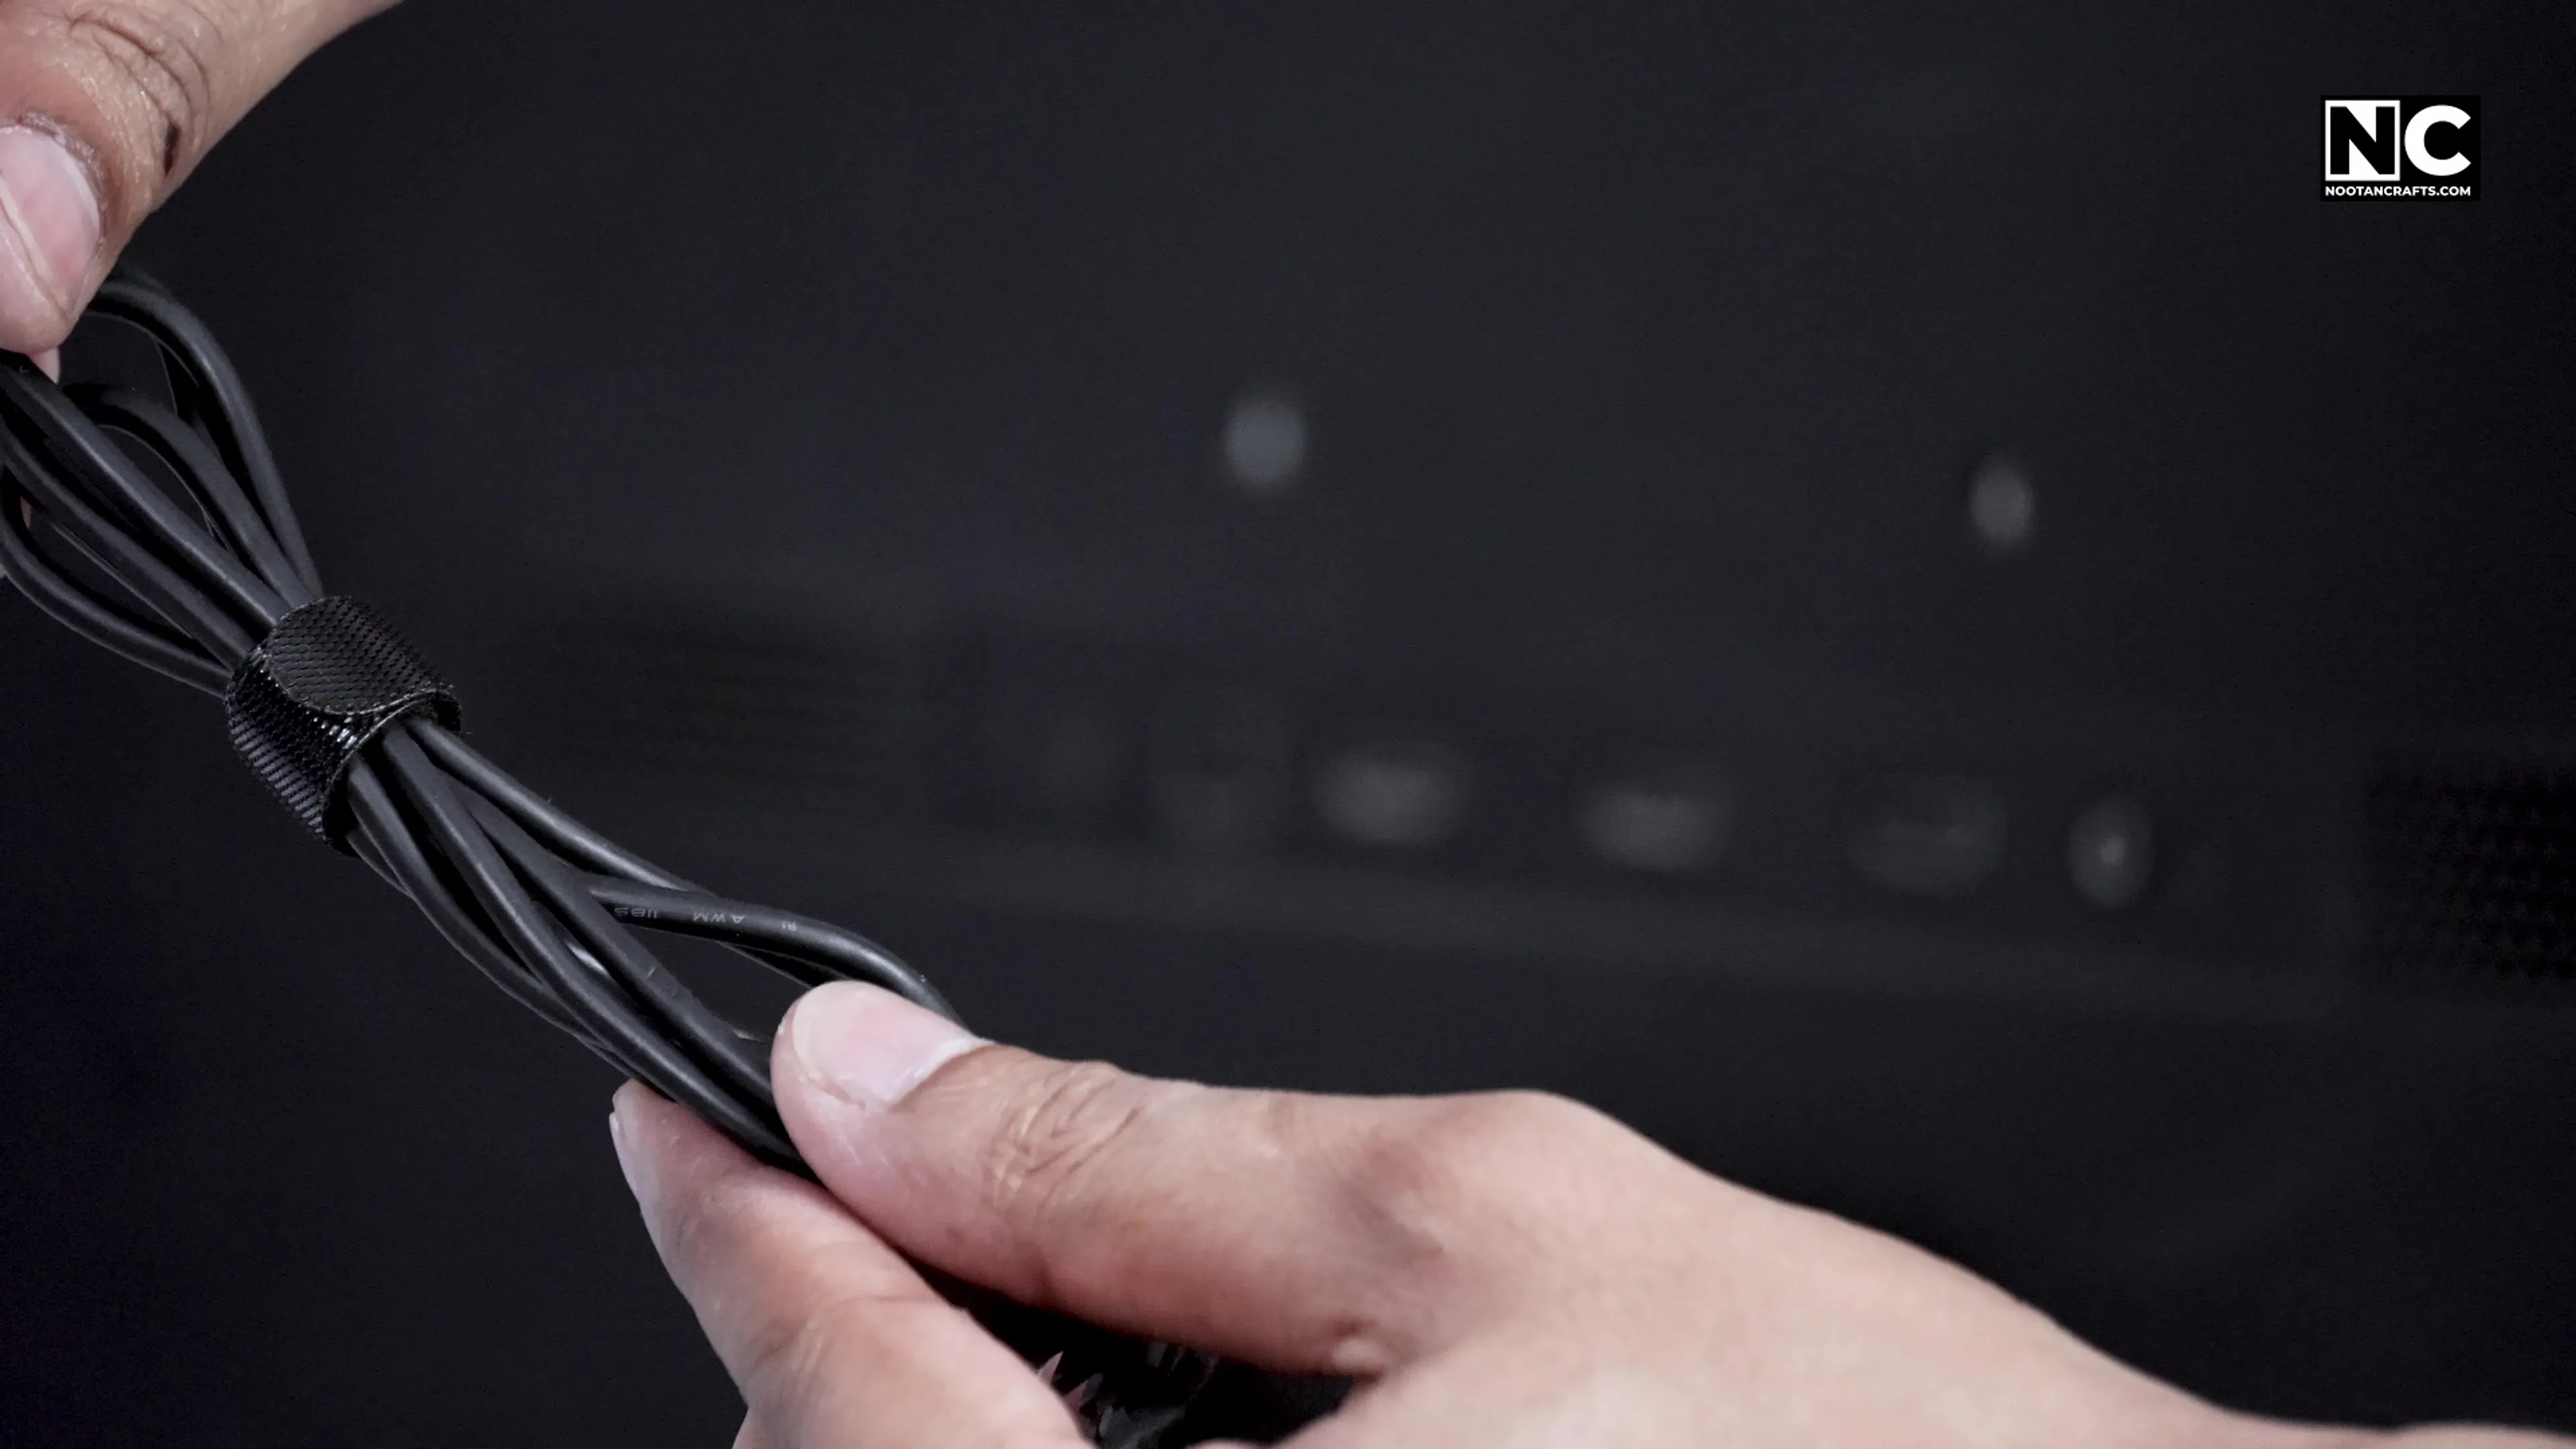
Velcro straps for the desk cables outside the case. Cheap, reusable, and far better than ties for anything you will unplug again.
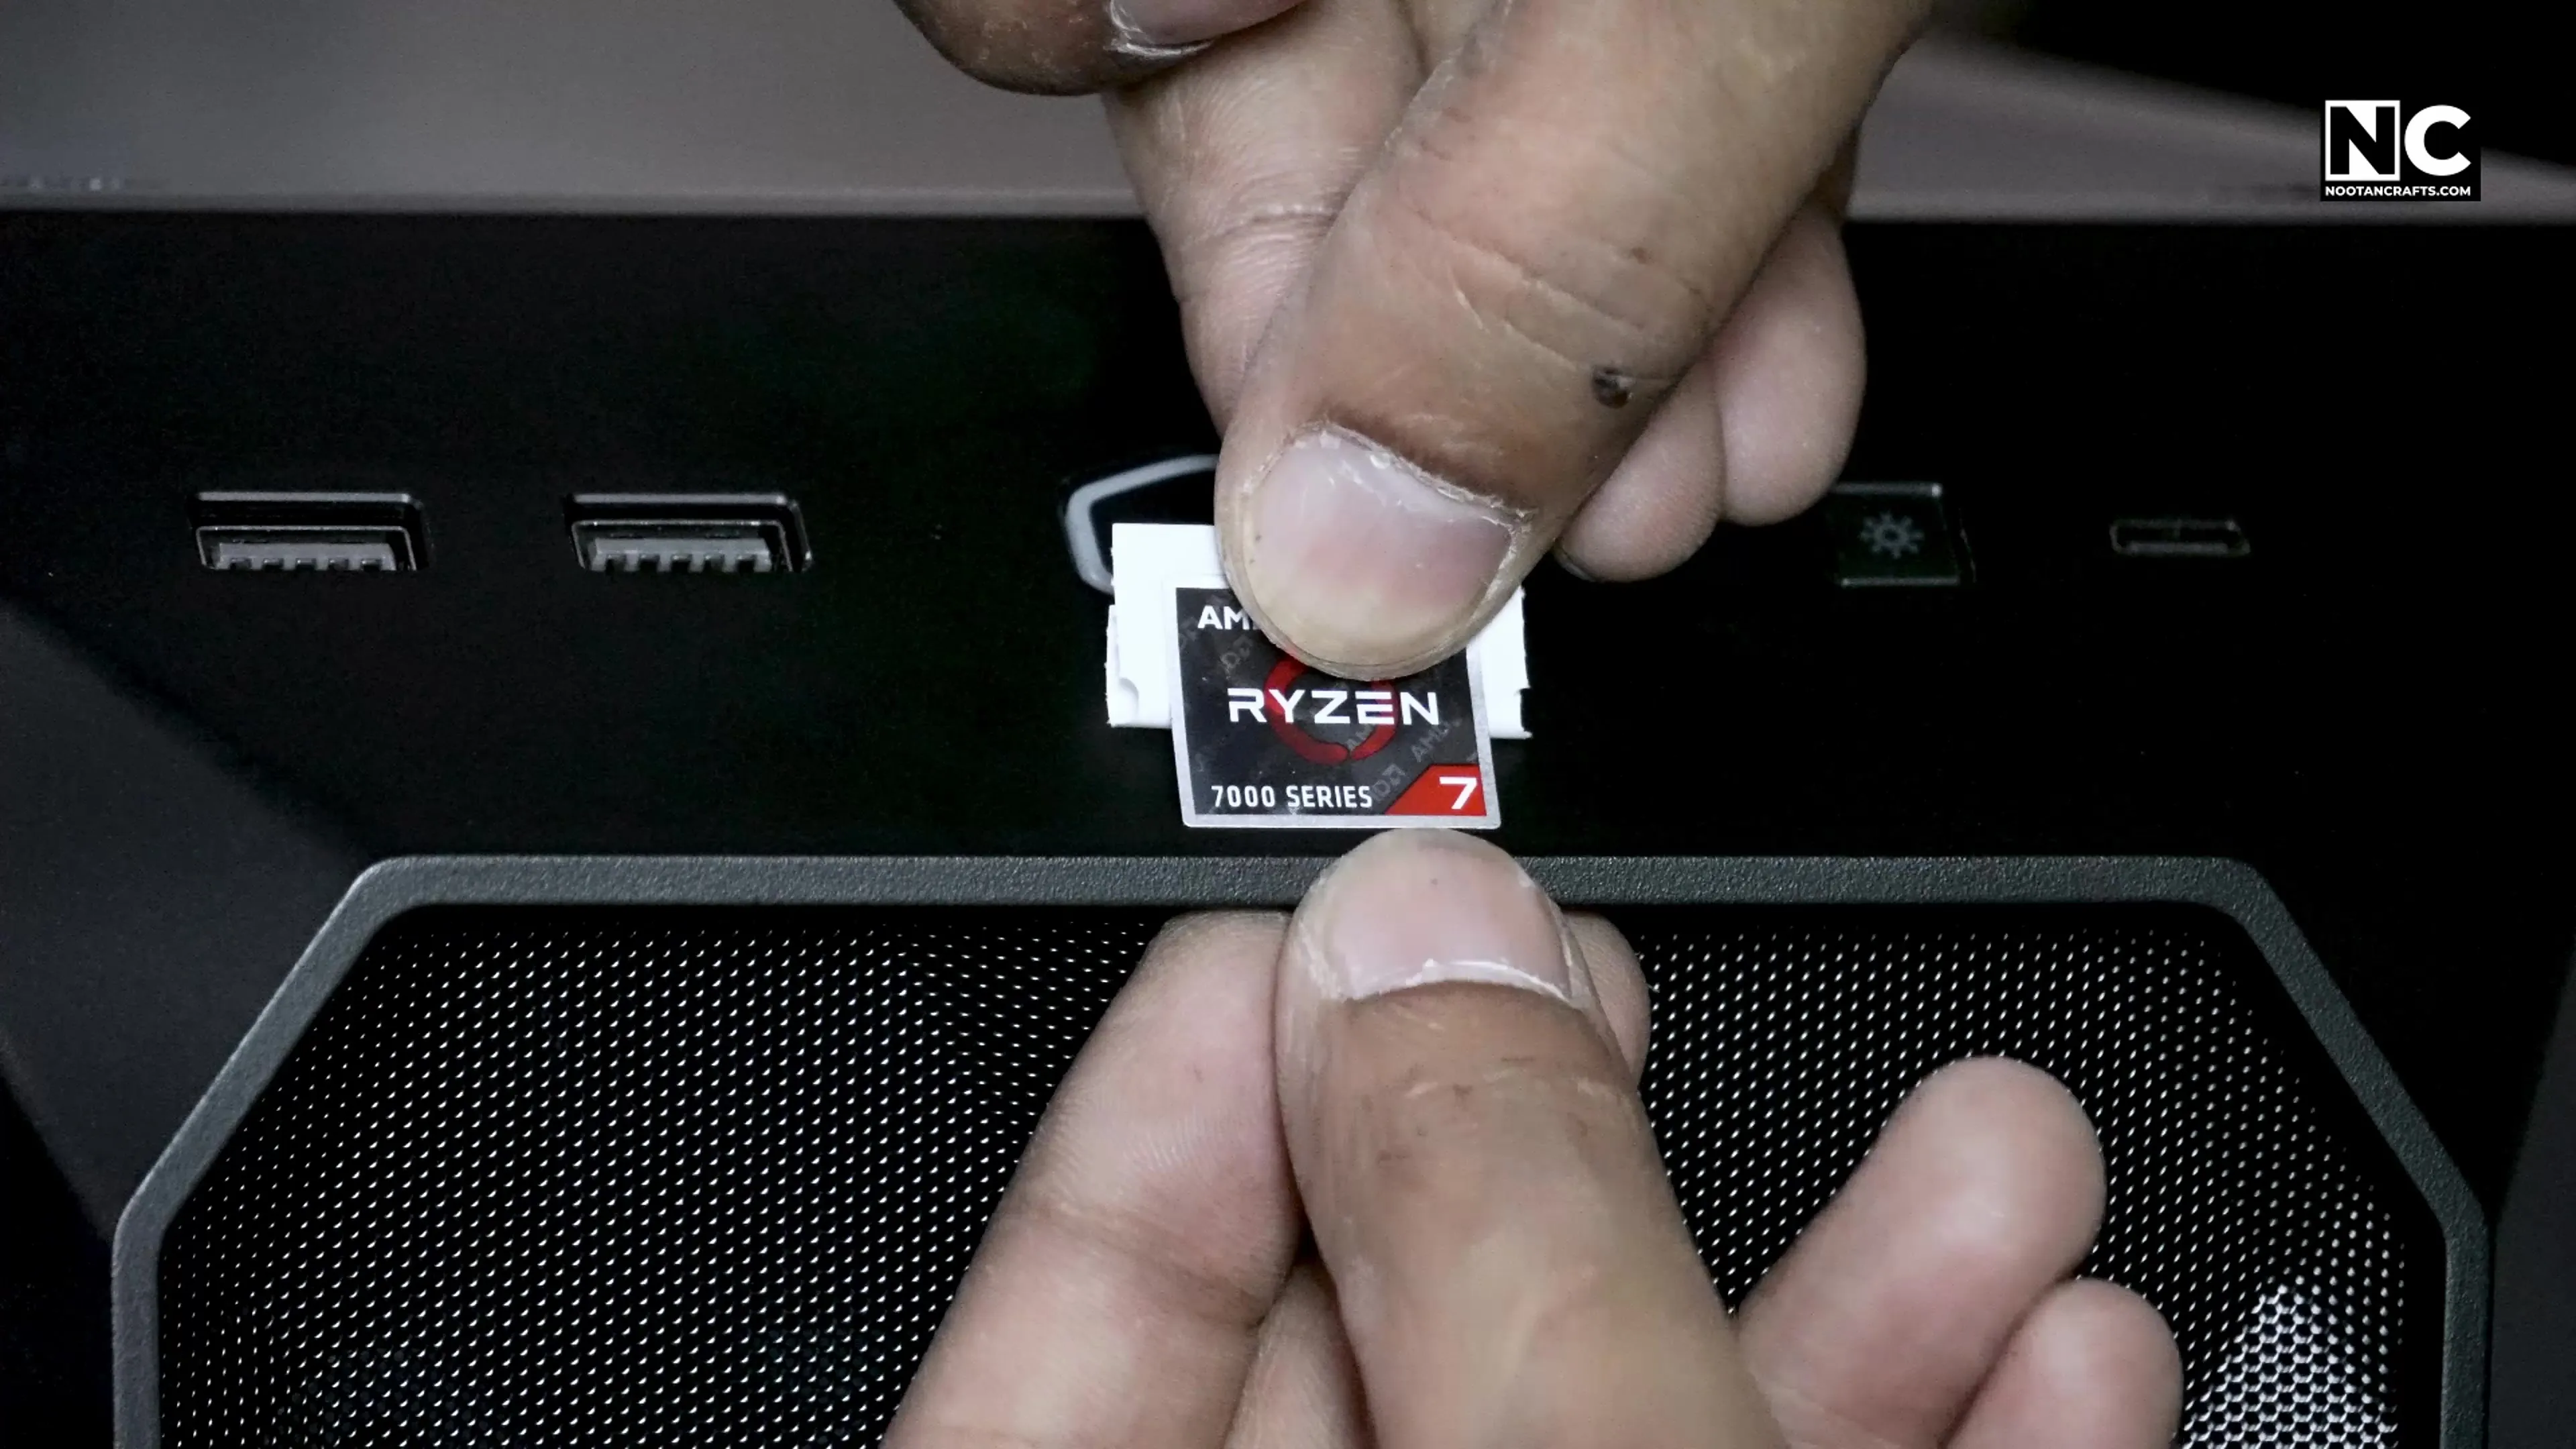
And the Ryzen badge, because the build is not finished without it.
BIOS Update and First Boot
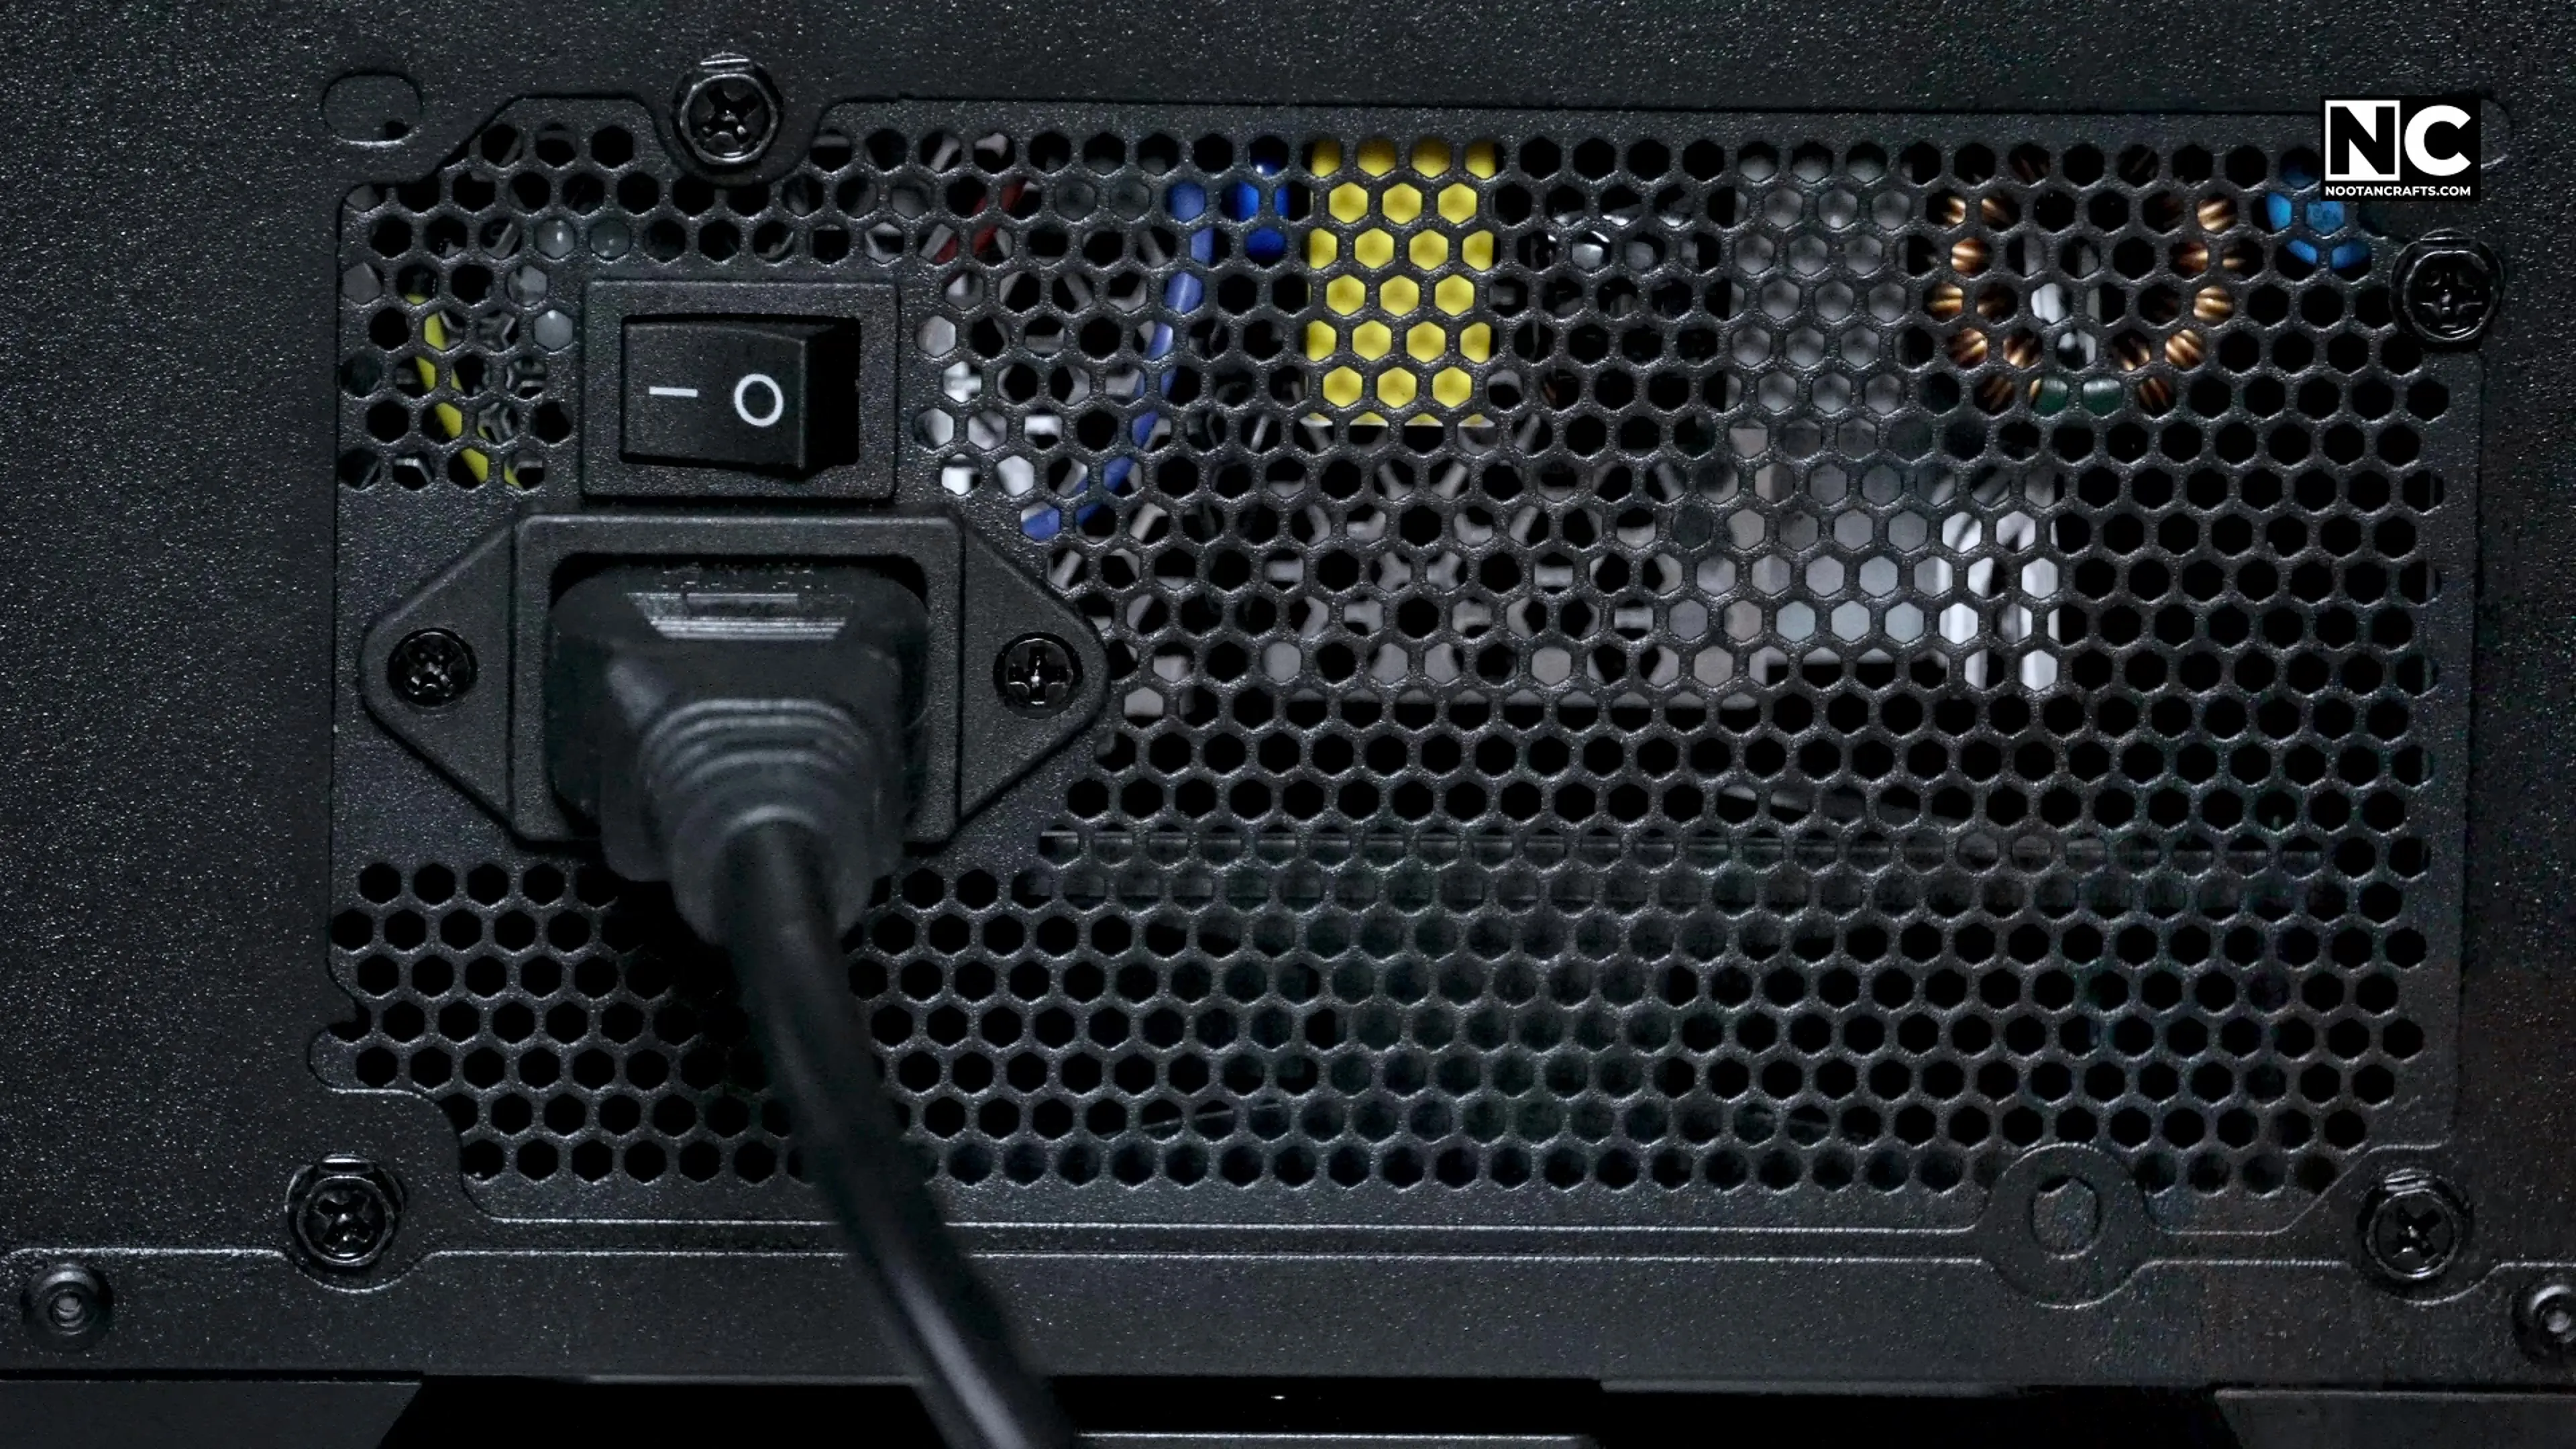
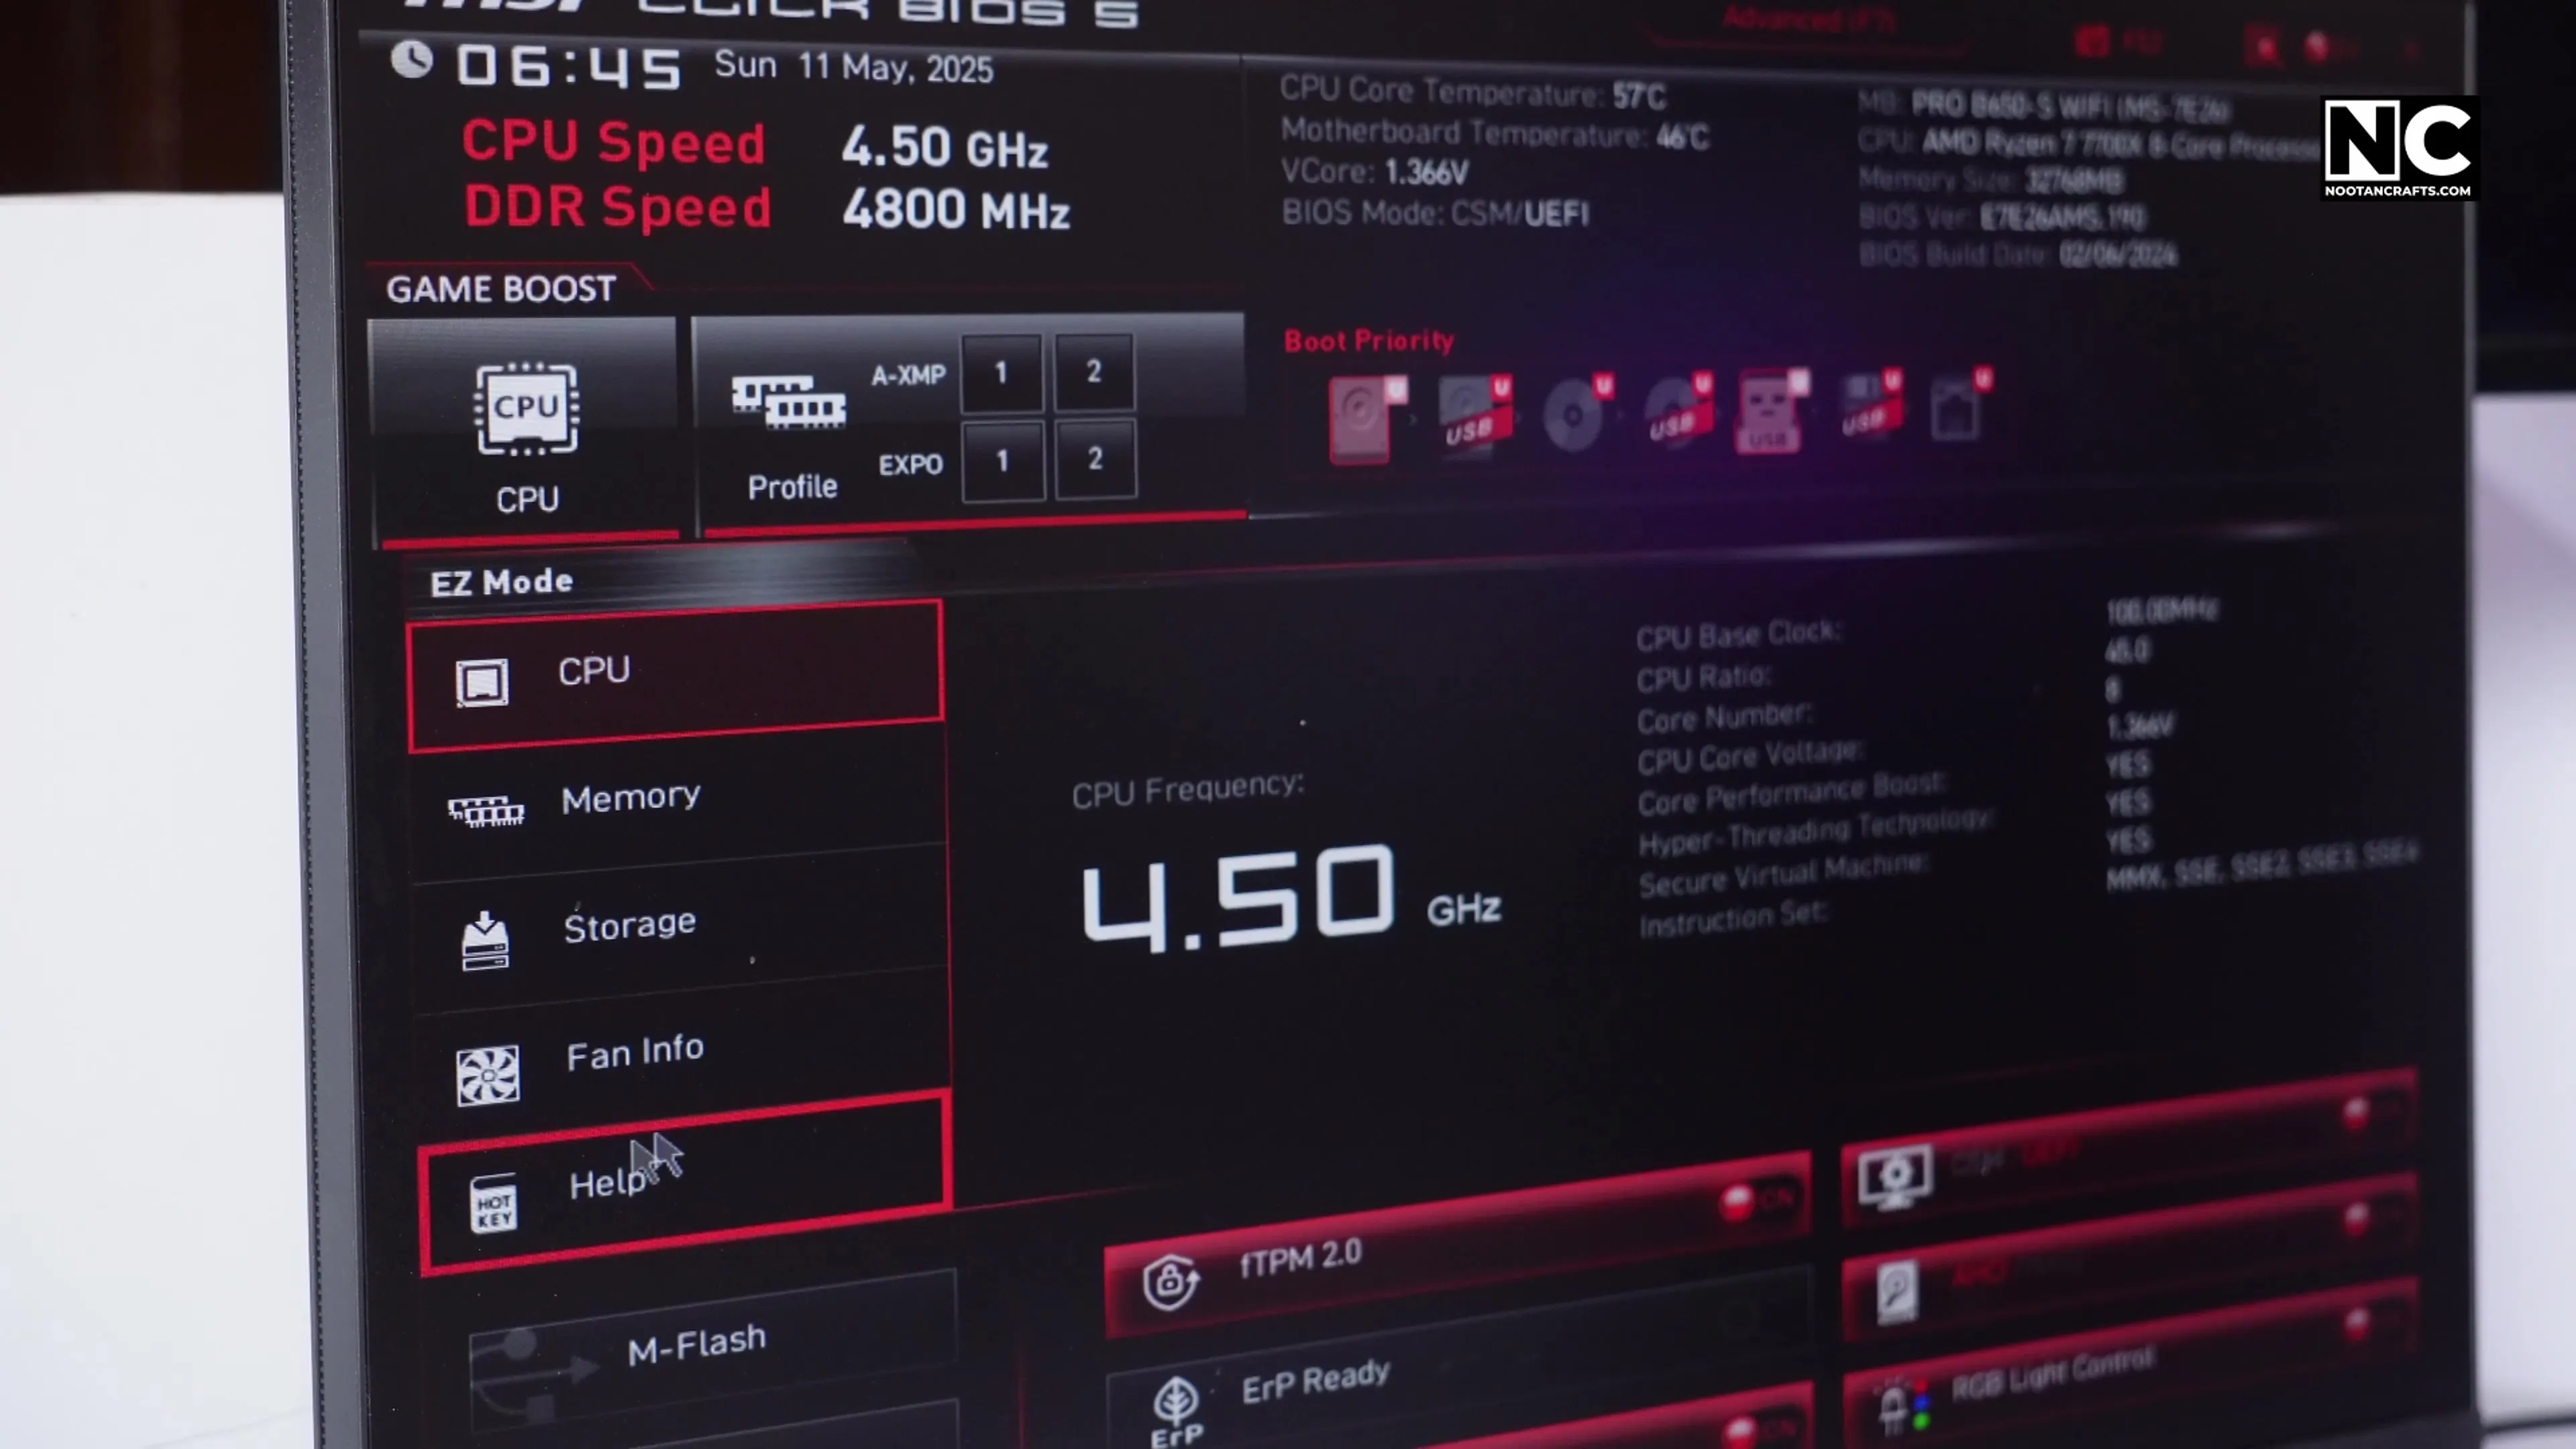
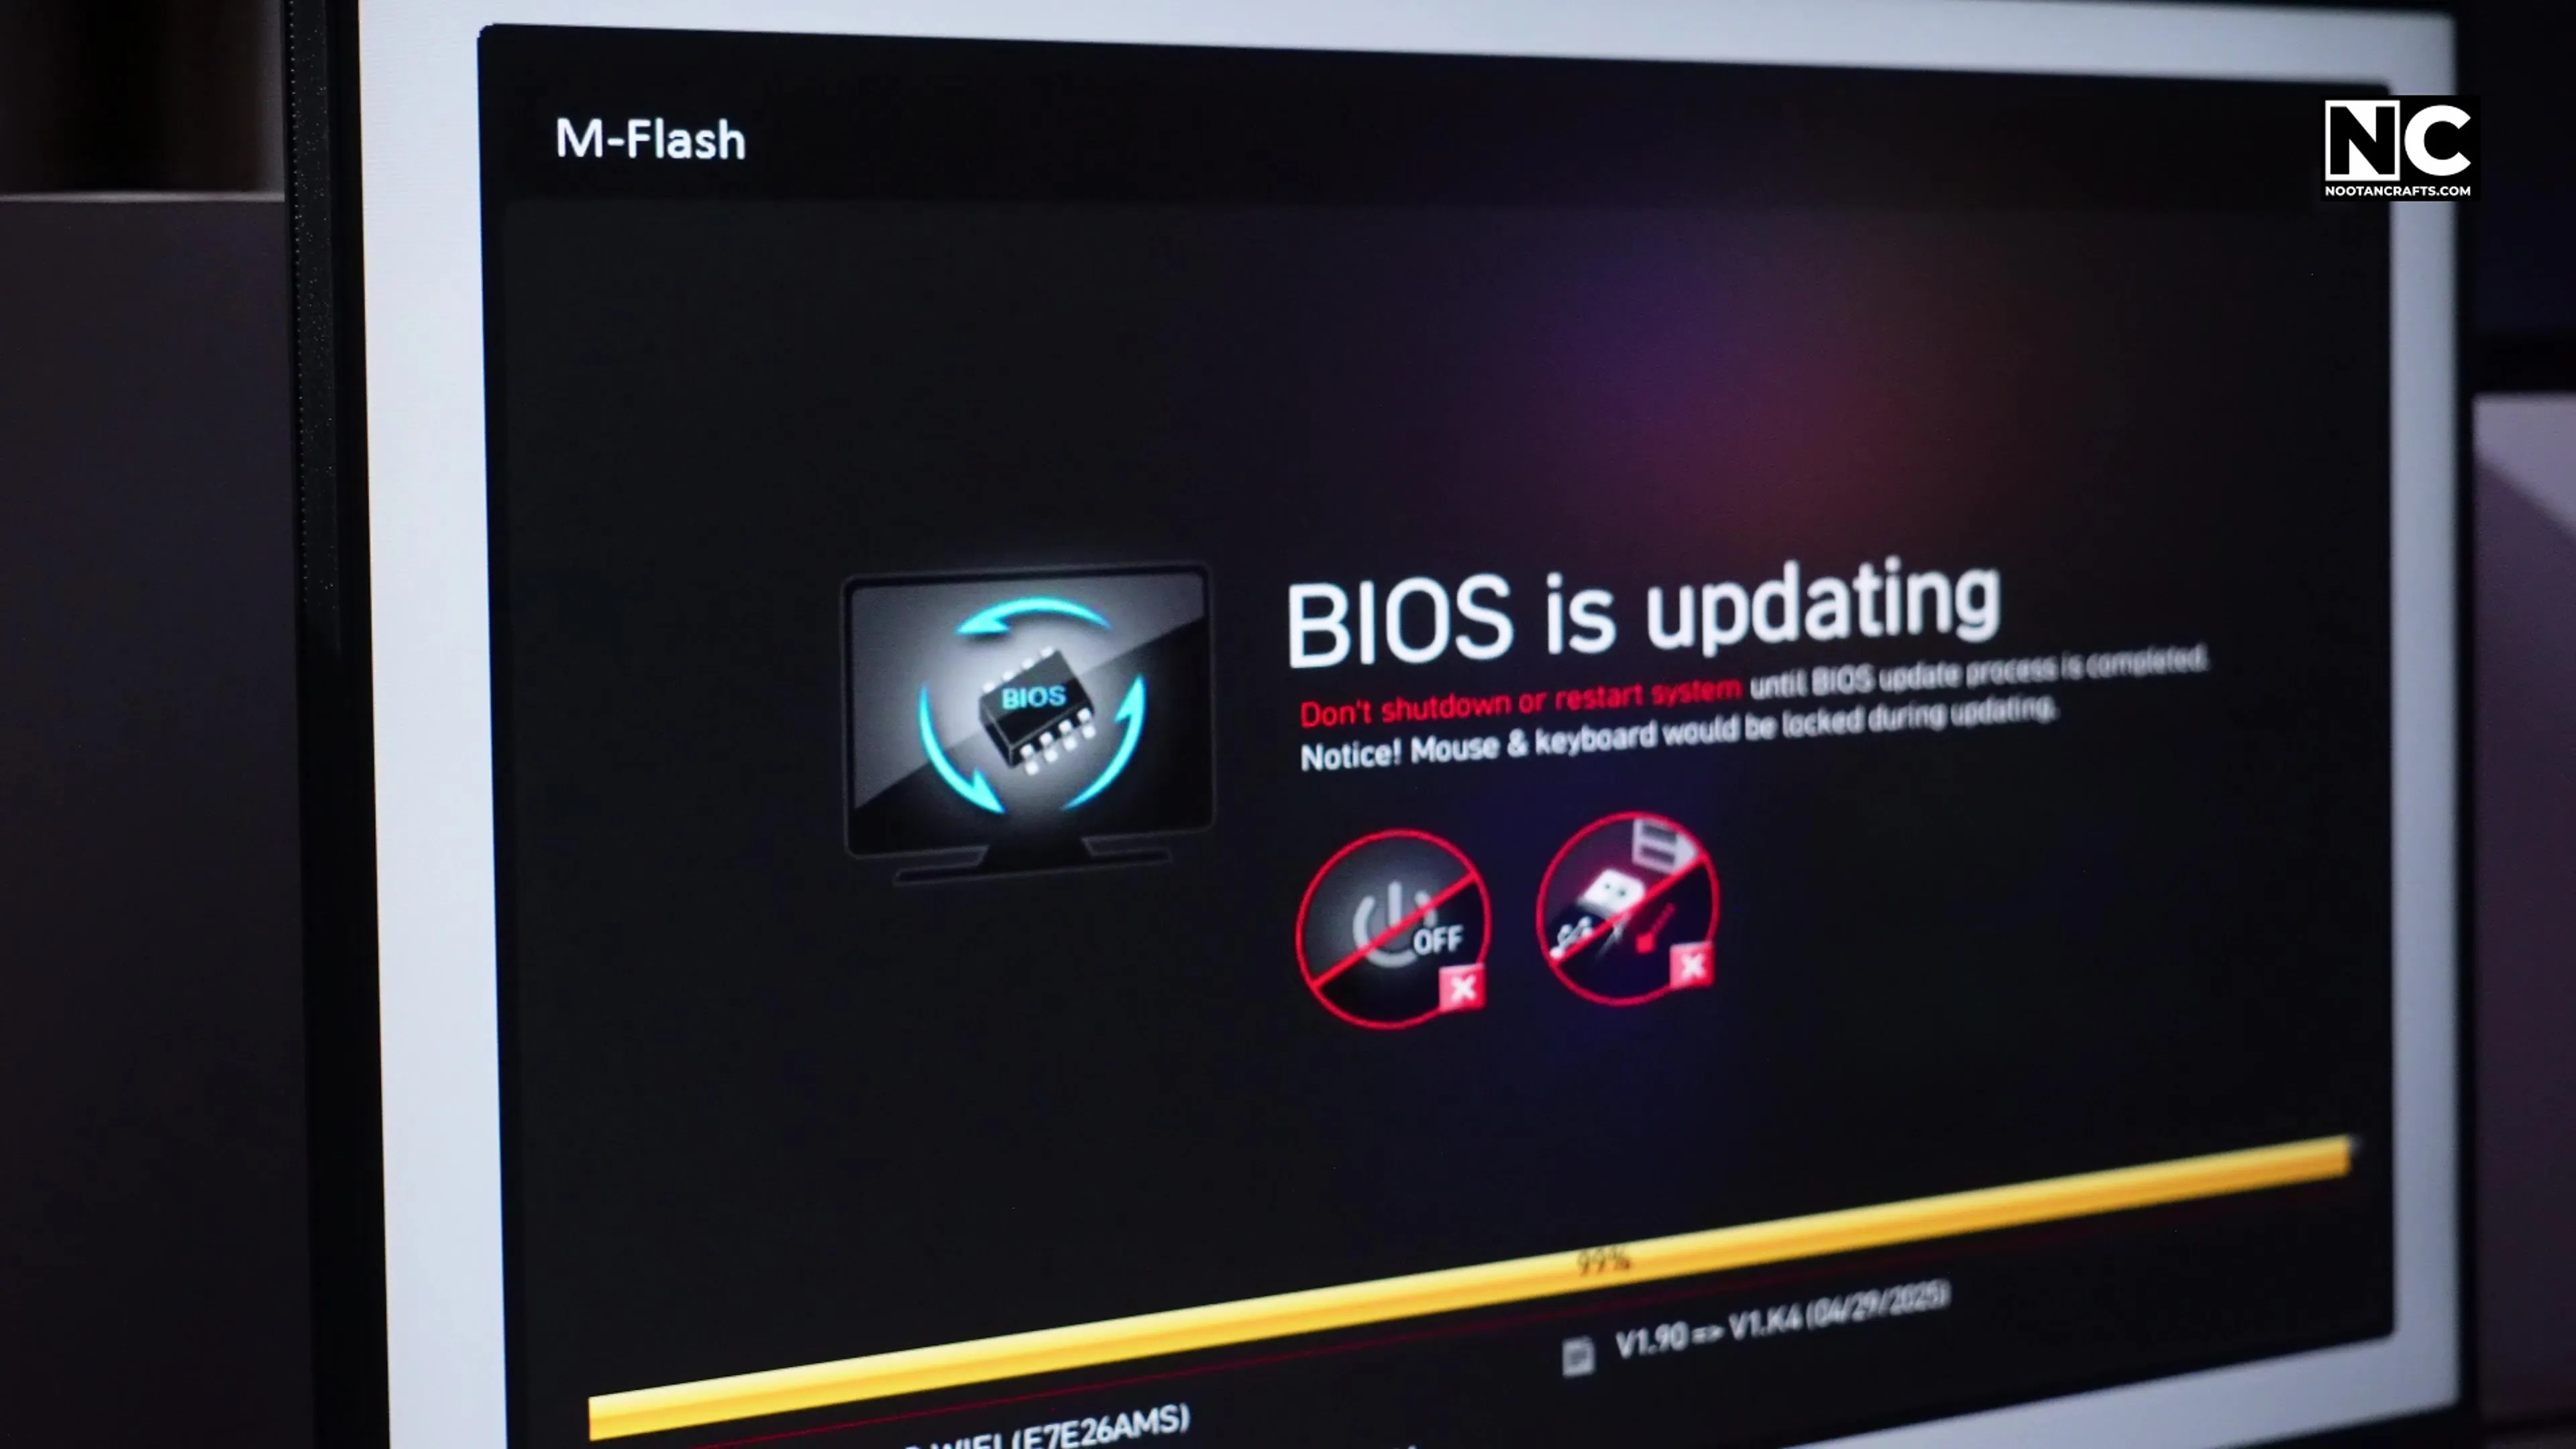
Connect the display, keyboard and mouse, switch the PSU on at the back, and tap Delete during POST to enter BIOS.
I updated the firmware straight away using M-Flash, before installing anything. Download the current BIOS for your exact board revision onto a USB stick, point M-Flash at it, and leave it alone until it finishes. An interrupted flash can leave the board unbootable, so it is worth doing while nothing else is at stake.
The other thing to do here, which is easy to forget: enable the memory’s EXPO profile. Out of the box DDR5 runs at the JEDEC default, not the 6000 you paid for.
What the Build Actually Delivers

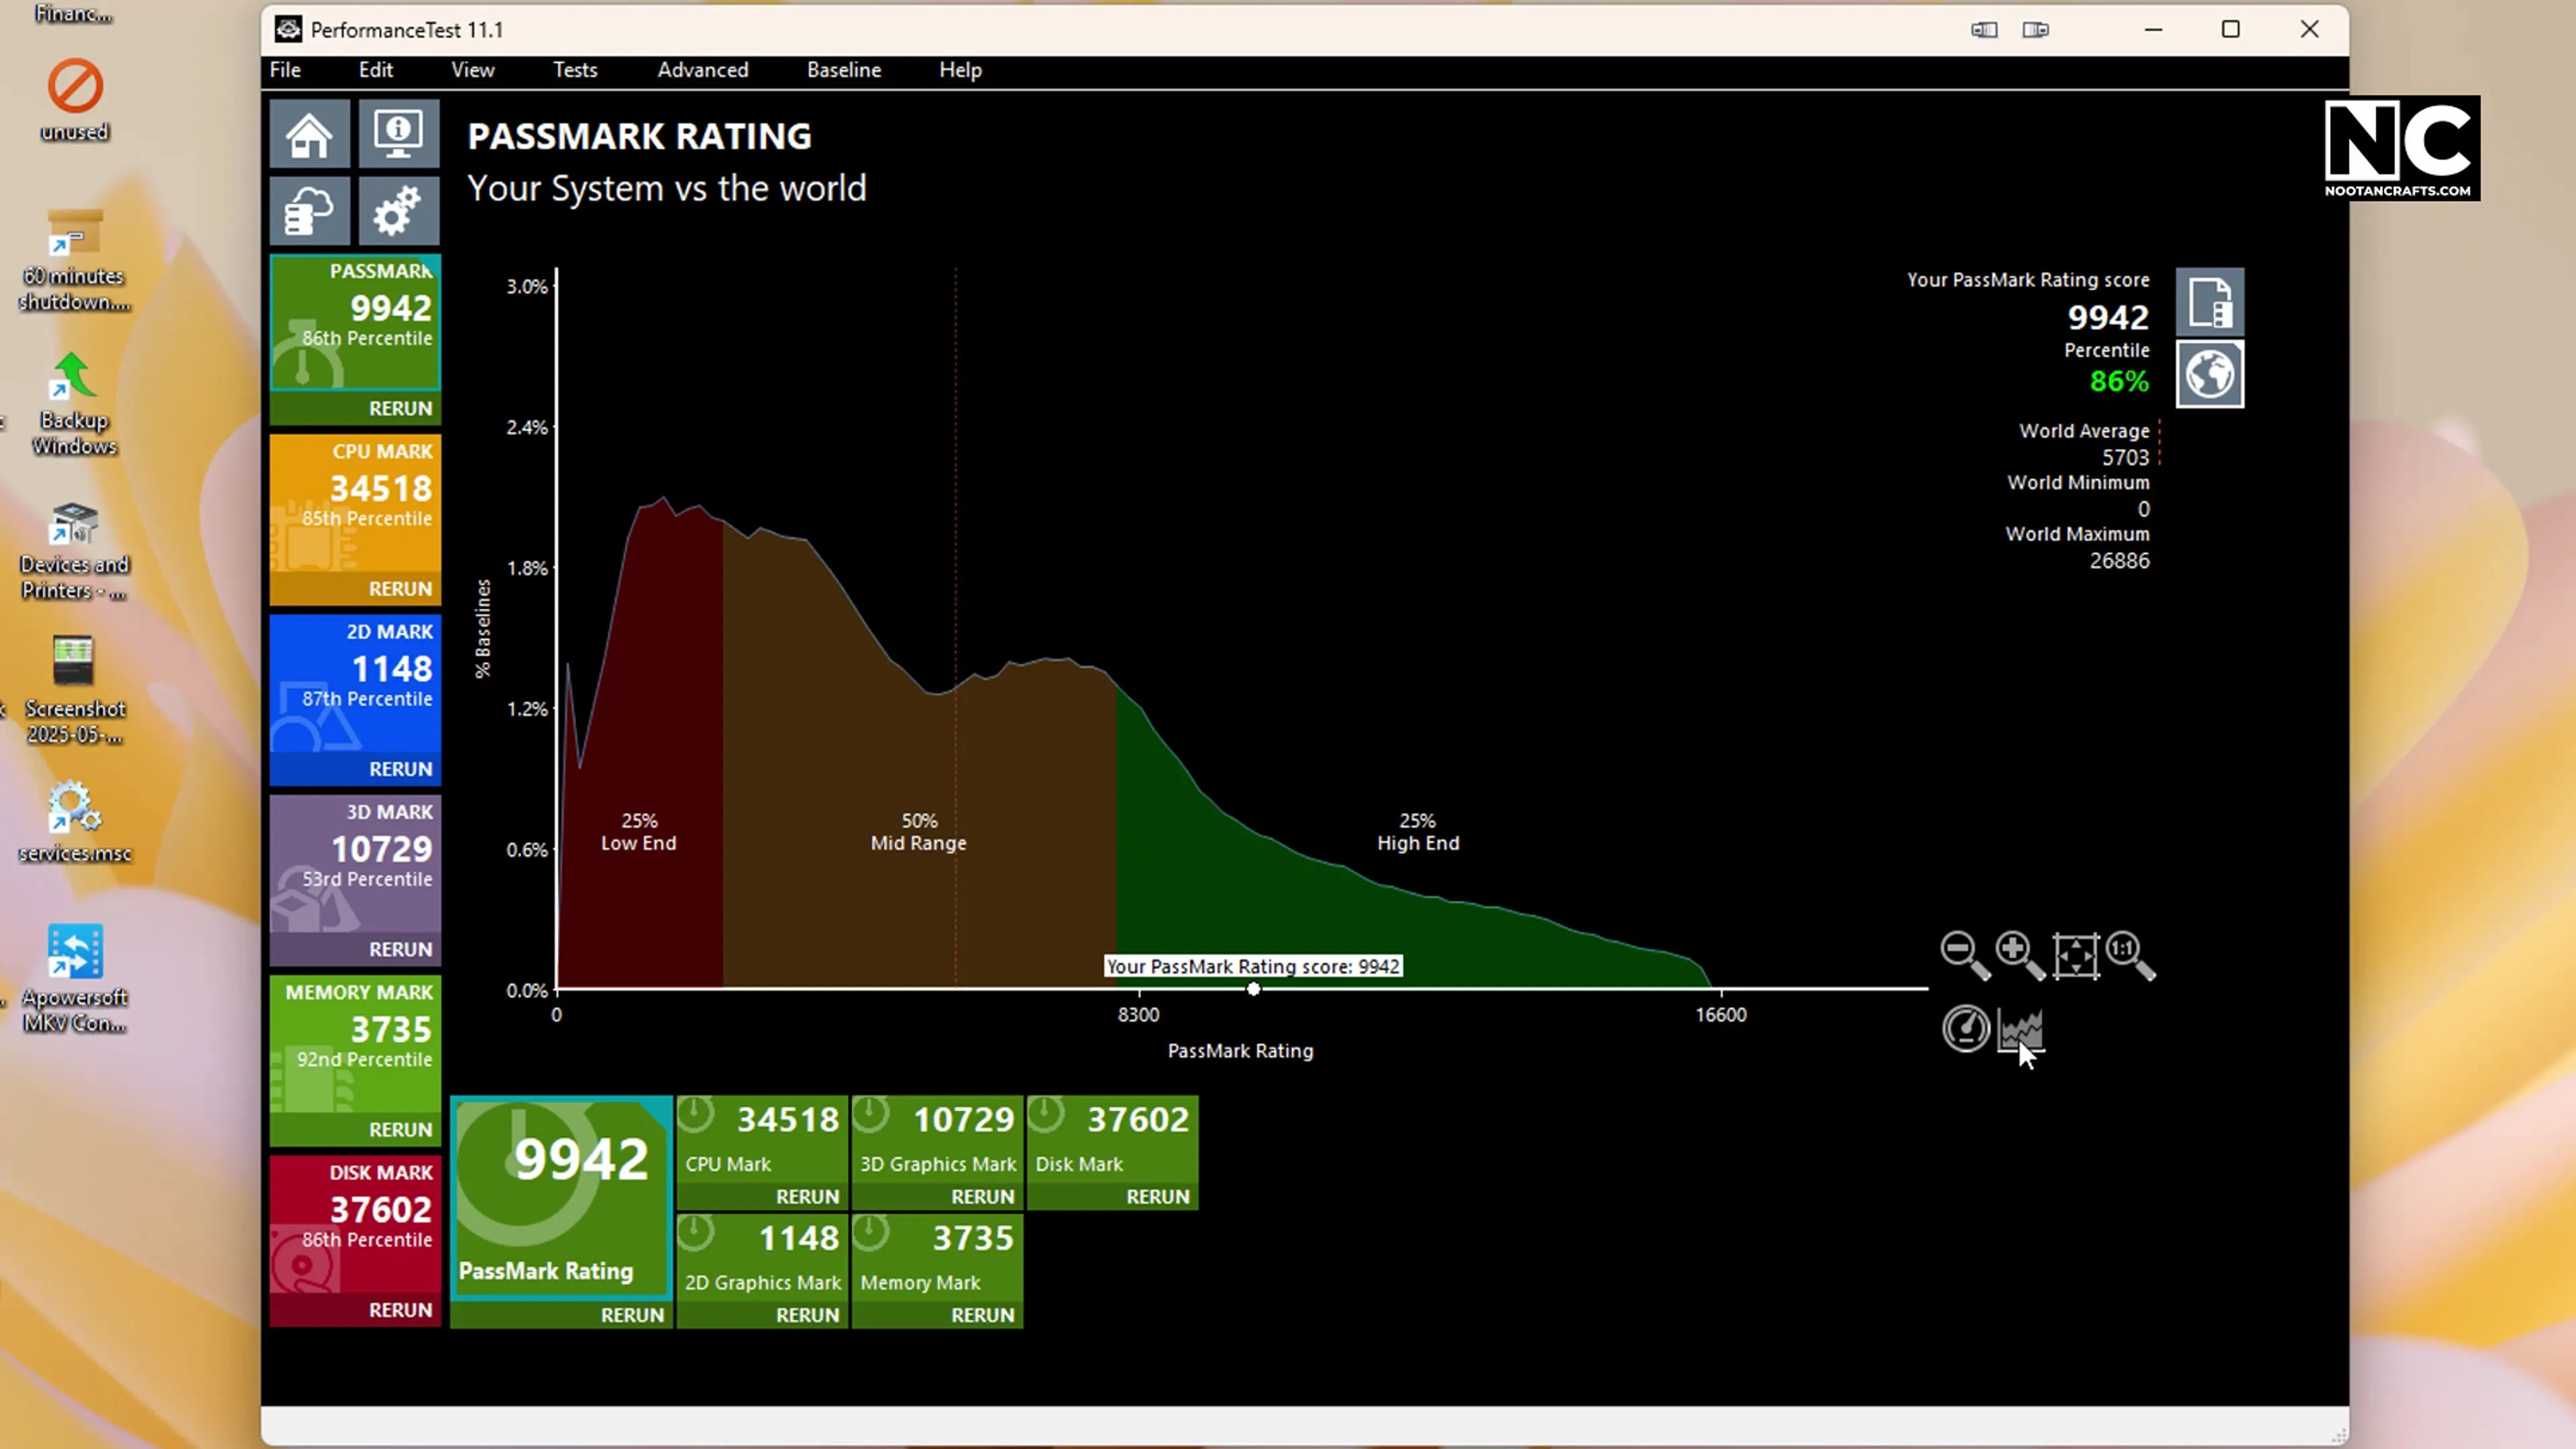
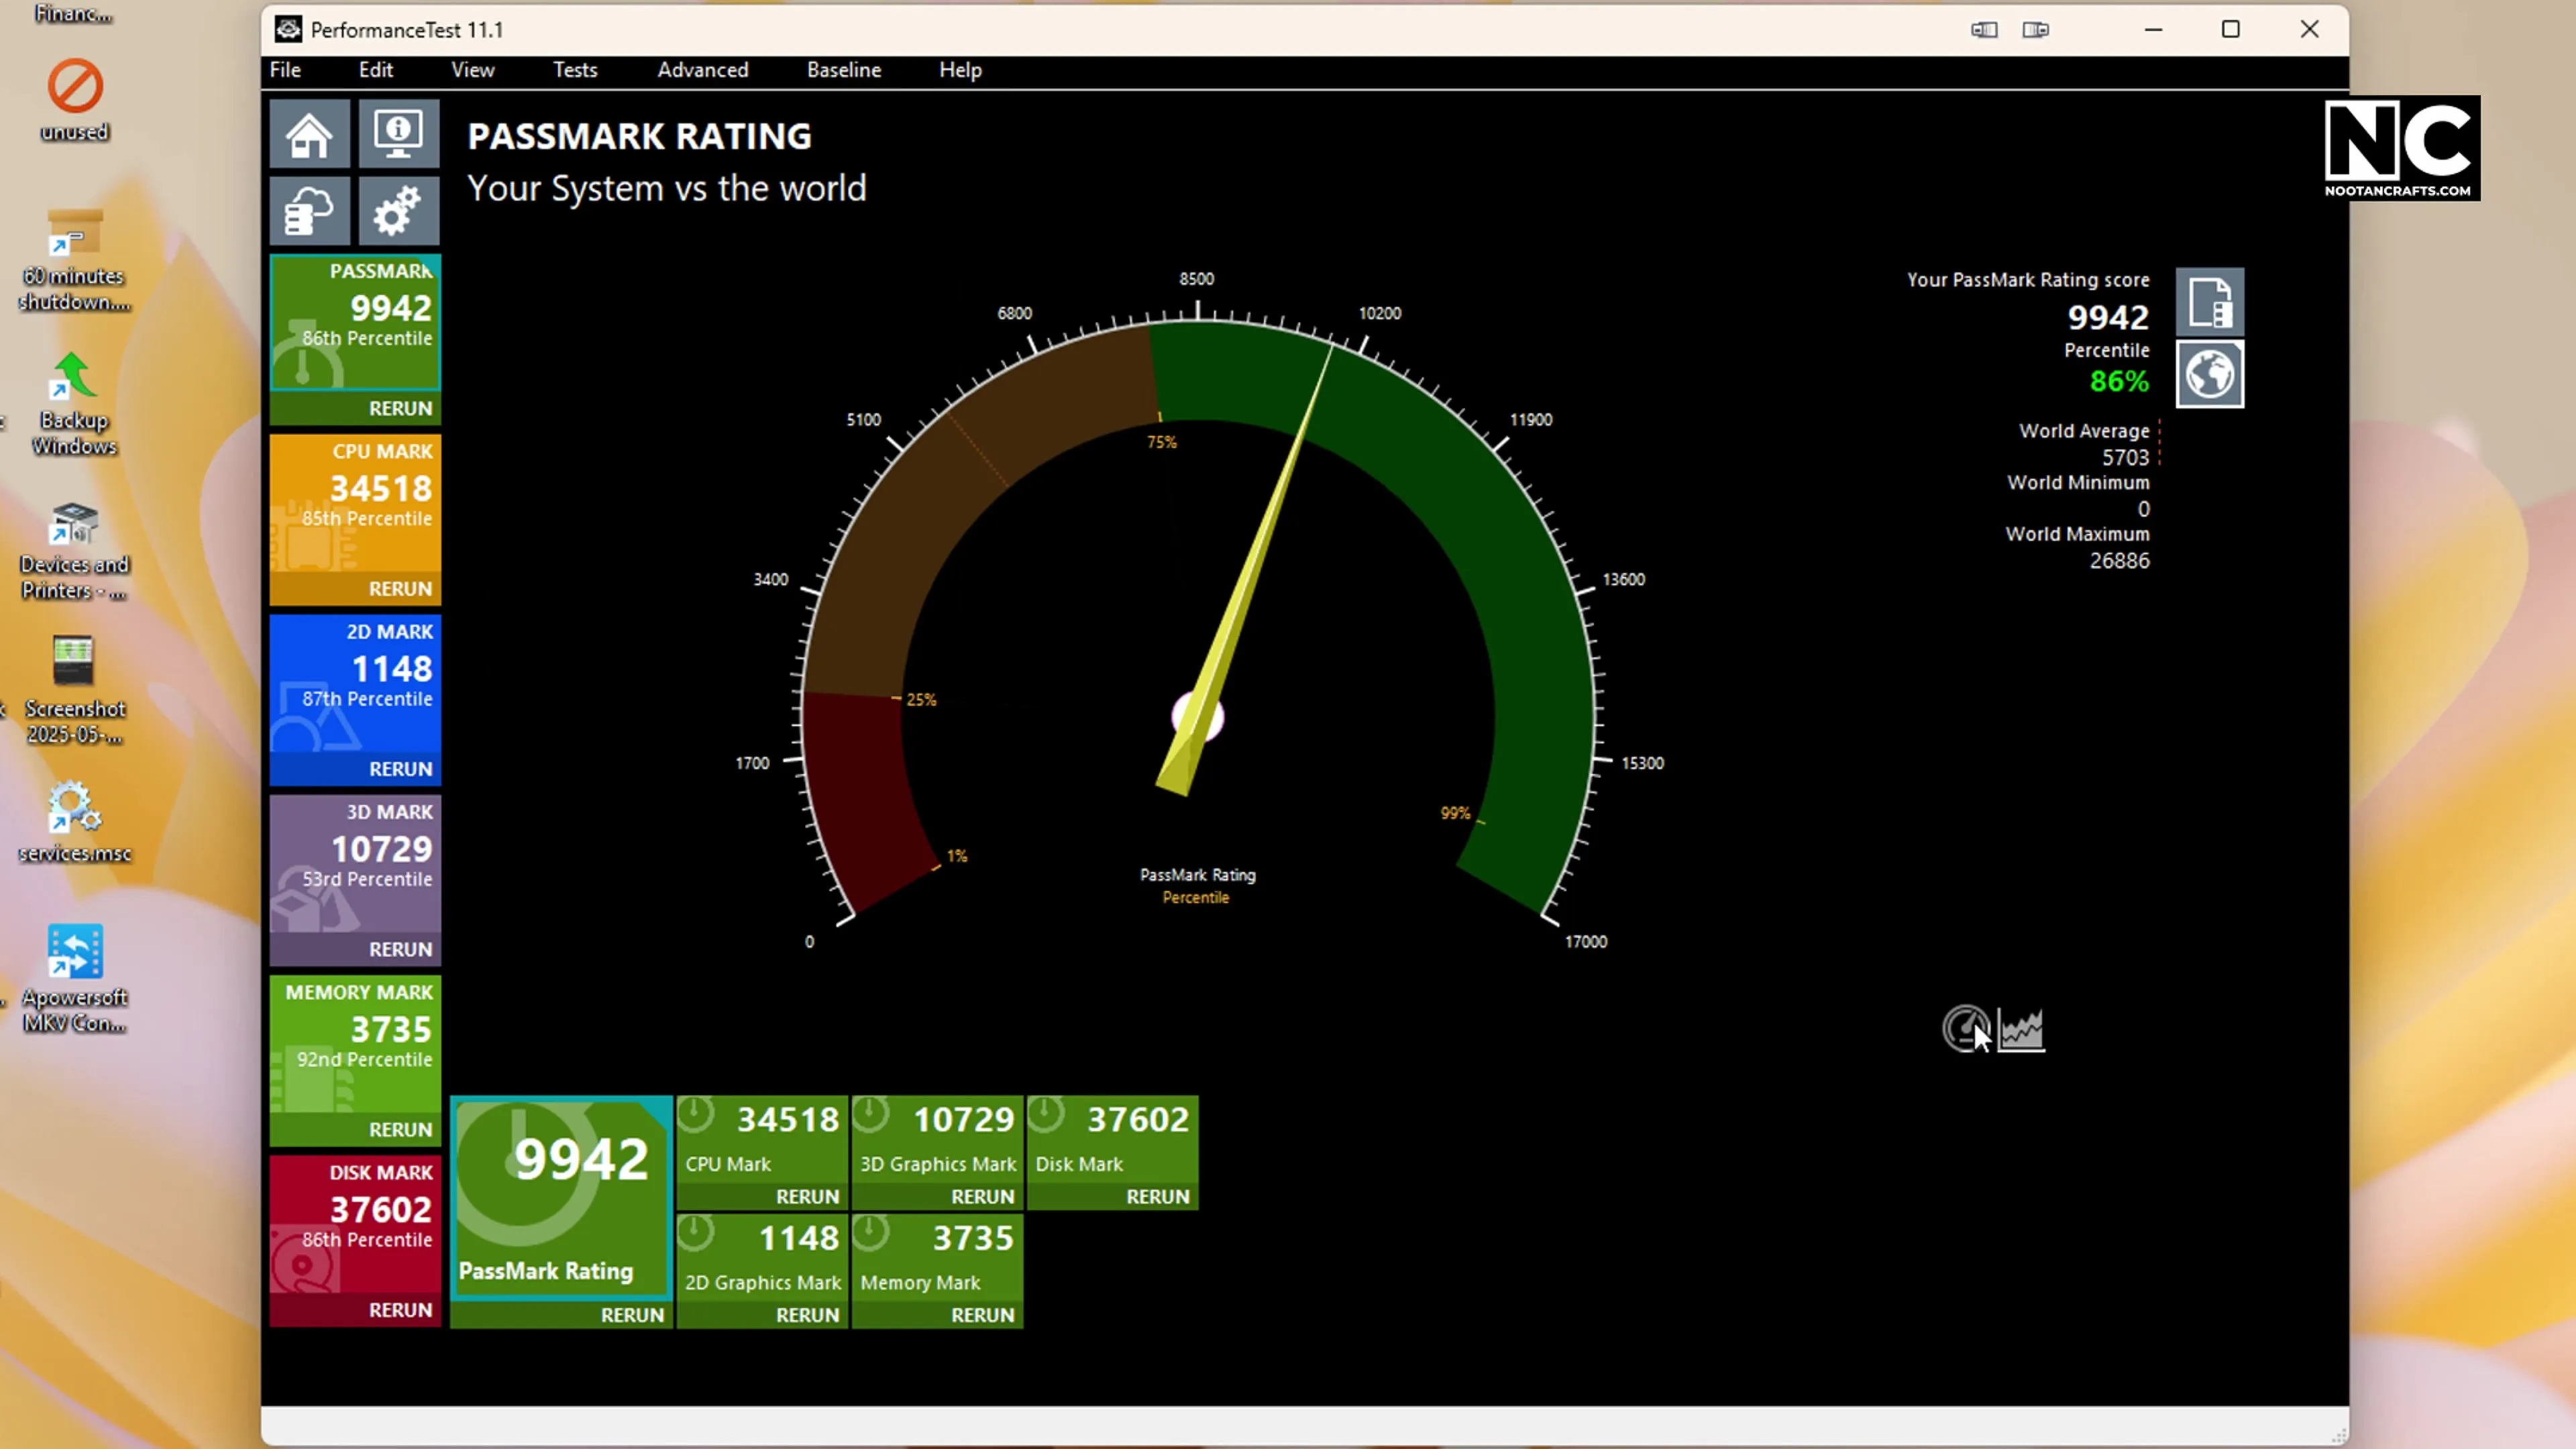
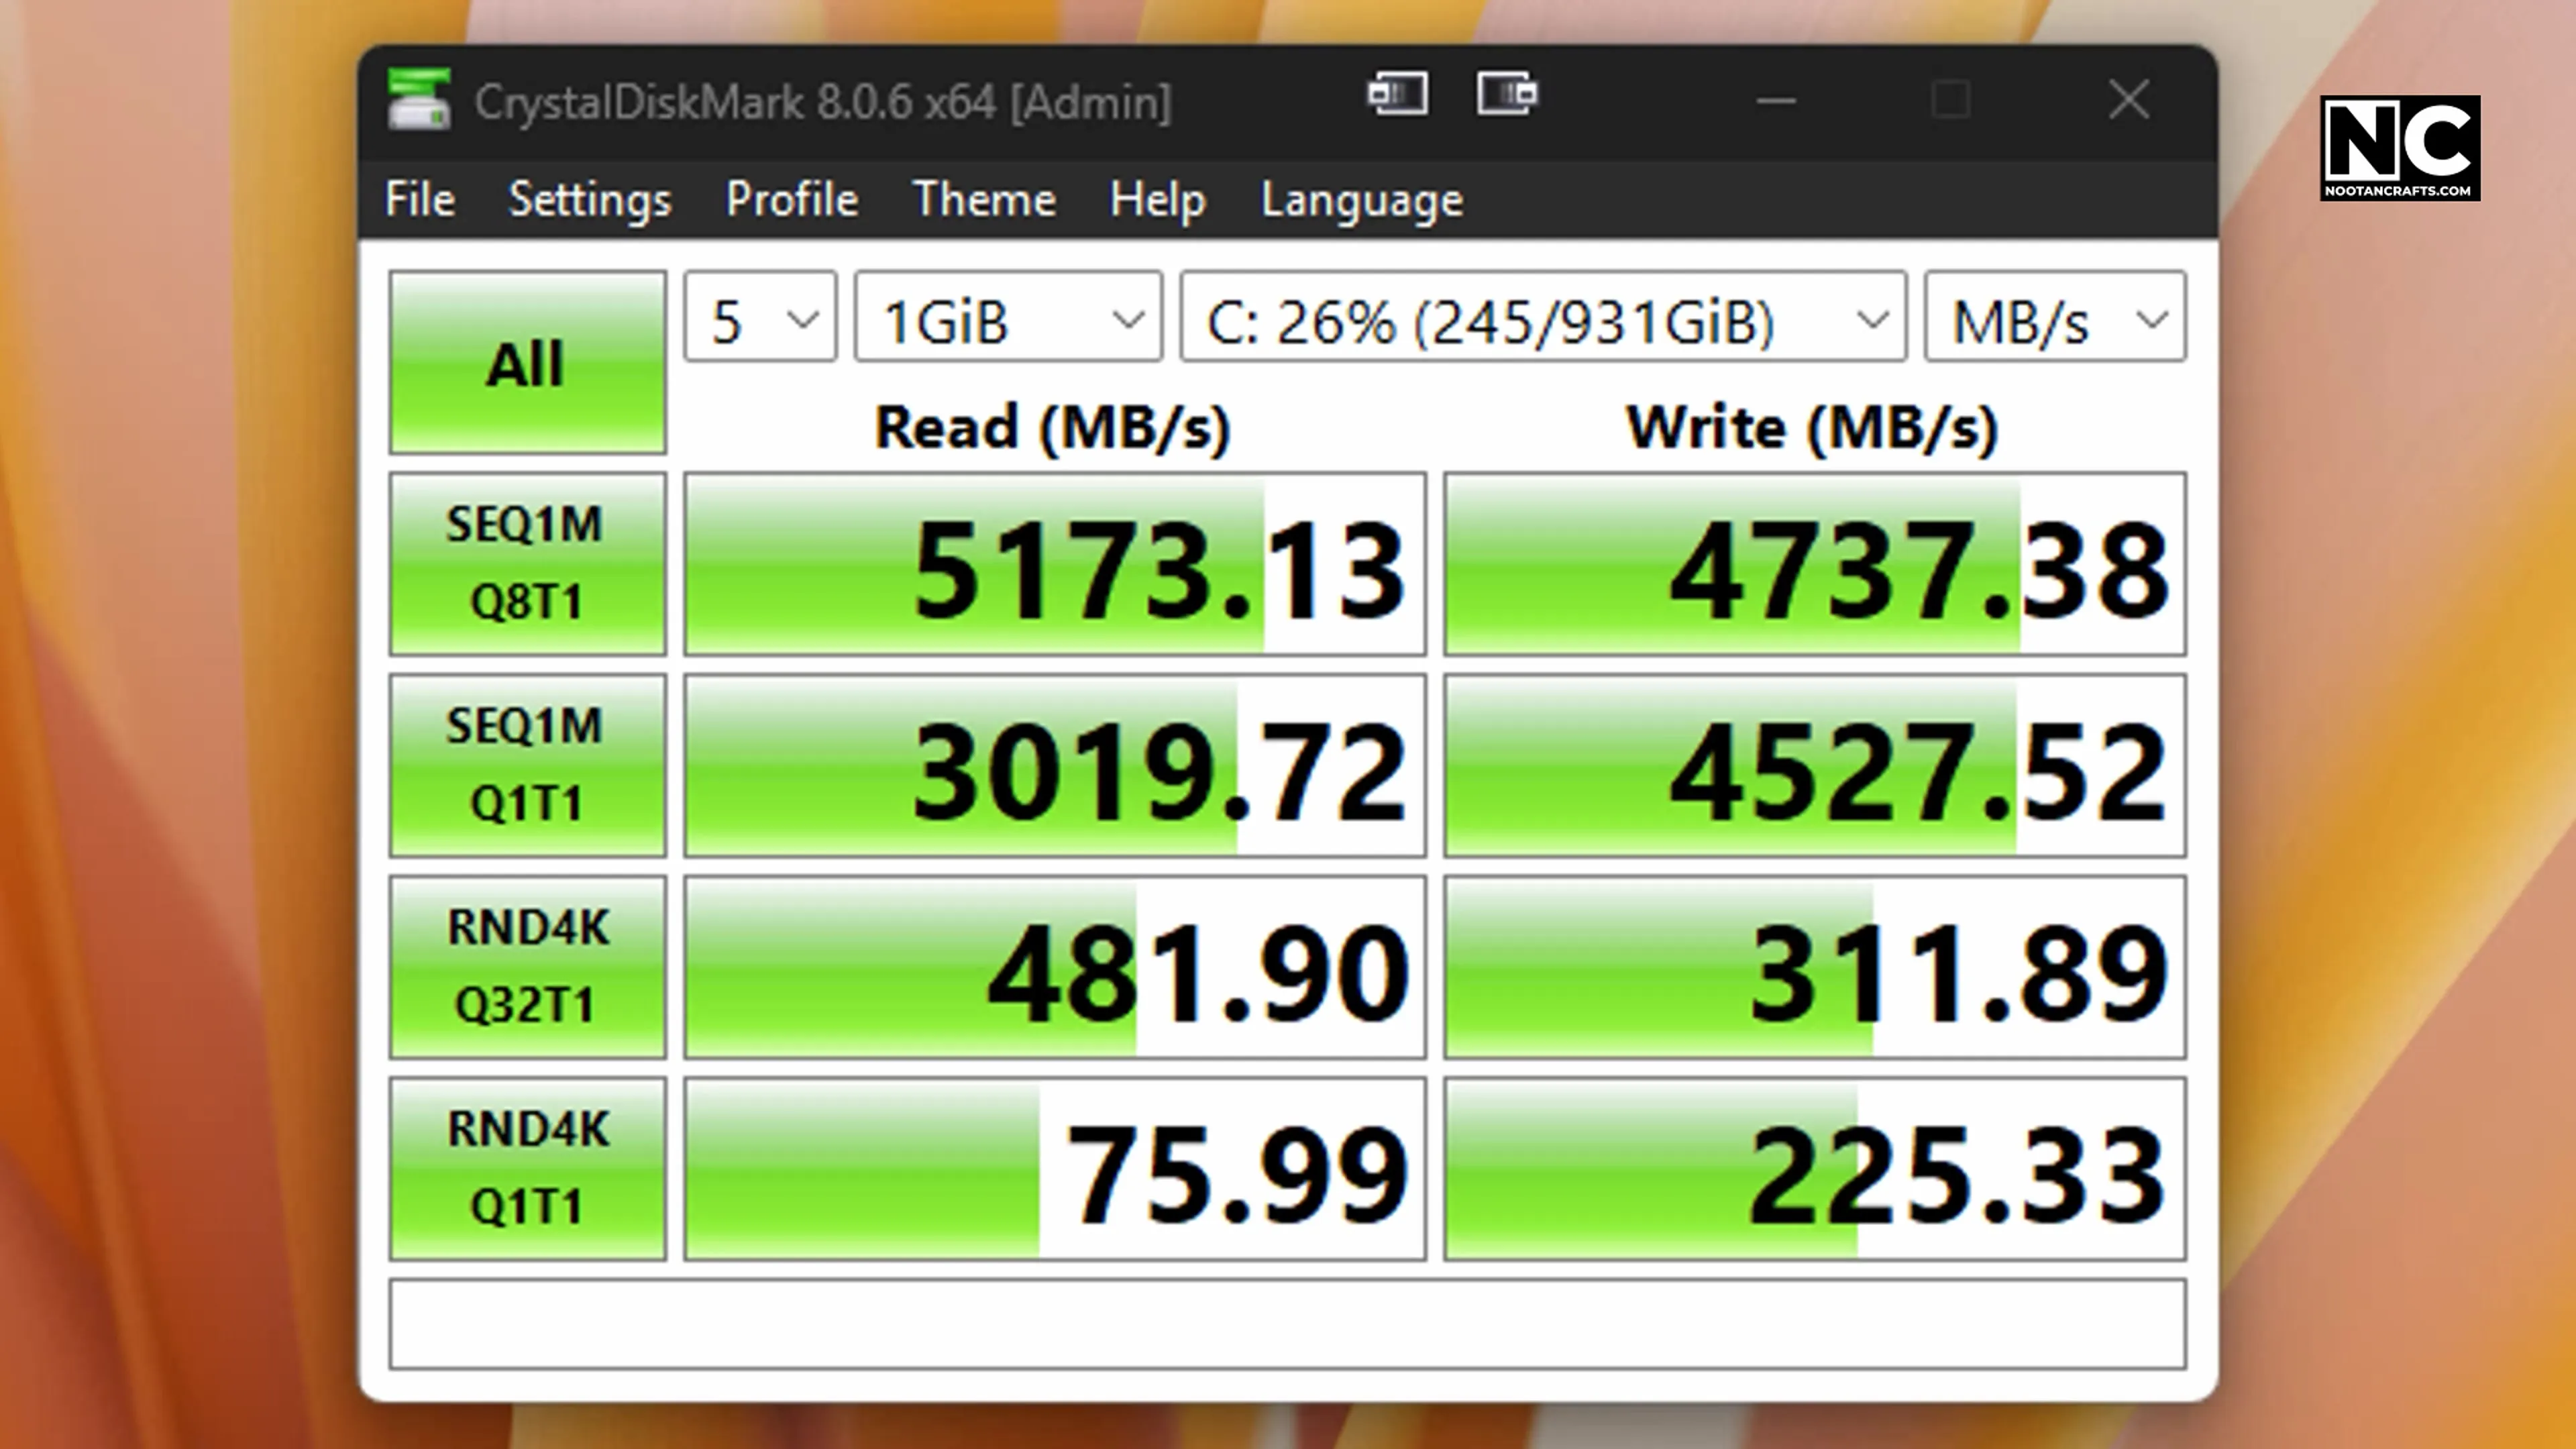
PassMark put the system at 9,942, in the 86th percentile of submitted results. CrystalDiskMark confirmed the SSD hitting its rated sequential figures on short transfers.
For gaming, honest numbers matter more than a round figure, so here is what an RTX 4060 actually does:
| Resolution and settings | Realistic frame rate | Notes |
|---|---|---|
| 1080p, esports titles | Well over 100 FPS | CS2, Valorant, Rocket League, Overwatch 2 |
| 1080p, modern AAA at high | Roughly 60–90 FPS | TechSpot’s 15-game suite averaged 91 FPS |
| 1440p, modern AAA at ultra | Roughly 45–60 FPS | Tom’s Hardware measured a 45 FPS average |
| 1440p with DLSS Quality | Back above 60 FPS | The practical way to run 1440p on this card |
| Ray tracing, any resolution | Situational | Workable in lighter titles, not in path-traced ones |
The 8 GB frame buffer is the real limit, not the GPU core. At 1440p with high texture settings several modern titles exceed 8 GB and stutter regardless of what the average frame rate says. If you are buying today and gaming at 1440p is the point of the machine, put the money into a 12 GB or 16 GB card and keep everything else in this list.
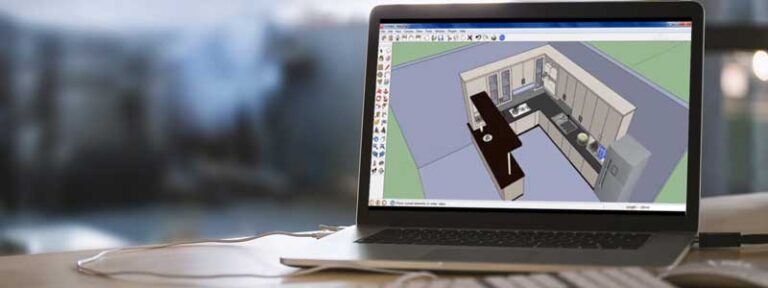
For what I built it for — Resolve, VMs, Photoshop, SketchUp, and games at 1080p in the evening — it does everything I asked. The card is simply matched to 1080p rather than 1440p, and pretending otherwise would not help anyone copying this list.
Questions About This Build
Is the Ryzen 7 7700X still worth buying?
For an eight-core AM5 chip, yes — and the socket is the real argument. AM5 supports Ryzen 7000, 8000 and 9000 series, so the CPU can be replaced later without a new board or new memory.
Does the 7700X running at 95 °C mean the cooler is inadequate?
No. AMD sets Tjmax at 95 °C and the chip boosts until it gets there. A better cooler buys you higher sustained clocks rather than a lower number on the sensor. It only matters if the machine is throttling below its base clock or shutting down.
Is 650 W enough, and could I upgrade the GPU later?
For this configuration 650 W is generous — the GPU draws 115 W and the CPU 105 W. It would also handle a step up to something like a 4070. Going much beyond that, or to a card needing a 12VHPWR connector, means a new supply, because this one predates ATX 3.0.
Why DDR5-6000 specifically?
It keeps the memory controller running 1:1 with the memory clock on AM5. Faster kits force a 2:1 ratio, which can end up slower in practice despite the higher rated speed. AMD has said publicly that 6000 is the sweet spot for this platform.
Would you change anything in this list?
Two things. The storage — the P3 Plus is QLC and DRAM-less, which is fine for a boot drive and poor for sustained video writes. And the GPU, if 1440p matters to you, purely for the VRAM.
Is a non-modular power supply a problem?
Not functionally. It costs you time during cable management and permanent clutter behind the tray. In a case with decent routing it is a fair way to save money; in a small case it is a genuine annoyance.
Would I Build This Again?
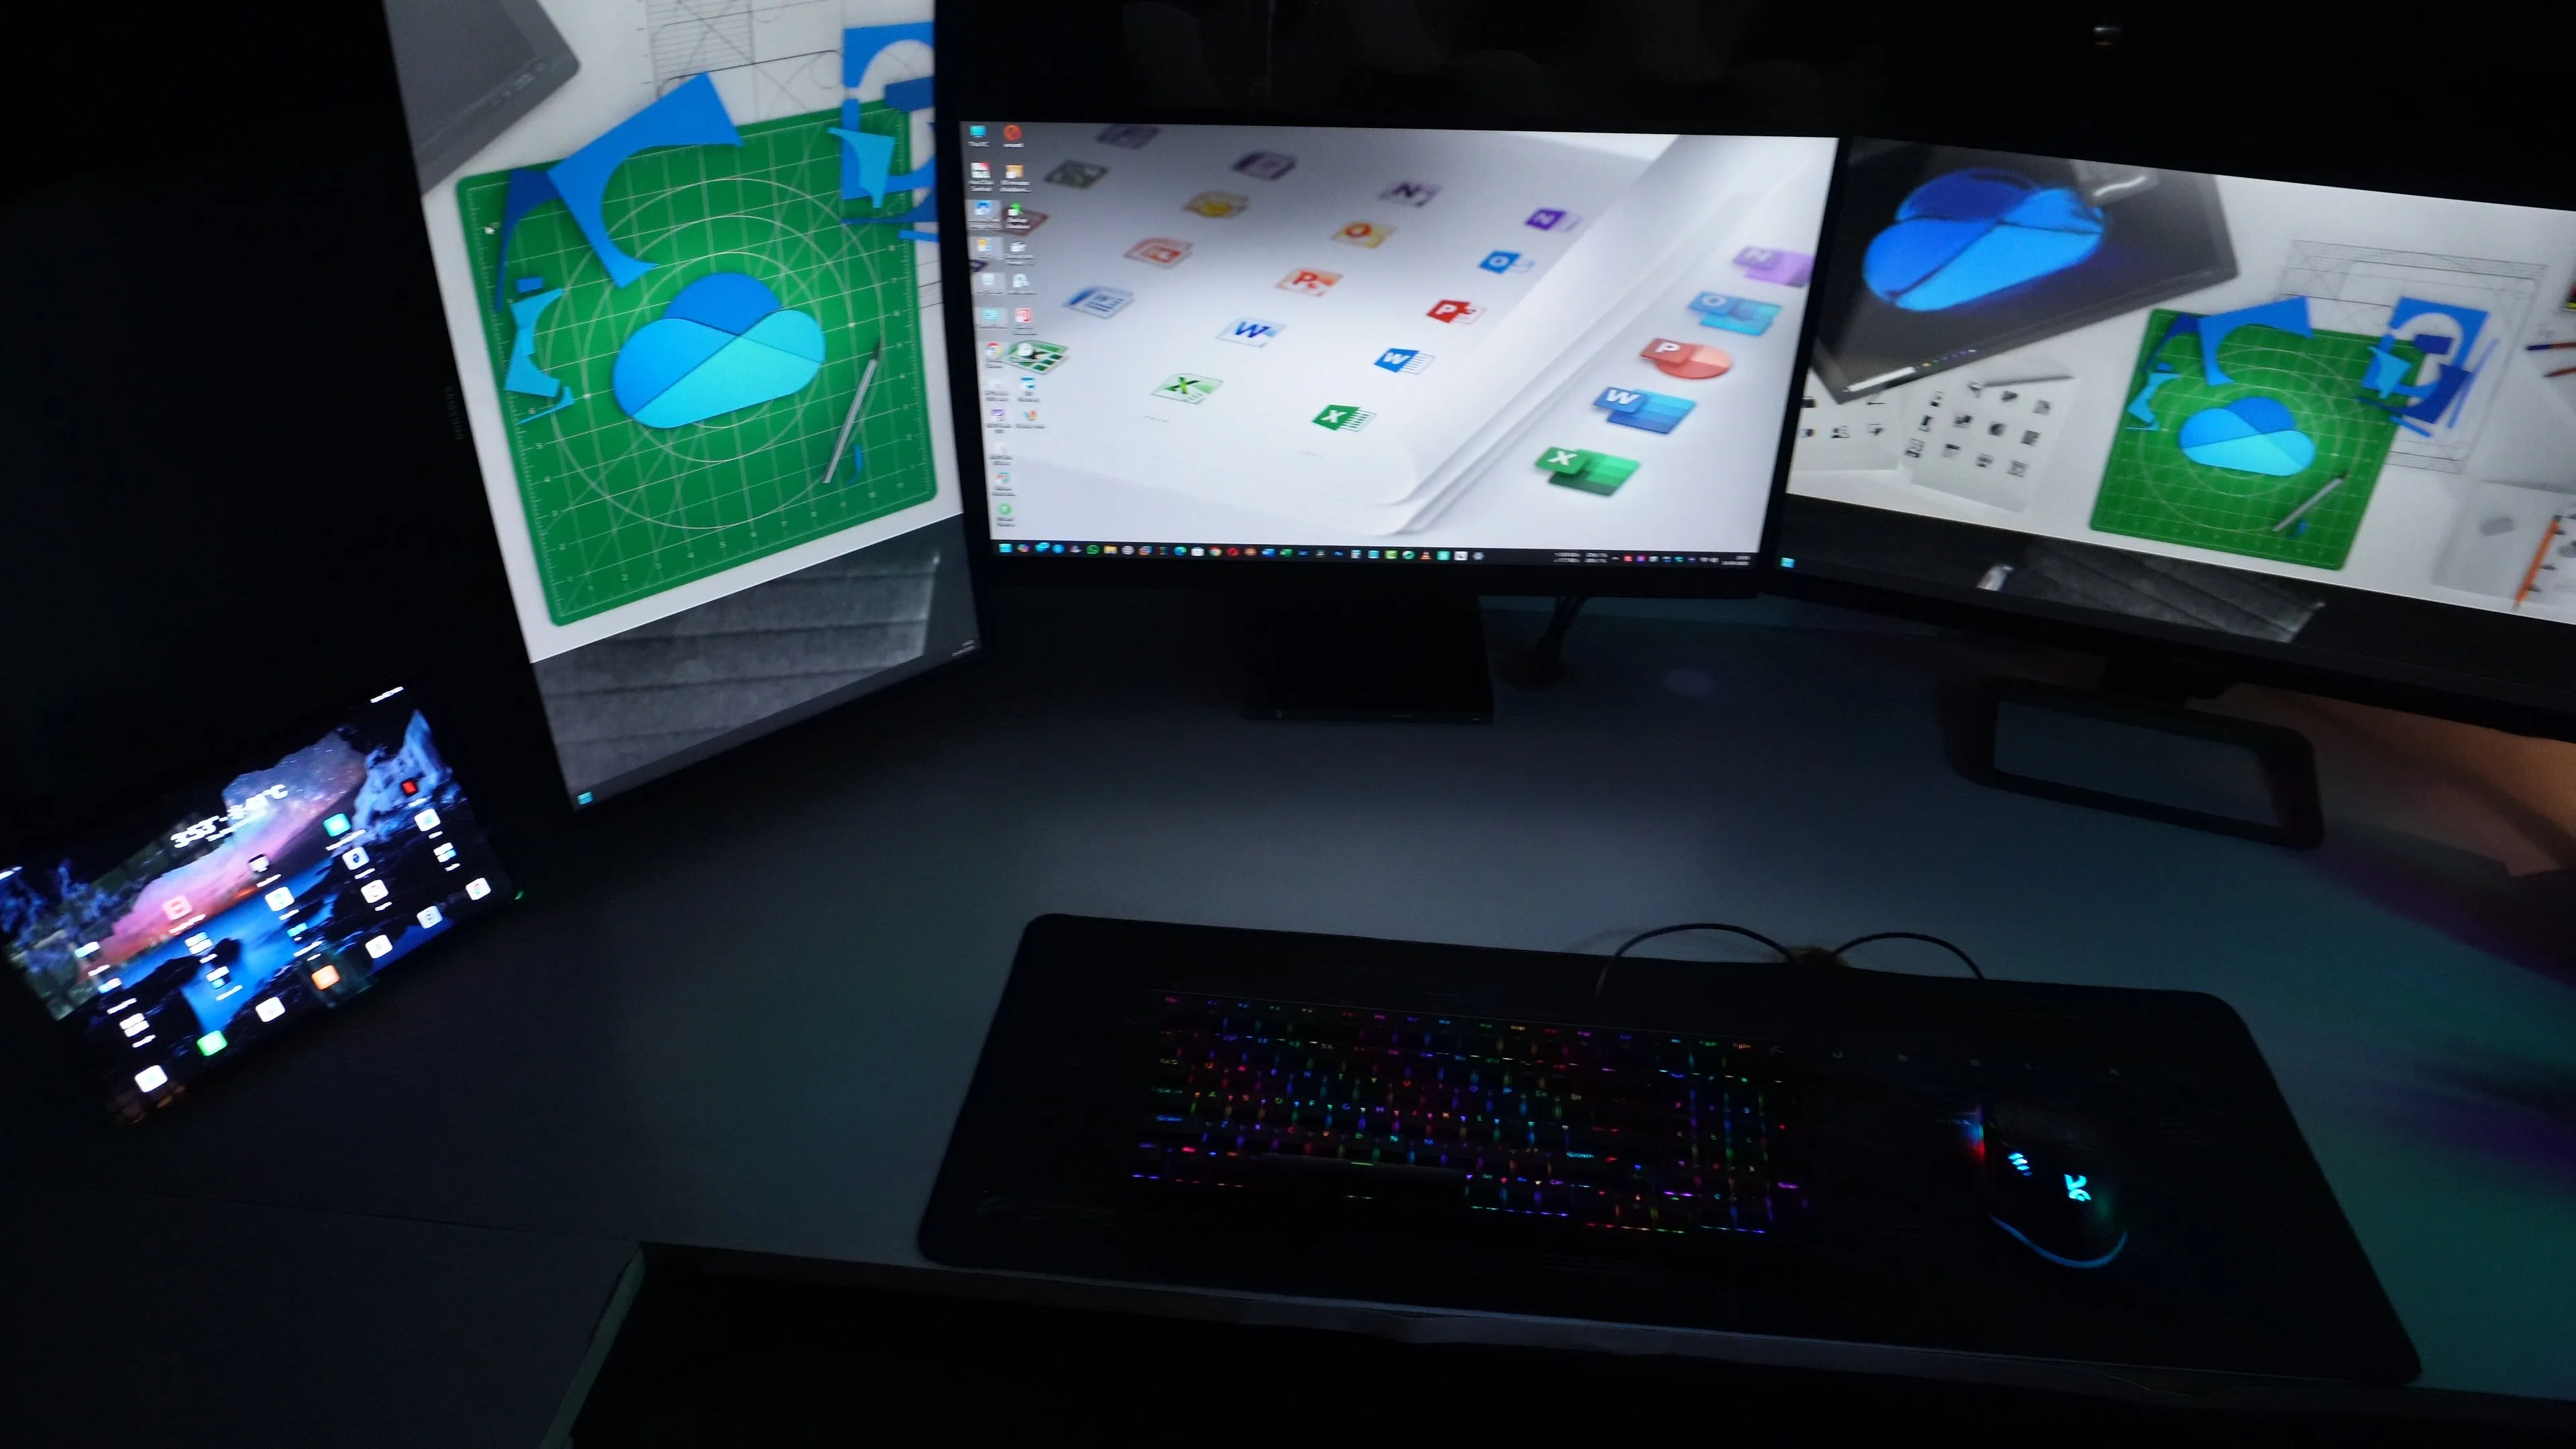


Mostly yes. The CPU, board, cooler and case are all doing exactly what I wanted, and AM5 means the processor can be upgraded twice more before the platform runs out.
The two I would revisit are the ones I have been honest about above: a TLC drive with DRAM for the video work, and more VRAM if 1440p were the target. Everything else in the list I would buy again tomorrow.