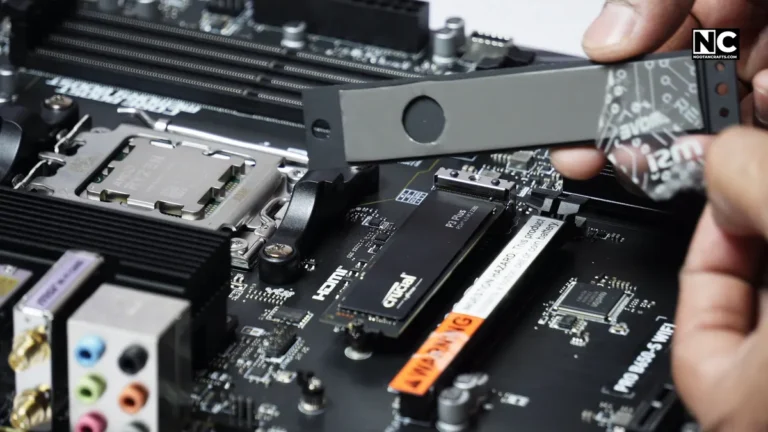
The fan layout that works in almost every mid tower is three front intakes, one rear exhaust and one top exhaust, with every intake fan’s open blade face pointing outward. That is it. I found this out the slow way: I filled every mount in my Ryzen 7 build with nine fans, and the temperatures were no better than they are now with seven.
More fans is not more cooling. Fans in the wrong direction is worse than no fan at all. Below is how to get the direction right, how many you actually need, how to mount and wire them, and how to check the result instead of guessing at it.
What’s Inside
- 1 – The Standard Layout, in One Table
- 2 – 1. Intake, Exhaust, and How to Tell Them Apart
- 3 – 2. How Many Fans, and Where
- 4 – 3. Mounting and Wiring the Fans
- 5 – A Worked Example: Fitting One ARGB Fan
- 6 – 4. Testing and Tuning
- 7 – Five Mistakes Worth Avoiding
- 8 – Frequently Asked Questions
- 9 – Get the Direction Right and the Rest Is Easy
The Standard Layout, in One Table
| Position | Direction | How many | Why |
|---|---|---|---|
| Front | Intake | 2–3 | Feeds cool air straight at the GPU and drives |
| Rear | Exhaust | 1 | Pulls CPU cooler exhaust out the shortest path |
| Top | Exhaust | 0–1 | Hot air rises; a second one mostly steals front intake |
| Bottom | Intake | 0–1 | Only worth it if the case has a filtered vent under the GPU |
| Side | Intake | 0 | Disrupts front-to-back flow in most tower cases |
1. Intake, Exhaust, and How to Tell Them Apart
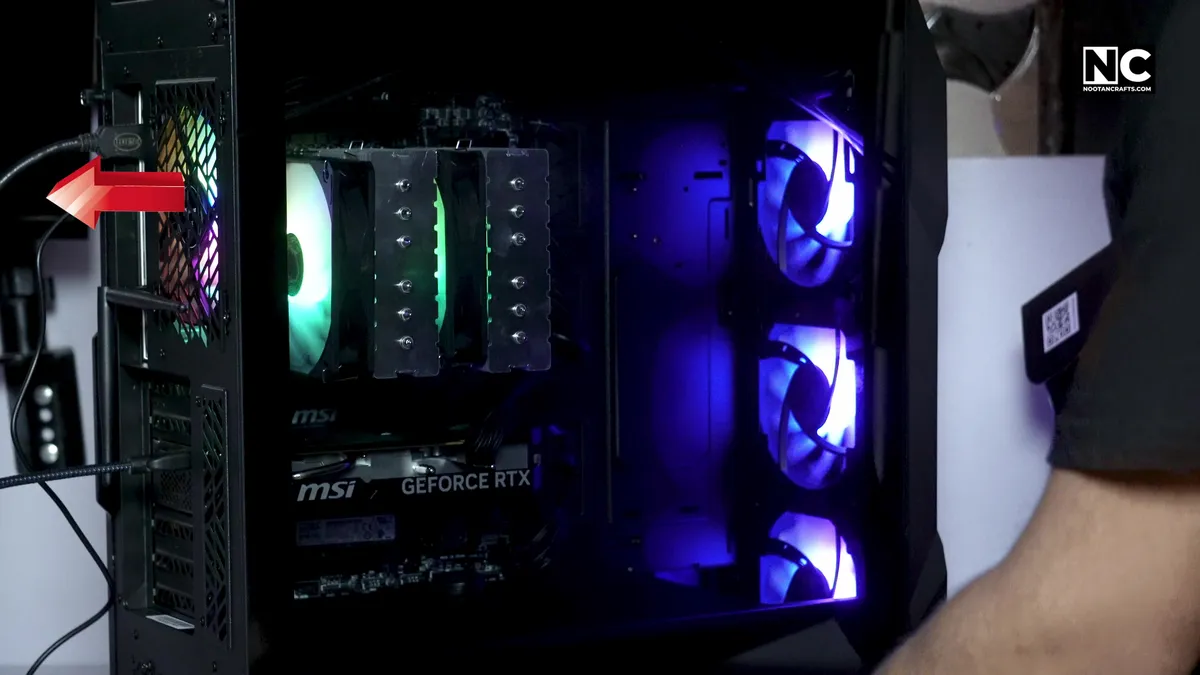
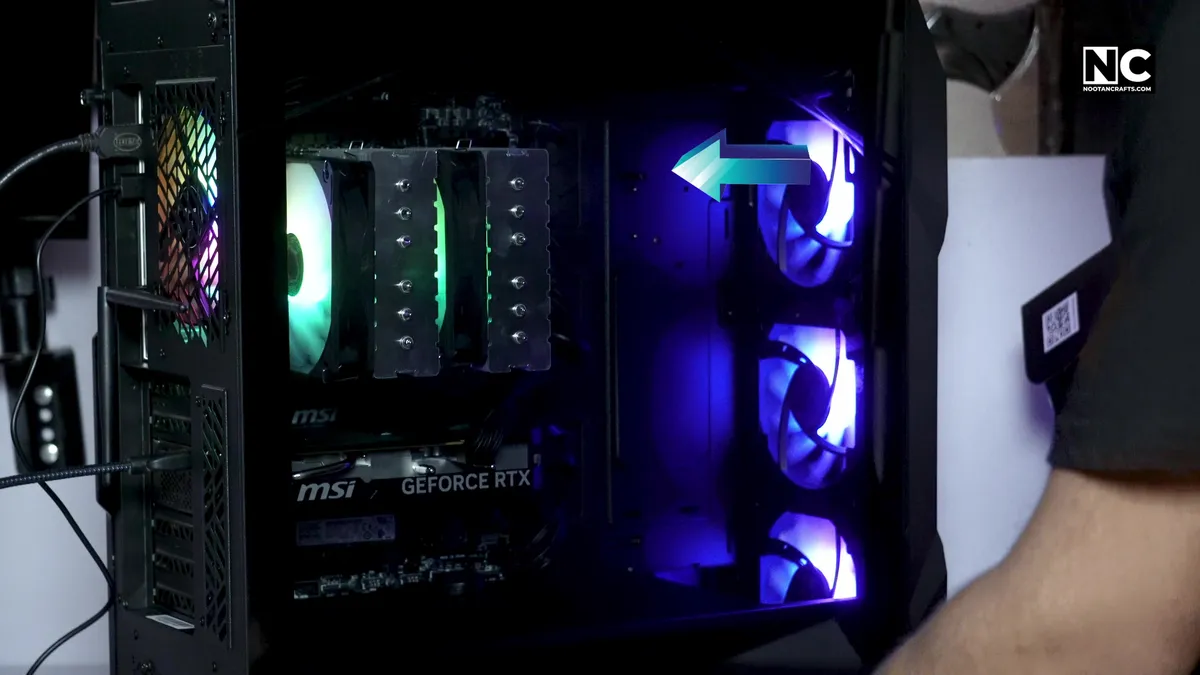

Cool air in, hot air out. That is the whole job, and it is why fans get called intake or exhaust.
The labels describe orientation, not hardware. The fan bolted to your front panel and the fan bolted to your rear panel are the same part. Turn one around and it changes role. So the only thing you have to get right at mounting time is which way it faces.
How to Find a Fan’s Airflow Direction
Three ways, in order of how much you should trust them.
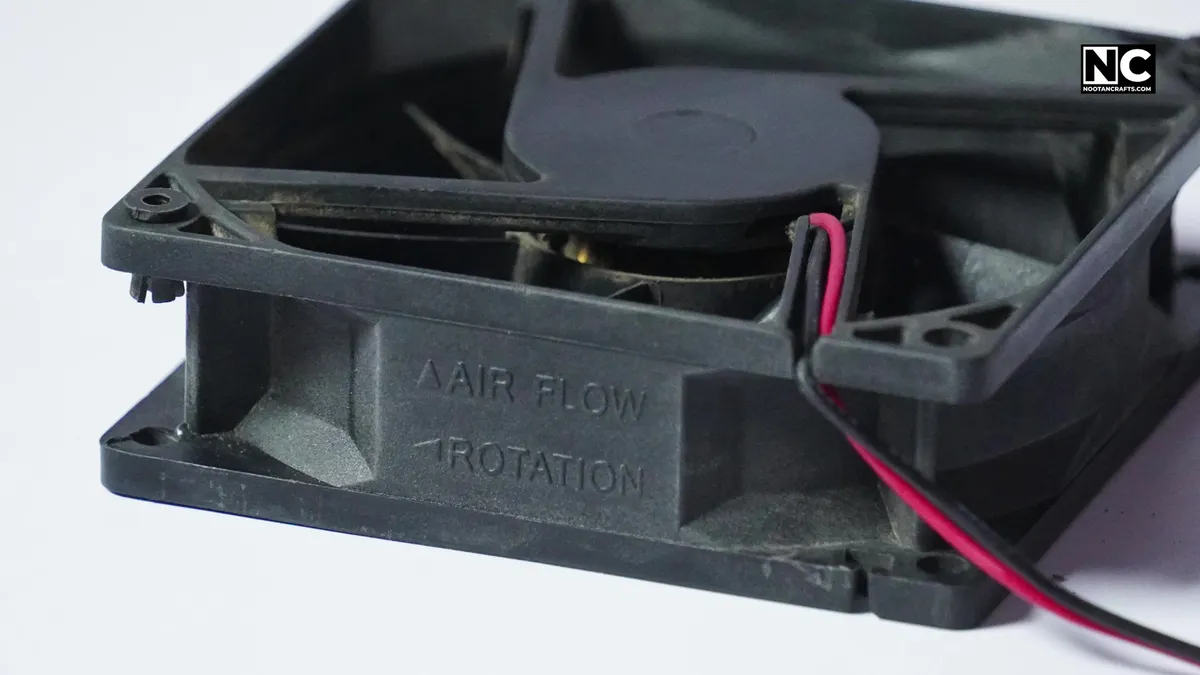
Read the arrows. Most fans have two arrows molded into the frame: one for airflow, one for blade rotation. The airflow arrow is the one you want, and it points the way air leaves the fan. Point it at the components for an intake, at the outside world for an exhaust.
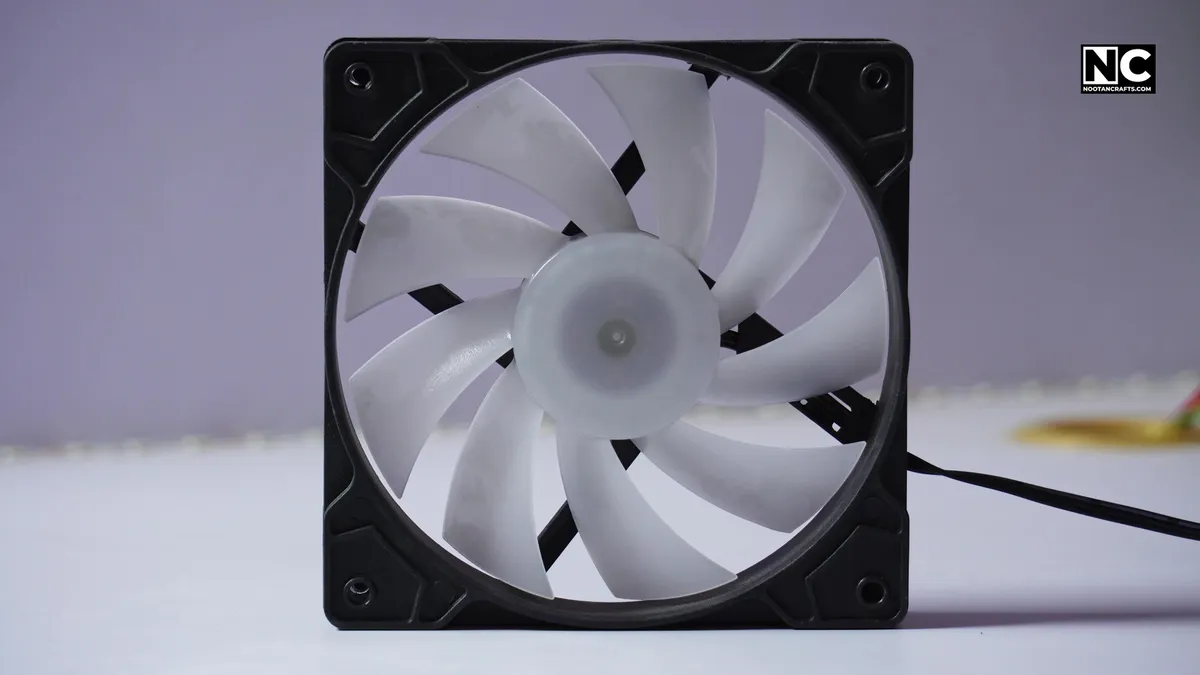
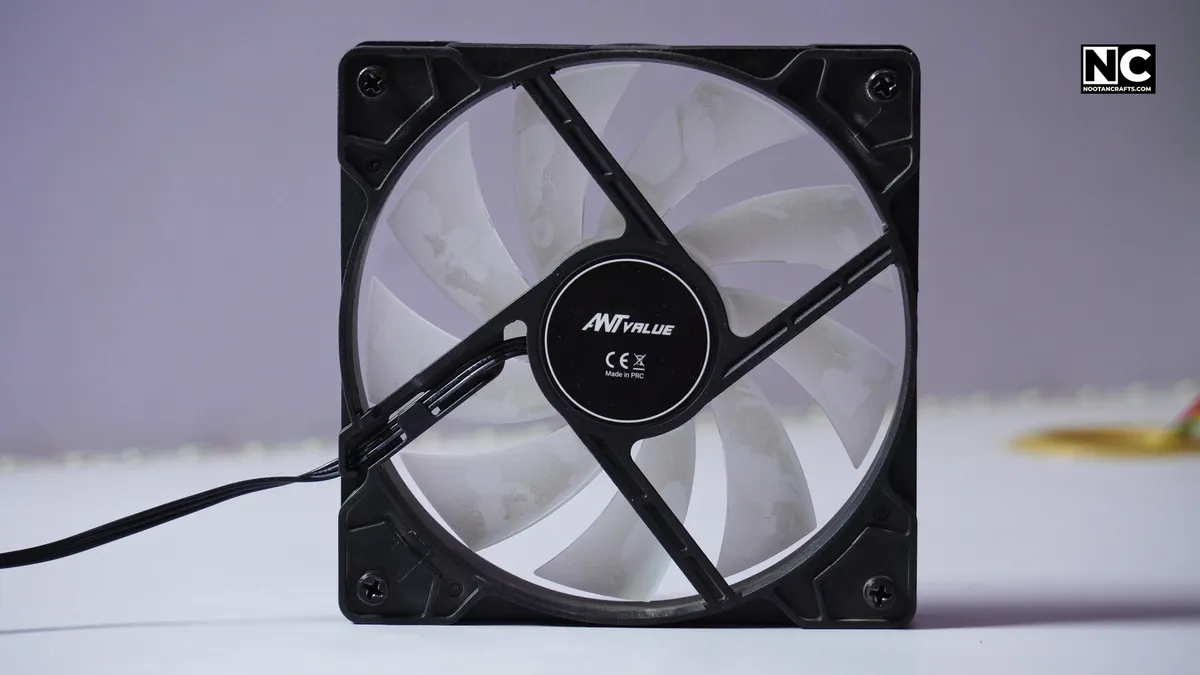
Look at the struts. If the frame has no arrows, turn the fan over. One face is open and clean; the other has three or four support bars holding the motor hub. Air enters the clean side and leaves through the strut side. This works on every axial fan and it is why the rule “hub faces the direction you want air to go” holds up.
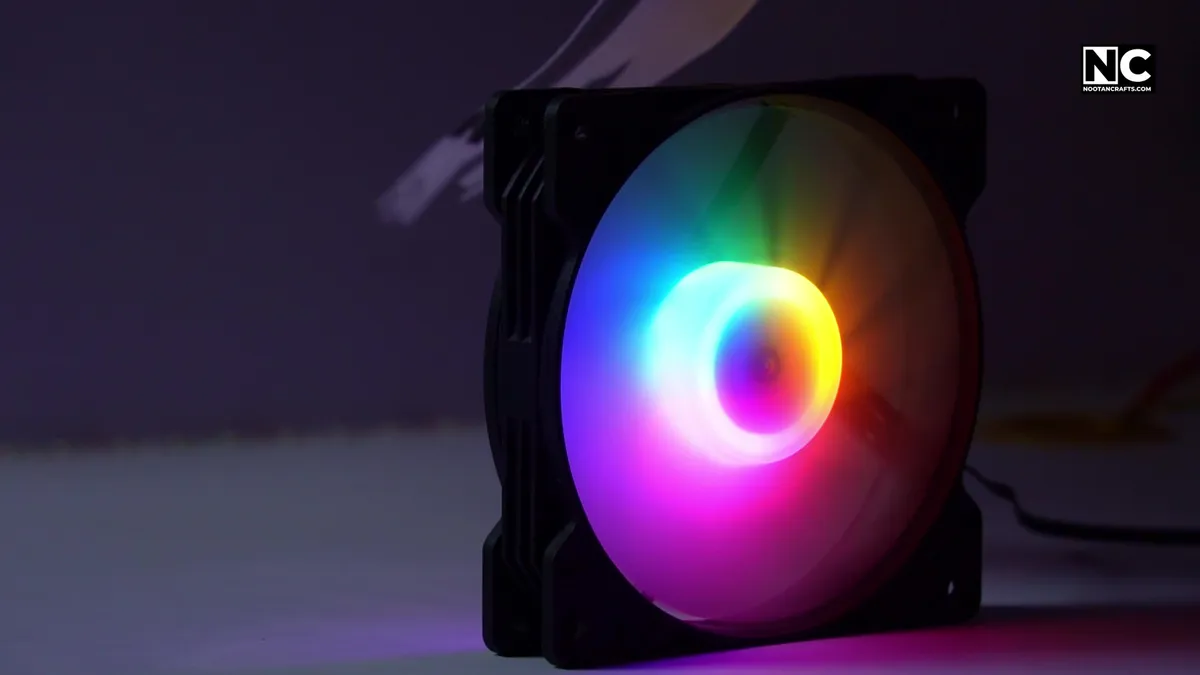
Test it with paper. Power the fan, hold a strip of paper or tissue near each face. The side that pulls the strip in is the intake; the side that pushes it away is the exhaust. Slower than reading the frame, but it is the only method that cannot be misread, and it is worth doing once on a fan you are unsure about.
Positive, Negative, and Neutral Pressure
- Positive — more intake than exhaust. Excess air leaves through gaps rather than entering through them, so dust arrives mostly through your filters where you can clean it.
- Negative — more exhaust than intake. The case behaves like a vacuum and pulls unfiltered air through every seam, cable grommet and expansion slot.
- Neutral — roughly equal. Fine thermally, but hard to hold in practice once filters start loading up.
Aim slightly positive. Tom’s Hardware’s airflow guide describes negative pressure as acting like a vacuum, pulling dust “from all the vents, cracks, and crevices”, and PCWorld’s fan-setup guide puts the target as “slightly more on the positive airflow side.” This is a dust argument, not a temperature one — the thermal difference between the three states is small.
Picking the Right Size
| Size | Where it belongs |
|---|---|
| 80 mm | Small form factor and older cases; loud for the air it moves |
| 120 mm | The default. Every modern case and almost every radiator takes it |
| 140 mm | Same airflow at lower RPM, so quieter — if your case has the mounts |
| 200 mm | Front and top of large full towers; high volume, very low speed |
Thickness matters separately from size. A slim 15 mm fan buys you clearance in a cramped build and gives up static pressure to do it, which makes it a poor choice behind a dense dust filter or on a radiator. The standard 25 mm depth is what you want almost everywhere; 38 mm industrial fans move serious air and are loud enough that you will only tolerate them in a machine you do not sit next to.
2. How Many Fans, and Where
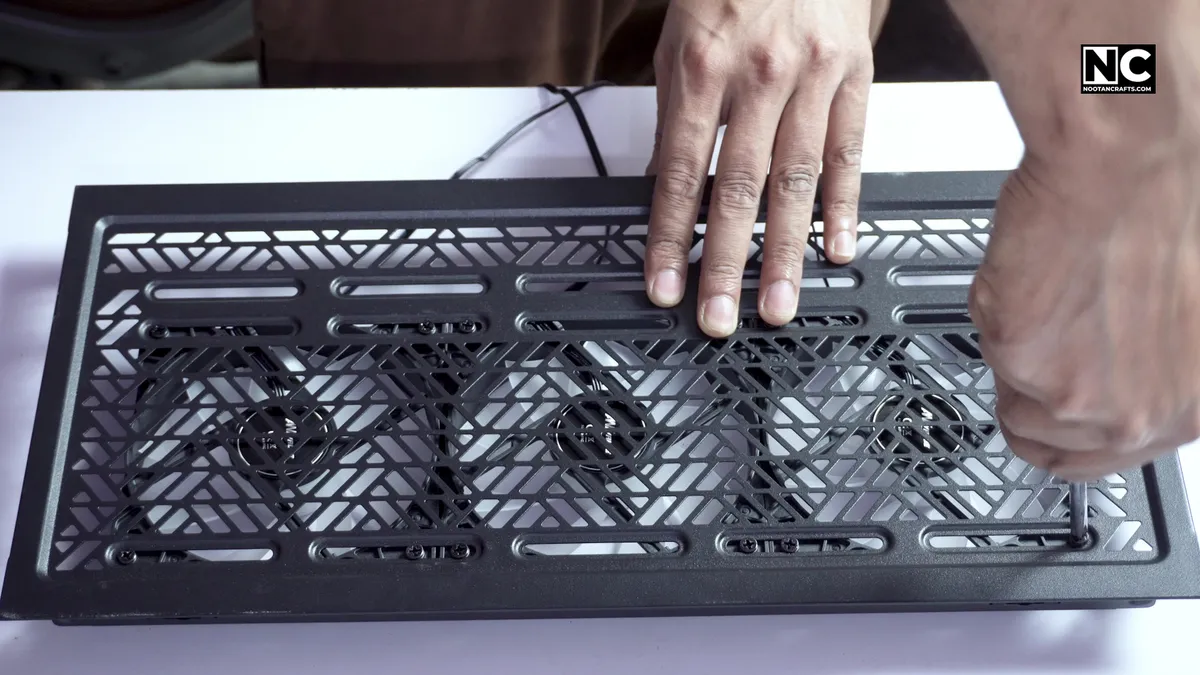
Five, in the layout at the top of this article. Three front intakes, one rear exhaust, one top exhaust.
The temptation is to fill every mount because the case has them, and that is the mistake I made. Nine fans in the cabinet, and the two extra top fans were the problem: they sat directly above the CPU cooler and pulled air straight out of the top of the case before it had crossed anything worth cooling. They were also fighting the front intakes for the same air. I pulled both, and temperatures came down.

Count your intakes and your exhausts before you screw anything down. Three front plus one rear plus one top gives you three in and two out, which is the slightly-positive balance you are after. Add a bottom intake if your case has a filtered vent below the graphics card and you want to feed it directly.
Two top exhausts is the common overspend. With three front intakes already running, a second top fan tips you toward neutral and starts competing with the front for intake air. If you only have room for one fan above the CPU, that is not a compromise — it is the correct number.
3. Mounting and Wiring the Fans

Direction first, every time. For an intake, the clean blade face points out of the case and the hub points in. For an exhaust, the hub points out. Hold the fan against the mount and check the arrow before you reach for a screw — it takes two seconds and it is the single most common thing people get backward.
Use the screws that came with the fan. Long coarse-thread screws go through the case panel into the fan frame; short fine-thread screws are for radiators. Tighten in a diagonal pattern and stop when the fan is snug — over-tightening deforms the plastic frame and is a real source of vibration noise. Rubber mounts work well if your case supports them and are quieter than screws, but they do not hold up to being moved around often.

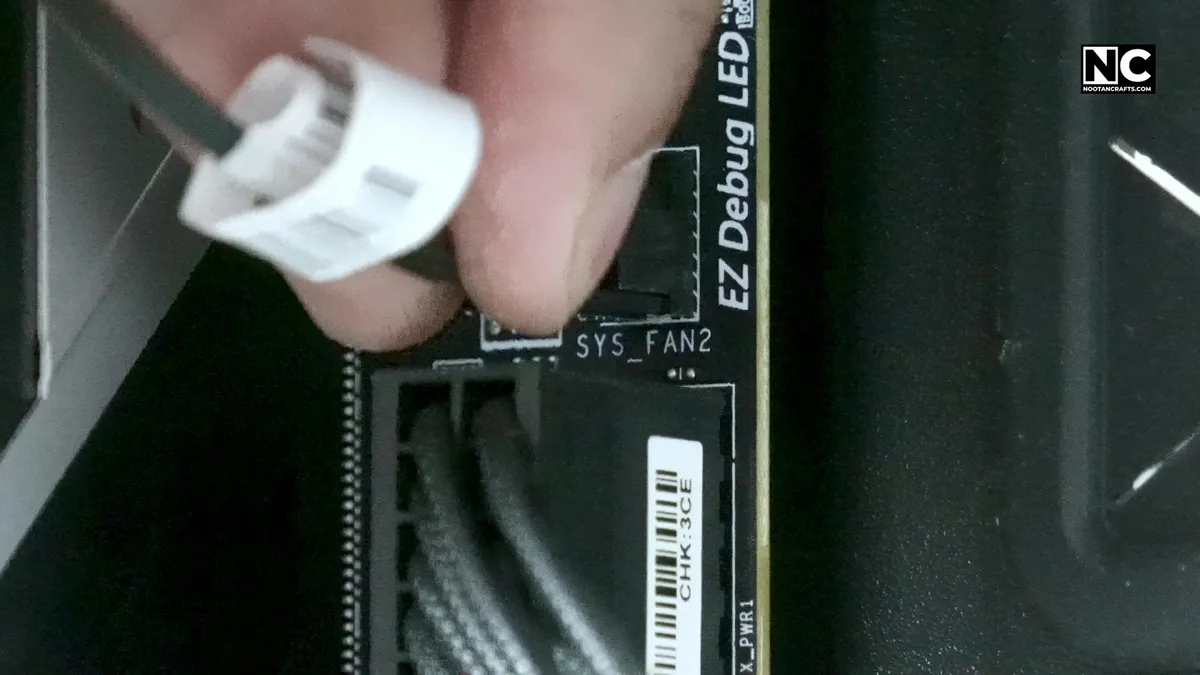
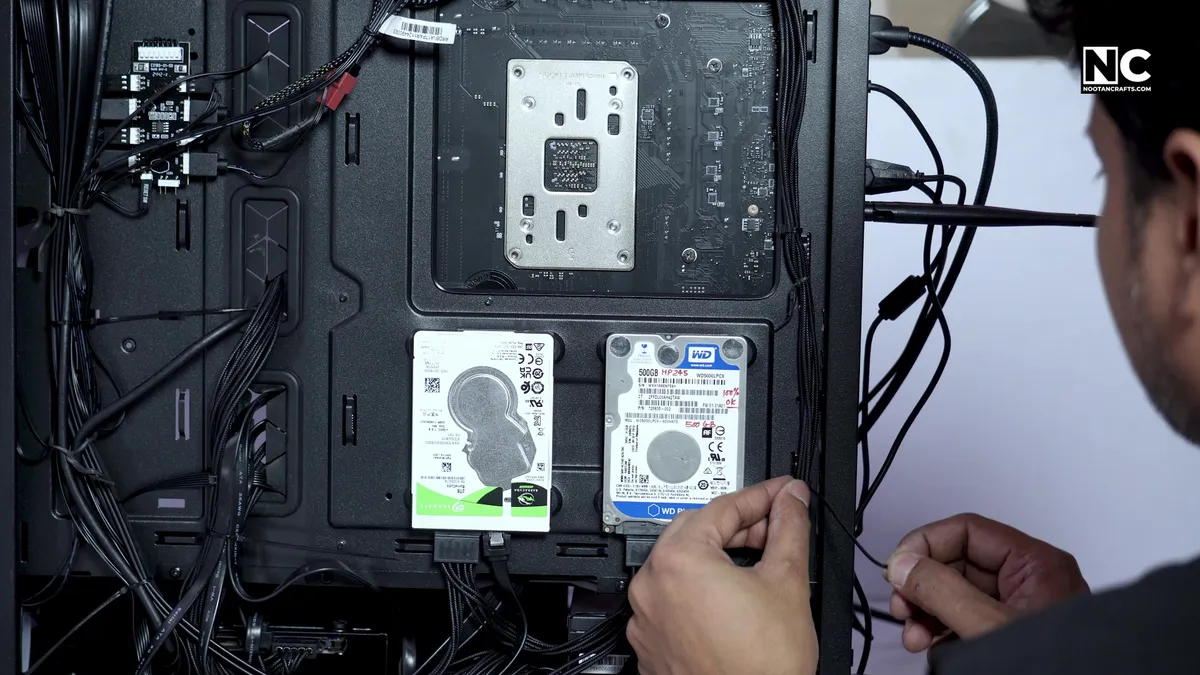
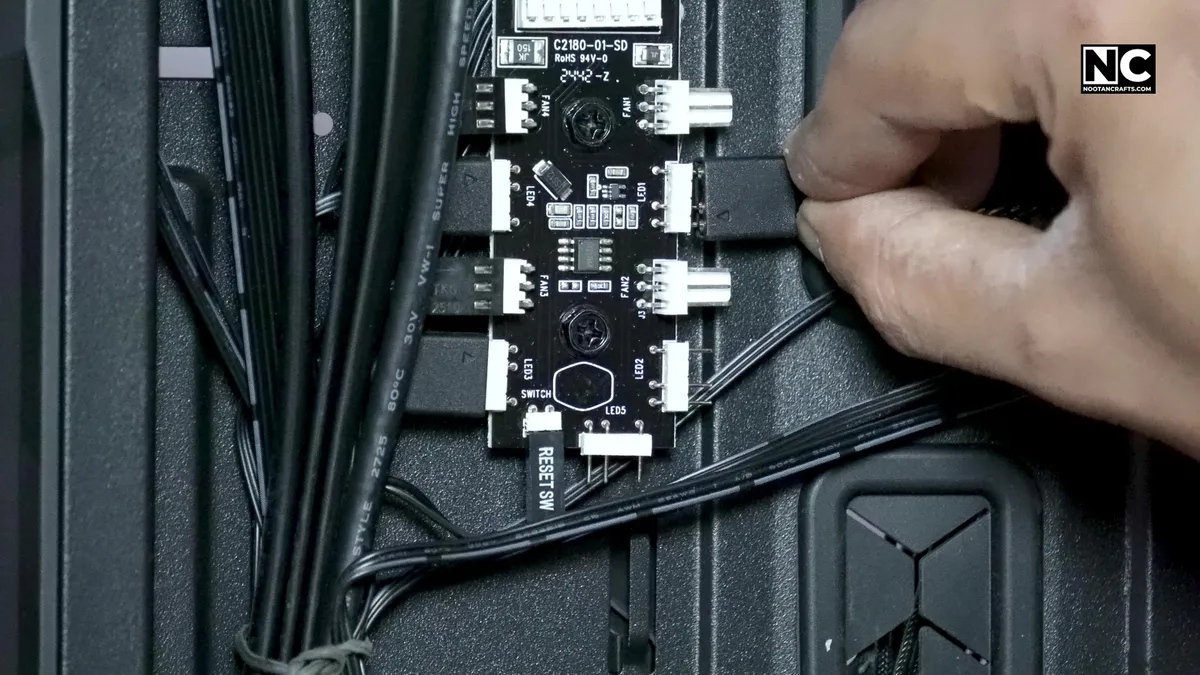
Then the cables, and there are two of them per fan if the fan has lighting:
- Speed and power — a 3-pin or 4-pin plug onto a
SYS_FANorCHA_FANheader. Keep the header’s number in mind; you will need it when you build fan curves. - Lighting — a separate plug onto the
ARGBheader (3-pin, 5 V) or the olderRGBheader (4-pin, 12 V). These are not interchangeable, and plugging a 5 V ARGB strip into a 12 V header will destroy the LEDs. - Out of headers? A passive Y-splitter is fine for two fans. For three or more, use a SATA-powered hub — chassis headers are typically rated only 0.5–1 A, and a splitter draws all of it from the board.
- Route behind the tray. Loose cable in front of an intake fan costs airflow and eventually finds a blade.
A Worked Example: Fitting One ARGB Fan
The rear exhaust on my own build is a Cooler Master CF120 ARGB, added because the case shipped with three front fans and nothing pulling air out the back. It is a useful example because it has both cables an RGB fan has, and because its fan connector is 3-pin rather than 4-pin — which changes how you control it.
Fan I used
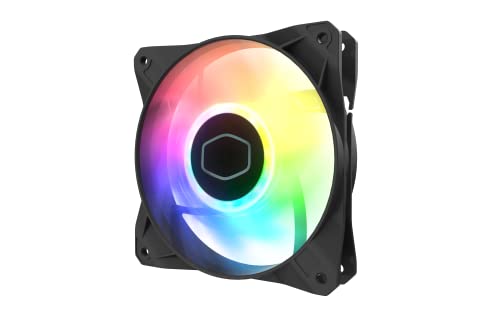
Last update on 2026-10-08 / Affiliate links / Images from Amazon Product Advertising API
What Comes in the Box
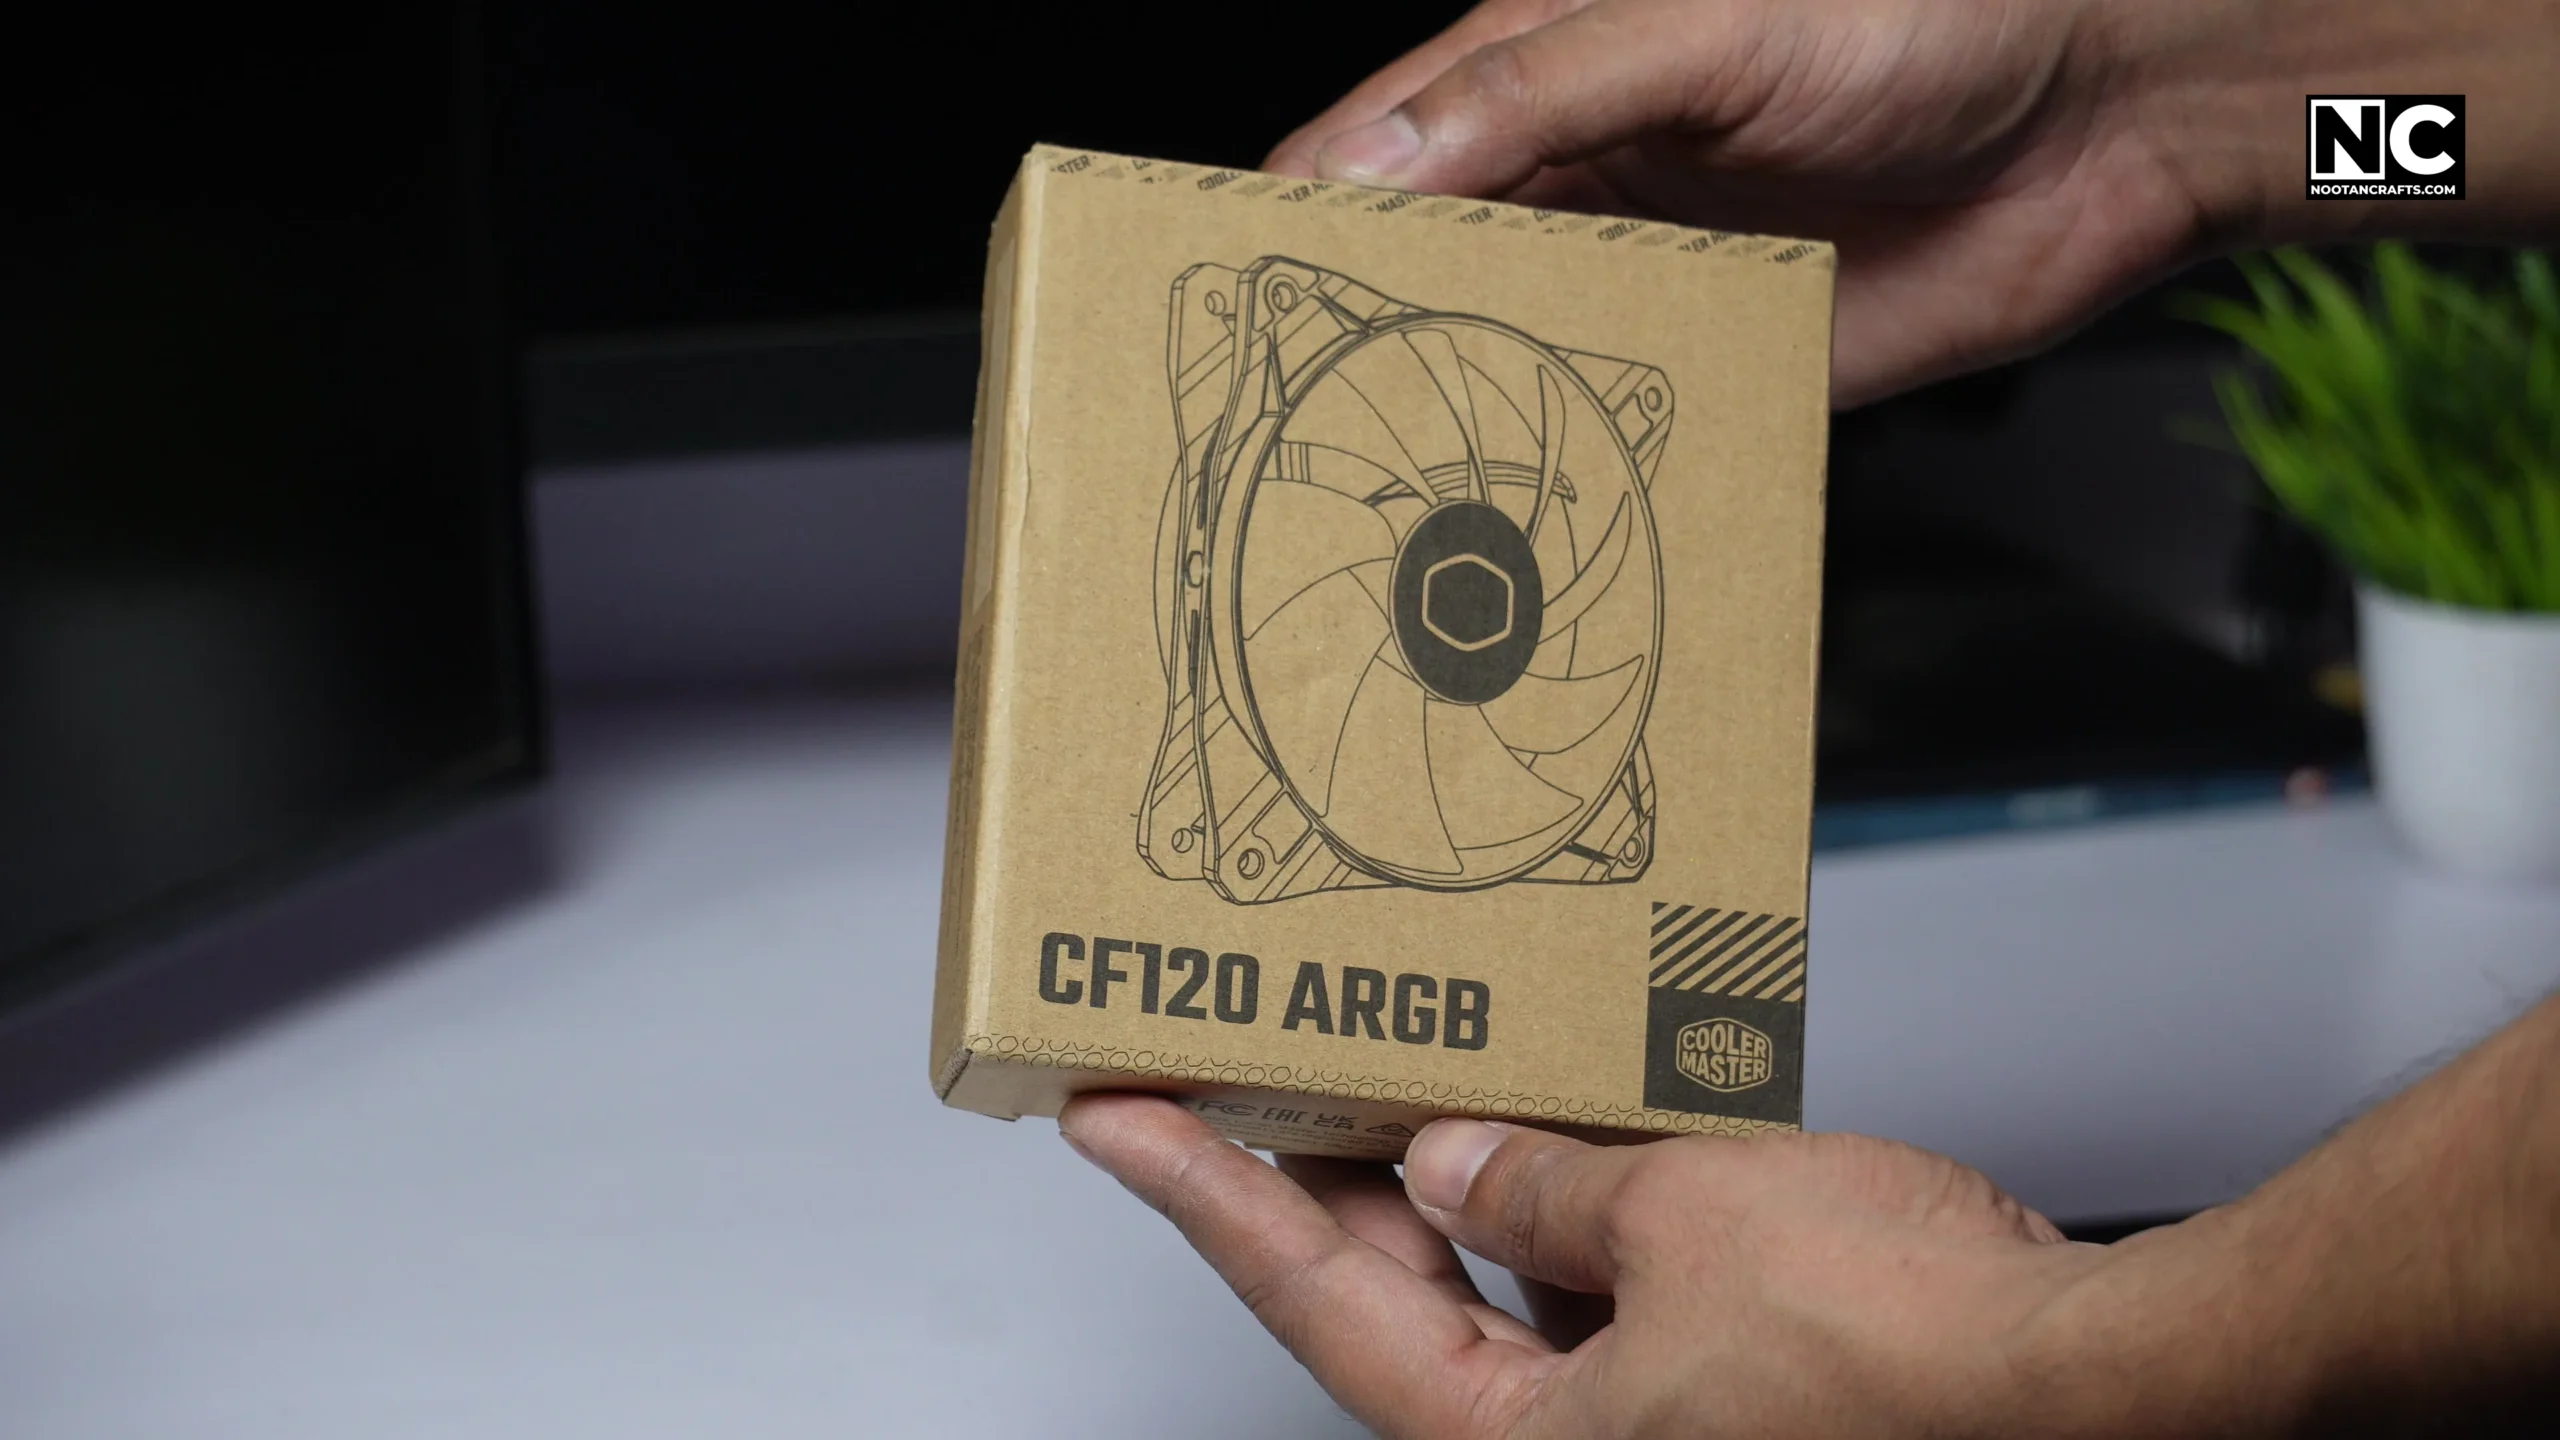
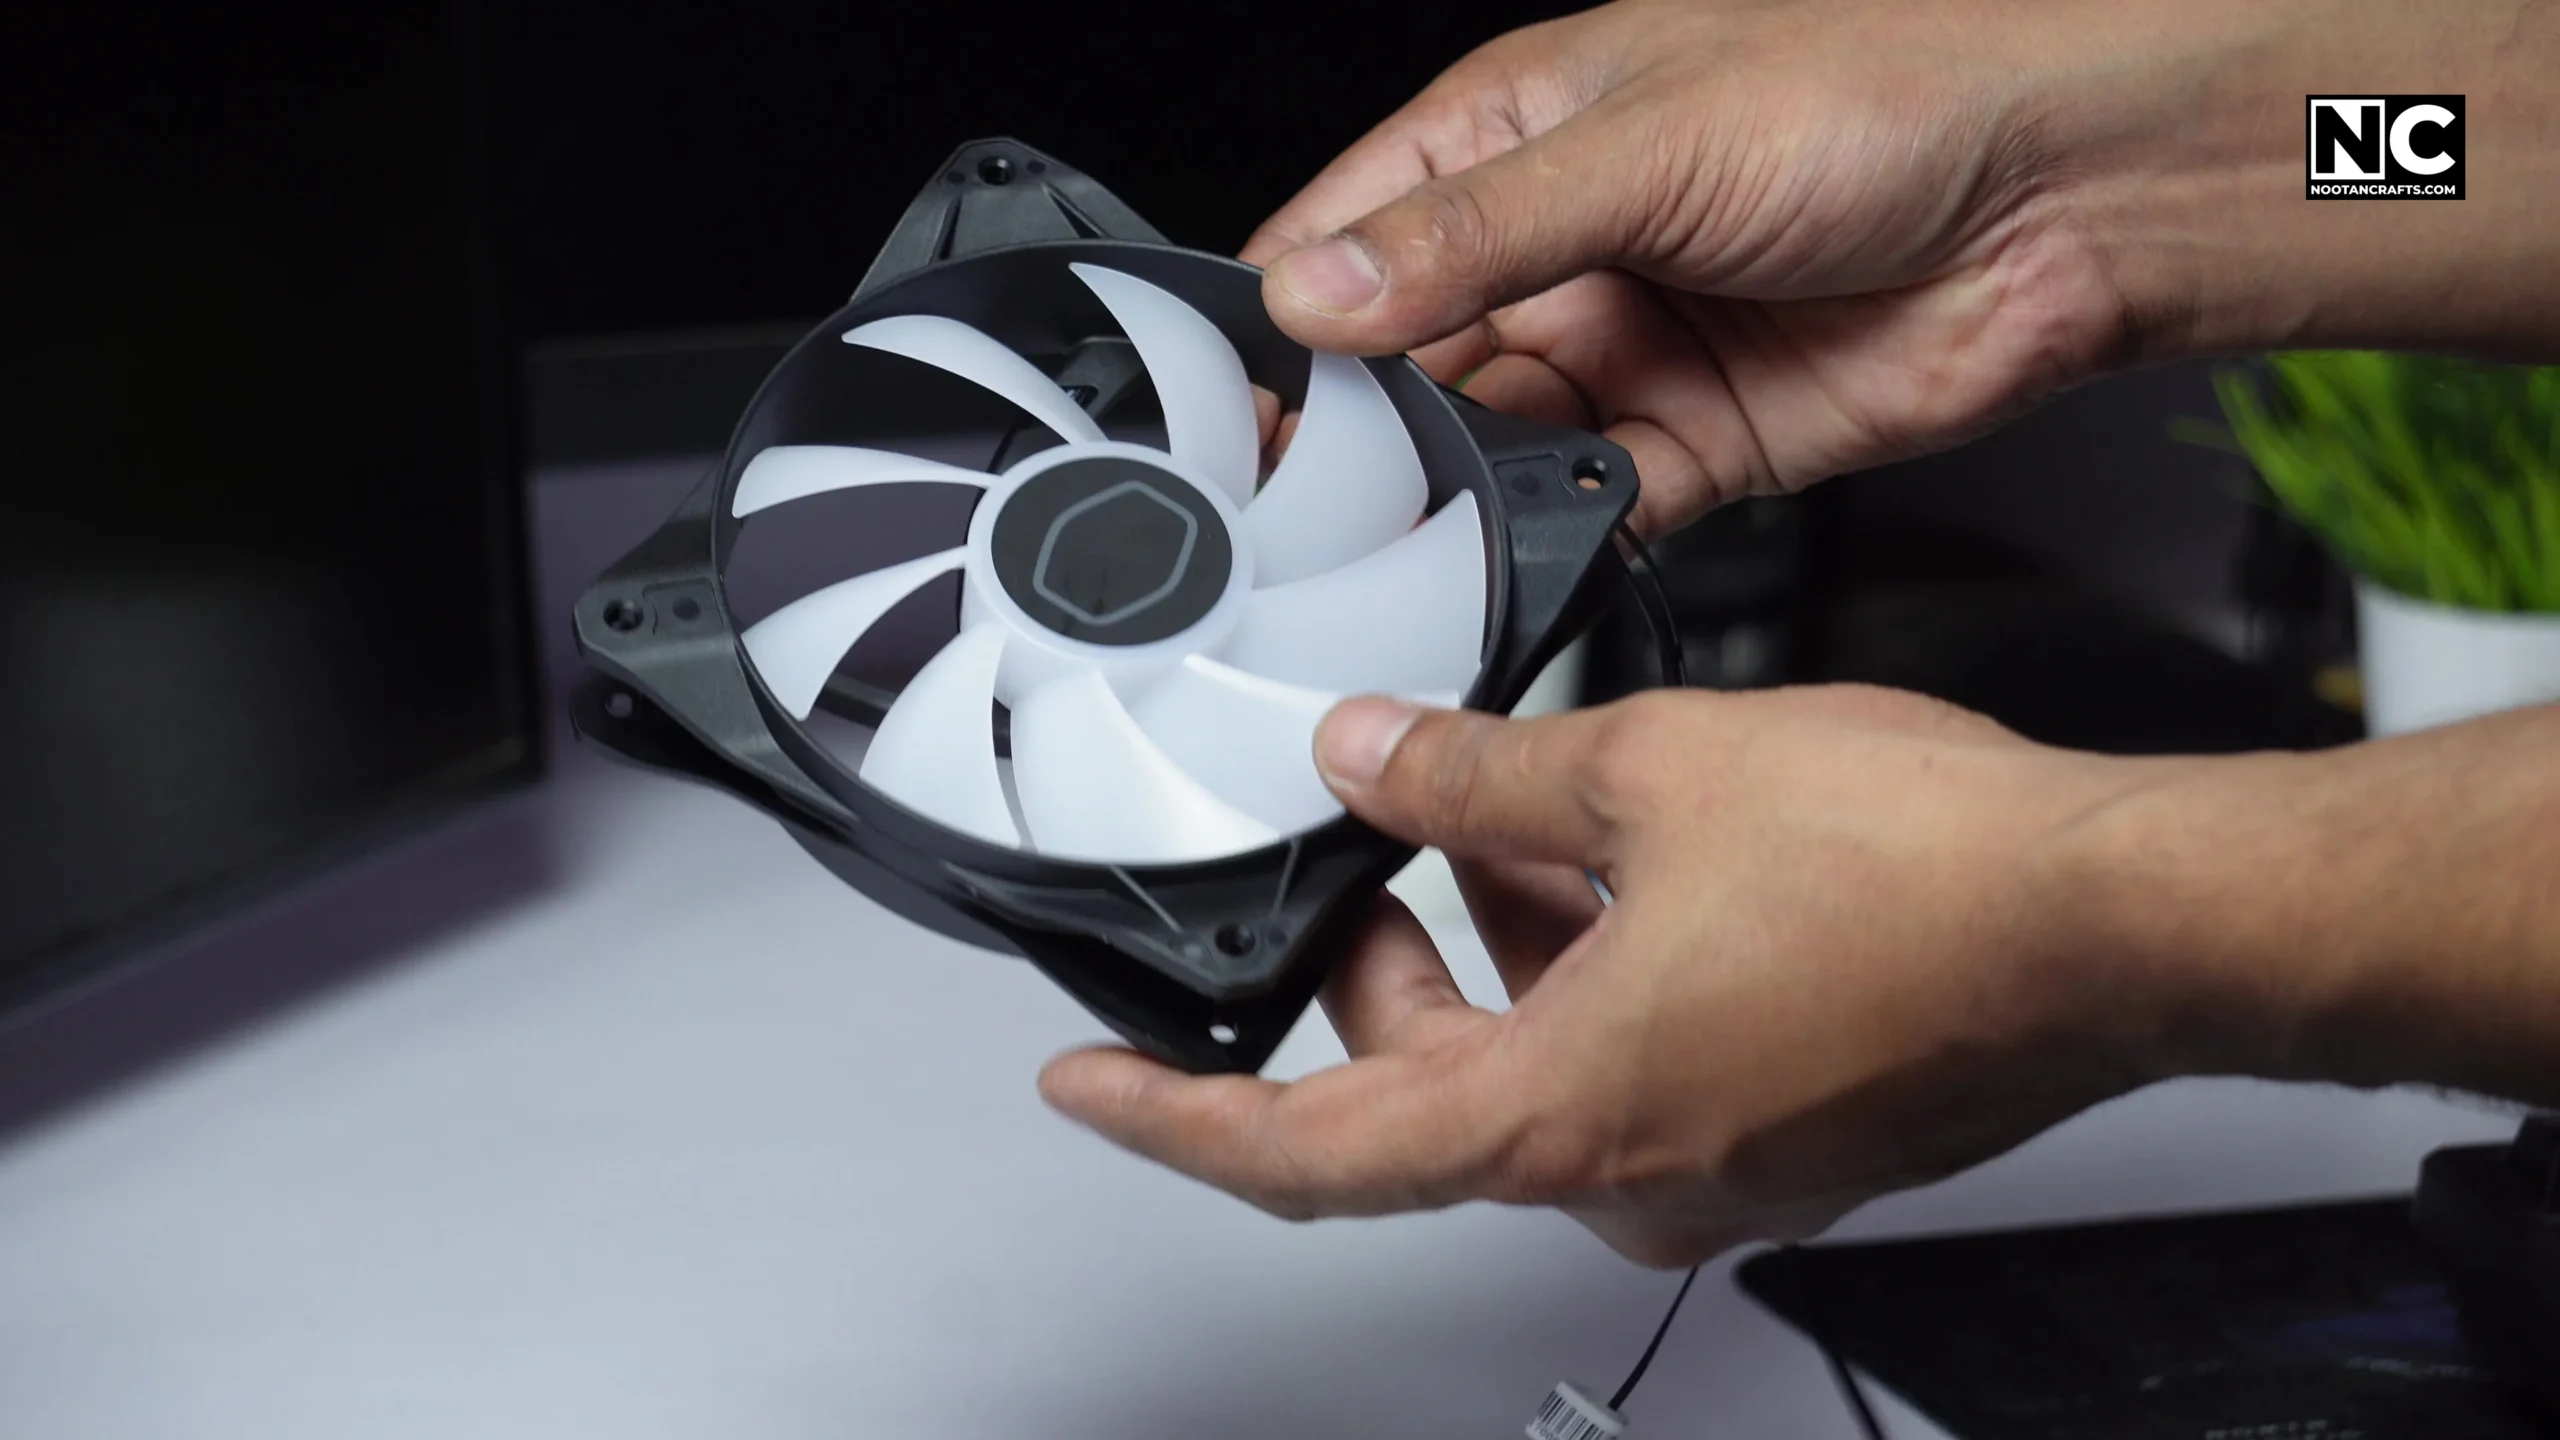
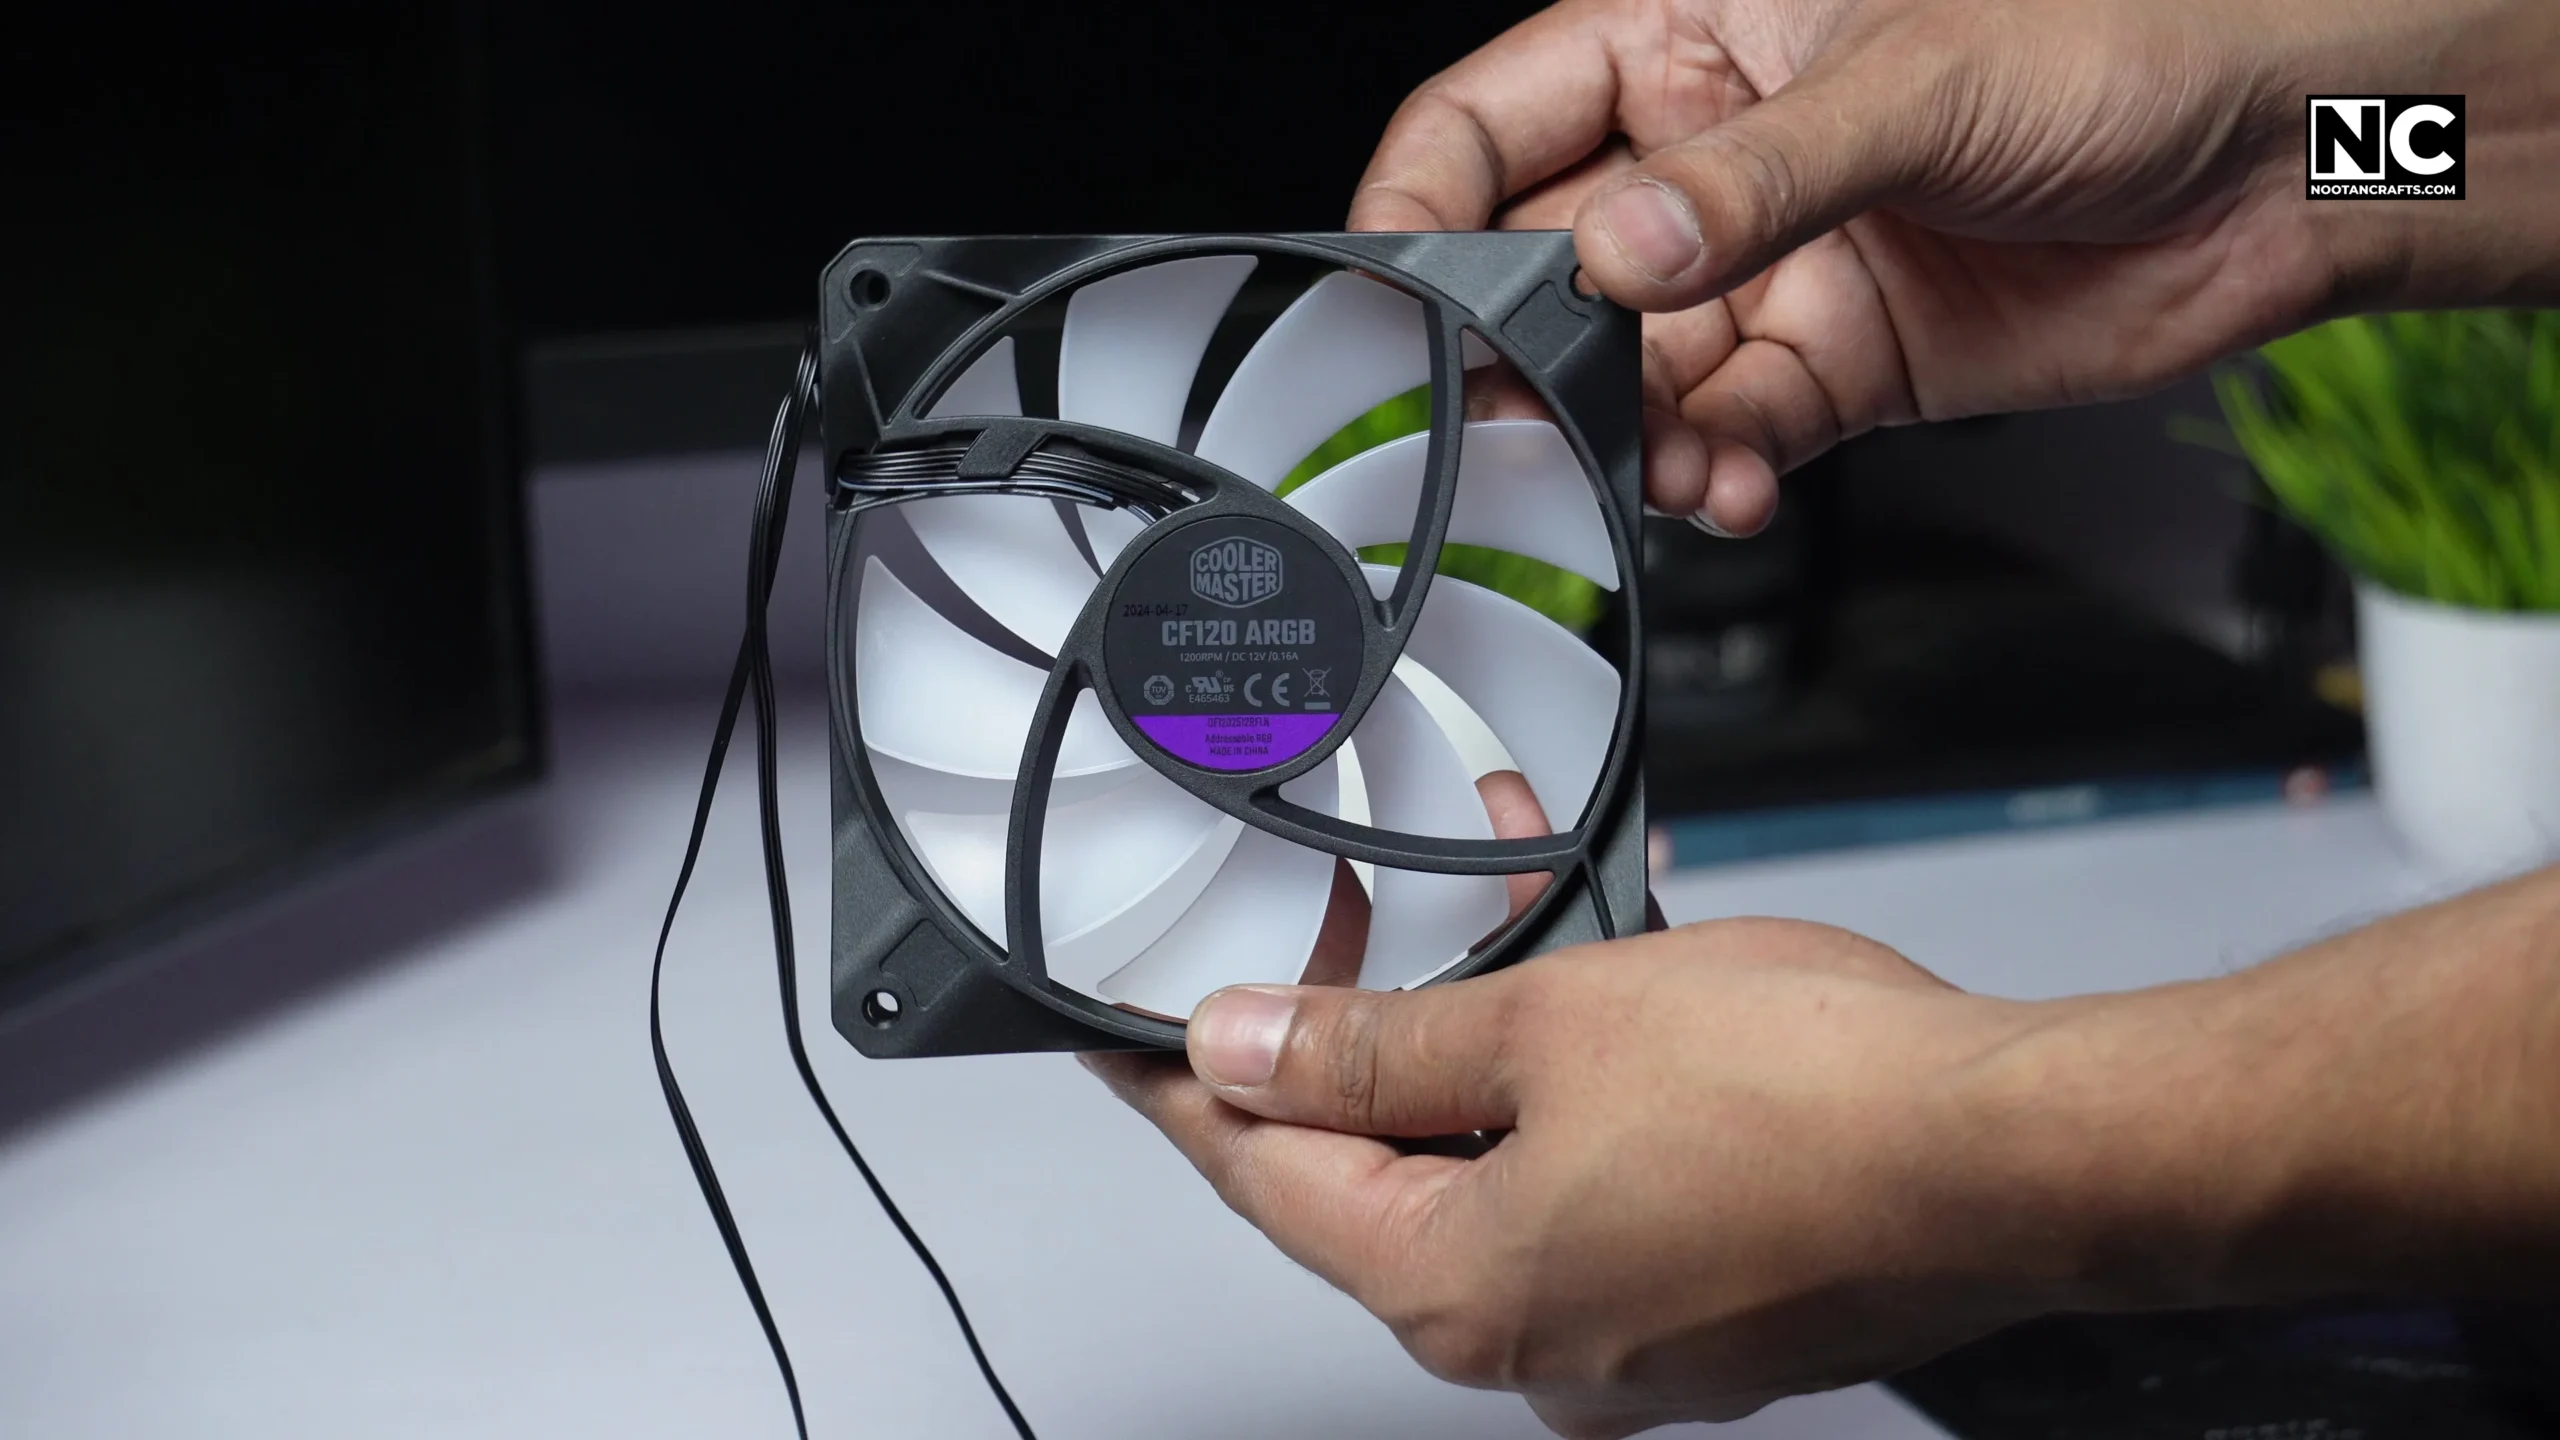

One fan, four mounting screws, a 3-pin fan power lead and a 3-pin ARGB lead with a splitter. Note the second photograph against the strut rule from earlier: the clean blade face is the intake side, the strut side is the exhaust. On a rear exhaust the struts face out of the case.
| Specification | CF120 ARGB |
|---|---|
| Dimensions | 120 × 120 × 25 mm |
| Speed | 1200 ± 200 RPM |
| Airflow | 47.65 CFM |
| Static pressure | 0.89 mmH2O |
| Noise | 20 dBA |
| Bearing | Rifle |
| MTTF | >160,000 hours |
| Fan connector | 3-pin, 12 VDC, 0.16 A, 1.92 W |
| RGB connector | 3-pin ARGB, 5 VDC |
| Warranty | 2 years |
Read those two numbers together rather than separately. 47.65 CFM at 0.89 mmH2O is an airflow fan, not a static-pressure one: good in an open case mount, weaker through a dense filter or a radiator. For a rear exhaust, which pushes into open air, that is exactly the right trade.
The Two Cables, and Why Both Are 3-Pin
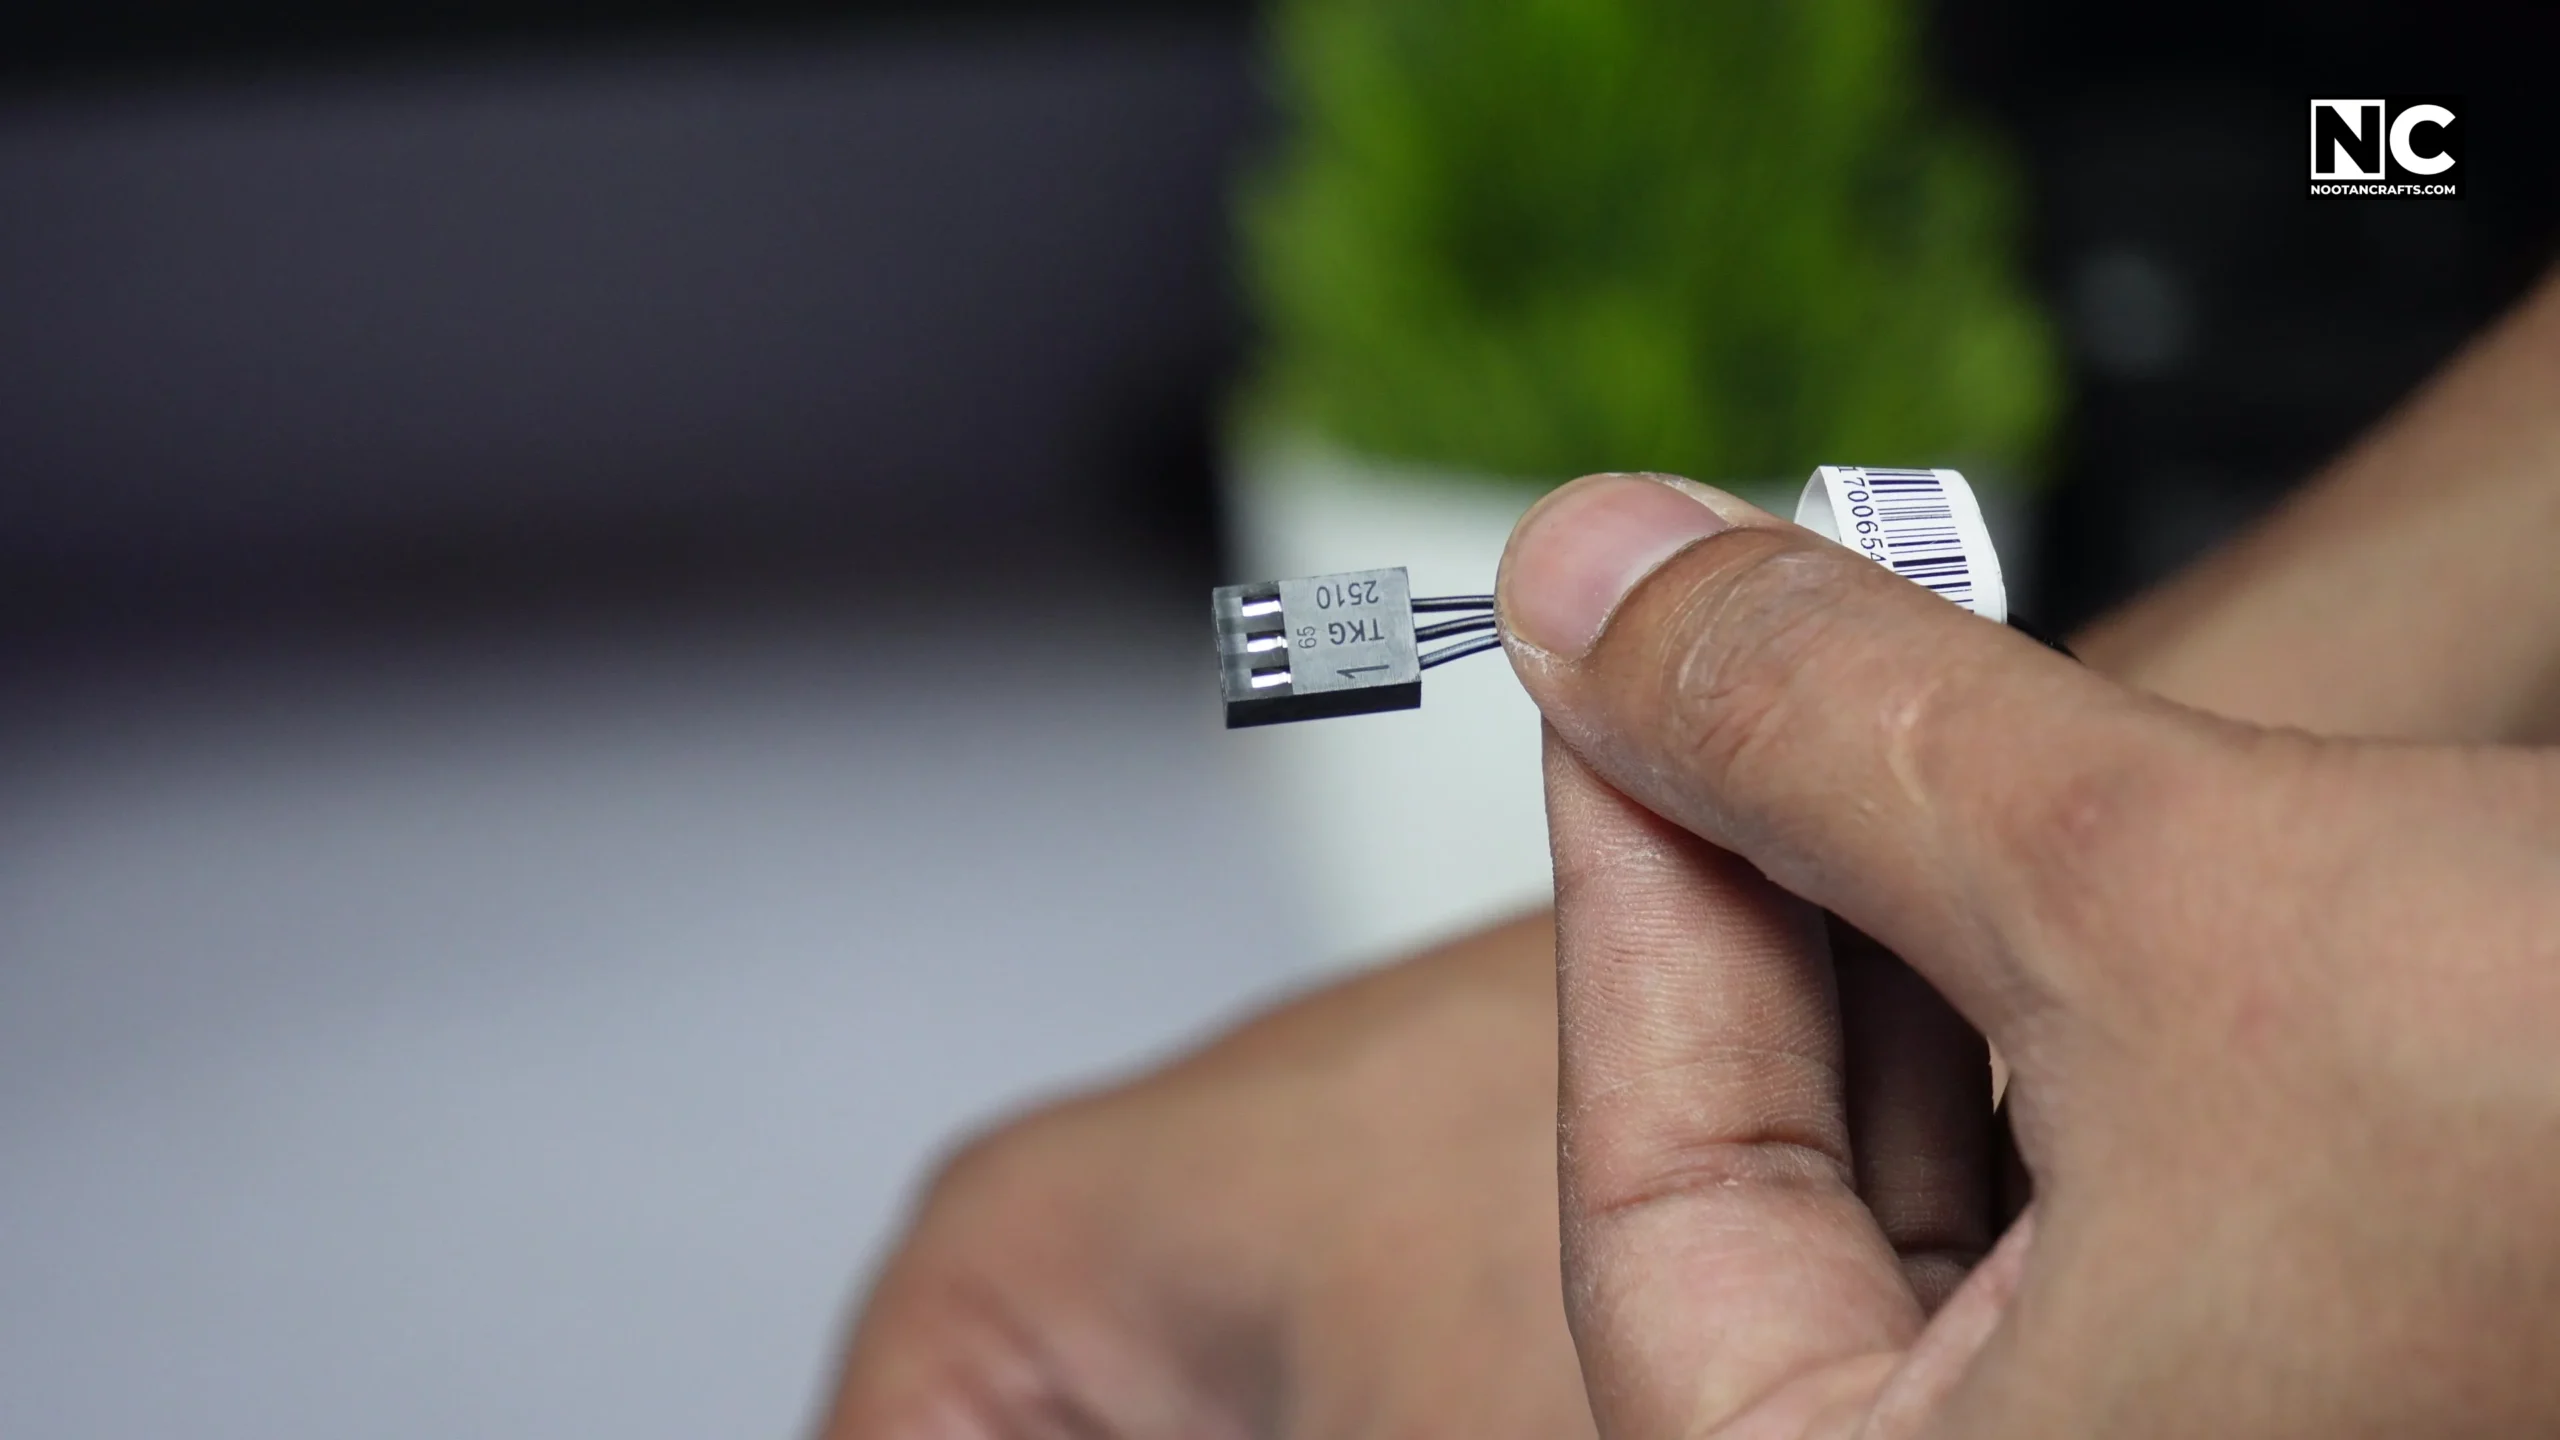


This is where people get caught. The CF120 has two 3-pin connectors and they go to completely different places.
- The fan power lead is 3-pin at 12 V and goes to
SYS_FANorCHA_FAN. Three wires: power, ground, tachometer. - The ARGB lead is 3-pin at 5 V and goes to the
ARGBheader. Its housing has four positions with one blocked, which is the key that stops you putting it on a 12 V RGB header.
Do not force the ARGB lead onto a 12 V header. It will not seat properly, and if you make it fit you put 12 V across LEDs rated for 5 V and destroy them the moment you press the power button. The blocked position exists for exactly this reason. The RGB header guide has the full pinouts.
A 3-pin fan on a PWM header runs flat out. The CF120’s fan lead is 3-pin, so it is controlled by voltage, not PWM. If the header it is plugged into is set to PWM mode, there is no PWM signal for the fan to read and it sits at full speed no matter what curve you set. The fix is one BIOS setting: switch that header from PWM to DC mode. Nearly every modern board does this per header, and it is the single most common reason a newly fitted fan is louder than expected.
Fitting It
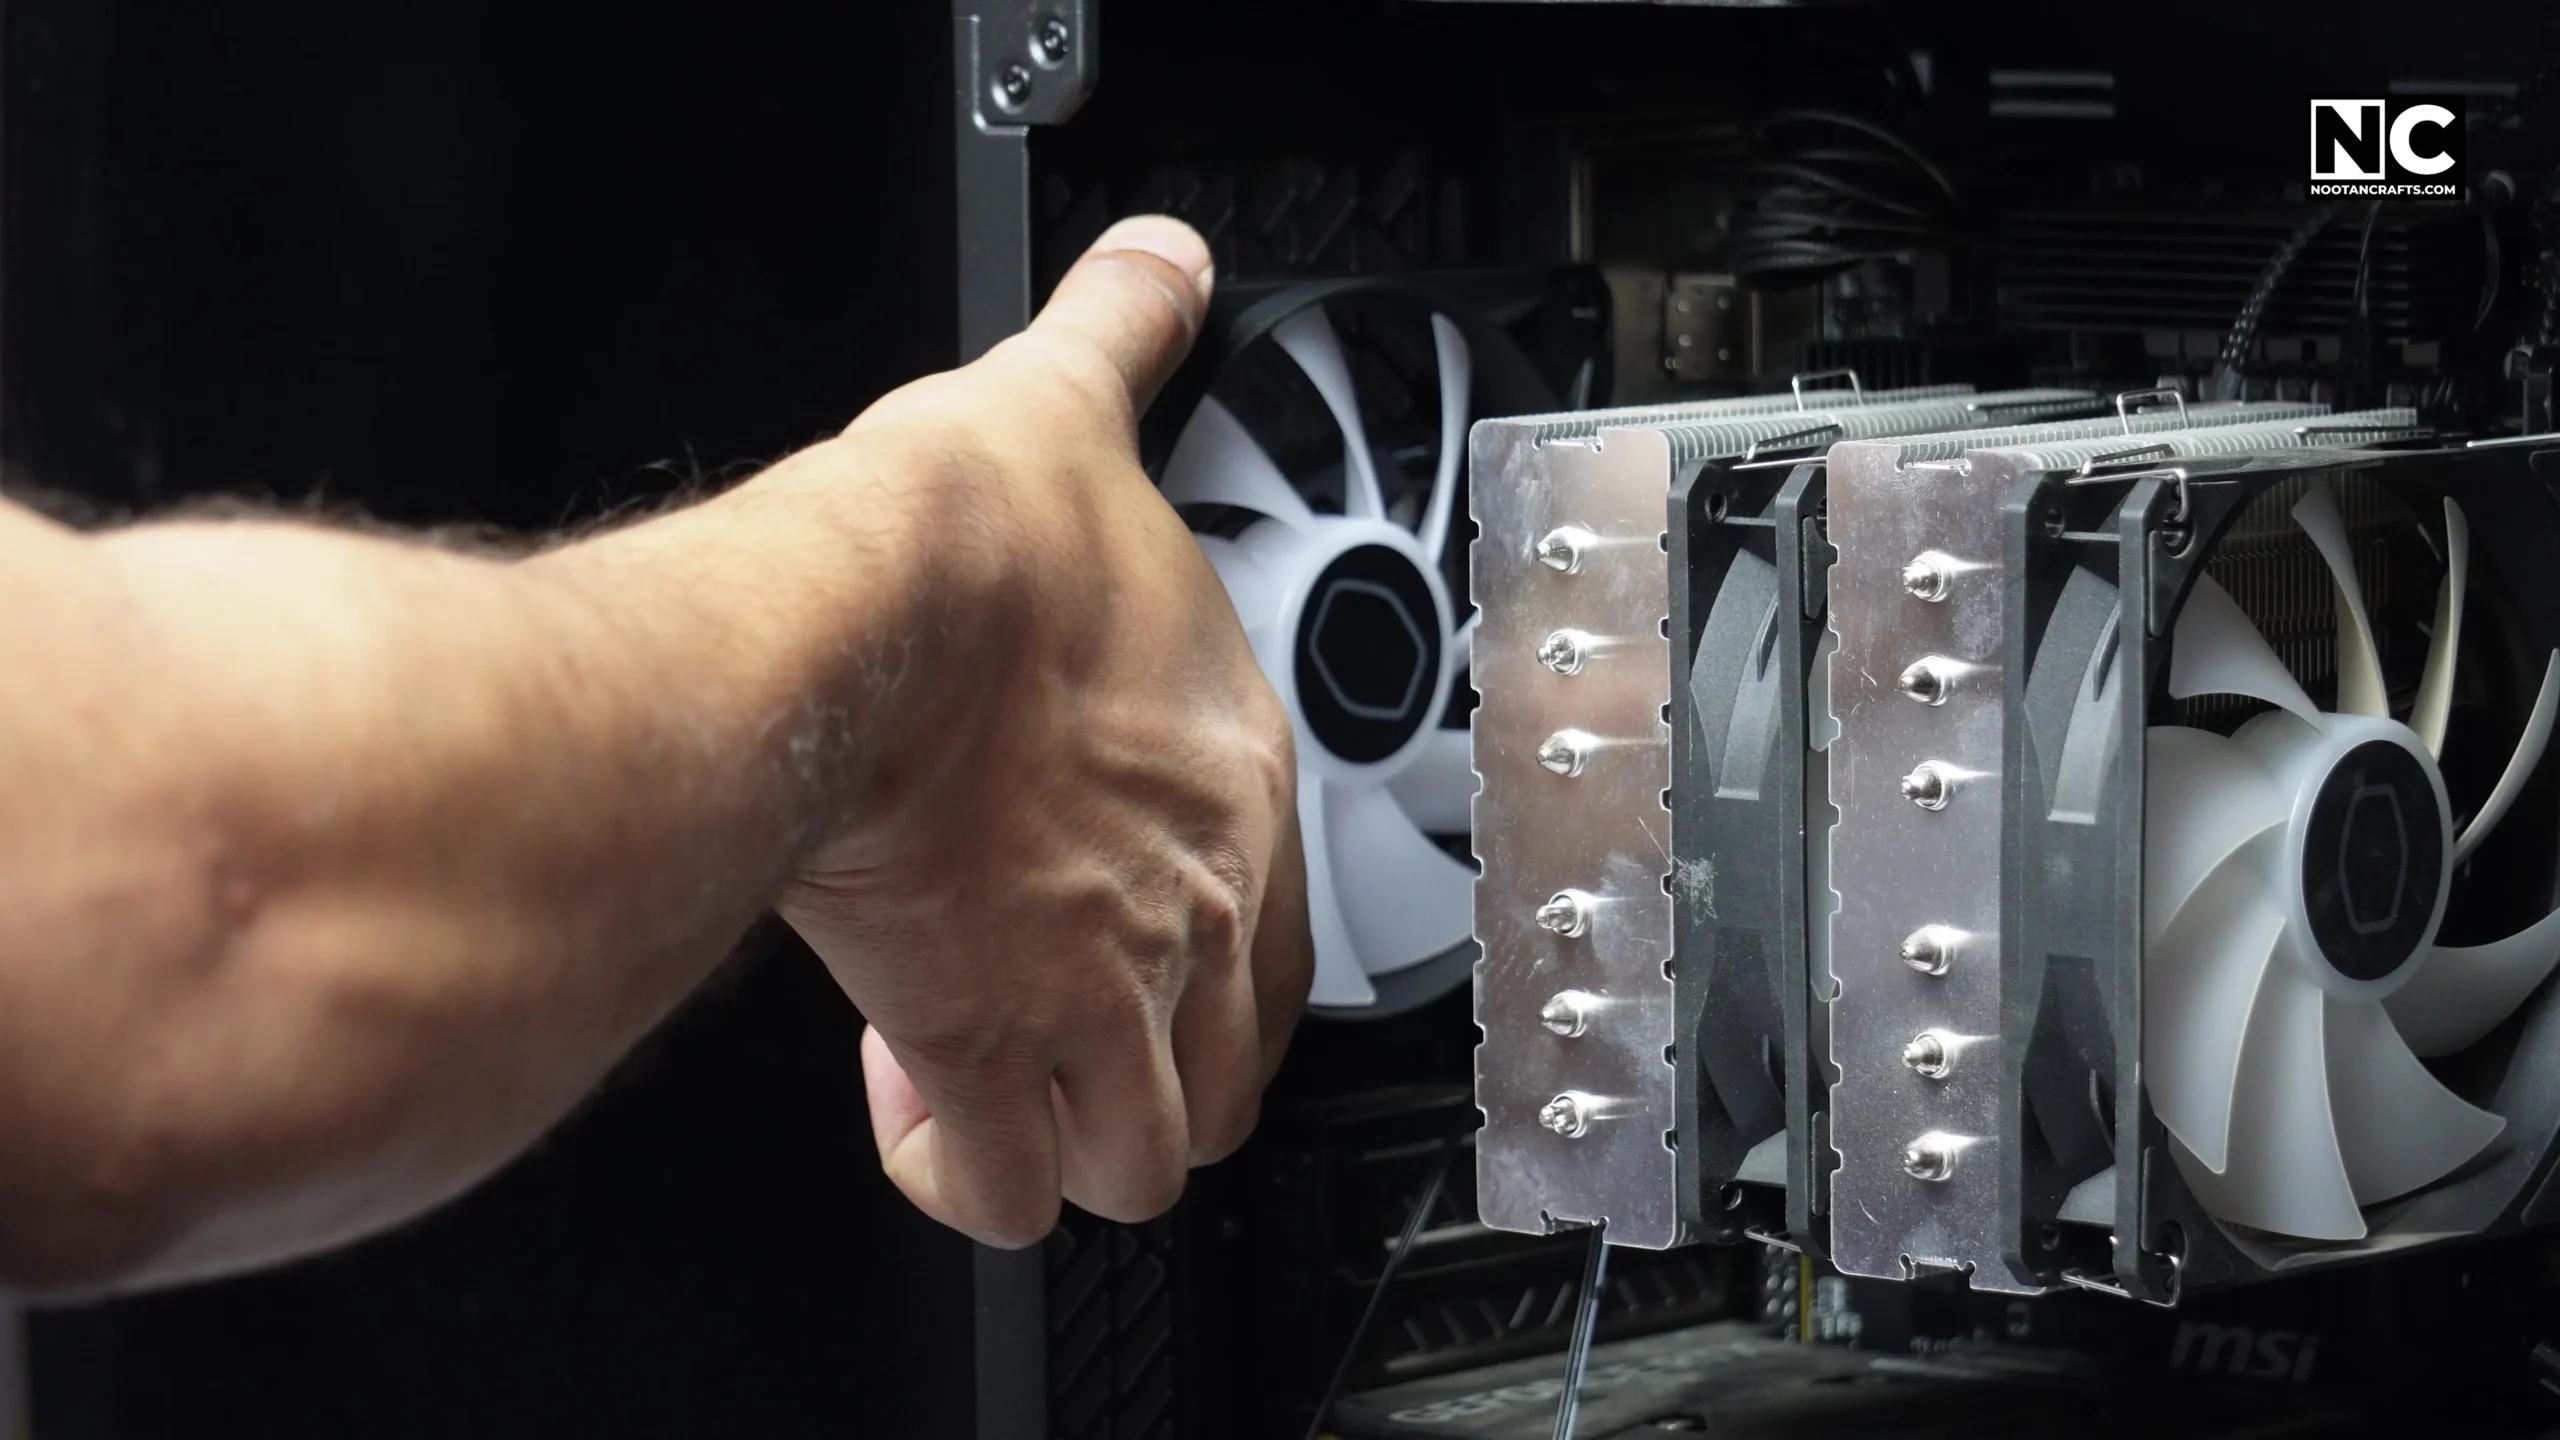
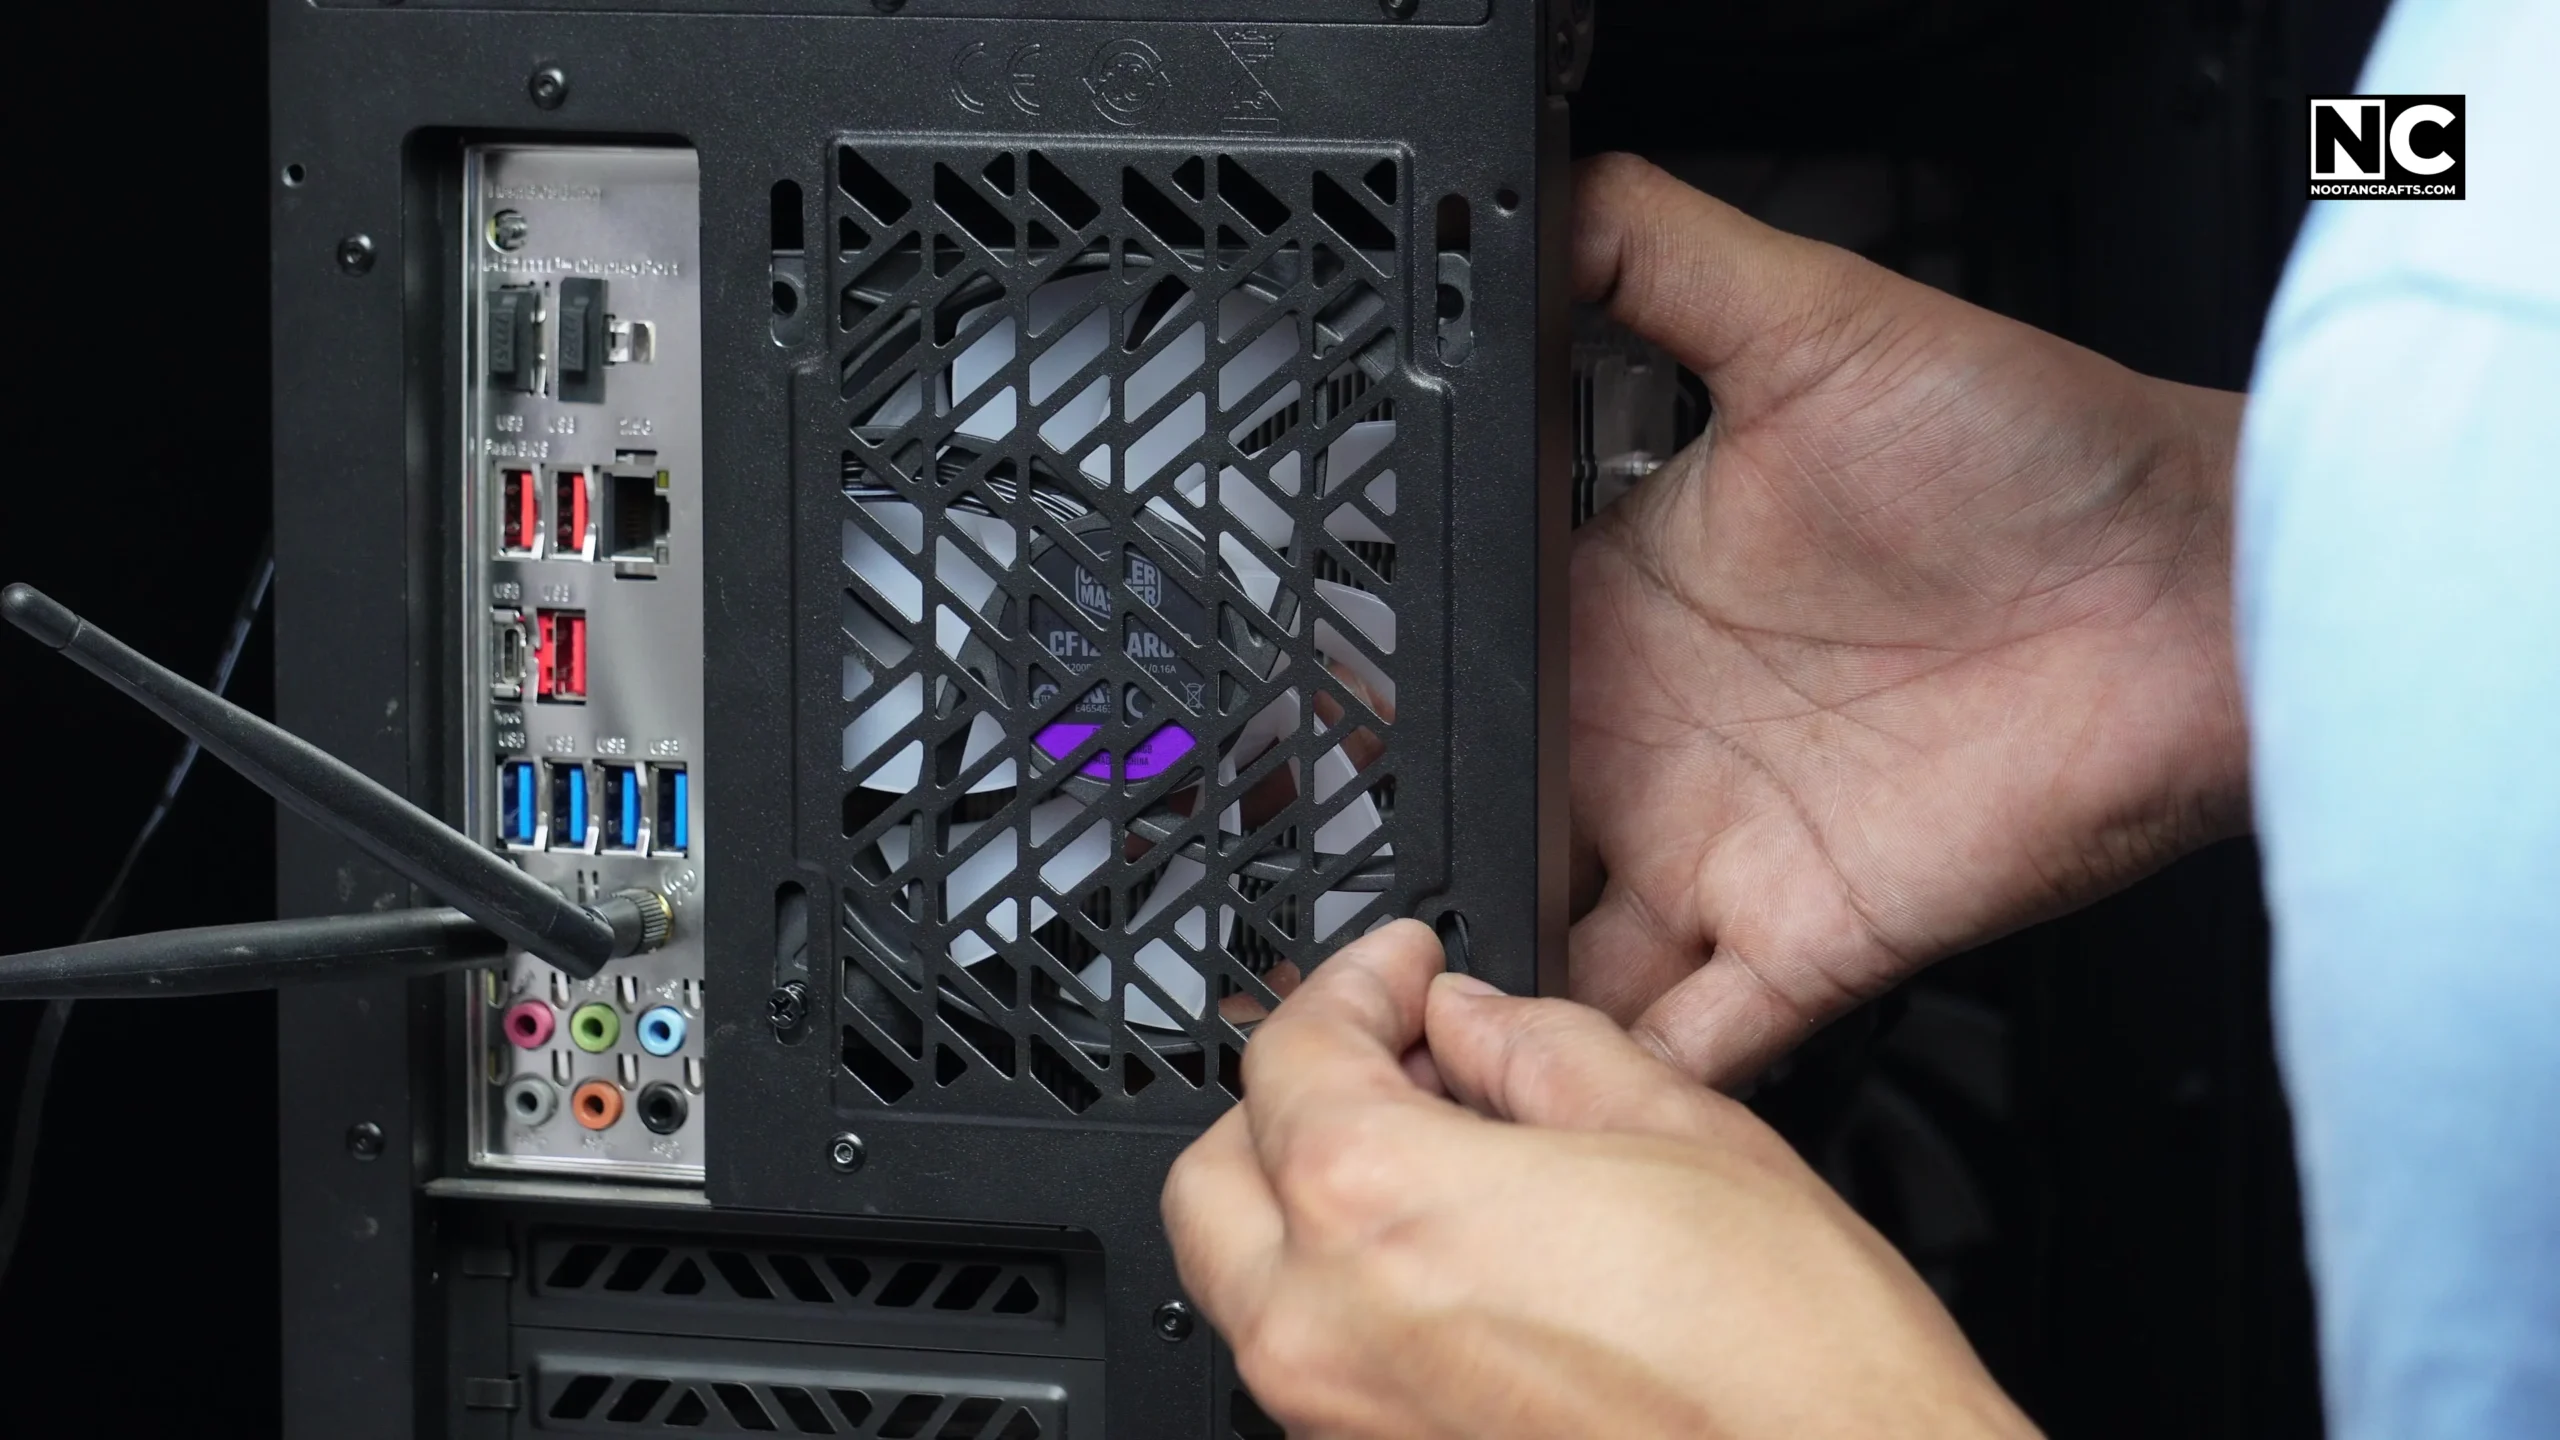
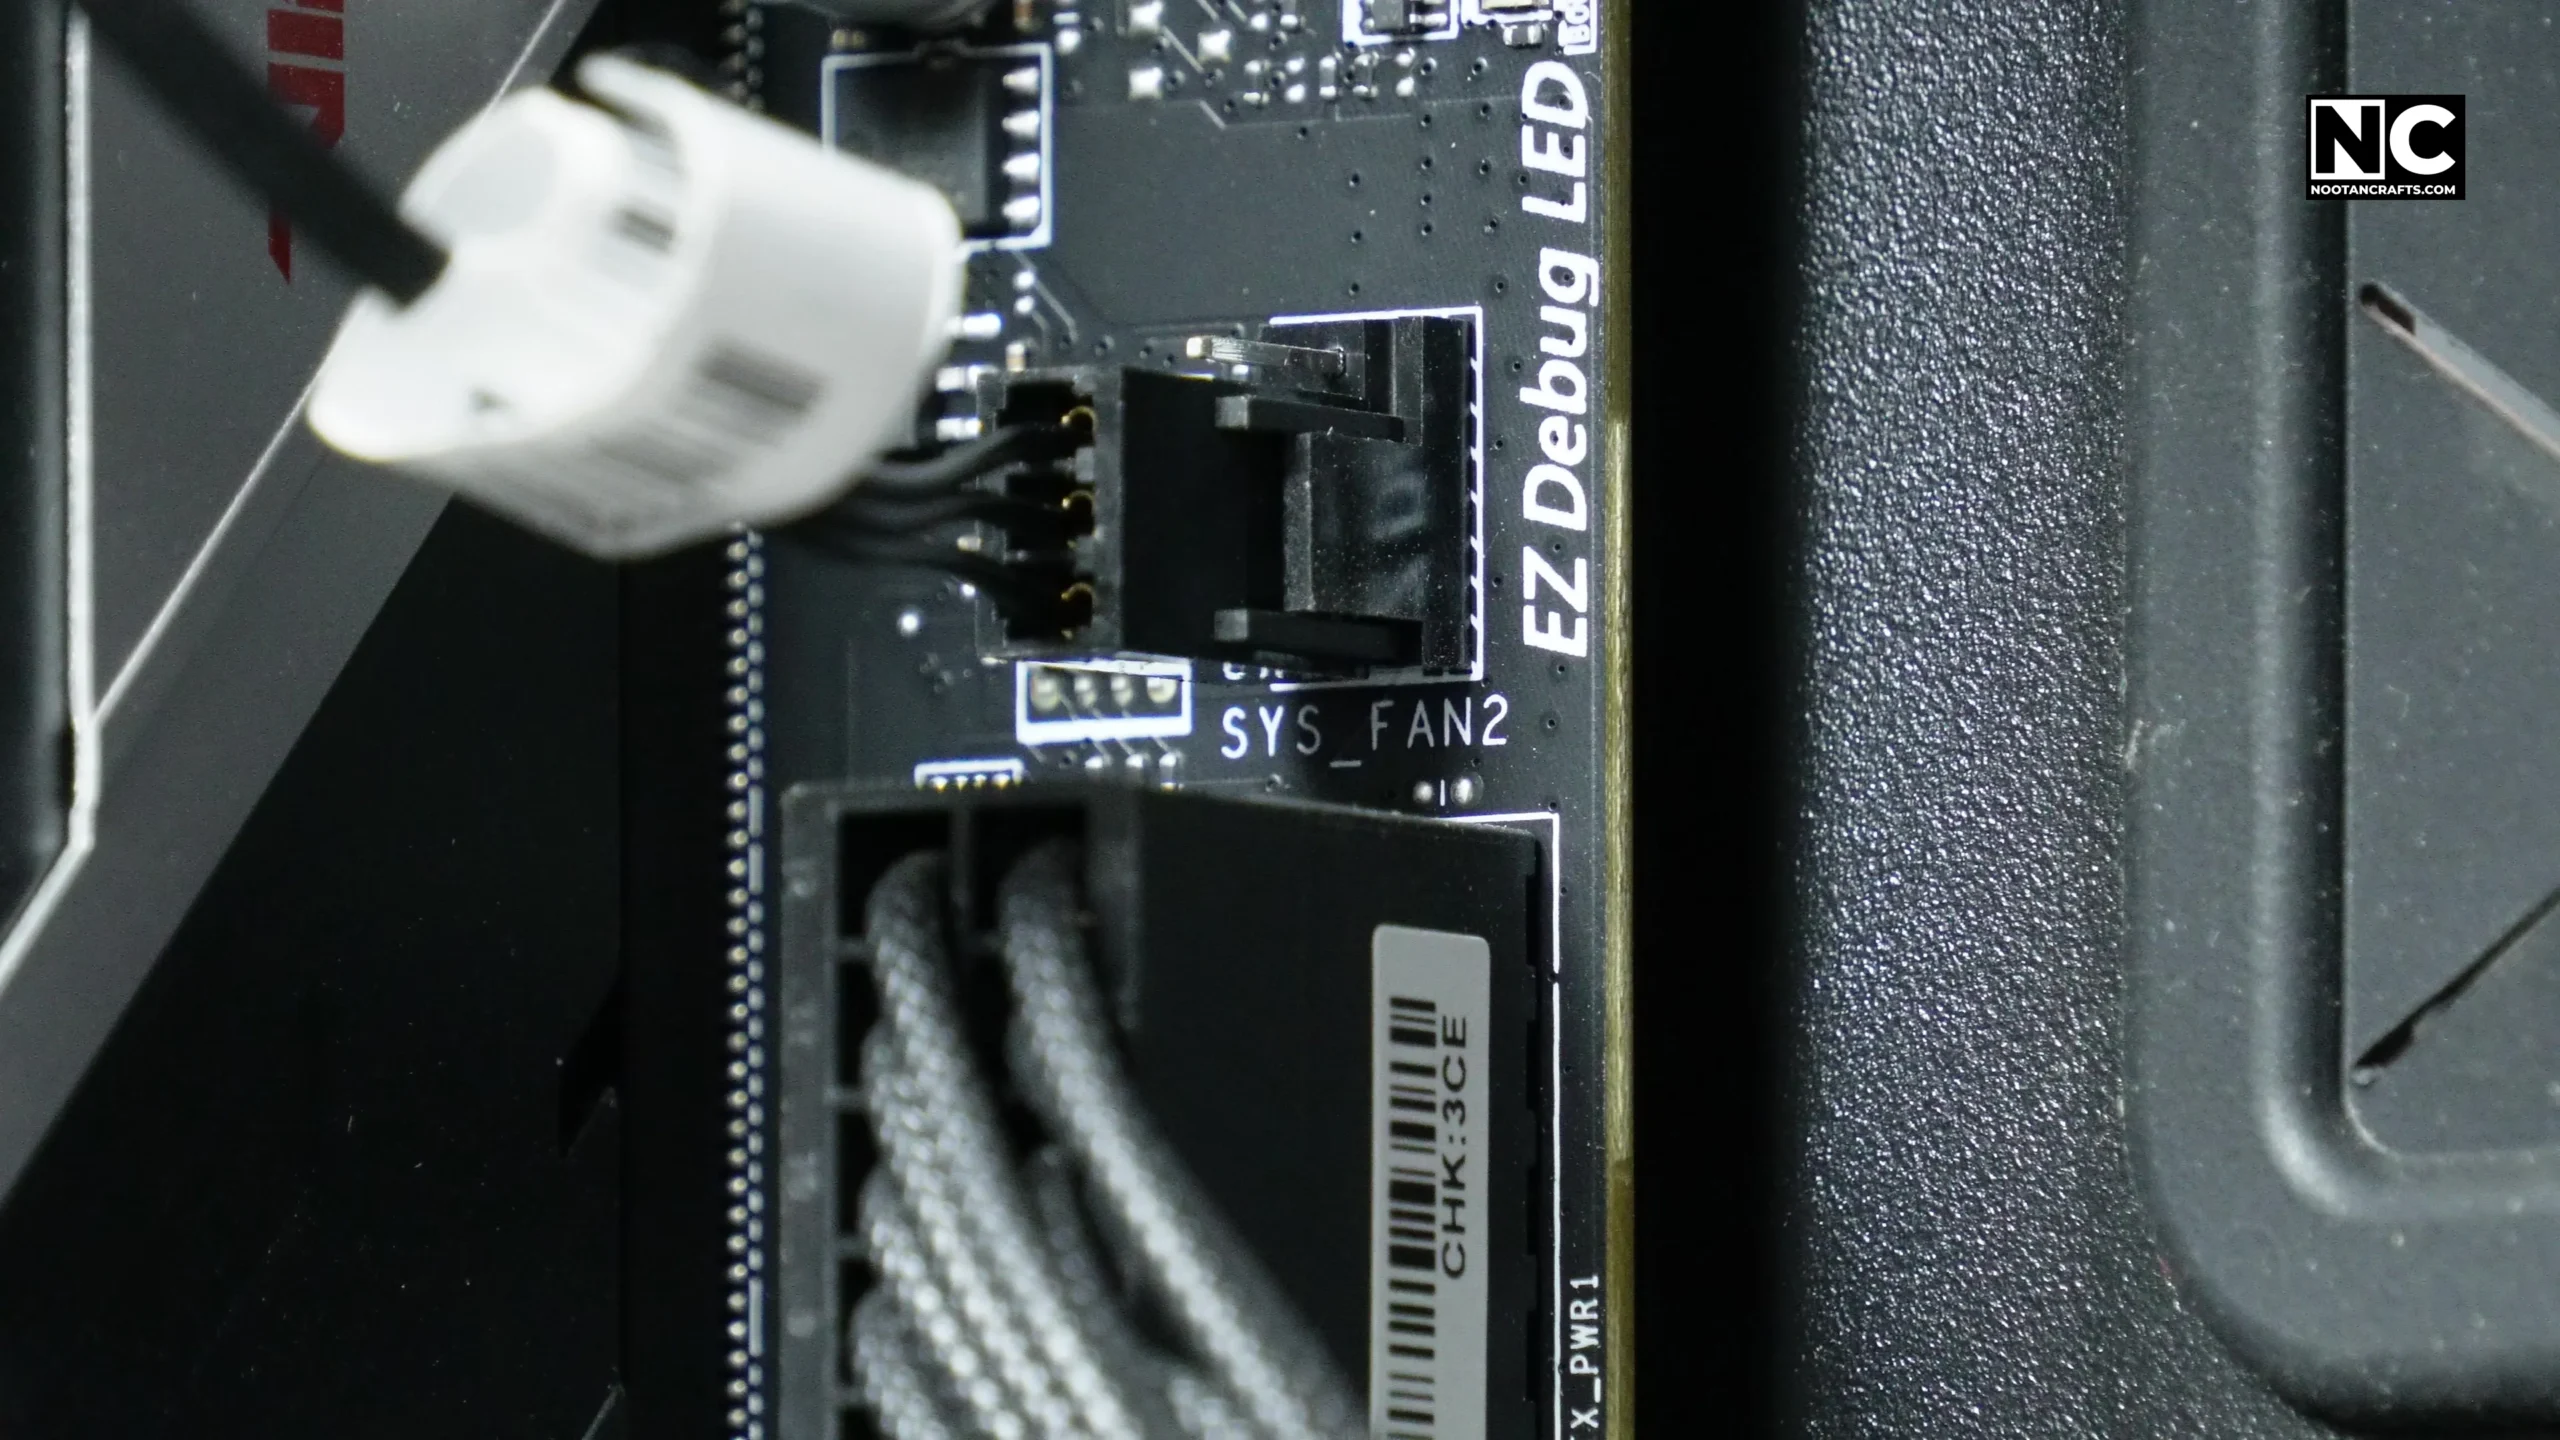
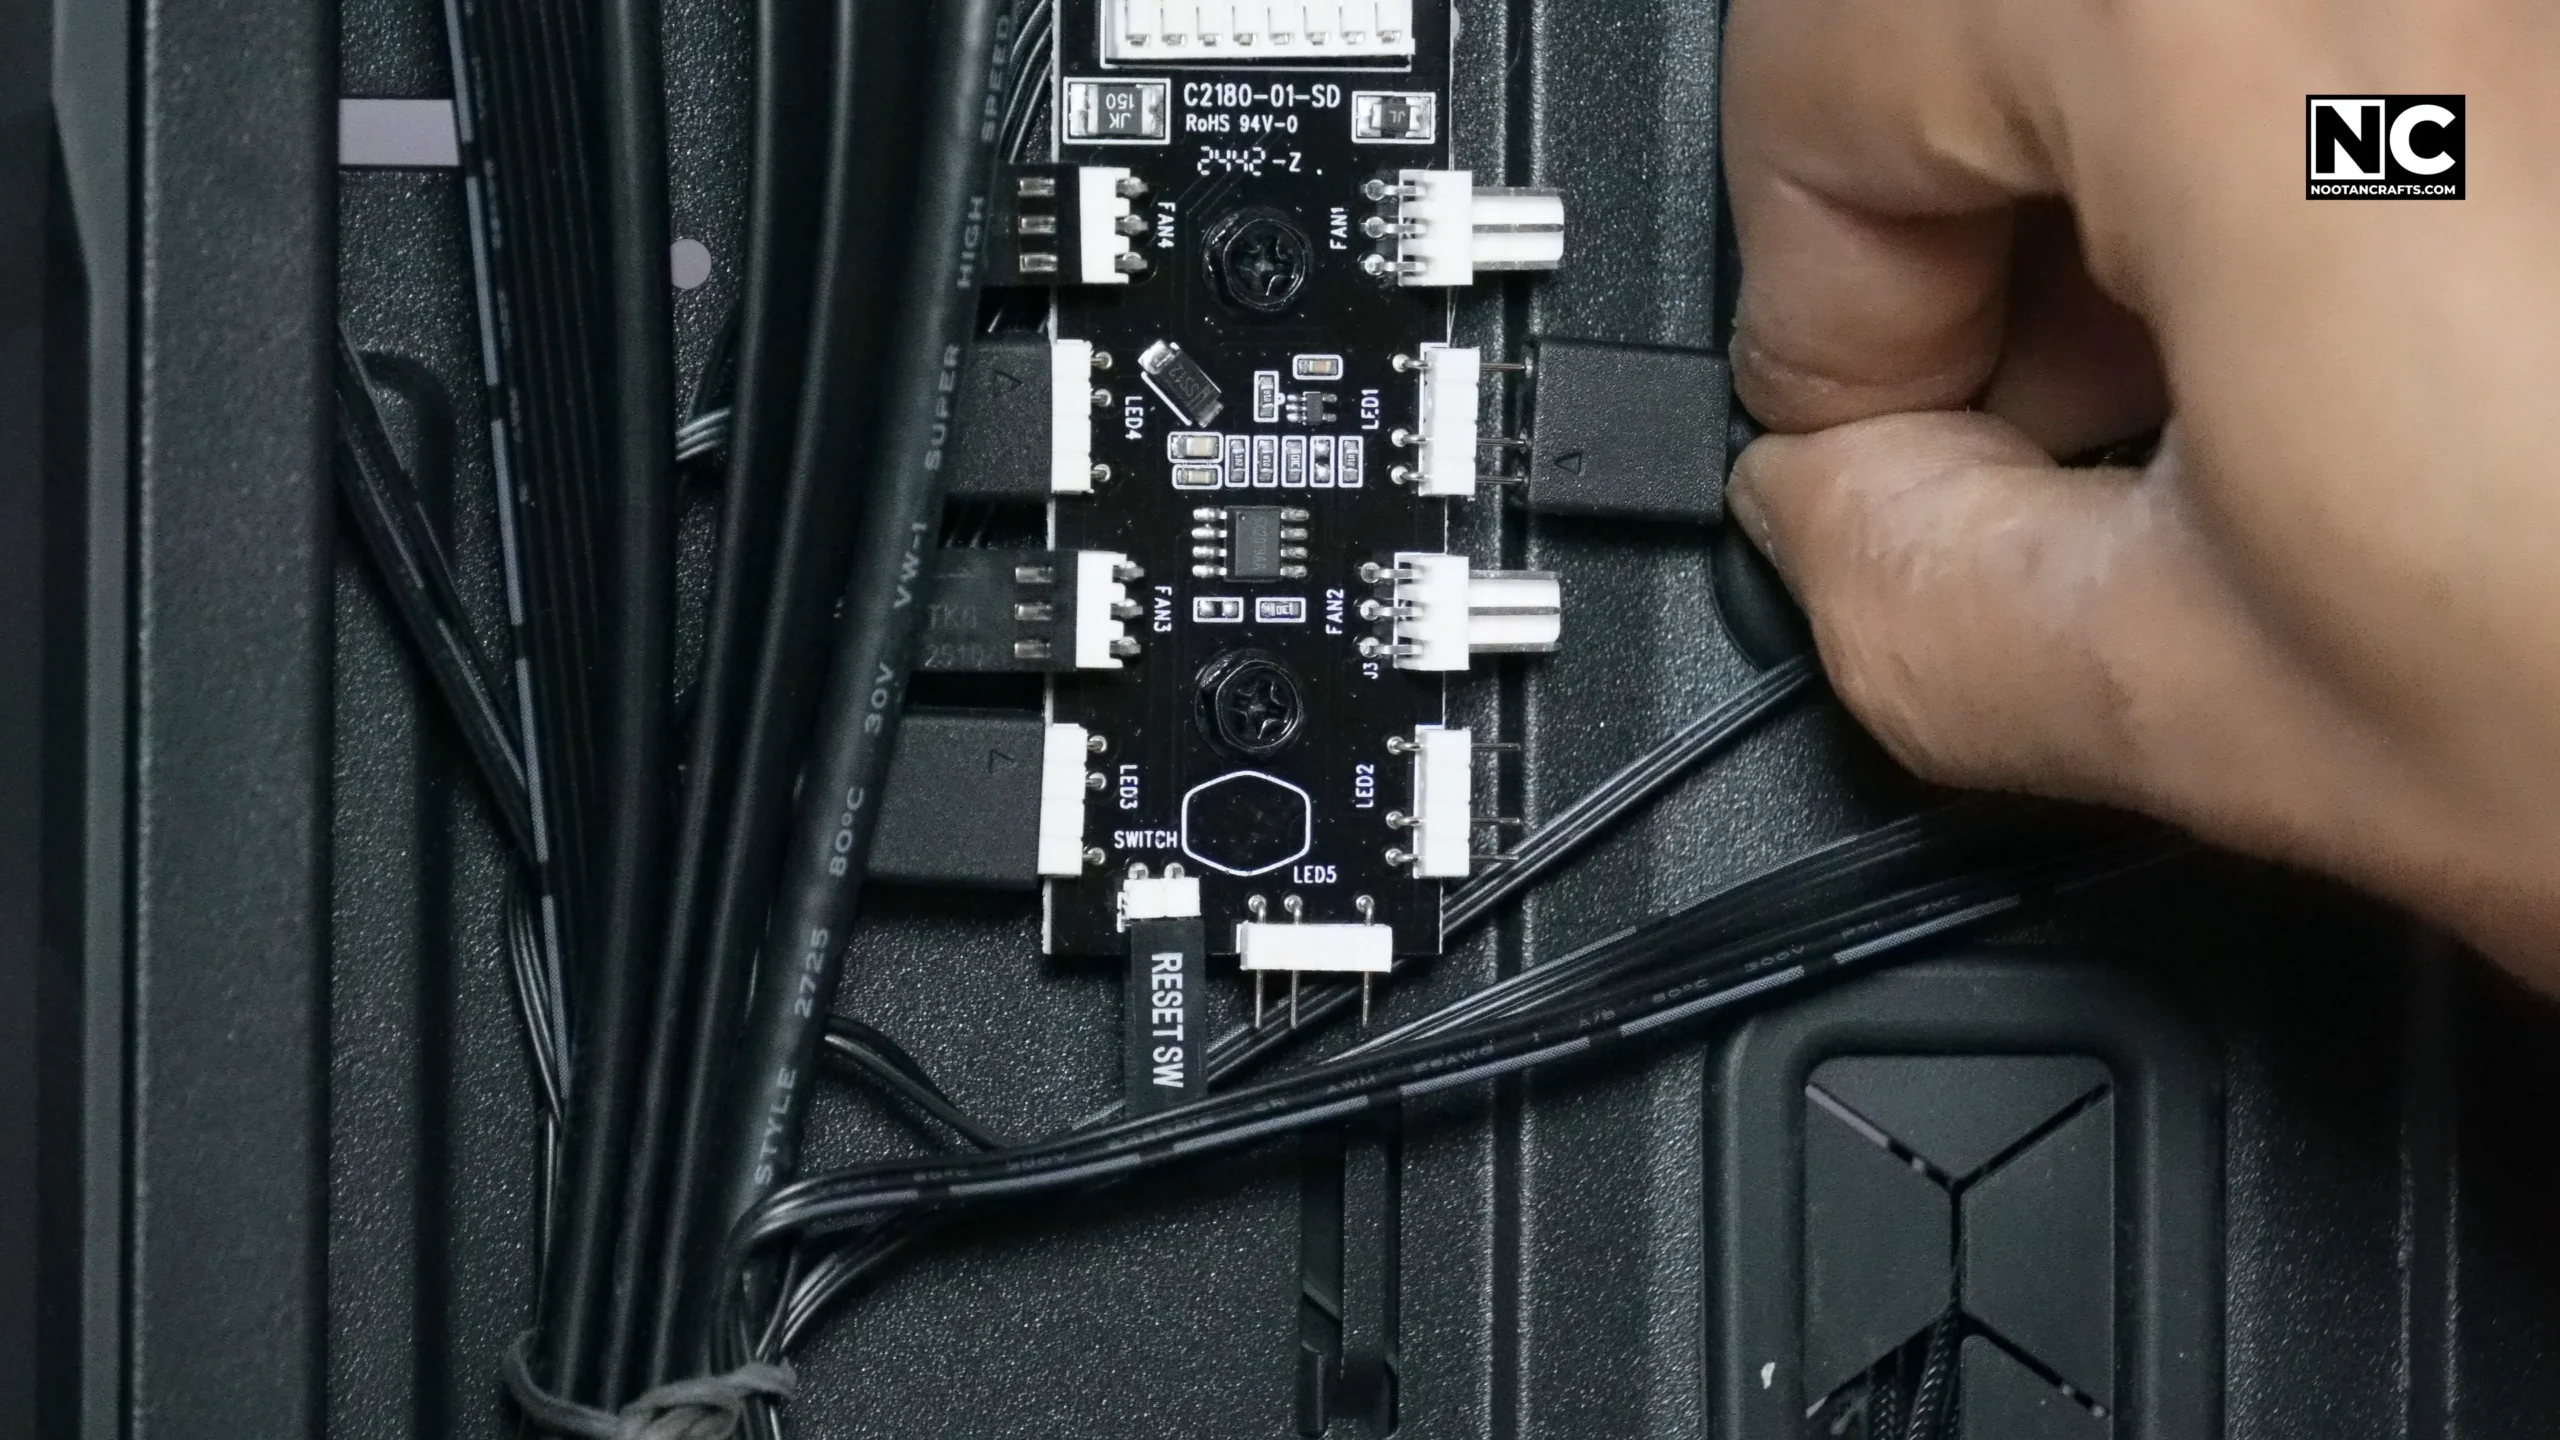
- Decide the role first. Rear or top means exhaust, so the strut side faces out. Front or bottom means intake, so the clean side faces out.
- Hold it against the mount, line up the four holes, and drive the supplied screws diagonally. Snug, not tight.
- Fan lead to
SYS_FANorCHA_FAN. Note which numbered header you used. - ARGB lead to the 5 V
ARGBheader, or onto the splitter if you are chaining several fans. - Route both cables behind the motherboard tray and zip-tie them clear of the blades.
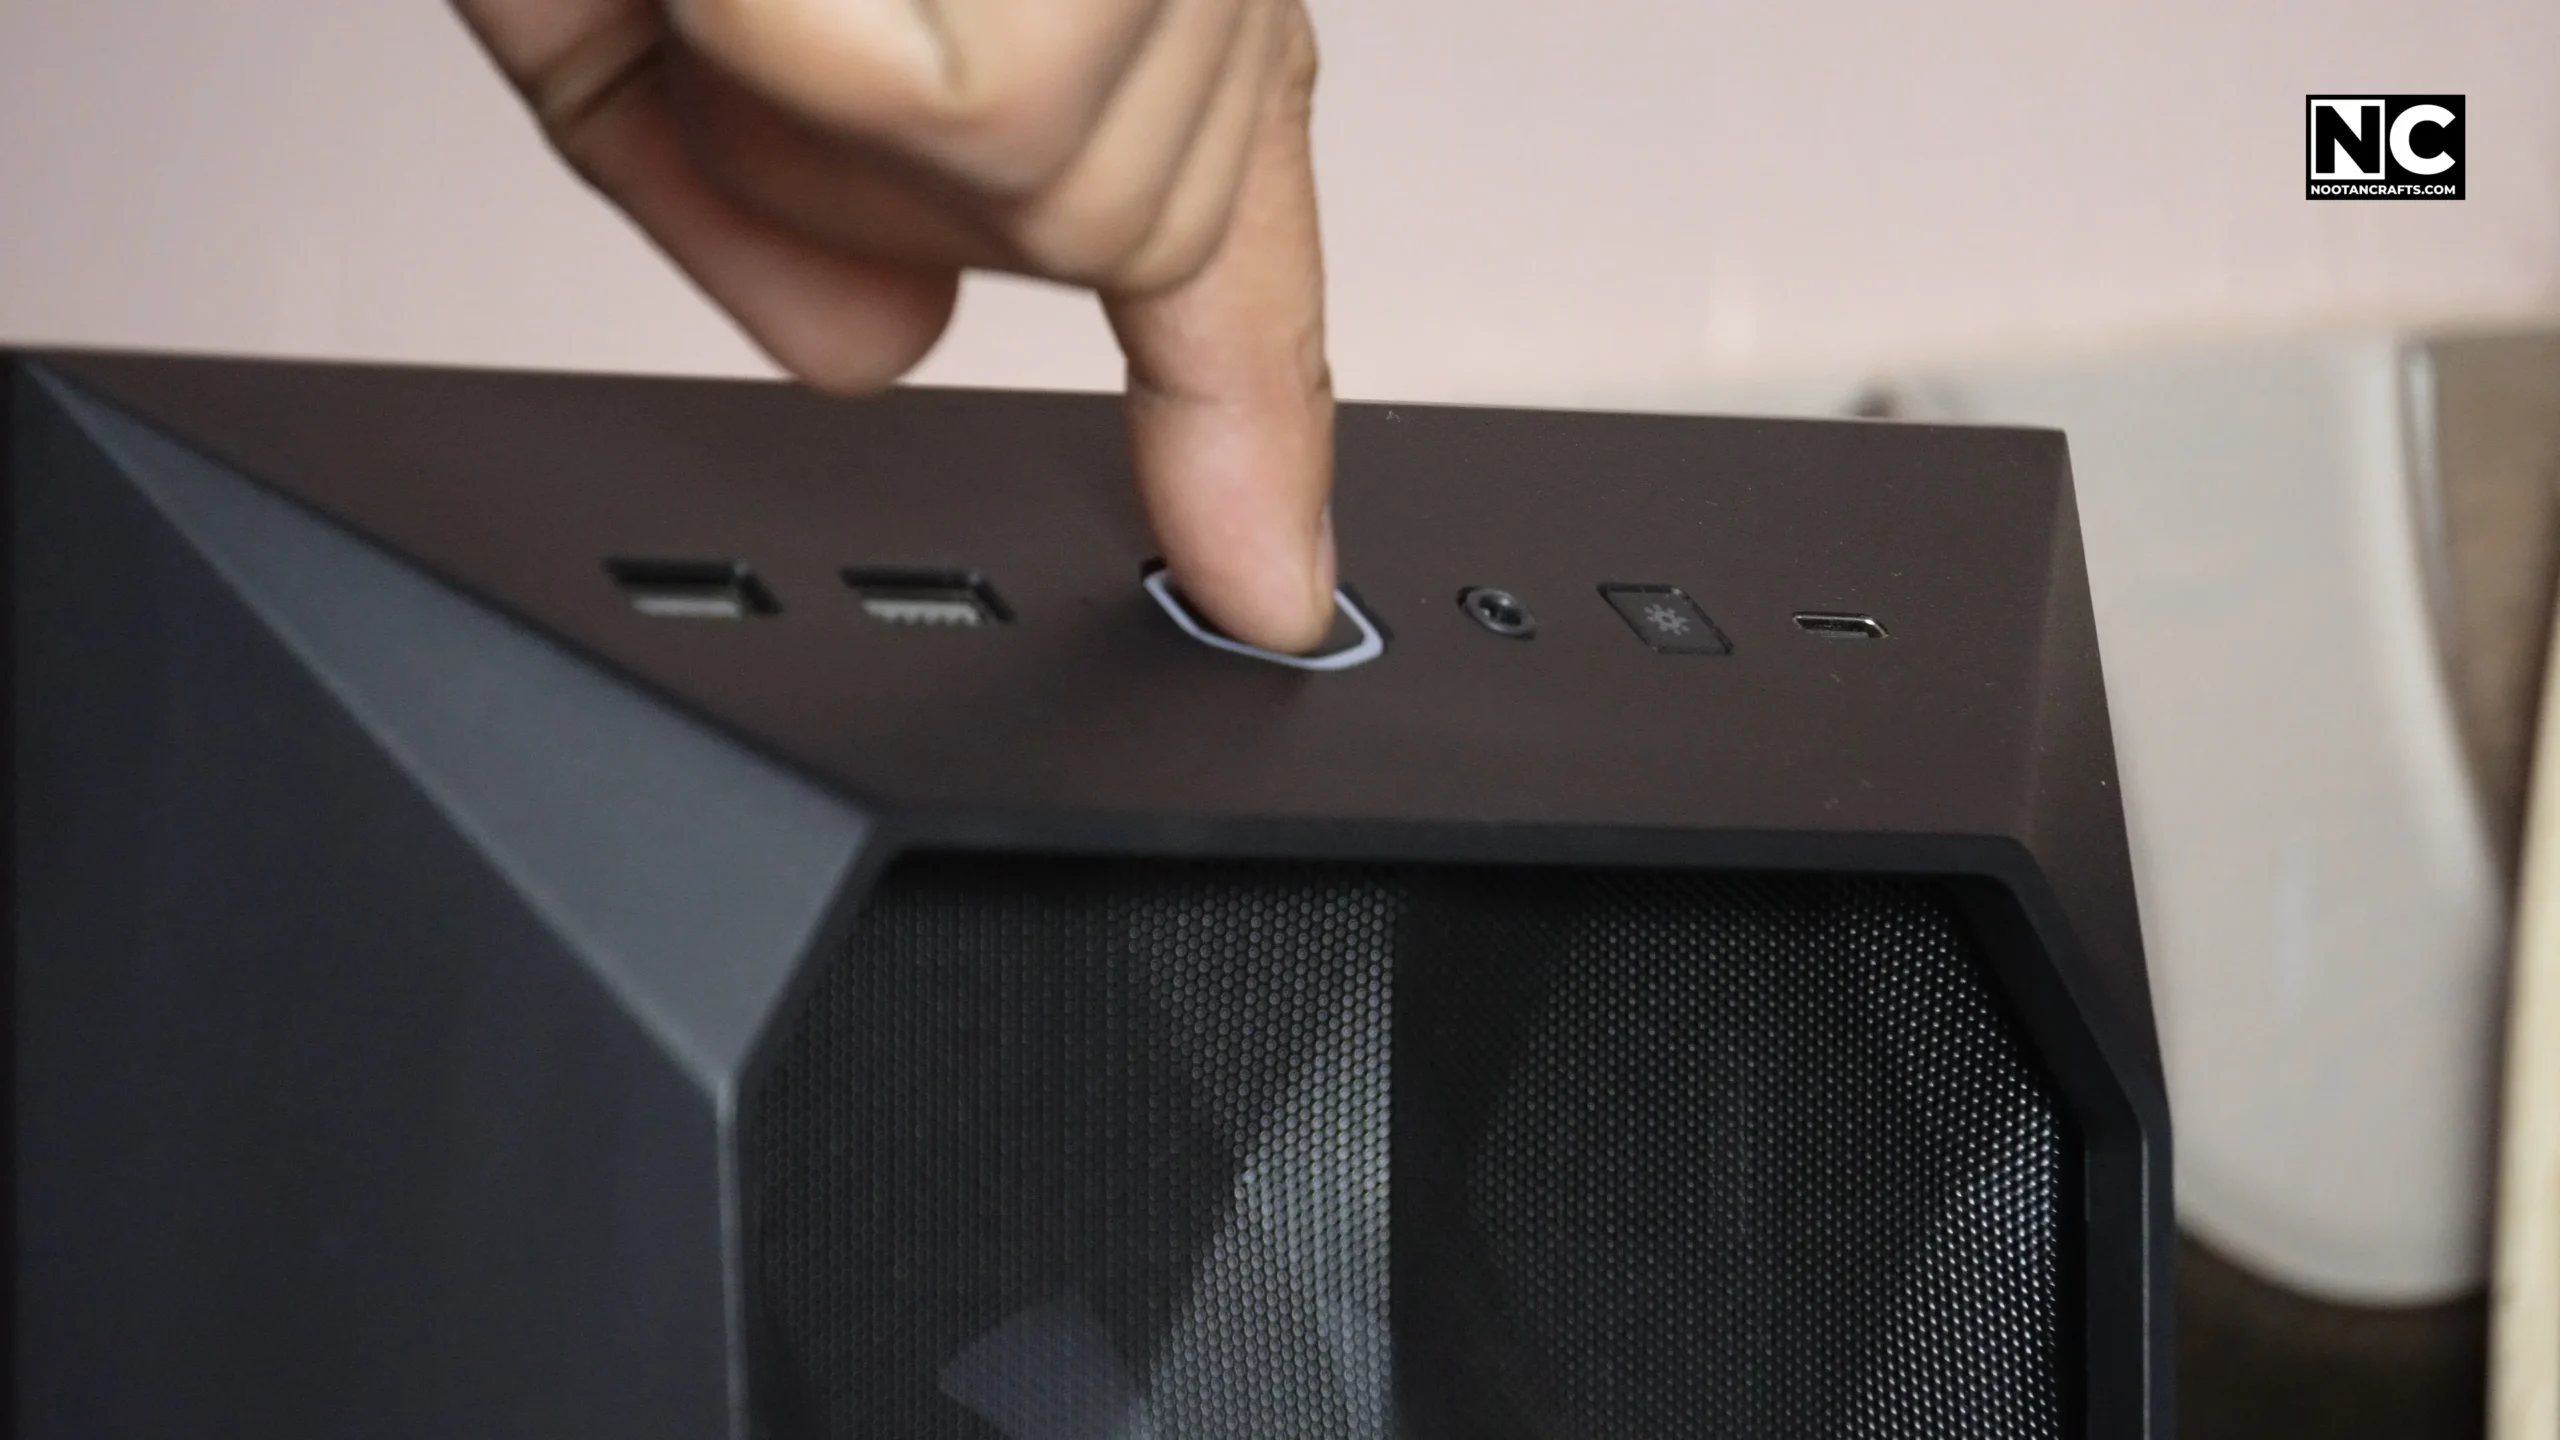
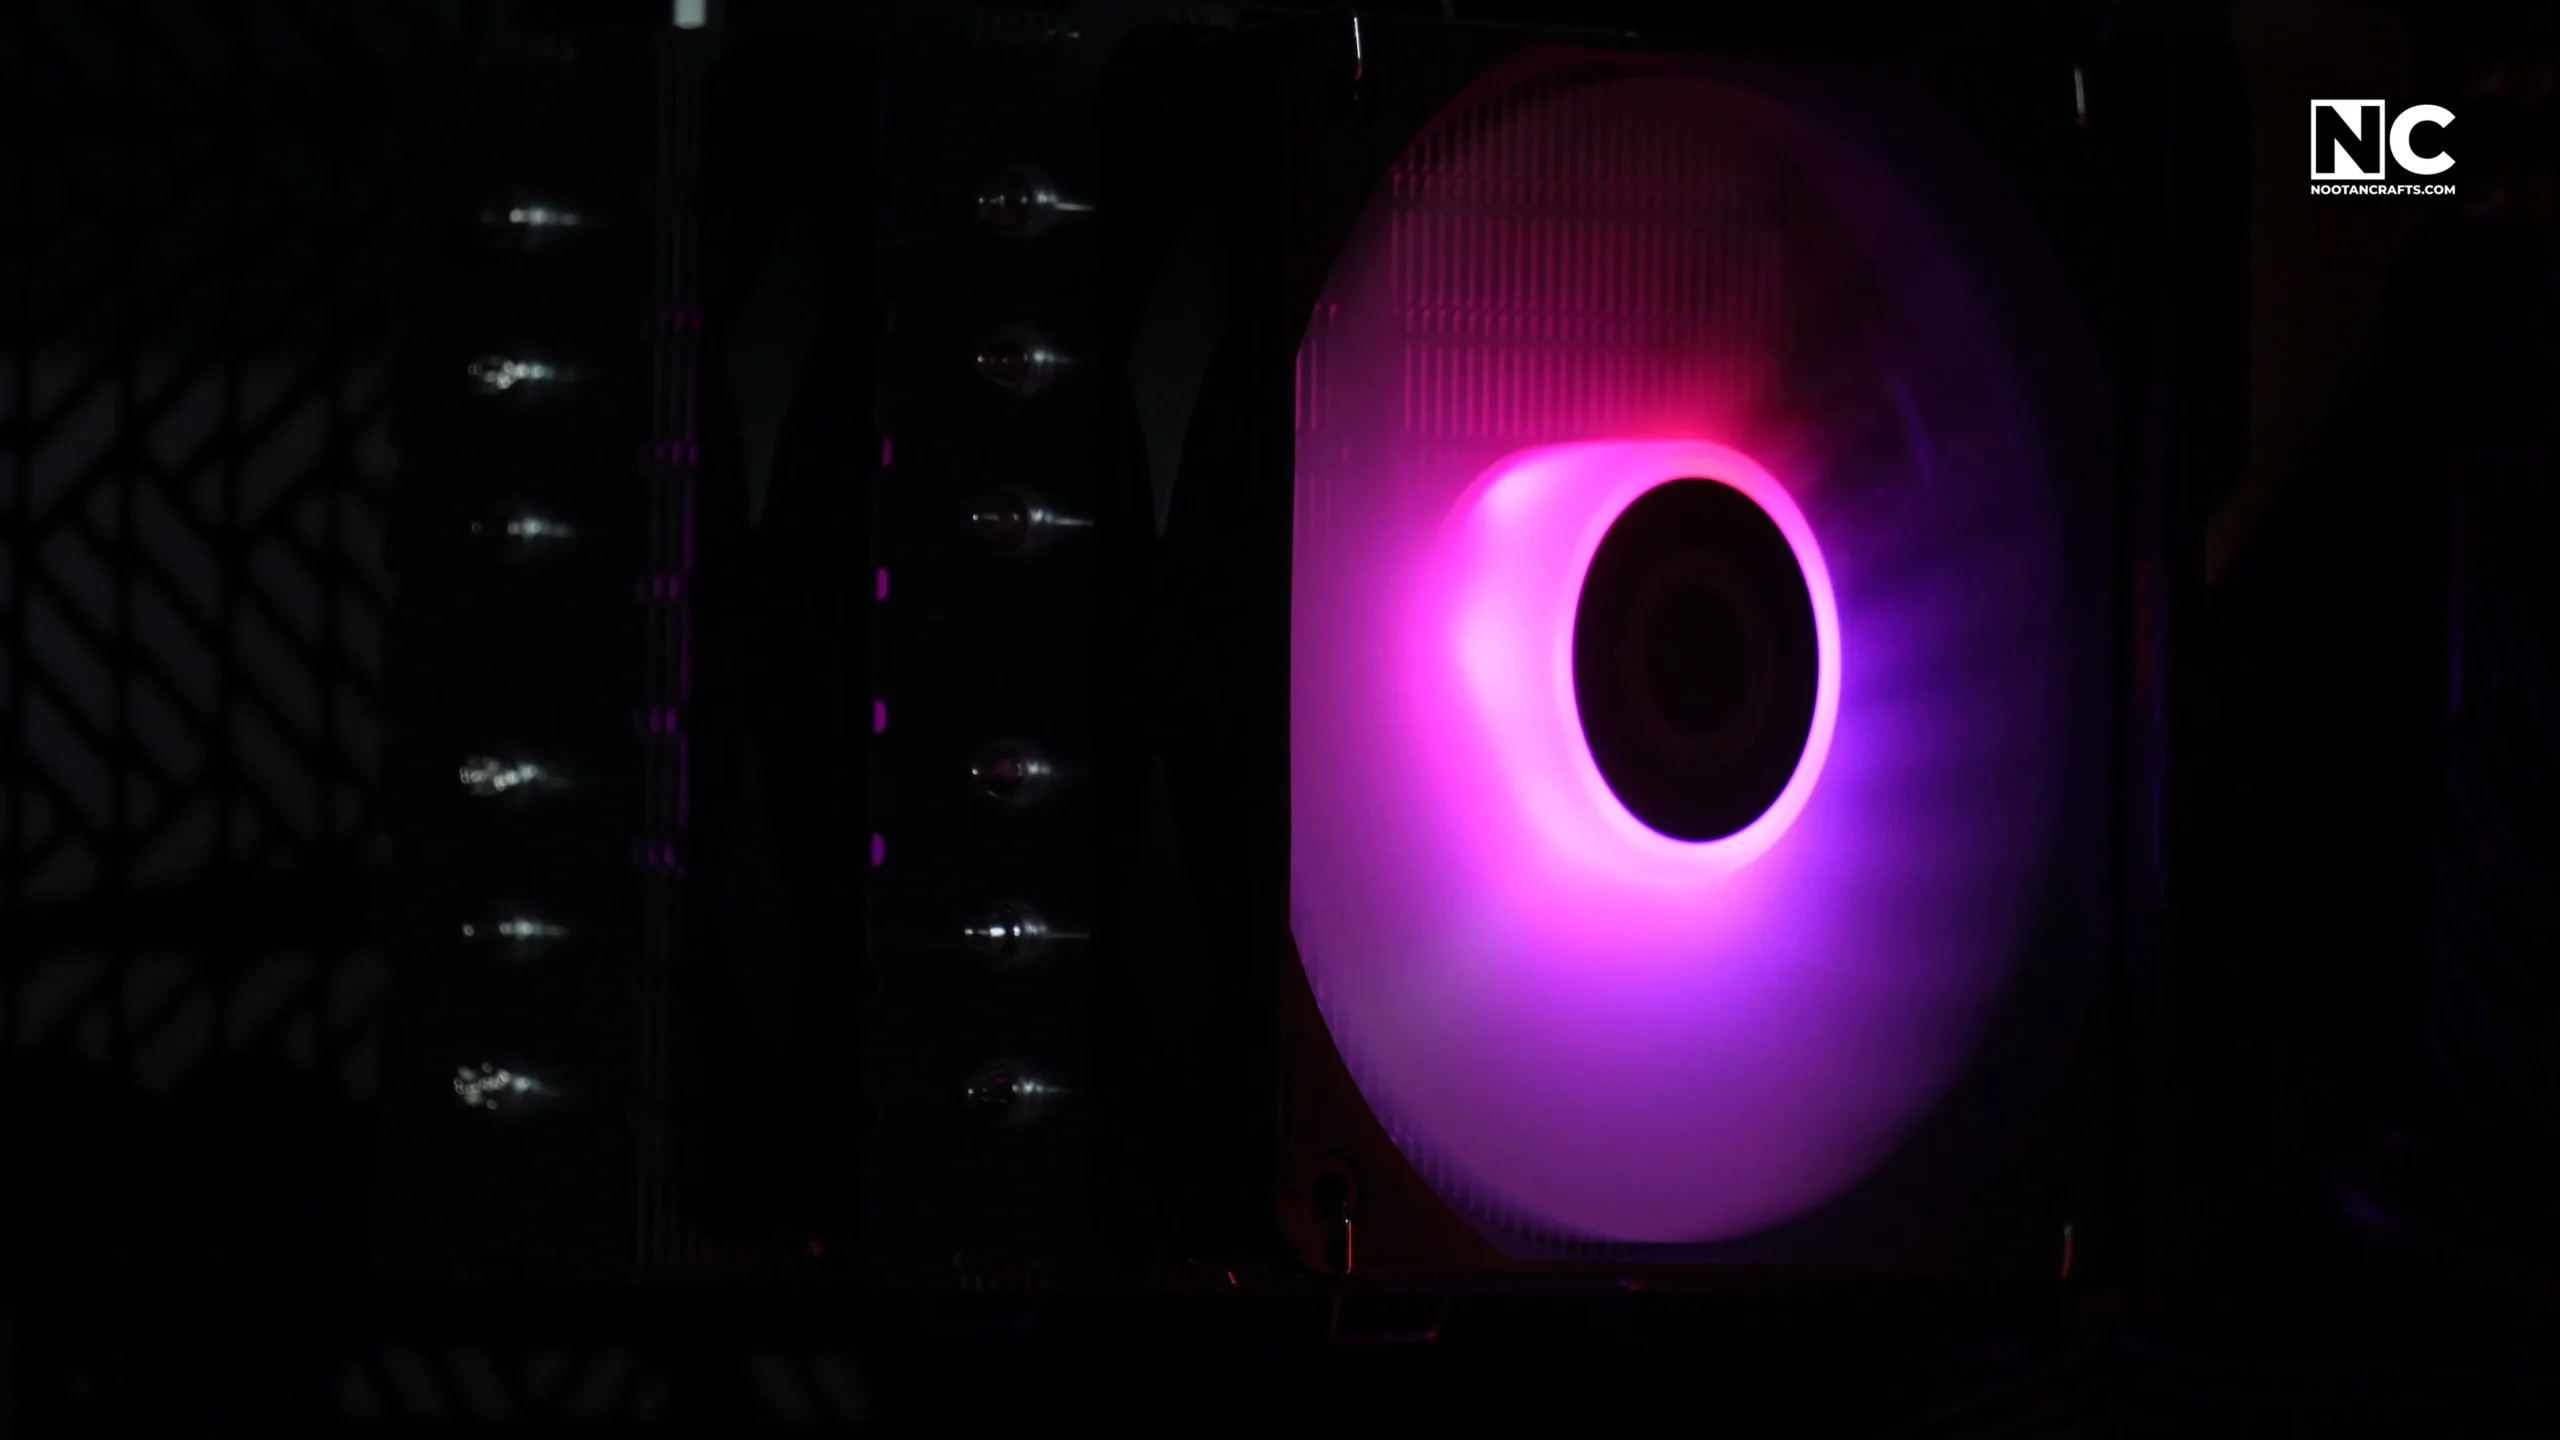
Boot it, confirm the blades are turning the way you intended with a paper strip, and check the header reports a sensible RPM. Then set the lighting in your motherboard’s software. The CF120 works with Aura Sync, Mystic Light, RGB Fusion and Polychrome, so it syncs with whatever else is already in the case.
4. Testing and Tuning
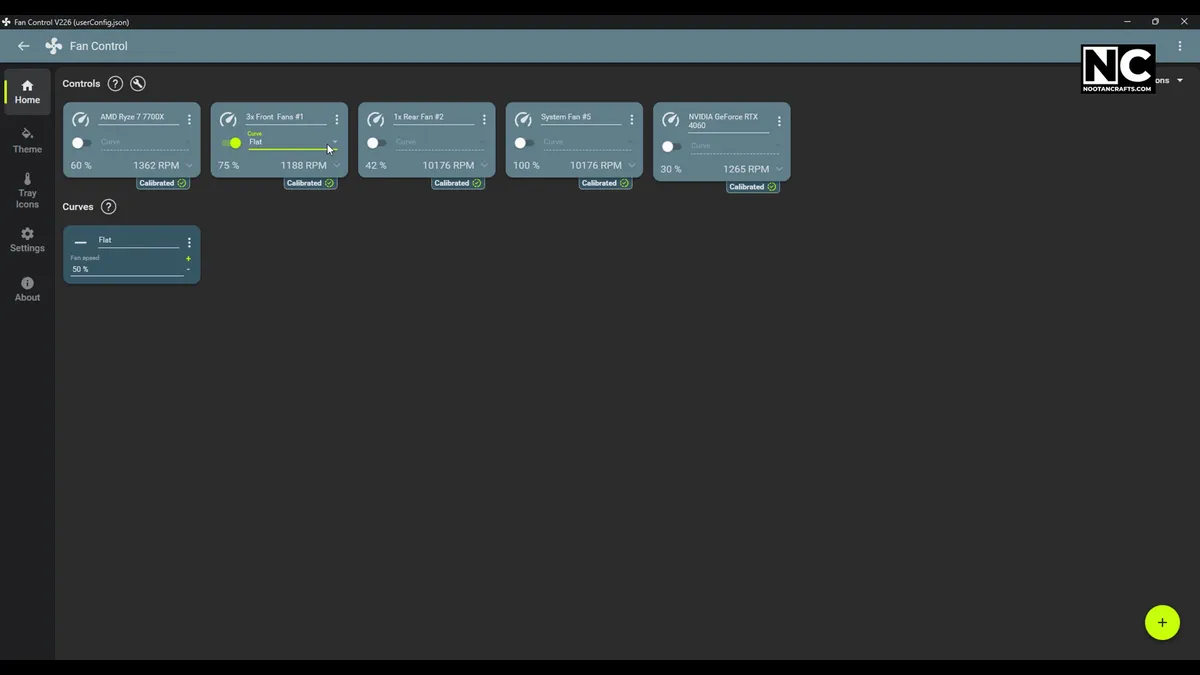
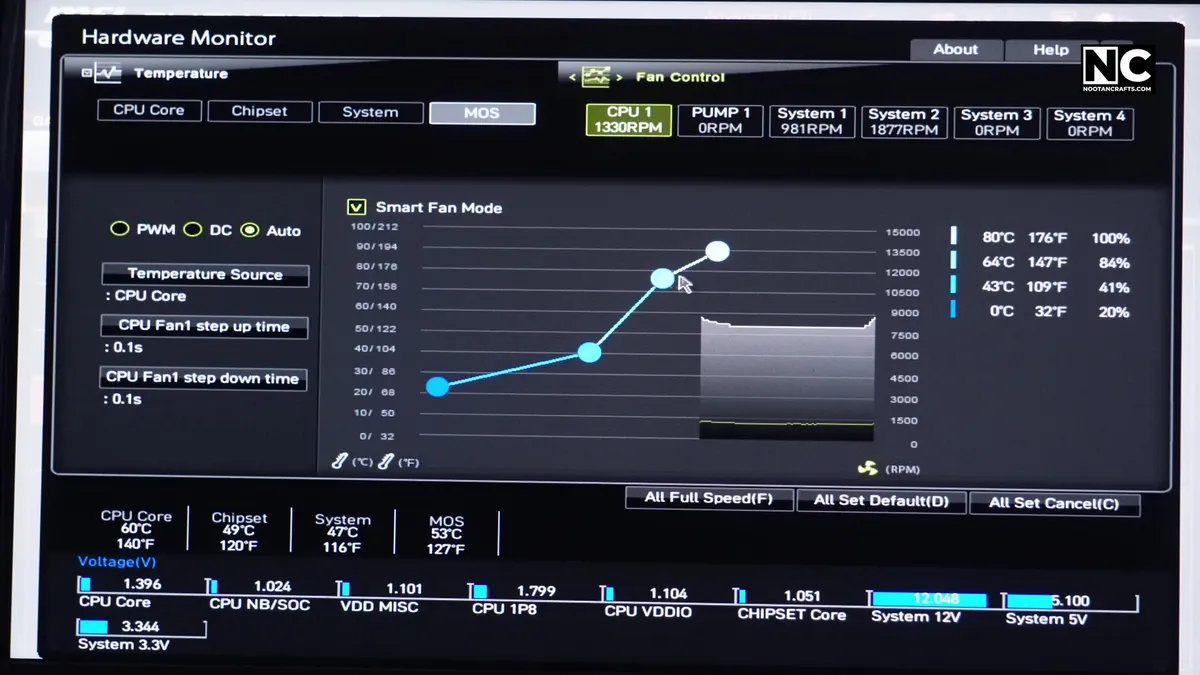
Boot with the side panel off and confirm every fan is spinning. The BIOS fan page is the fastest way to do this properly: it lists RPM per header, so a fan reading 0 tells you which cable to go and reseat. Then walk the paper strip around the outside of the case and check the air is going the way you intended.
While you are in there, check each header’s mode. A 4-pin fan runs happily on either setting; a 3-pin fan on a header left in PWM mode will sit at full speed and ignore every curve you draw. Set those headers to DC.
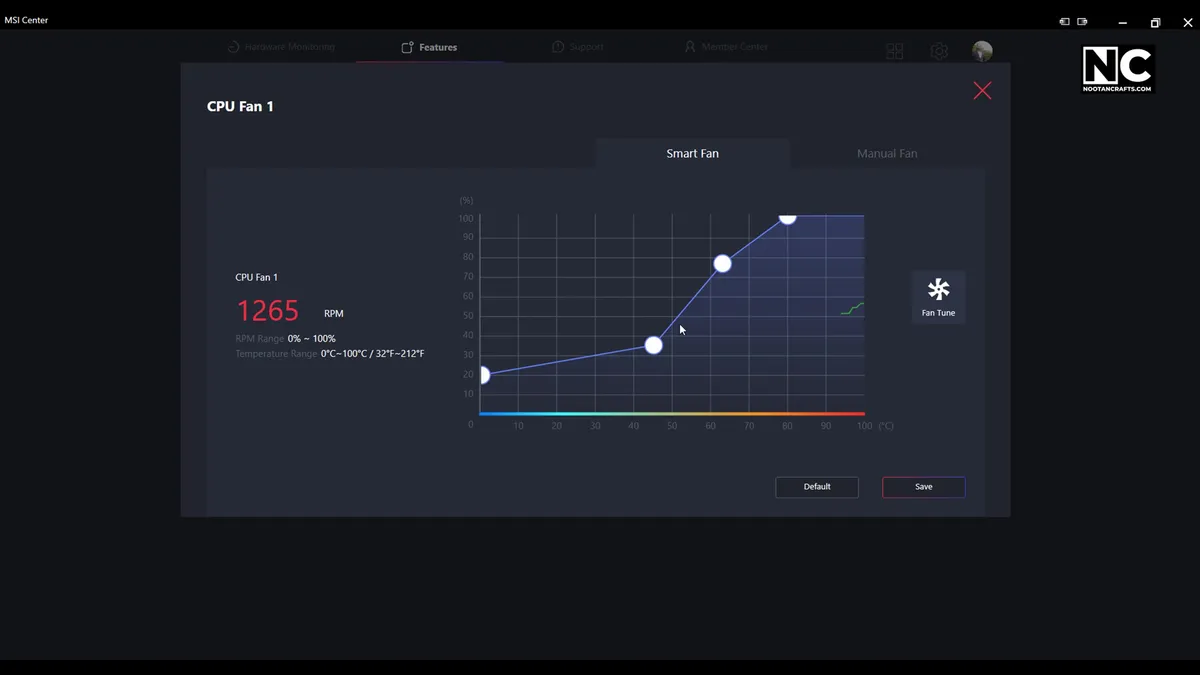
Once it is all spinning, set curves. The BIOS works, the board’s own utility works, and the free Fan Control gives you the most control of the three, including the ability to drive case fans from GPU temperature instead of CPU — which is usually the more useful trigger in a gaming build, since the GPU is what fills the case with heat.
Measure before and after, not just after. Run something that loads the machine for ten minutes and write down CPU and GPU temperatures. Without that baseline you have no way to tell whether the fan you added helped, did nothing, or made it worse by disrupting the flow of the ones already there.
Five Mistakes Worth Avoiding
A fan mounted backward. A rear fan blowing inward traps the CPU cooler’s own exhaust and fights the front intakes at the same time. Check the arrow before the screws go in.
Everything set to exhaust. This is negative pressure taken to its limit. The case still has to get its air from somewhere, so it takes it unfiltered through every seam and slot, and you will see the result on your components within a couple of months.
One fan never plugged in. Easy to miss, because a dead fan is a silent fan and the machine sounds fine. The BIOS RPM list catches it in ten seconds.
Too many fans. Nine made more noise than seven and cooled no better. Past the standard layout you are adding decibels and power draw, not airflow.
No dust filters. Positive pressure only helps if the air coming in is filtered — that is the entire mechanism. Without filters on the intakes you have just chosen which opening the dust enters through.
Frequently Asked Questions
Is it better to have more intake or exhaust fans?
More intake. Aim for one more intake fan than exhaust — three front and two out is the usual shape. The reason is dust control rather than temperature: with slightly positive pressure, air leaves through the case’s gaps instead of being drawn in through them, so most of what enters passes through a filter you can clean.
Should top-mounted fans be intake or exhaust?
Exhaust, in a standard tower — hot air rises and the top vent is the shortest way out. The thing to watch is the count, not the direction: every top exhaust you add pushes the case toward negative pressure, so one top fan alongside three front intakes is the balance point. The exception is a dual-chamber case with a top-mounted radiator, where the manual’s own layout should win over the general rule.
Can I install fans without screws?
Rubber anti-vibration mounts are a legitimate alternative and are quieter than screws. Zip ties will hold a fan in place but they are a temporary fix — the tension drops over time and a fan that shifts even slightly will buzz against the panel. For anything permanent, use the supplied screws or proper rubber mounts.
What happens if I mix 3-pin and 4-pin fans?
Nothing breaks. A 4-pin PWM fan on a 3-pin header runs on voltage control instead of PWM, which works but is less precise at low speed. A 3-pin fan on a 4-pin header set to PWM mode has no PWM signal to read, so it runs at full speed — the fix is to switch that header to DC mode in the BIOS, which nearly every modern board supports per header. Noctua covers both directions in its compatibility FAQ.
An ARGB fan has two 3-pin plugs. Which goes where?
They are not interchangeable. The fan power lead is 12 V and goes to SYS_FAN or CHA_FAN. The lighting lead is 5 V and goes to the ARGB header, and its connector has a blocked position so it will not seat on a 12 V RGB header. If a plug needs persuading, you have the wrong socket — forcing it destroys the LEDs.
Can I use fan splitters safely?
Two fans on a passive Y-splitter is fine. Three or more is asking too much of a chassis header, which is typically rated at 0.5–1 A. Use a SATA-powered hub instead — it takes power from the PSU and passes only the PWM signal and one tachometer reading back to the board.
How often should I clean my fans and filters?
I pull and rinse the filters every four to six weeks. Adjust to your room rather than the calendar: carpet, pets or an open window will load filters far faster than a dust-free desk. Check by eye once a month and let what you see set the interval.
How do I know whether my fans are working properly?
Three checks. The BIOS fan page should show a plausible RPM for every header you used. A paper strip at each vent should confirm the direction. And under a ten-minute load, temperatures should settle rather than climb — if they keep rising, something is recirculating hot air instead of removing it.
Get the Direction Right and the Rest Is Easy
Installing case fans comes down to two decisions and one habit. The decisions are which way each fan faces and how many you fit; the habit is measuring instead of assuming. Three in the front, one at the rear, one on top, every arrow checked before the screws go in.
Open the panel when you are done and feel the air with your hand. It should read as one steady current moving front to back — not a lot of noise going nowhere.