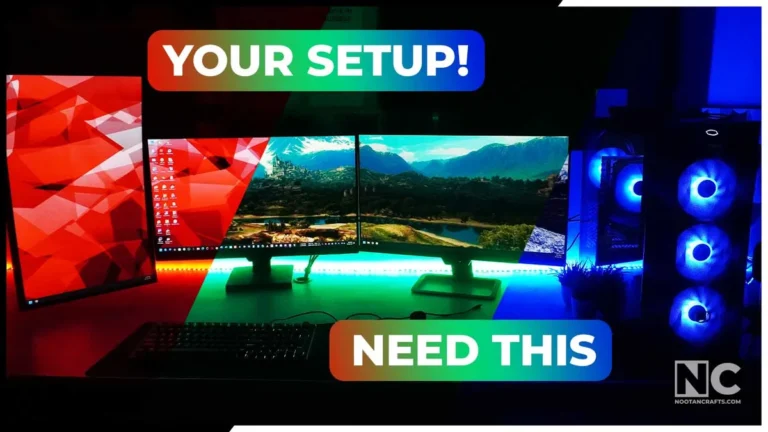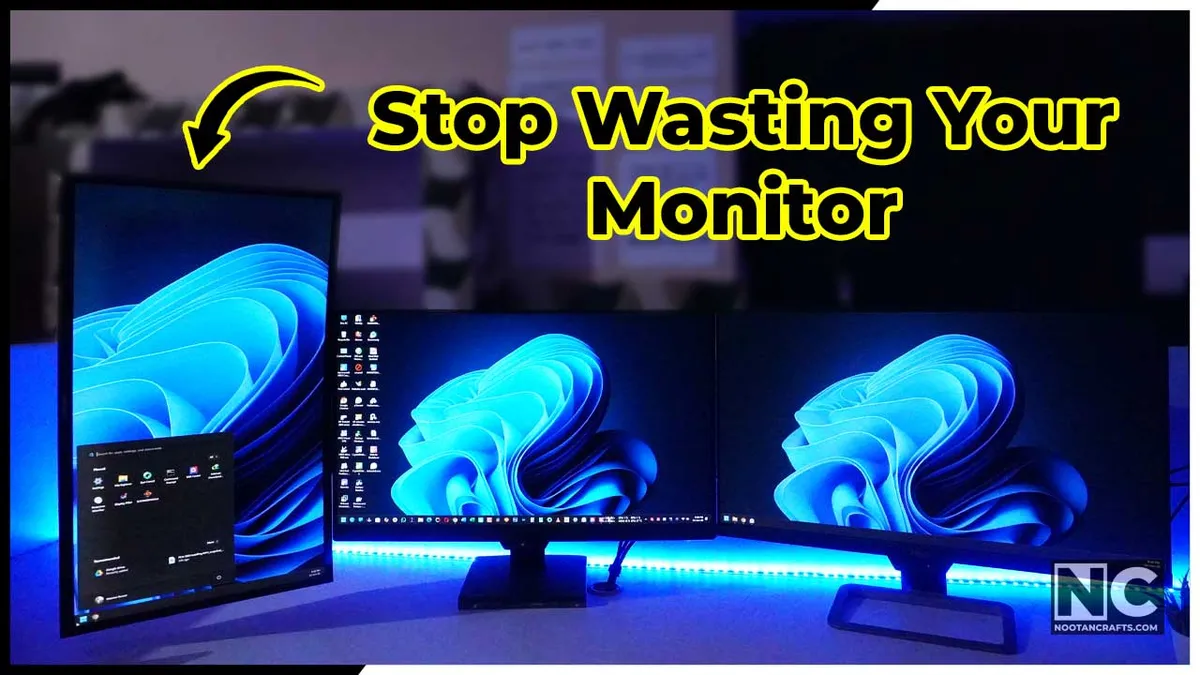
Setting up a vertical monitor takes about fifteen minutes: confirm the panel can rotate, turn it, then set the display to Portrait in Windows or pick the rotation in macOS Displays settings. The part nobody mentions is height. A rotated 27-inch panel is roughly 60 cm tall, and if you mount it centered at the same height it sat horizontally, the top of the screen ends up well above your eyes — which trades scrolling for neck strain.
I went vertical out of frustration with research documents, scrolling back and forth to hold the context of a single page. Here is the whole process: the rotation, the mount, the cable that actually matters, the settings on both operating systems, and the two things that go wrong afterward.
What’s Inside
- 1 – Vertical Monitor Setup Tutorial – My Video
- 2 – Who Actually Benefits From a Vertical Monitor
- 3 – What You Need Before You Rotate Anything
- 4 – Step 1: Check That the Monitor Can Rotate
- 5 – Step 2: Power and Display Cables
- 6 – Step 3: Set the Orientation in Windows or macOS
- 7 – The Part Everyone Hits Next: Text Looks Slightly Wrong
- 8 – Adding a Vertical Monitor to a Multi-Monitor Setup
- 9 – Frequently Asked Questions
- 10 – Rotate It, Then Drop It
Vertical Monitor Setup Tutorial – My Video
Who Actually Benefits From a Vertical Monitor
The common assumption is that this is a programmer’s trick. It is broader than that, and the test is simple: if the thing you look at all day is taller than it is wide, you want a tall screen.
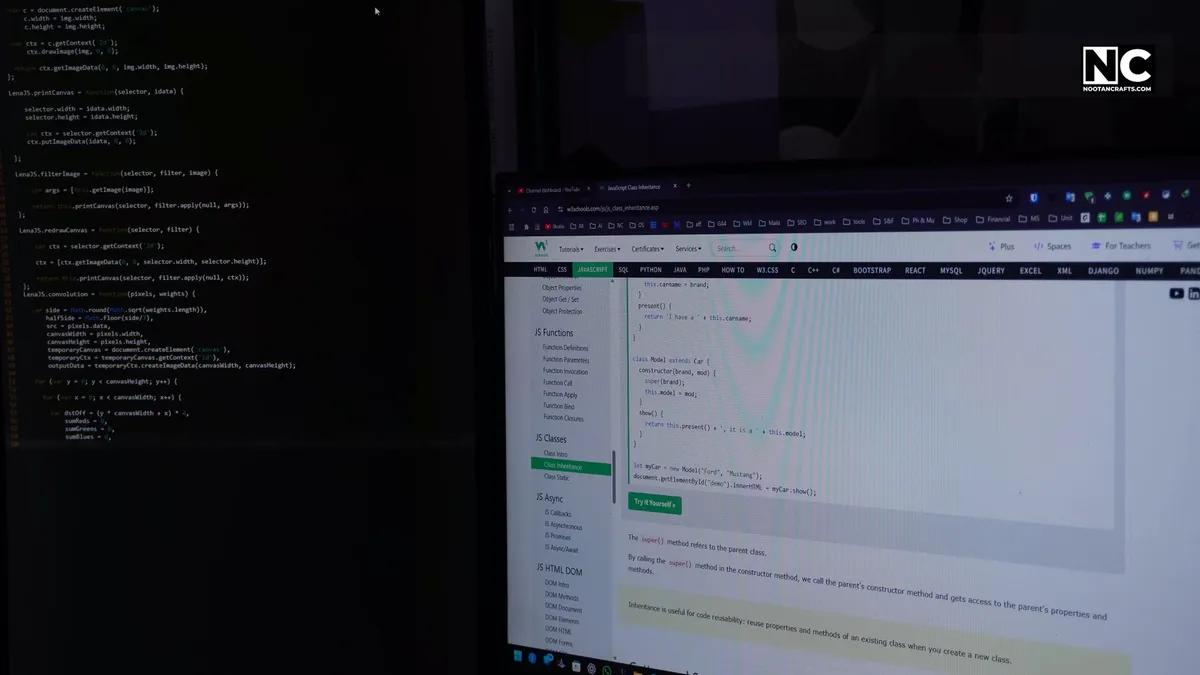
Code. A 27-inch 1440p panel in portrait shows roughly twice the lines a 16:9 layout does at the same font size. Whole functions stay on screen, which is the actual benefit — not the line count, but not losing your place.

Writing and editing. A page of a document at readable size, top to bottom, with the paragraph you are fixing and the two around it all visible. This is what sold me on it.
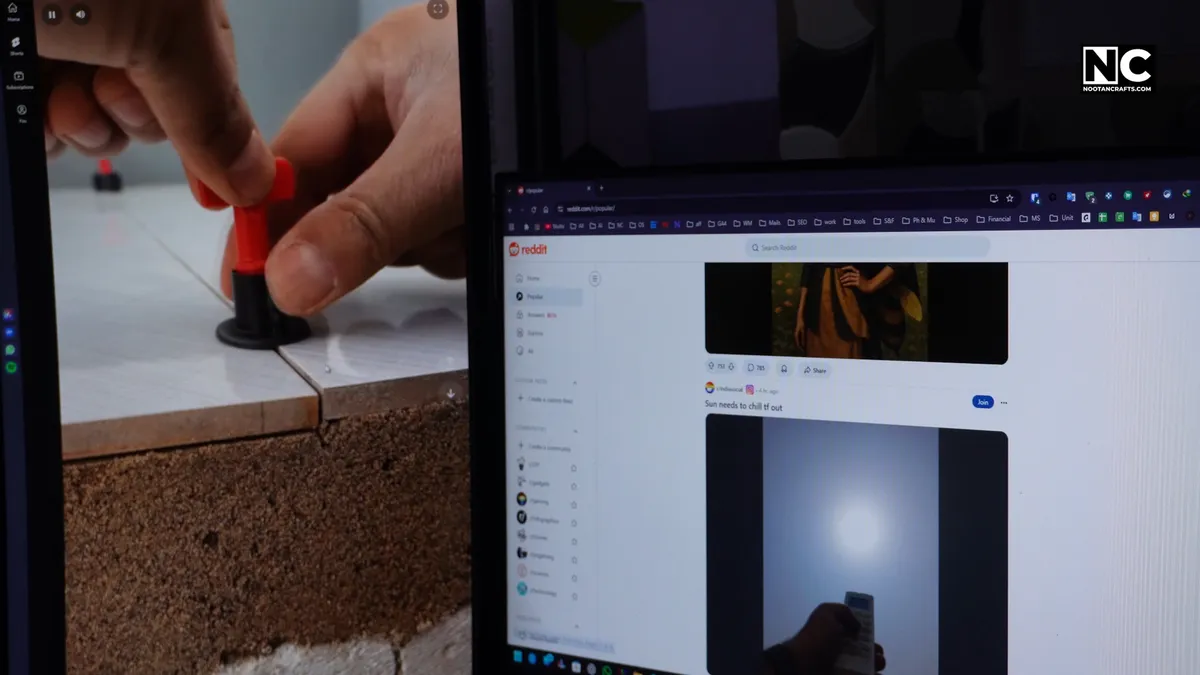
Feeds and short video. Instagram, Reddit, X and every short-form video format are built for a tall frame. On a horizontal monitor you are watching a small rectangle in a sea of gray.

Spreadsheets, logs, terminals, chat. Anything that is a long list of rows. More rows at a glance means less scrolling and fewer trips back up to check a value.
Where it does not help: video editing timelines, most games, wide spreadsheets, and anything with a horizontal toolbar-heavy interface. A vertical screen alongside a horizontal one covers both. A vertical screen on its own does not.
What You Need Before You Rotate Anything
- Tools — a small Phillips screwdriver and the Allen keys that came with the arm. Occasionally a wrench for the desk clamp.
- Vertical clearance — measure it. A rotated 27-inch 16:9 panel stands about 60 cm tall before you add the mount. Shelves and overhead cabinets are what stop most of these setups.
- A desk or wall mount — desk clamps are easier to move and adjust; wall mounts are cleaner once you know the position is final.
- The monitor’s weight — written on the spec sheet, and it has to be under the arm’s rating. Arms rated at the limit sag over weeks, and a portrait panel puts more leverage on the joint than a landscape one.
Set the height before you admire the result. Canada’s CCOHS guidance puts the viewing line about 15 degrees below horizontal and says the top of the screen should not be higher than the operator’s eye — a point it raises specifically for tall and portrait-oriented monitors. On a rotated 27-inch panel that means dropping the arm several inches lower than where the monitor sat in landscape. Get this wrong and you have swapped a scrolling problem for a neck problem.
Step 1: Check That the Monitor Can Rotate
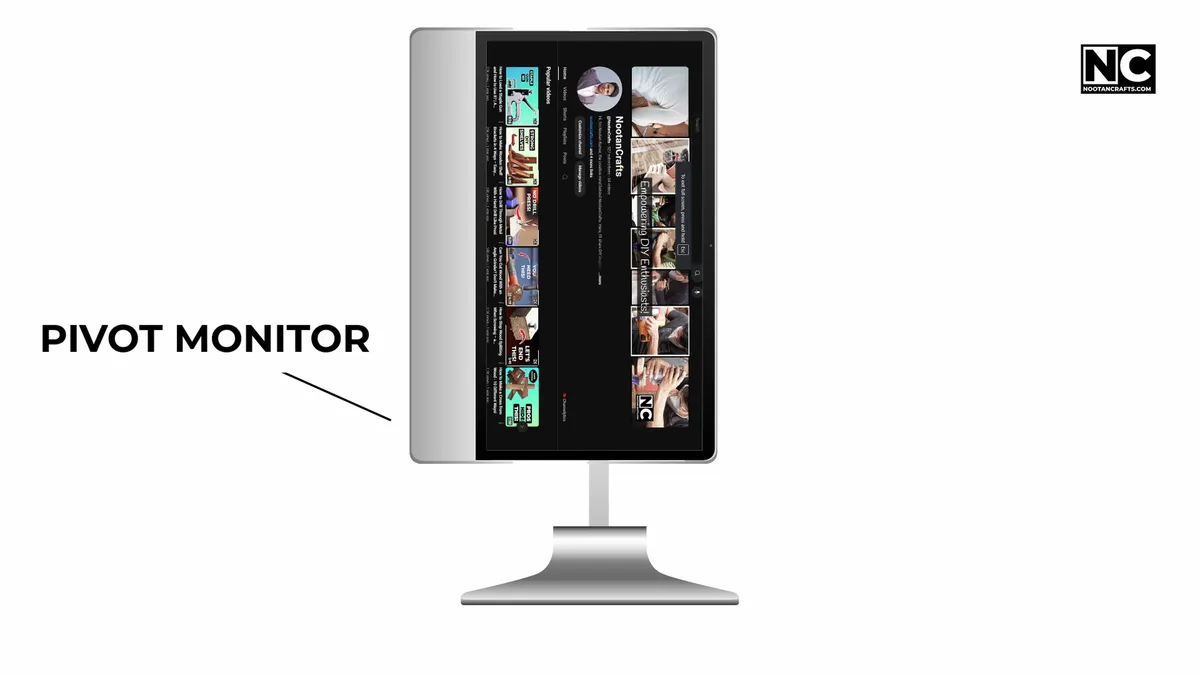
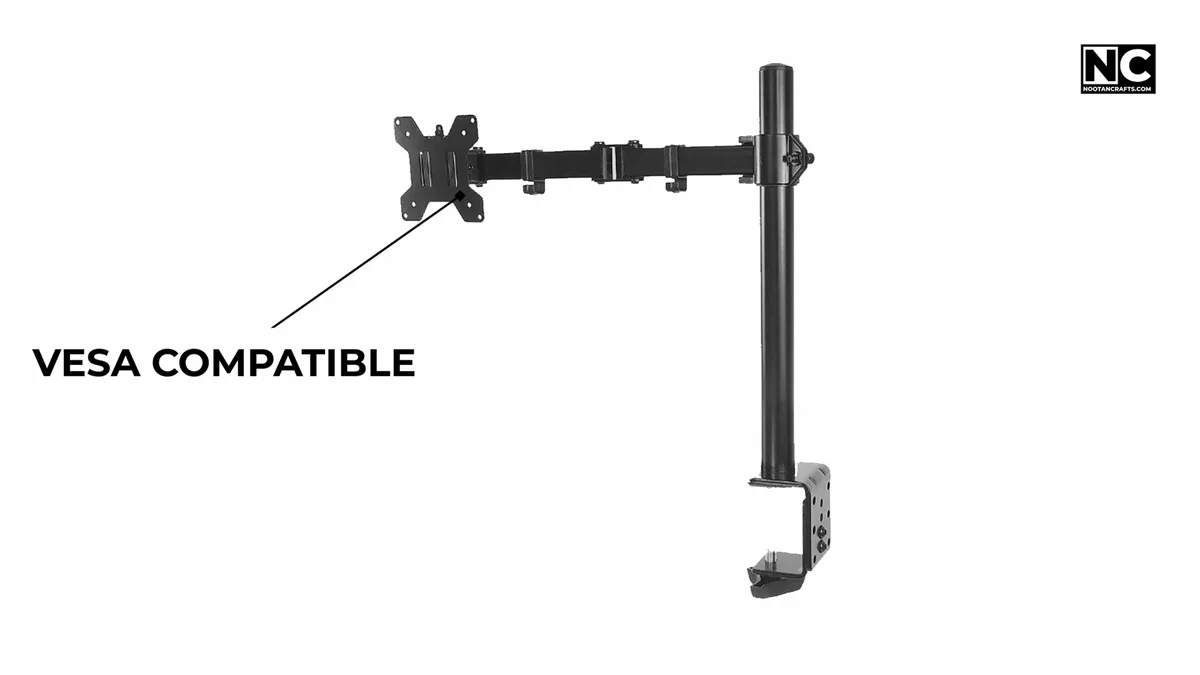
Two routes. Some stands pivot — raise the panel to the top of its travel first, then turn it. If yours does this, you are done in ten seconds and you do not need to buy anything.
If it does not pivot, look at the back for four mounting holes in a square. That is a VESA pattern, and almost every monitor has one.
| VESA standard | Hole pattern | Rated up to | Typical use |
|---|---|---|---|
| MIS-D | 75 × 75 mm or 100 × 100 mm | 14 kg | Almost every desktop monitor |
| MIS-E | 200 × 100 mm | 23.7 kg | Large monitors and small TVs |
| MIS-F | 200 × 200 mm and up | 113.6 kg | TVs |
Fitting the arm is three steps:
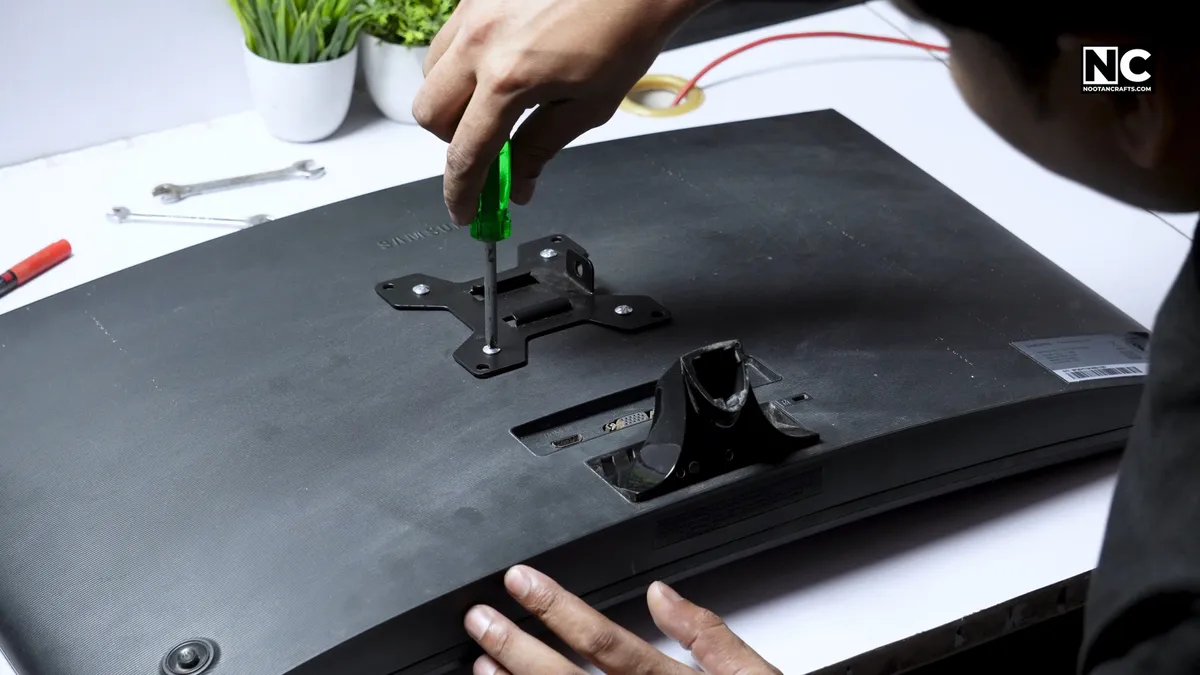
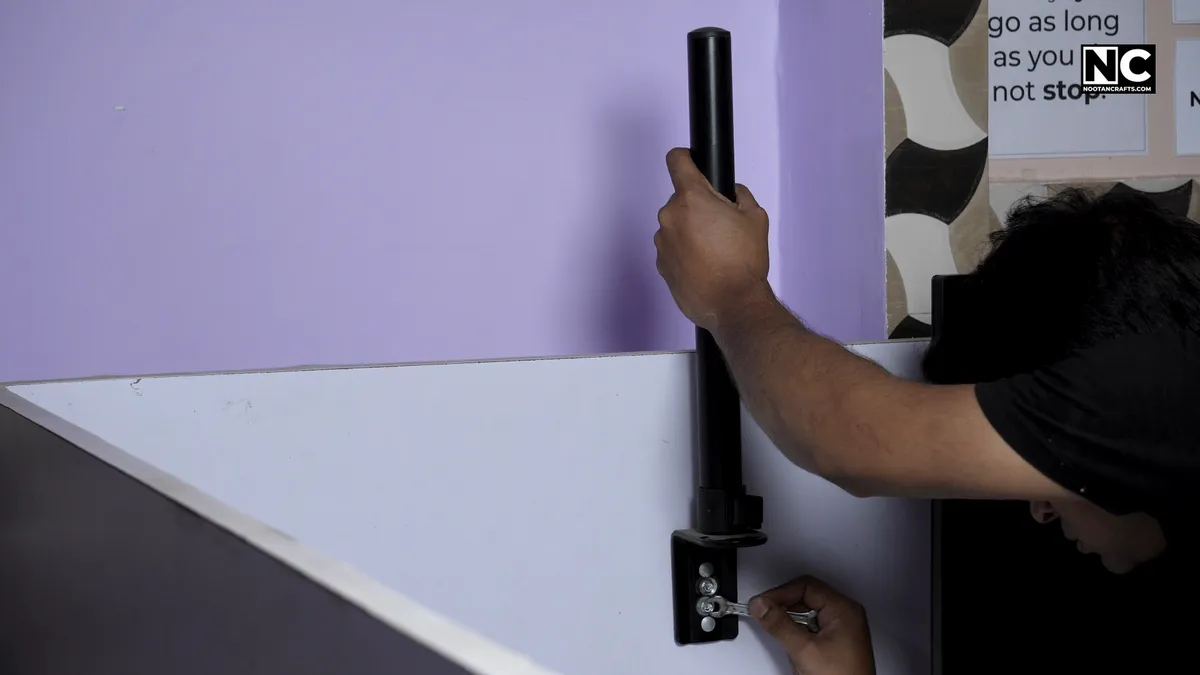
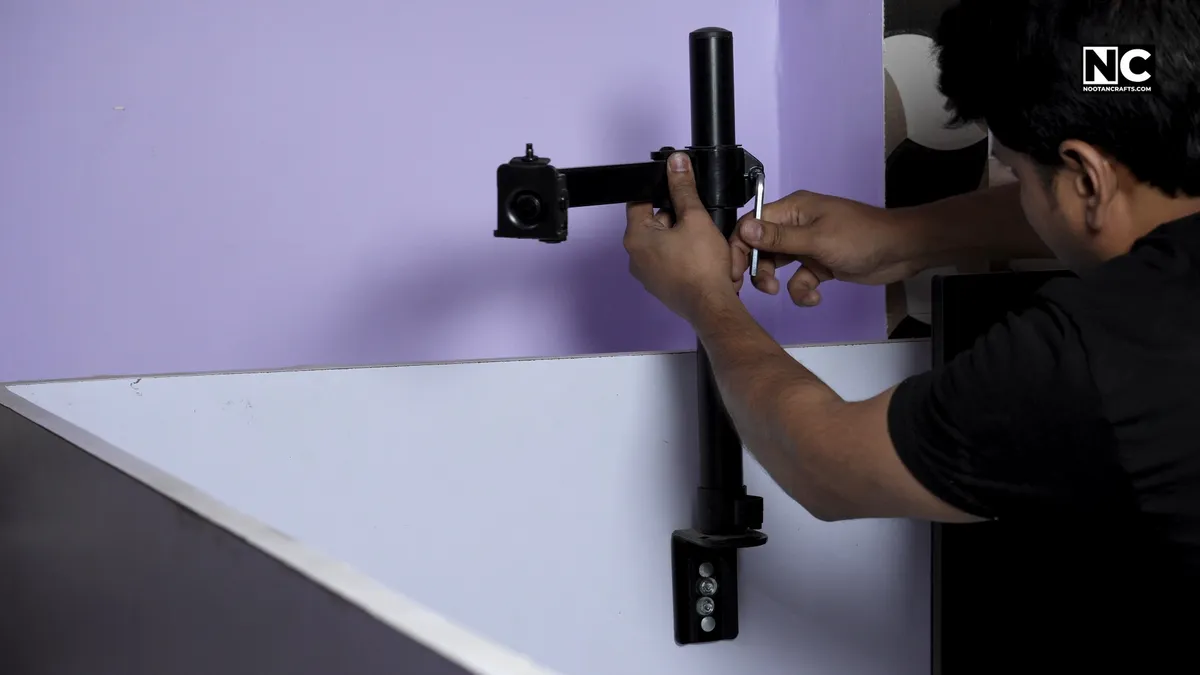
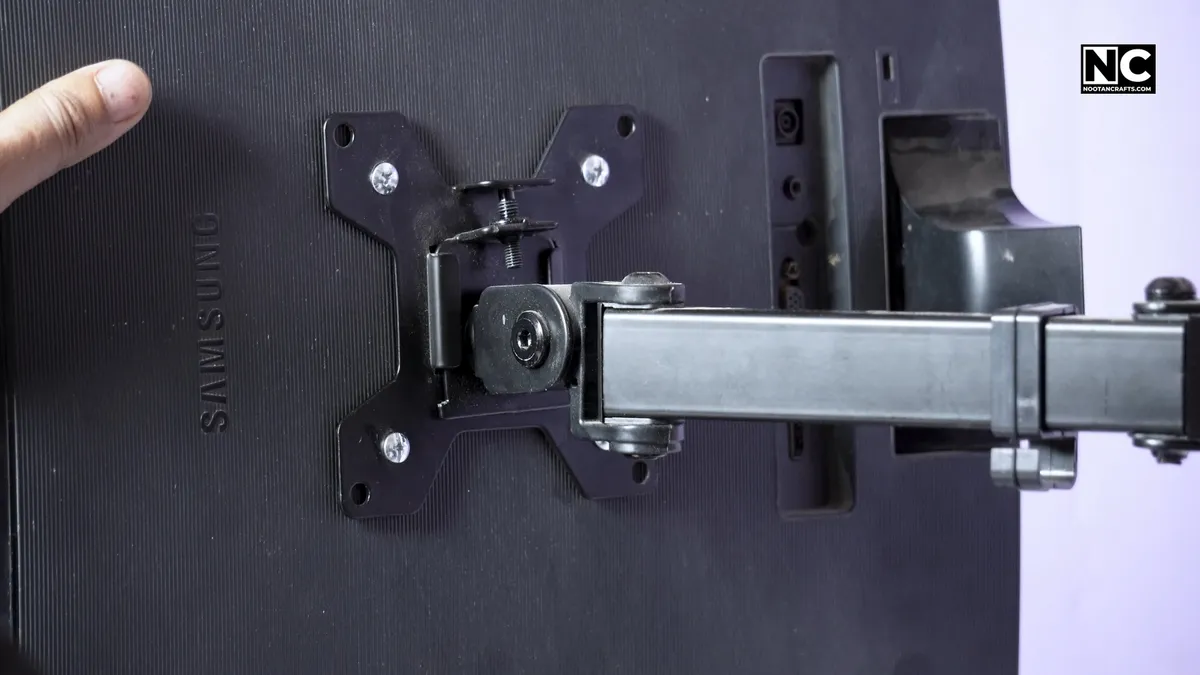
- Bolt the base plate to the monitor. Use only the screws supplied with the arm — one thread size too long and you are pressing against the panel’s internals.
- Mount the arm to the desk or wall. Mine goes straight onto the privacy panel of my DIY L-shaped desk, so no clamp was needed. If you are clamping, check the desk is solid at that point and not a hollow-core top.
- Hang the monitor on the arm and lock it. Then set the gas-spring tension before you let go — an arm tensioned for a light panel will drop a heavy one.
Step 2: Power and Display Cables
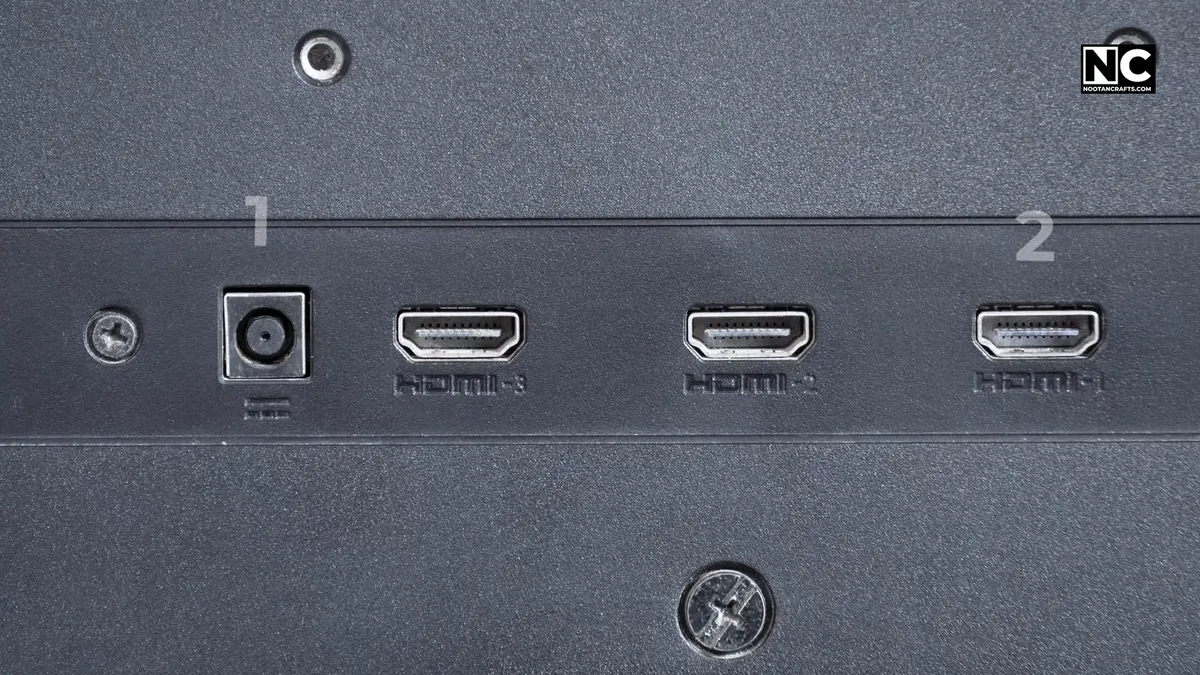
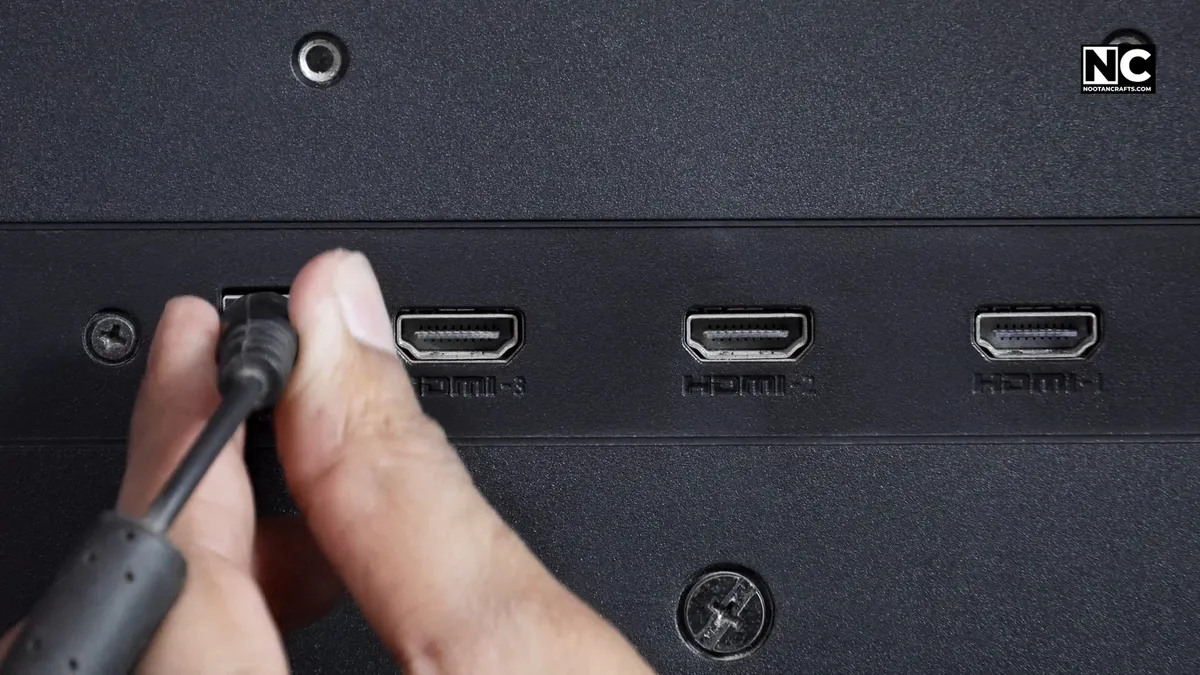
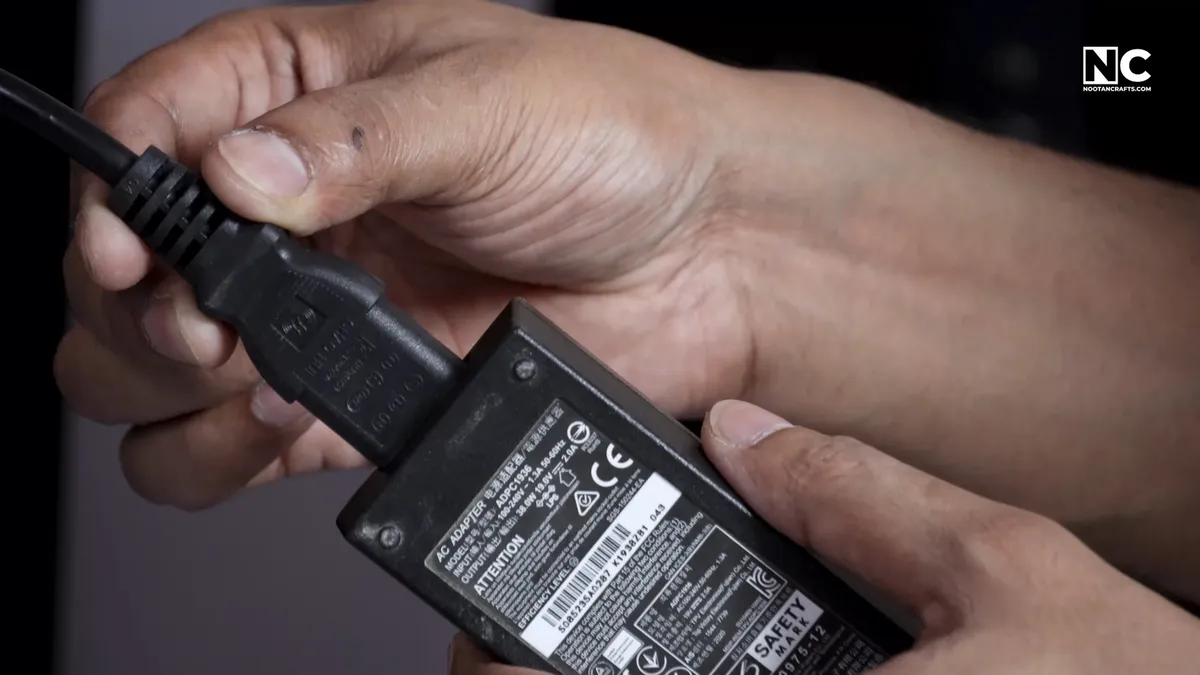
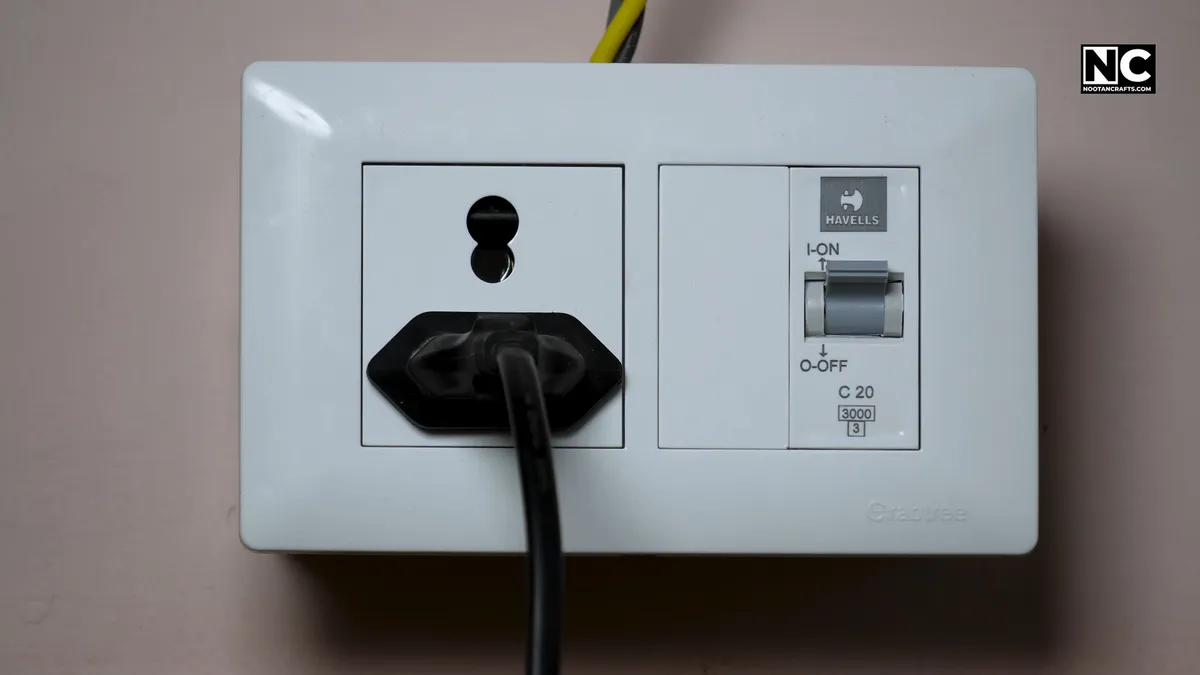
Power first, and there are only two kinds: a cable straight to the wall, or a cable to an external brick and then to the monitor. Leave slack for the full range of the arm’s movement — cable tension is what pulls a monitor out of position over time.
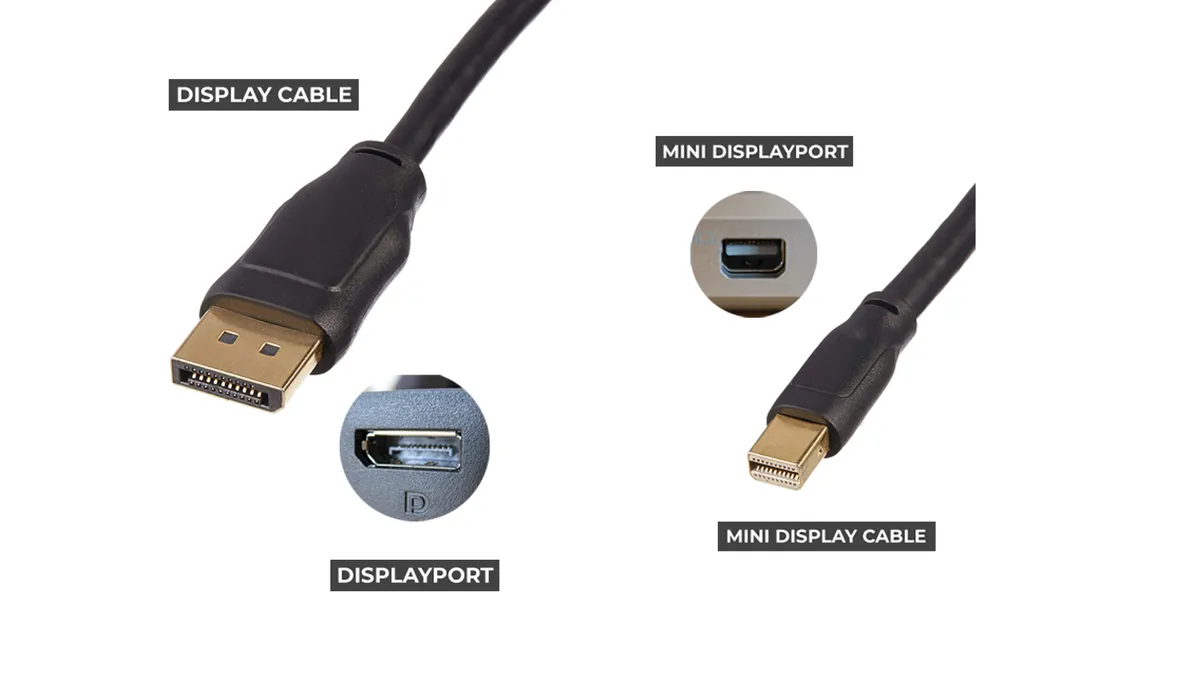
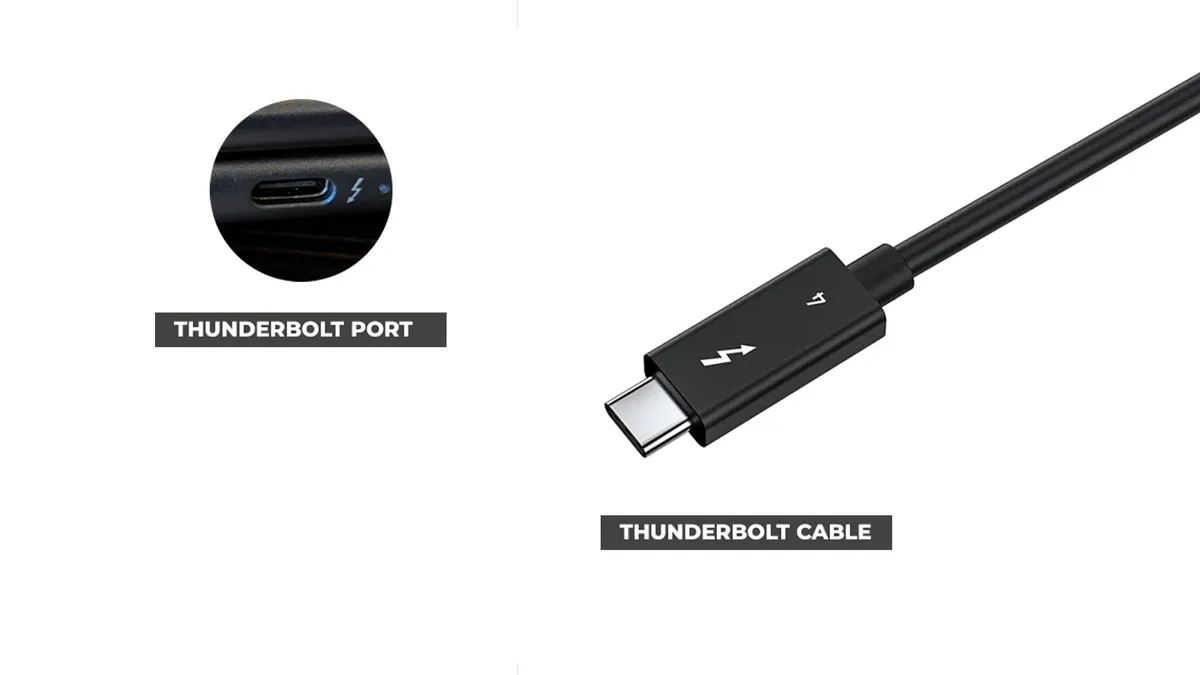
Then the display cable, which is where the real decision is.
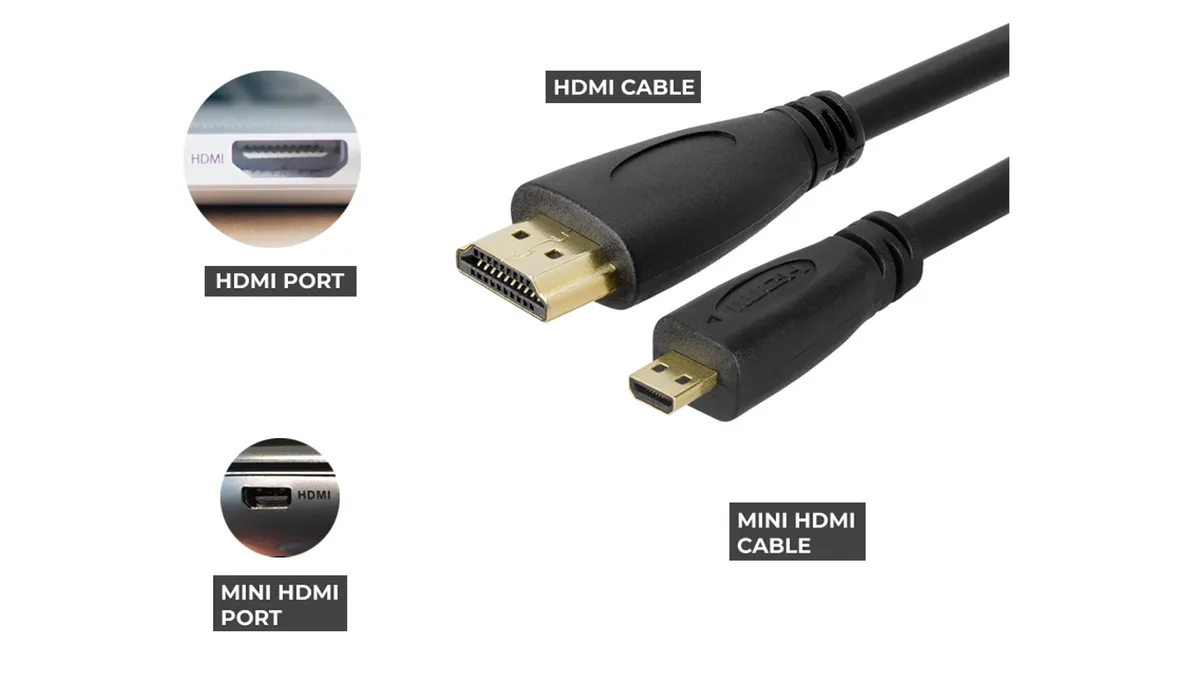
| Connection | 1080p | 1440p | 4K |
|---|---|---|---|
| HDMI 1.4 | 144 Hz | 75 Hz | 30 Hz |
| HDMI 2.0 | 240 Hz | 144 Hz | 60 Hz |
| HDMI 2.1 | — | — | 144 Hz |
| DisplayPort 1.2 | 240 Hz | 165 Hz | 75 Hz |
| DisplayPort 1.4 | — | 240 Hz | 120 Hz |
| Dual-link DVI | 144 Hz | 75 Hz | No |
| VGA | 75 Hz | No | No |
DisplayPort if both ends have it, HDMI otherwise. USB-C is worth using when your laptop and monitor both support it, because one cable carries video and charges the machine — but it only works if the port supports DisplayPort Alt Mode, and the monitor has to deliver more power than the laptop draws or the battery will run down while plugged in.
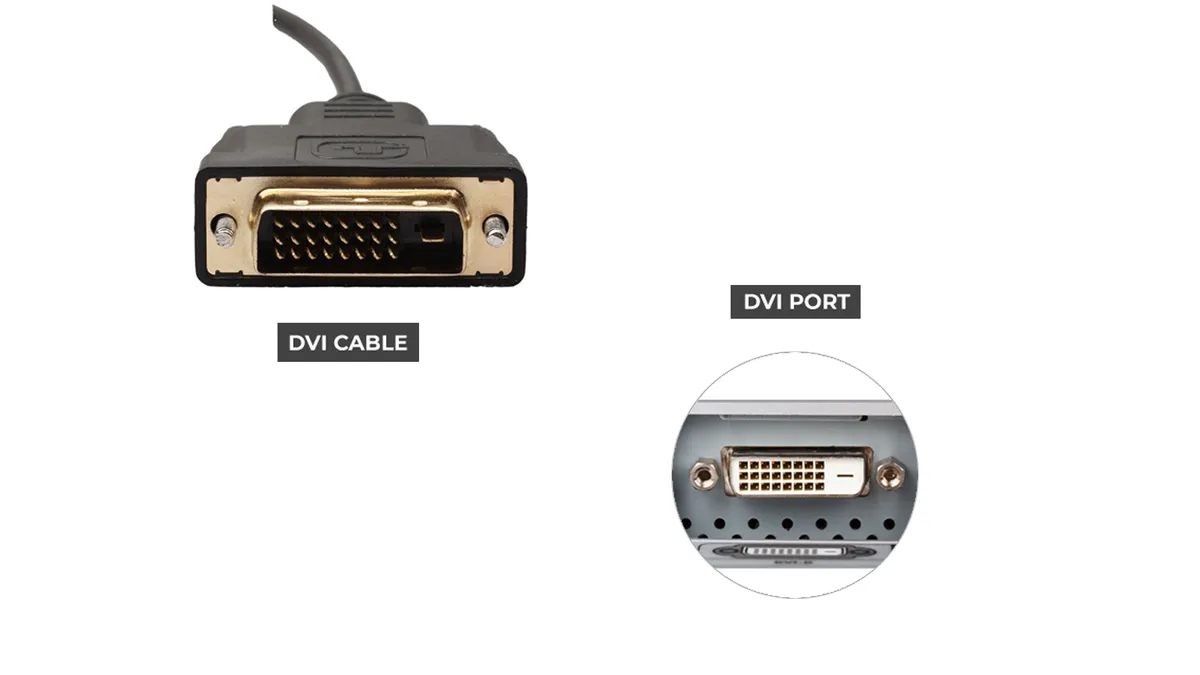
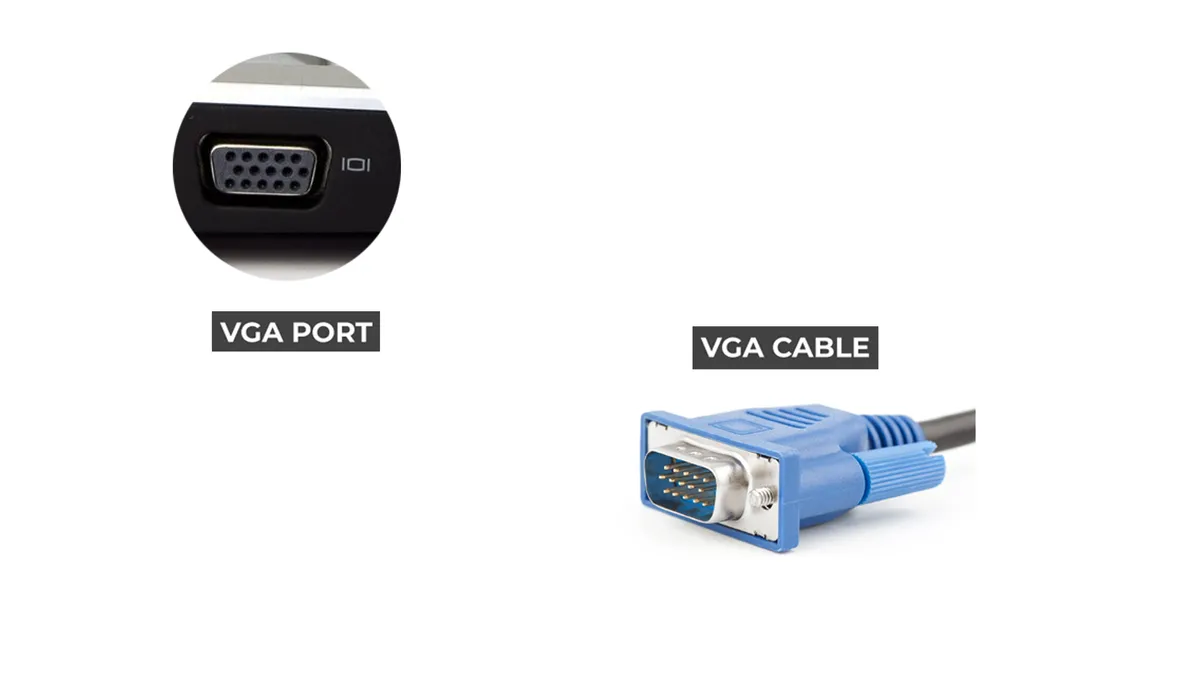
DVI and VGA are not identical. Dual-link DVI is a digital connection and drives 1080p at 144 Hz or 1440p at 75 Hz perfectly well — it is dated, not broken, and if it is what your old monitor has, use it. VGA is analog, tops out at 1920 × 1200, and does visibly soften text, which matters more on a vertical screen you are reading all day.
Step 3: Set the Orientation in Windows or macOS
The hardware is done. The screen is currently sideways. Two minutes fixes it.
Windows
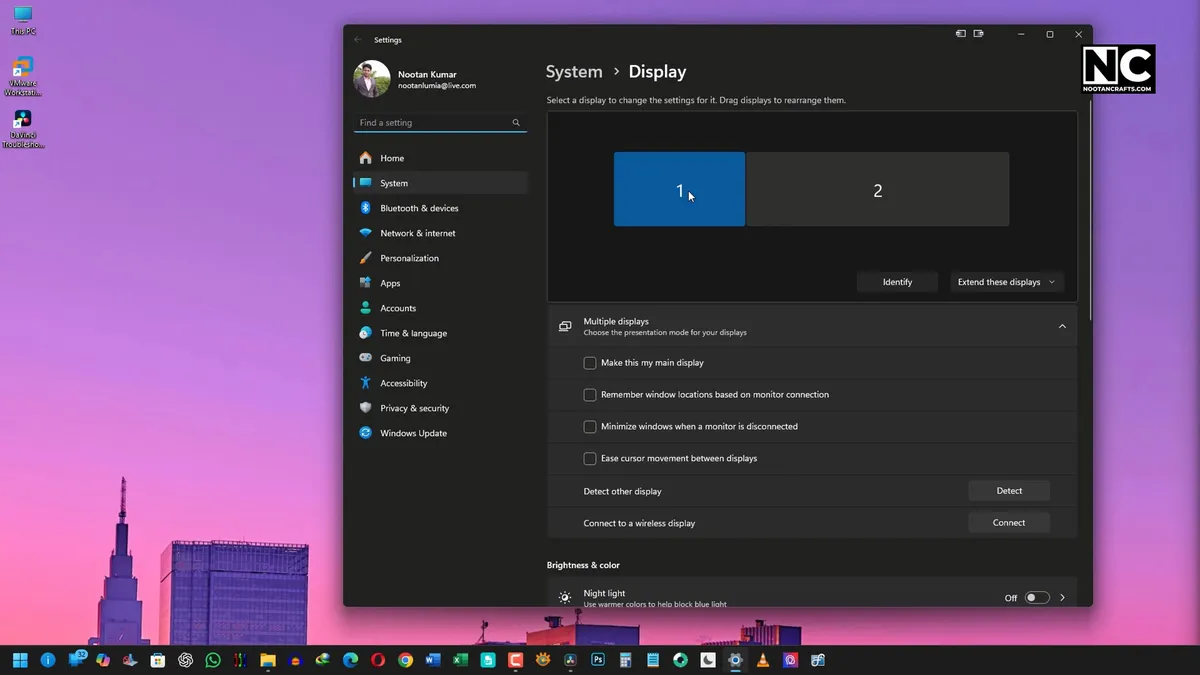
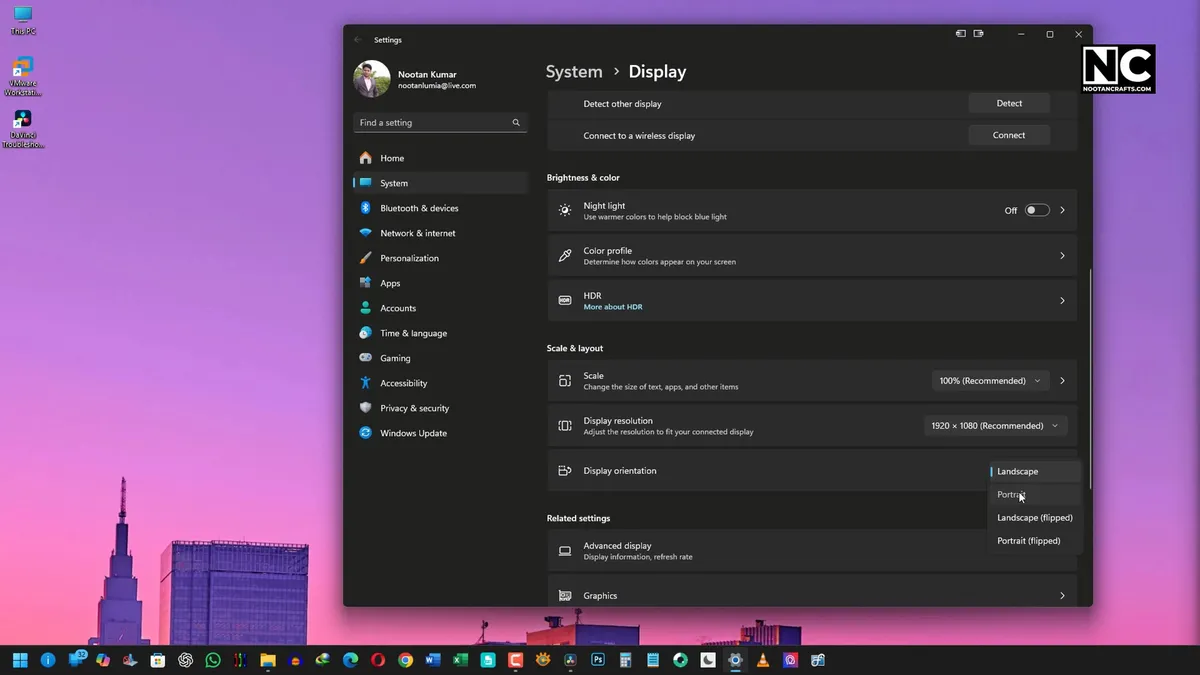
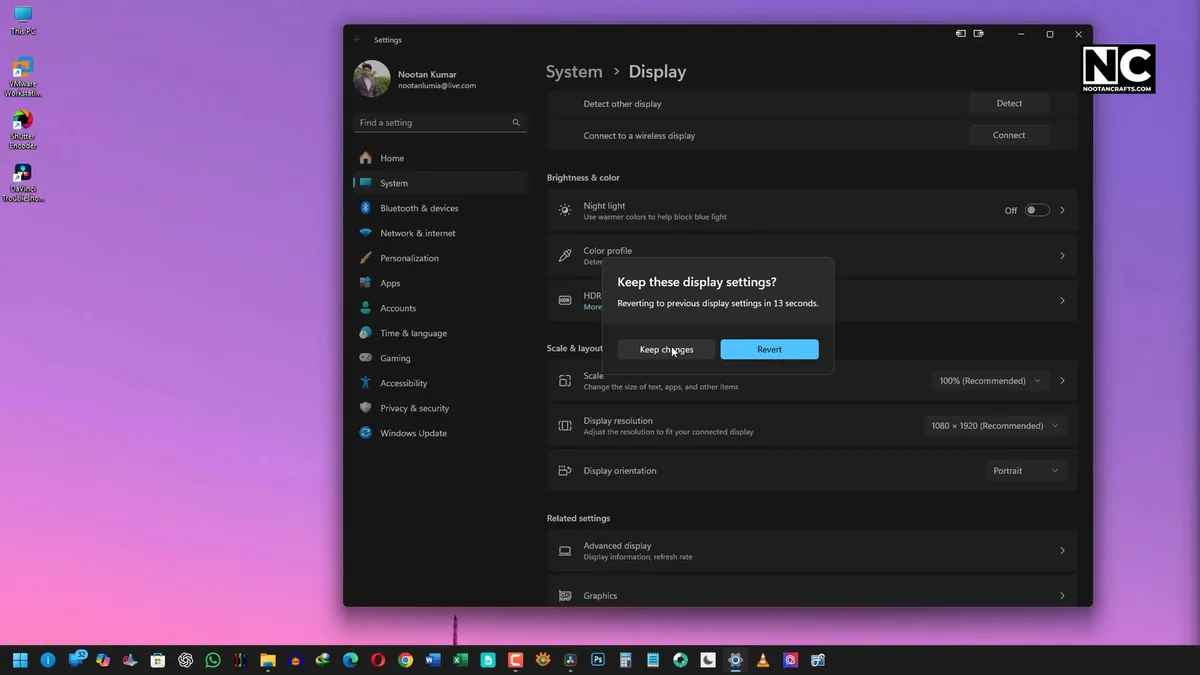
- Right-click the desktop and choose Display settings.
- Click Identify and select the rotated screen by its number.
- Set Display orientation to Portrait, then Keep changes before the fifteen-second timer reverts it.
- Upside down? You turned the panel the other way. Use Portrait (flipped).
macOS
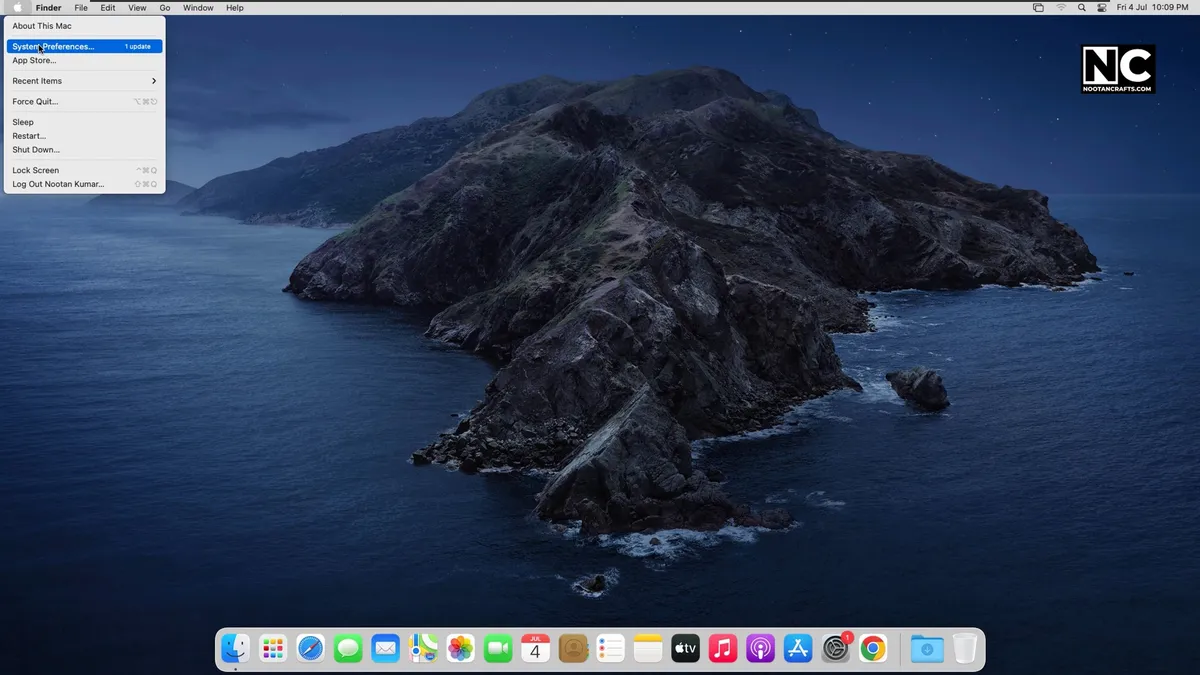
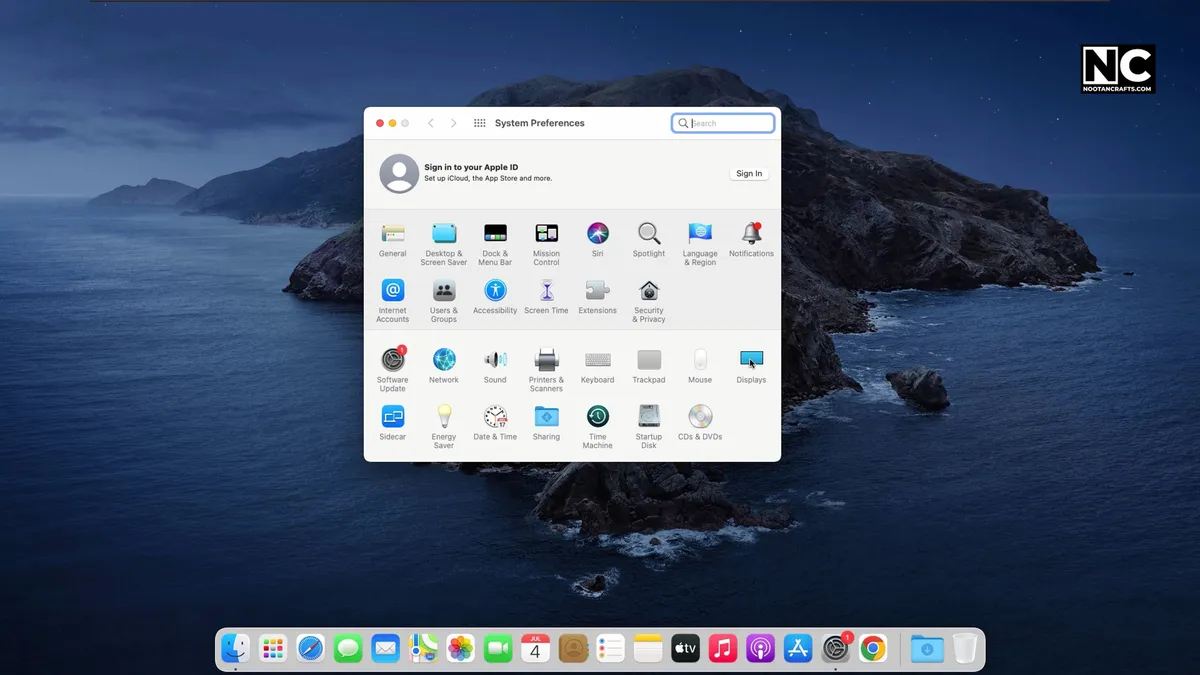
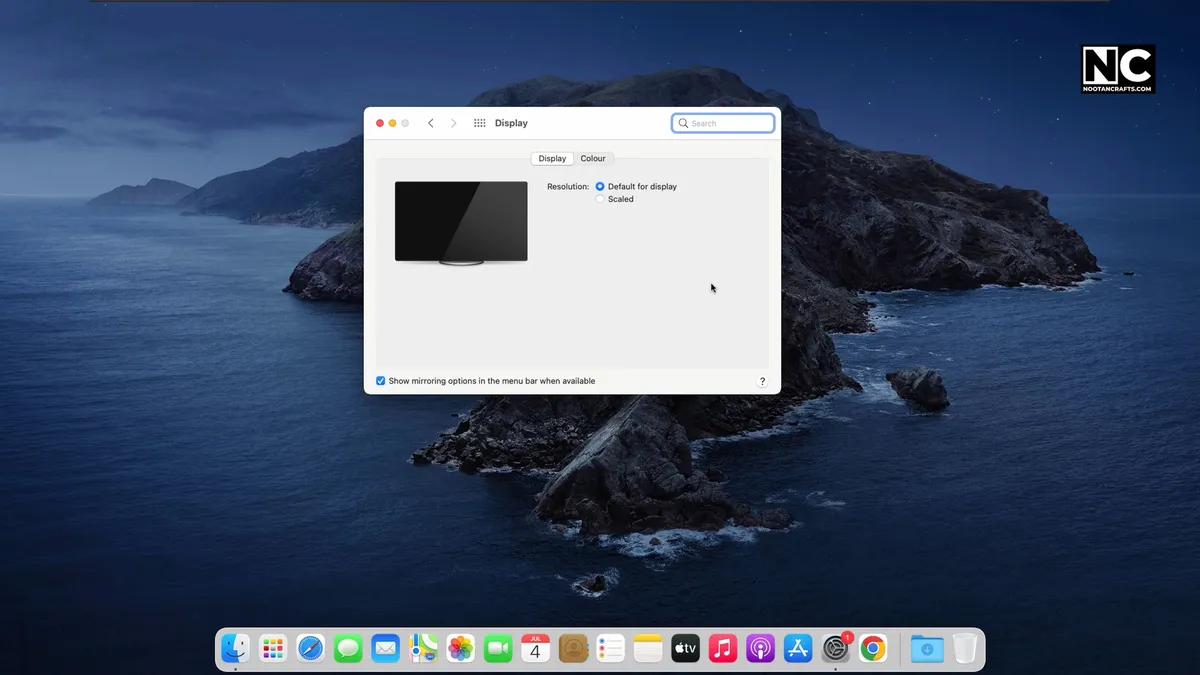

- Open System Settings → Displays and select the external screen.
- Choose 90° or 270° from the Rotation dropdown.
- No Rotation dropdown? Apple documents that the control “appears only if a compatible external display is connected”. On older releases, holding Option while clicking Scaled reveals it.
The Part Everyone Hits Next: Text Looks Slightly Wrong
Rotate a screen and text often comes out looking faintly fuzzy or fringed, and most people assume the resolution is wrong. It is not.
Your LCD builds each pixel from three subpixels in a horizontal red-green-blue stripe, and Windows’ ClearType smooths text by lighting those subpixels individually. Turn the panel 90 degrees and the stripe is now vertical, so the smoothing is being applied along the wrong axis. Wikipedia’s summary of subpixel rendering puts the outcome plainly: the result “will be worse than if no subpixel rendering was done at all” — noisy edges rather than colored ones.
Run the ClearType Text Tuner — search “ClearType” from the Start menu — with the monitor already rotated, and pick the samples that look cleanest. It tunes per display, so it will not disturb your horizontal screens. On a high-density panel you can also just switch ClearType off for that screen; above roughly 150 PPI the subpixel trick stops earning its keep. macOS dropped subpixel antialiasing entirely in Mojave, so Macs are unaffected.
Check the panel type too. IPS panels rotate without complaint. VA panels shift in contrast and gamma as your viewing angle changes, and rotating one turns its narrow axis vertical — so the top of a tall VA screen can look noticeably different from the bottom. Worth knowing before you buy a panel specifically to stand it upright.
Adding a Vertical Monitor to a Multi-Monitor Setup
This is where a vertical screen makes the most sense, because it stops having to be good at everything.
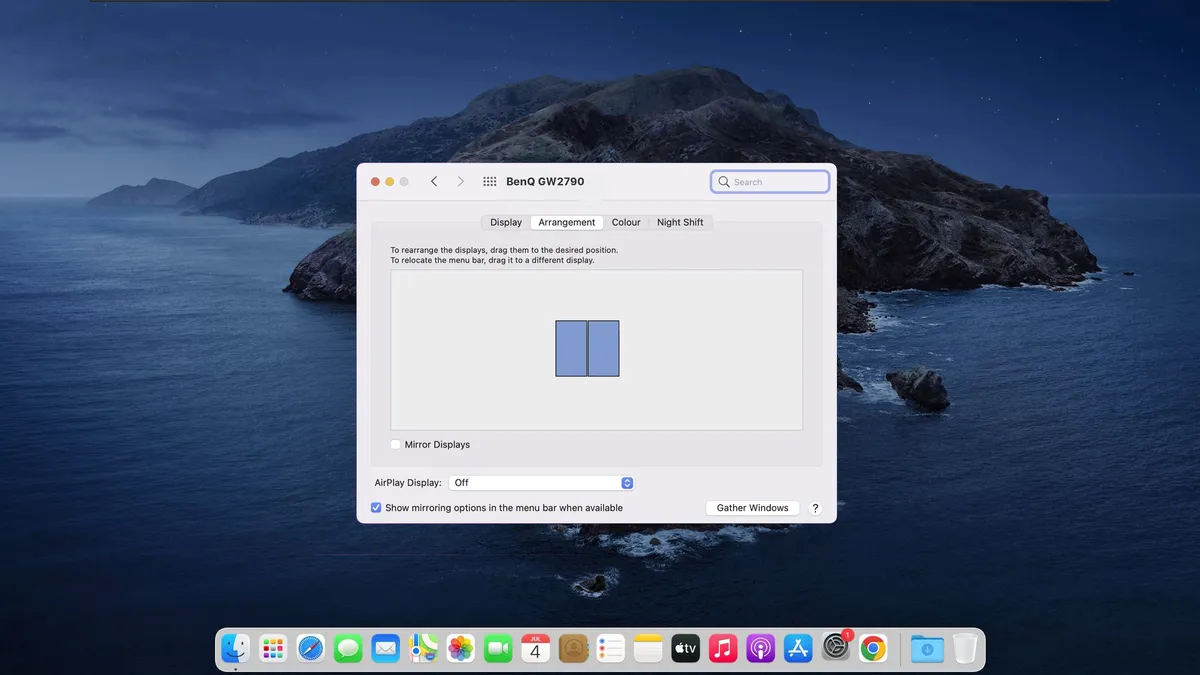

Two monitors. One vertical, one horizontal is the balanced default — reference material and long documents on the tall one, the thing you are actively working in on the wide one. Two verticals suits you only if nearly everything you do is long-form; video, spreadsheets and design work all suffer.
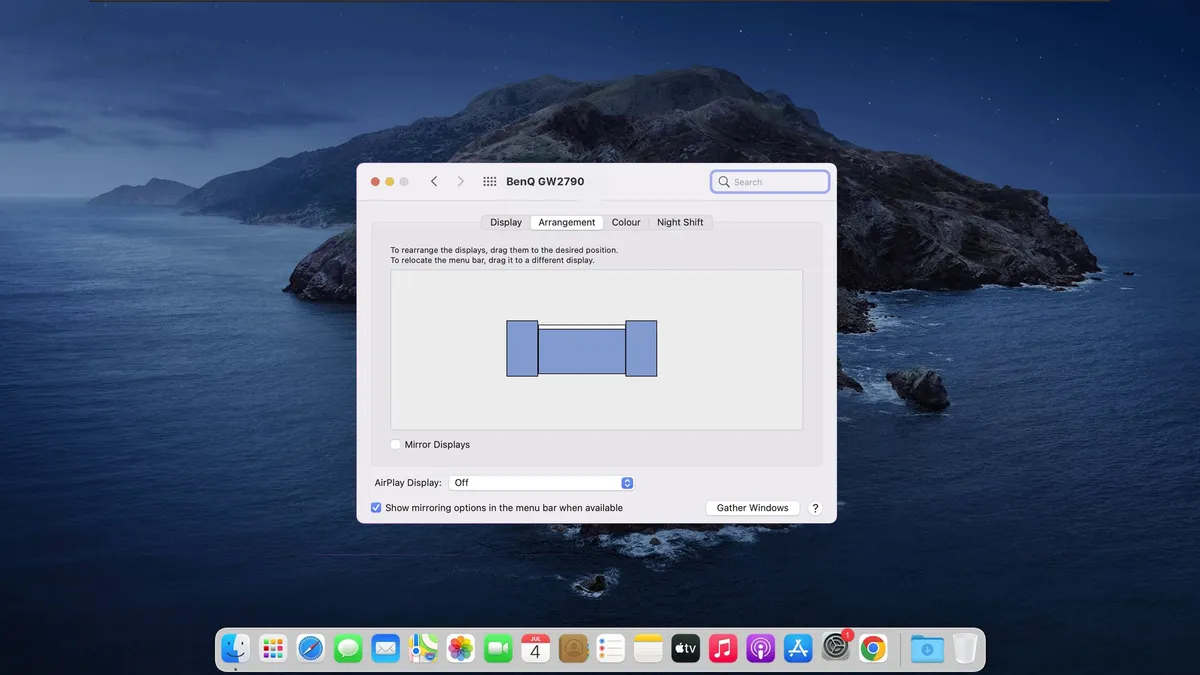
Three monitors, two vertical. A horizontal screen in the middle with a tall one on each side. Symmetrical and good for monitoring work, though you will use the outer two far less than you expect.

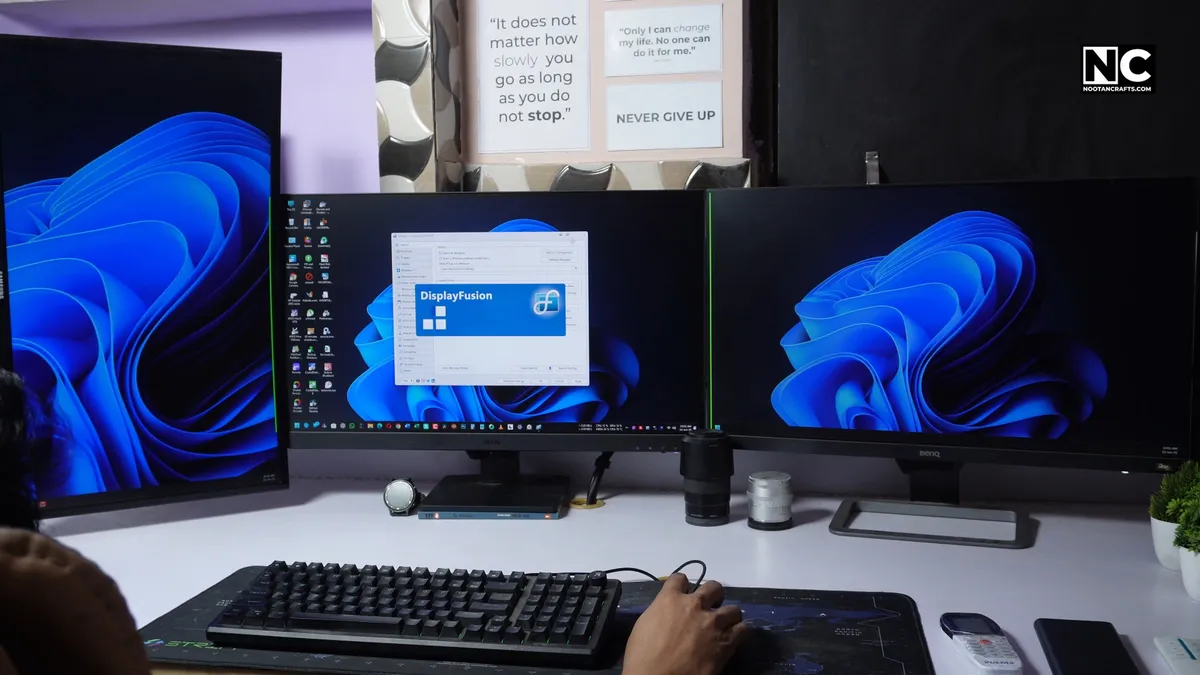
Three monitors, one vertical. This is what I run. The vertical sits on the left for reading and reference; the two horizontal screens handle editing timelines and everything that needs width. If you are picking one layout from this list, pick this one.
Four monitors. Two vertical and two horizontal. Check your GPU’s display limit before you commit — most consumer cards drive four, but the ports have to be free and physically reachable, and stacked cables at the back of a card get tight fast.
Wire each screen the same way as the first, using the best connection both ends support. Slim or right-angle cables help where the GPU’s ports sit close together.
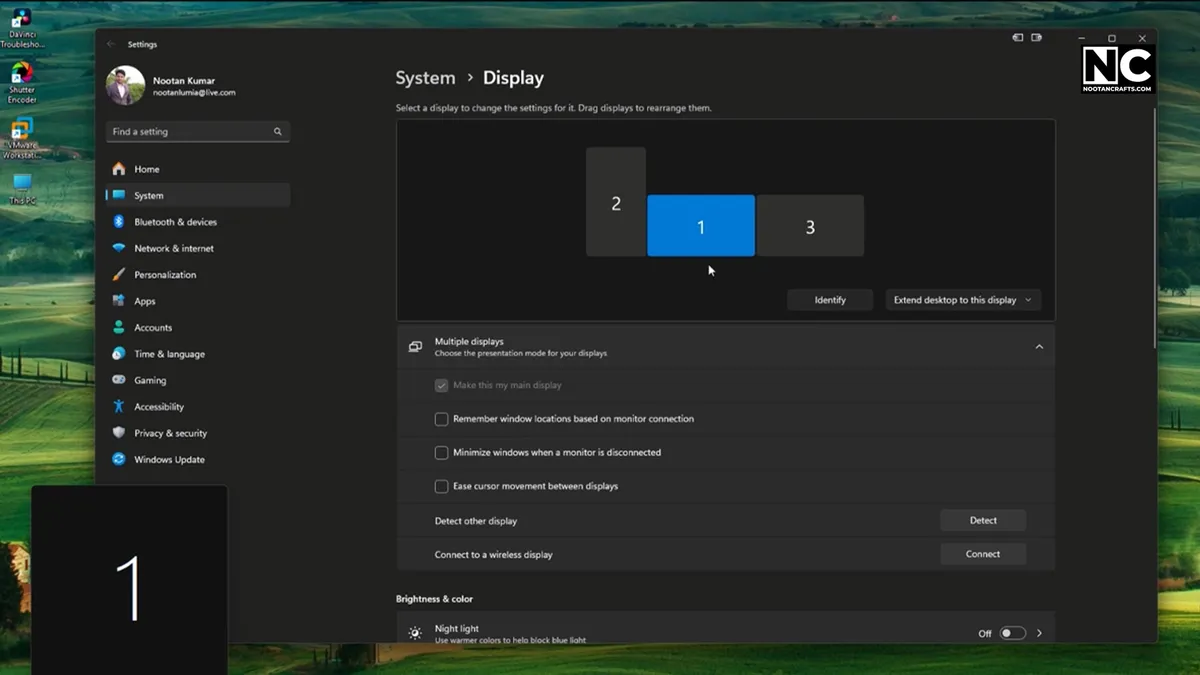
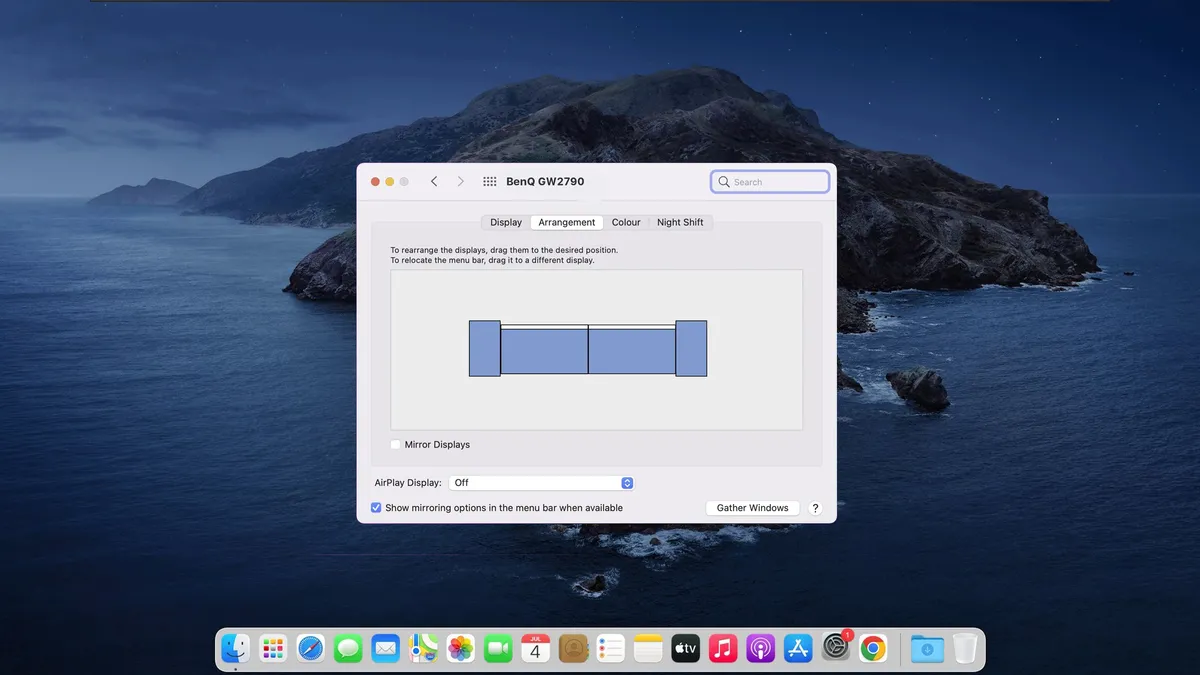
Then arrange them in software so they match reality. In Windows, open Display settings, hit Identify, and drag the numbered rectangles until they sit the way the monitors actually sit — including vertical offset, so the mouse crosses between screens at the right height. Set the rotated one to Portrait and leave the rest Landscape. macOS is the same idea in Displays → Arrange.
If windows keep landing on the wrong screen, Windows’ free PowerToys FancyZones lets you define snap regions per monitor, which suits a tall screen far better than the built-in half-and-half snapping. DisplayFusion does the same with more options if you would rather pay for it.
Frequently Asked Questions
Can any monitor be used vertically?
Almost. It needs either a pivoting stand or VESA holes so you can fit an arm — and every current monitor has one or the other. The software side is universal: Windows and macOS will rotate the image on any display. The practical limits are desk height and panel type, not compatibility.
Will rotating my monitor damage it?
No. Panels have no orientation-sensitive parts and the electronics do not care. Two real risks, both avoidable: forcing a stand that does not pivot, and cables pulled tight by the rotation. Leave slack and turn only what is designed to turn.
Is a vertical monitor good for gaming?
Not for the game itself — almost nothing renders properly in portrait and competitive titles depend on horizontal field of view. As a second screen it is excellent: chat, a stream, a guide or system monitoring all sit comfortably on a tall panel beside the game.
Which side should the vertical monitor go on?
Put it on the side away from your dominant working screen, and match it to your reading direction — left if you read left to right, since your eye returns there naturally. I keep mine on the left. There is no technical difference, so move it once and keep whichever feels right after a week.
Why does text look fuzzy after rotating?
Subpixel antialiasing is now running along the wrong axis, because your pixels’ red-green-blue stripe turned with the screen. Run the ClearType Text Tuner in Windows while the monitor is rotated, and it re-tunes for that display only. On a high-PPI panel, switching ClearType off for that screen also works. Macs are unaffected — macOS stopped using subpixel antialiasing in Mojave.
What is the best orientation setting in Windows?
Portrait if you rotated the panel clockwise, Portrait (flipped) if counter-clockwise. If the image is upside down you picked the wrong one — swap it. Worth rotating the panel so its ports end up facing away from your cable run rather than into it.
Can I mix resolutions and refresh rates across monitors?
Yes. A 144 Hz screen and a 60 Hz screen run side by side without trouble on current Windows and macOS. Two things to watch: some GPUs hold higher idle memory clocks with mixed refresh rates, which costs a few watts, and mismatched scaling makes the mouse appear to jump between screens — fix that by matching scaling percentages rather than resolutions.
How tall is a rotated monitor?
Roughly the diagonal times 0.87 for a 16:9 panel: about 52 cm for a 24-inch, 60 cm for a 27-inch, 71 cm for a 32-inch — before the mount adds anything. Measure your vertical clearance against that number before buying an arm.
Rotate It, Then Drop It
The rotation is the easy part and takes minutes. What decides whether you keep the setup is the two adjustments people skip: lowering the arm so the top of the screen sits at or below eye level, and re-tuning ClearType so text stops looking soft.
Do those and a vertical monitor stops being a novelty. Give it a week before you judge it — the first two days feel strange, and then going back to scrolling a document in a letterbox feels worse.