Connecting a Canon printer wirelessly is two separate jobs that people tend to treat as one. First the printer has to join your Wi-Fi network. Only then can the laptop find it and install a driver.
Most setup failures happen in the first half, and usually for one of three reasons: the network is on a band the printer cannot see, WPS is blocked by the router’s security setting, or the app being used has since been renamed. This guide covers all four routes onto the network, then the Windows side.
What’s Inside
- 1 – What Canon Printers Require Before You Start
- 2 – Setting Up With the Canon PRINT App
- 3 – Connecting With the WPS Button
- 4 – Entering the Wi-Fi Password on the Printer Itself
- 5 – Printing Without a Router Using Wireless Direct
- 6 – Adding the Canon Printer to Windows 11
- 7 – When the Canon Printer Will Not Connect
- 8 – Canon Wireless Setup Questions Answered
- 9 – Final Thoughts on Setting Up a Canon Printer Wirelessly
What Canon Printers Require Before You Start
Most home Canon inkjets are 2.4 GHz only. Canon’s own manual for the PIXMA TS6300 series states the printer does not support IEEE802.11ac, IEEE802.11a, or IEEE802.11n (5 GHz). If your router publishes 2.4 GHz and 5 GHz under the same name, the printer may simply never see the network. Check your model’s spec sheet before assuming the printer is faulty.
Two other things to settle first. Have the Wi-Fi password to hand — the actual network key, not the router’s admin login. And know which security type the router is using, because it determines whether the WPS shortcut will work at all.
Canon’s setup software now downloads from ij.start.canon, the address printed on the box of current models. The installation CD referenced in older guides is gone from most boxes, and a disc from 2022 will not carry a driver built for current Windows builds.
Setting Up With the Canon PRINT App
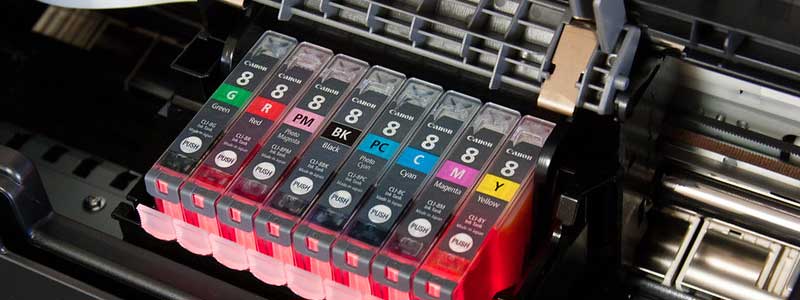
The app has been renamed twice and that is why old instructions send people looking for software that no longer exists under that name. Canon’s manual confirms the current app is Canon PRINT, formerly Canon Inkjet Smart Connect. Before that it was Canon PRINT Inkjet/SELPHY, which is the name the older version of this guide used.
Canon lists it for iOS 16.0 or later and Android 7.0 or later, and it handles setup as well as printing, scanning and ink levels.
- Install Canon PRINT from the App Store or Google Play, and grant it the location permission it asks for — Android needs that to enumerate Wi-Fi networks.
- Make sure the phone is on the 2.4 GHz network you want the printer to join.
- On the printer, open the setup menu (the spanner or wrench icon), choose Wireless LAN setup, then the easy or cableless setup option, and press OK.
- The printer shows a “follow the instructions on your computer or smartphone” message and waits.
- In the app, let it search for printers, select yours, then pick the network and enter its password. The app passes the credentials to the printer.
- Press OK on the printer when it confirms, and check the Wi-Fi signal icon now shows on its display.
This route is the most forgiving of the four, because you type the password on a phone keyboard instead of the printer’s keypad.
Connecting With the WPS Button
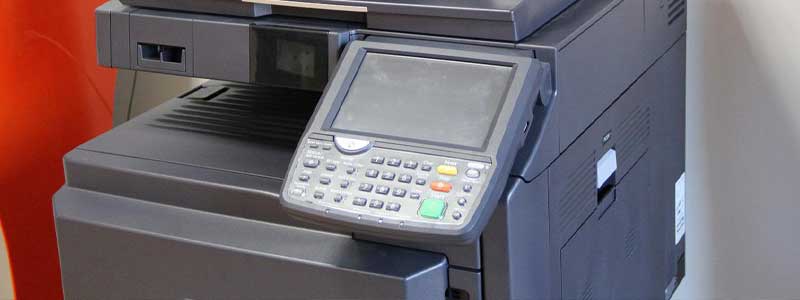
WPS is the fastest method when it works: no password typing at all. Canon’s condition is that the access point must have a physical WPS push button available.
- Power the printer on and open the setup menu.
- Select Wireless LAN setup and press OK.
- Move through the options with the arrow keys until you reach WPS (Push button method), then press OK. The printer displays a connecting message.
- Within about two minutes, press and hold the WPS button on the router until its indicator starts flashing.
- The printer shows Connected. Press OK, then confirm the Wi-Fi signal icon is showing.
Why WPS fails more often than it used to
Two security conditions block it, and both have become more common since 2022.
Canon states the network must use WPA or WPA2 security, and that WPS connections typically fail where WEP is used or no security is enabled. At the other end of the scale, WPA3 also breaks it: D-Link’s support documentation states plainly that WPA3 is not compatible with WPS connection.
If your router is set to WPA3-only, use the Canon PRINT app or manual entry instead. Dropping the whole network to WPA2 to make one printer connect is a poor trade.
The old “WEP key” instruction is obsolete. The 2022 version of this guide told you to enter a WEP key at the password prompt. WEP is long deprecated, Canon’s own guidance flags it as a reason WPS fails, and the key you will be entering today is a WPA2 or WPA3 passphrase.
Entering the Wi-Fi Password on the Printer Itself
The manual route always works, whatever the router’s security setting. It is also the most tedious, because you are typing a passphrase on a printer keypad.
- Power on the printer and press the setup button under the display.
- Use the arrow keys to reach Wireless LAN setup and press OK.
- Choose the manual or standard connection option. The printer scans for networks.
- Cycle through the detected network names with the arrow keys until you find yours, then press OK.
- Enter the network passphrase. On keypad models, the star key cycles between lowercase, uppercase and numeric entry, and the hash key inserts symbols.
- Press OK. The printer authenticates with the router and reports the result.
- Press the setup button again to confirm the Wi-Fi signal bars are showing.
If your network name is not in the list, the printer cannot see the band it is on. That is the 2.4 GHz limitation above, not a broken printer.
Printing Without a Router Using Wireless Direct
Canon printers can also host their own network. Canon describes Wireless Direct as connecting devices directly without a wireless router, which makes it the answer when the router is down, when you are somewhere without Wi-Fi, or when the printer refuses to join the network for any of the reasons above.
- On the printer, enable Wireless Direct — on models with a wireless select button, press it until the Wi-Fi Direct icon appears.
- On the laptop, open the Wi-Fi list and select the printer’s own network. Canon names it in the form XXXXXX-TS3600series, where XXXXXX is the last six digits of the printer’s MAC address.
- Enter the printer’s password when prompted. It is shown in the printer’s network settings, not on the router.
The trade-off is that the laptop is now on the printer’s network rather than yours, so it loses internet access for the duration. Canon also caps this at five devices connected at the same time.
Adding the Canon Printer to Windows 11
With the printer on the network, the Windows side is short. Microsoft’s documented path is Settings > Bluetooth & devices > Printers & scanners, which replaces the Devices page the 2022 instructions assumed.
- Confirm the laptop is on the same network as the printer.
- Open Settings > Bluetooth & devices > Printers & scanners.
- Select Add device and wait for the scan.
- Select your Canon model when it appears. Windows fetches a driver on its own.
- If it does not appear, choose Add manually next to “The printer that I want isn’t listed” and add it by IP address — the printer’s network settings page will print or display its address.
Microsoft specifically recommends the built-in Settings route over the manufacturer’s installer on ARM machines, noting that manufacturer installers may fail on ARM PCs such as Copilot+ PCs. Install Canon’s full software package only if you need the scanning utilities, and take it from ij.start.canon rather than a search result.
When the Canon Printer Will Not Connect
- The network is missing from the printer’s scan. Almost always the 5 GHz issue. Split the bands on your router, or connect a phone to the 2.4 GHz network to confirm it is broadcasting.
- WPS times out. Check the router’s security type. WPA3 and WEP both prevent it, and some routers disable WPS by default.
- The printer connects but Windows cannot see it. Confirm the laptop is on the same network — easy to get wrong on a router with separate 2.4 GHz and 5 GHz names, or with a guest network in play.
- It works, then disappears after a reboot. The printer is picking up a new address from DHCP. Assign it a static or reserved IP in the router, then add it to Windows by that address.
- Client isolation is on. Some routers, and most guest networks, stop devices talking to each other. That blocks printing even though both devices are online.
- Nothing on the laptop reaches the network. Rule out the laptop before blaming the printer — the usual adapter and driver checks apply here too.
Canon Wireless Setup Questions Answered
Which of these methods is easiest?
WPS, when the router permits it — one button press and no typing. Where WPA3 or a missing WPS button rules it out, the Canon PRINT app is the next best, because you enter the password on a phone rather than the printer keypad.
Do I still need the installation CD that came with the printer?
No, and most current models no longer ship one. Canon directs setup to ij.start.canon, and a disc from several years ago would carry a driver predating current Windows builds anyway.
Why can my printer not find my 5 GHz Wi-Fi?
Many Canon home inkjets have 2.4 GHz radios only, and Canon’s manuals state this outright for the affected series. The fix is to give the 2.4 GHz band its own network name so the printer can see and join it.
Can I print if the router is down?
Yes, using Wireless Direct. The printer creates its own network that the laptop joins directly, though the laptop gives up its internet connection while it is attached.
Do I need to install Canon’s software on the laptop at all?
Not for printing. Windows can add a networked printer and supply a driver on its own. Canon’s package is worth installing if you want the scanning and maintenance utilities.
Does this work the same on an HP, Dell or Lenovo laptop?
Yes. The printer joins the network independently of any laptop, and the Windows steps are identical across brands because they are part of Windows rather than the manufacturer’s software.
What is the app called now?
Canon PRINT. It was Canon Inkjet Smart Connect before that, and Canon PRINT Inkjet/SELPHY before that — which is why older guides send people searching for something that no longer exists under that name.
Final Thoughts on Setting Up a Canon Printer Wirelessly
Check the band and the router’s security type before you start, and three of the four common failure modes never happen. Get the printer onto the network first, and the Windows half takes under a minute.
Once it is working, reserve the printer’s IP address in the router — that single step prevents the printer from vanishing from Windows every few weeks.