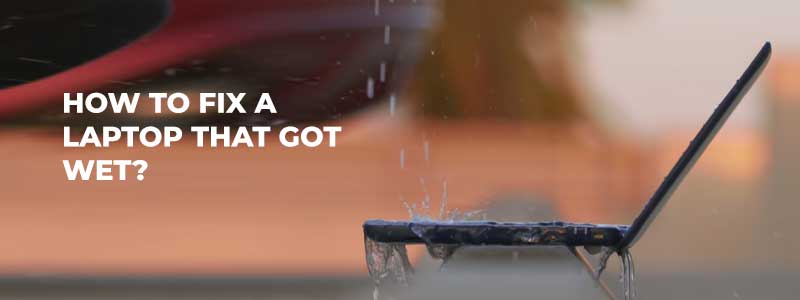
Spilling water or any other liquid on your laptop can be a horrific experience. The truth is there is no limit to the damage that could be caused by this mishap, and reacting swiftly may be the only way out.
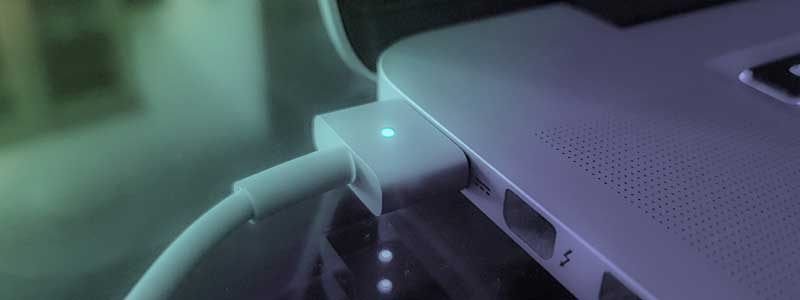
The first thing you want to do is switch off the laptop immediately and disconnect from its power source!!!
To turn it off, hold down the laptop’s power button till it shuts down completely. When liquid touches the circuits of a computer while it is active, the computer could get permanently damaged, so you need to act fast.
Every other step that could be taken solely depends on this first and most crucial step. Hence, ensure the laptop is switched off and plugged out. If your notebook’s battery is detachable, now would be a good time to remove it.
Even though there are several instances where you can fix laptop issues yourself, spilling liquid on your laptop may eventually require the services of a technician. However, taking specific preventive measures can help increase the chances of survival of your computer.
Also, there are chances that you may not be able to secure the services of a technician on time; hence you need to know the various steps that can be taken to remedy the situation properly.
This article hopes to enlighten you on a few steps that could help you fix a laptop that got wet. Let’s dive in!!
What’s Inside
Steps to Fix A Laptop That Got Wet
Fixing a laptop that got wet depends significantly on how the device is cased. Some laptops are sealed tightly with in-built batteries that cannot be easily detached. Newer models are built to have a slick and slim build, and it is advisable to get professional help if your laptop falls in this category.
These types of laptops are pretty tricky to break apart, even for professionals; hence all you can do in the meantime is to put a few precautionary measures in place while you wait for your appointment with the technician. This will be discussed in the latter part of this article.
However, some laptops are set up in a way that if you pay attention to the screwing patterns on the underside, you may be able to take them apart easily. For laptops of this nature, you may want to follow the steps highlighted below:
Remove residual liquid from keyboard surface
After unplugging from its power source and switching off, quickly wipe off any residual liquid on the surface. Ensure you clean thoroughly to remove residual liquid trapped in the corners and edges of the keyboard surface.
Cleaning it appropriately will reduce the likelihood of liquid getting into your device and damaging its internal circuitry. You can clean the keyboard using a dry piece of cloth or a towel that readily absorbs moisture.
You can do this with the laptop facing down to ensure that all remaining moisture on the surface trickles out and is absorbed by the towel. Let gravity do its trick, and you get to protect the motherboard of your laptop.
Unplug all peripherals
Water conducts electricity, and regardless of where the liquid is spilled, it would be advisable to disconnect all peripherals attached to the laptop. Peripherals include a mouse, external keyboard, printers, scanners, USB cables, flash drive, and other necessary attachments.
These peripherals may be damaged if left unattended as current flows from the pc to other attached devices. Some devices such as the UPS are alternate power sources that could keep the device on or supply current, which may be harmful at this point.
Your primary goal is to preserve the integrity of your motherboard; hence all attachments that could pose a potential threat to the computer system must be detached.
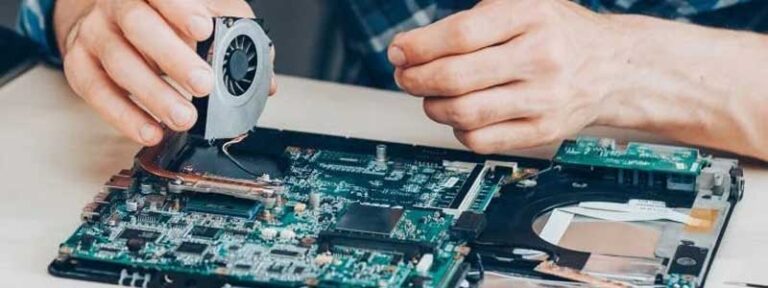
Remove the hard drive and other removable components
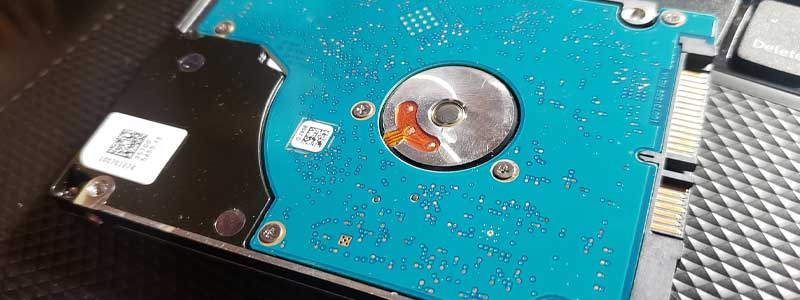
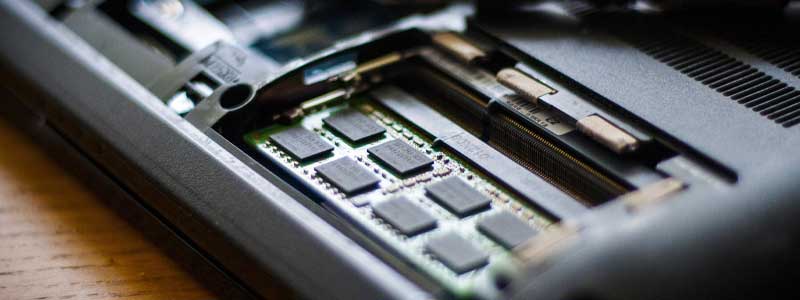
Some laptops have parts that can be easily assessed. Check the underside of the computer to see if there are screwed compartments, such as the portion where the RAM, Hard Drive, or even the network card is kept. Unscrew these compartments and remove your hard drive and your RAM.
It is essential that you keep track of the position of each component as you unscrew. When unsure of where a particular component fits, do not try to force it in.
To keep track of where each component goes, you may want to take pictures before and after detachment. Doing this allows you to be able to identify how each item fits into its slot. The images will guide you as you reassemble so you don’t further damage the laptop you are trying to fix.
Dry out these components in a well-ventilated and do not fit in the back until you are sure the laptop is dried correctly. Please avoid the use of dryers as they could damage the components of your computer.
If your laptop is built differently and you don’t see any compartment or better still, you have a much more complex setup.
Open up and face down to dry out
The next step is to open up the laptop as far as it can extend and place it gently faced down on a dry towel. You can leave the computer in this state and allow it to dry out. Putting it in this position allows the force of gravity to push down every remaining moisture that will be absorbed by the underlying towel.
Now you may need to exercise a bit of patience before reassembling. Don’t assume the laptop is dried out and couple back prematurely. This will be counterproductive, and it could render all your excellent work irrelevant. Take your time and wait for several hours; if possible, don’t switch it on till the next day.
If pressed for time, it is advisable to leave it in the face-down state for a few hours (6-8 hours) before you reassemble and turn on the laptop. After it has thoroughly dried naturally, you can begin reassembling. Do this while ensuring that every component is thoroughly cleaned before insertion in its designated slot.
Turn back on and test for faults
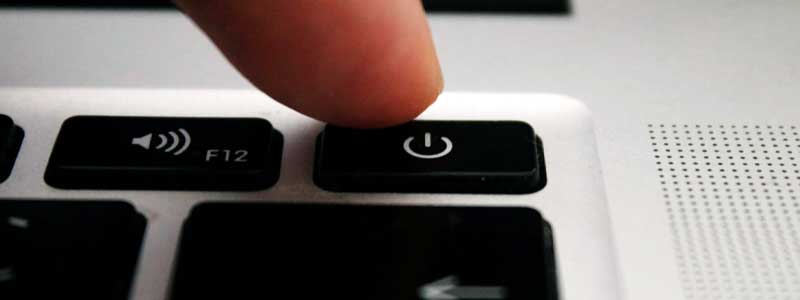
After carefully following the steps mentioned above, now the moment of truth is here where you get to check if your system is undamaged. Make sure to allow the laptop to dry out under normal conditions. Do not get impatient to try out any artificial drying technique.
Press down the power button and immediately release the laptop switches on. Your laptop should work perfectly and not show any signs of fault. When the computer boots up with no glitches, you may want to check your keyboard. Open a notepad of Microsoft word software and test every key from top to bottom.
If you notice any signs of faults, perhaps you should take the laptop to a repair shop.
How to Fix a Laptop Keyboard That Got Wet

When liquid spills on a laptop, in most cases, the first area that gets affected is the keyboard area. It is usually the portion of the computer placed horizontally on the supporting surface. The supporting surface is likely to be shared by the liquid that may be spilled.
Keyboards are of two major types, the in-built keyboard that comes with the laptop and the external USB keyboard. The simple way to fix the inbuilt keyboard would be to follow the earlier steps. However, if you are working with an external USB keyboard, quickly unplug from the main computer (desktop or laptop). Wipe off the visible liquid on the surface.
Get a clean towel and place the keyboard on it faced down. Leave it for a few hours to dry out naturally, after which you can plug back in.
What if Your Laptop Cannot Be Taken Apart?
Laptops such as the MacBook and the Surface Book 3 cannot be easily taken apart. The batteries are also in-built, meaning there is still a supply of current that could damage your computer. This situation dramatically limits your options, and your best bet would be to take it to the repair shop.
However, before you do that, here are a few precautionary steps you can take to safeguard your pc better:
Hold the device upside down and use a towel to wipe off any visible moisture. Repeat this motion until the device is thoroughly cleaned.
In that same position, place the device on a towel or a dry surface in a well-ventilated space that encourages natural drying.
It is essential to mention that this procedure is not a permanent fix but a way to improve your chances of fixing the pc. After all, it is better to do that than do nothing and hope for the best.
Conclusion
Disasters such as this usually come at the most unexpected moment, and to salvage the situation, you may need to act fast. Nevertheless, by carefully following this guide, you are likely to have your laptop up and running with no damages in no time.
You could also take a more proactive measure by using keyboard protectors, which come in different wearable varieties.
References:
- https://www.digitaltrends.com/computing/what-to-do-if-you-spilled-water-on-your-laptop/?amp
- https://www.google.com/amp/s/www.wikihow.com/Save-a-Laptop-from-Liquid-Damage%3famp=1