Today, we are going to see the procedures for how we can change the administrator name on HP Laptop or any other windows-based machine. But before moving on to the actual procedure, we must understand the need for this activity.
Note: This procedure is Microsoft environment specific and will be valid on devices with Microsoft-based operating systems only.
What’s Inside
- 1 – Why do we need this?
- 2 – Method # 1: Account Name Change from Computer Management
- 3 – Method # 2: Account Name Change from Control Panel
- 4 – Method # 3: Account Name Change from Local Group Policy Editor
- 5 – Method # 4: Account Name Change from Local Users and Group
- 6 – Method # 5: Microsoft Account Name Change from Microsoft Website
Why do we need this?
The local administrator user is an important user with almost the highest level of privileges on a local system. We need to change its name because of many reasons such as:
- If we want to change the default name set by the laptop seller as per our desire.
- In case we want to follow a nomenclature.
- To take preventive measures from attackers. Because once an attacker tries to access a system, he/she will try to hit the system with default usernames that own administrative privileges to gain unauthorized and unrestricted access to the system. So, changing the administrator account name with something more unguessable is an important step to harden the endpoint or weakest link in the network.
So, above are some conditions in which we need to change the default administrator name.
Procedure:
We can change the administrator account name by various methods but keep in mind that whatever method we use will serve the same purpose. Although different methods have the same effect on the system, these can be used in a variety of conditions.
The most used methods for changing account names are as follows:
- With the help of Computer Management
- With the help of the Control Panel
- With the help of Local Group Policy Editor
- With the help of Local Users and Groups
- With the help of the Microsoft website (applicable for Microsoft account only and on Win 8, 8.1, 10)
All the methods from serial numbers 1 – 4 will work the same on Windows 7, 8, 8.1, and 10 except point number 5 which is applicable only on Windows 8, 8.1, and 10.
Method # 1: Account Name Change from Computer Management
Before starting with the procedure, please ensure that you are logged in as a user who has administrative privileges on the Laptop.
Step # 1:
Go to “Computer Management”. You can do this by following ways
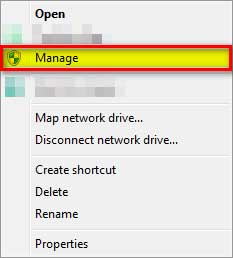
- Right-click on the Computer icon on your desktop and select “Manage” “OR”

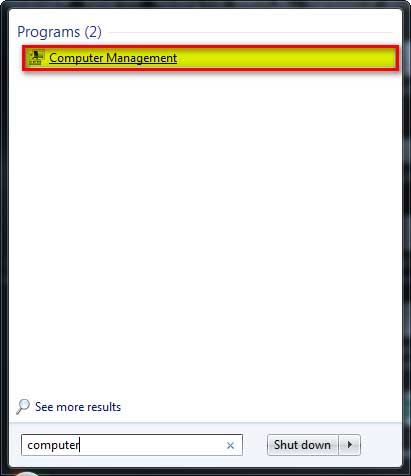
- By pressing the Windows button then typing “Computer Management” in the search box “OR”
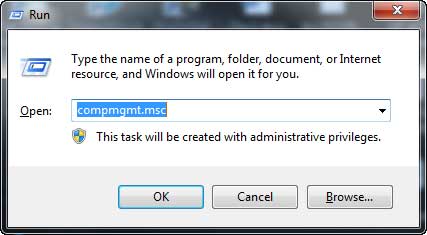
- Windows Button + R and then typing “compmgmt.msc”
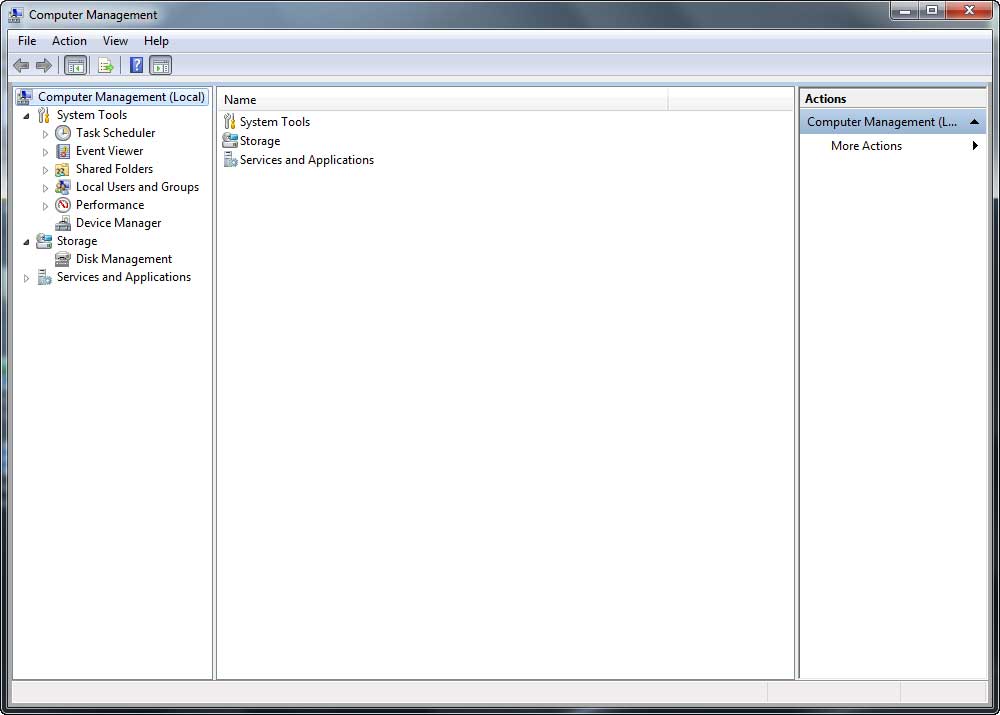
Step # 2:
Now we are on computer management snap-in
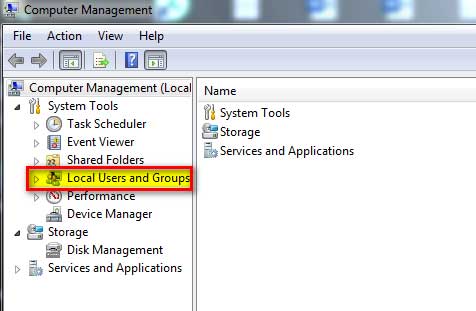
Step # 3:
From here move into the left pane and select the arrow next to the “Local Users and Groups”
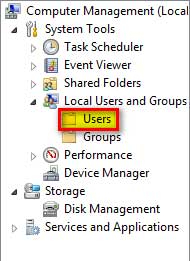
Step # 4:
Select “Users”
Step # 5:
Now we will move into the right pane and right-click on the administrator

Step # 6:
We will select “Rename” and type a new name for the said user.
Method # 2: Account Name Change from Control Panel
Another way of changing the administrator account name is by using the control panel.
For Windows 7
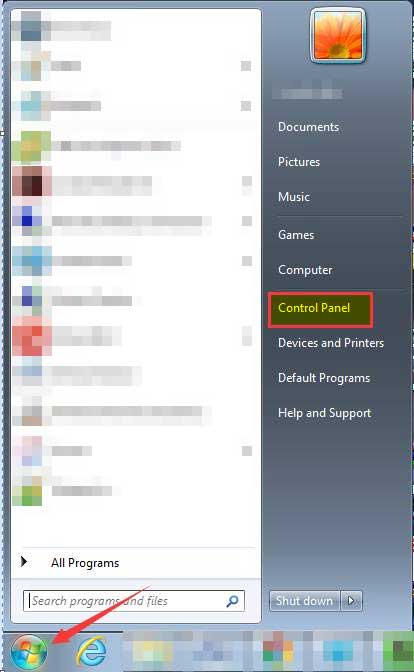
Step # 1:
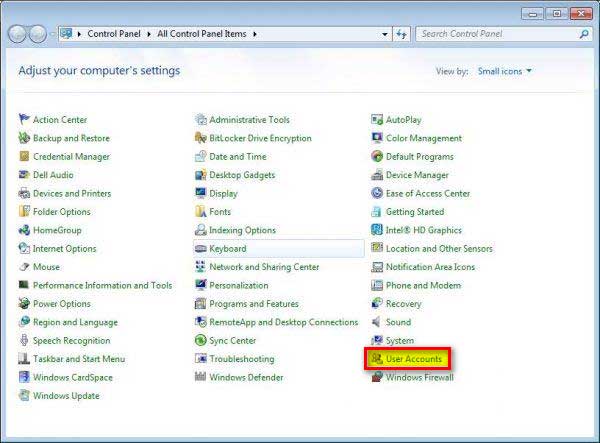
Press Windows button from keyboard ® locate control Panel
Step # 2:
Double click “User Accounts”
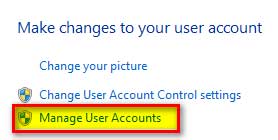
Step # 3:
Now double click “Manage User Accounts”
Step # 4:
This will open the “User Accounts” dialogue box
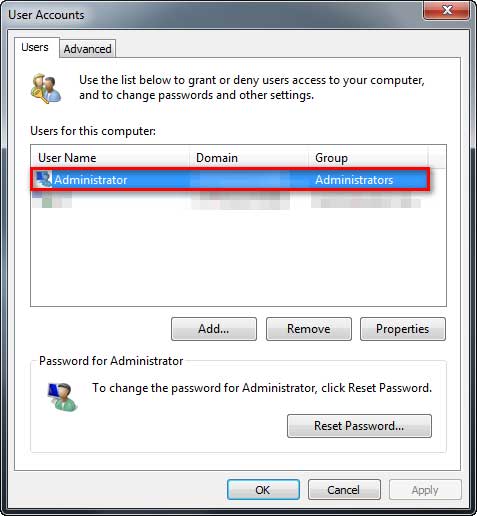
Step # 5:
Double click the username and it will open the below window
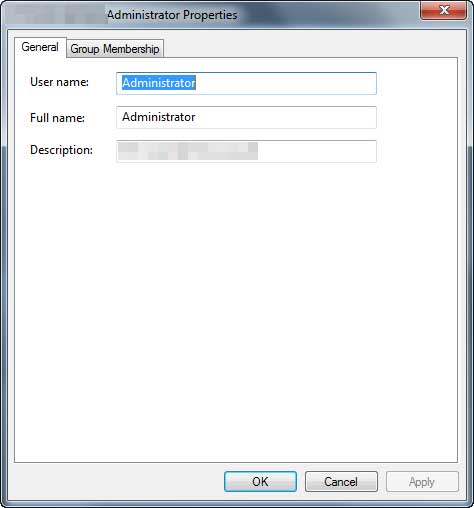
Step # 6:
From here we can change the Account name as per our wish
For Windows 10
Changing of account name from the control panel is slightly different in windows 10 from windows 7.
Step # 1:
Go-to “Run” by pressing Windows + R button from the keyboard and type “Control” to access the control panel
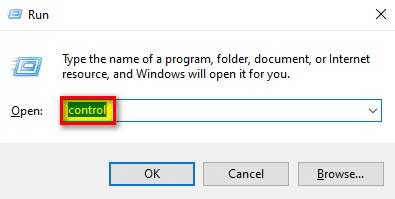
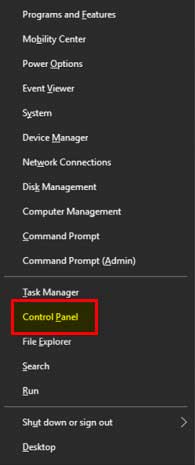
“OR” by pressing Windows + X button from the keyboard and selecting the control panel option
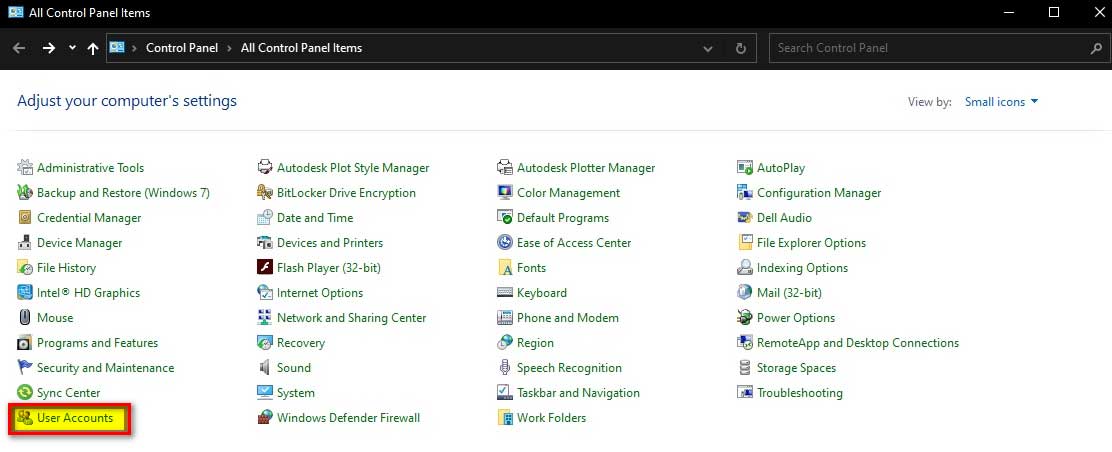
Step # 2:
Select “User Accounts” from here
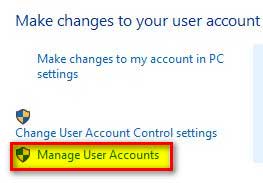
Step # 3:
Double Click “Manage User Accounts” from this menu
Step # 4:
Rest will remain the same as in Windows 7
Method # 3: Account Name Change from Local Group Policy Editor
We can change the administrator account name with the help of the group policy editor. Here a question arises if we can change the administrator name with computer management and control panel then why would we use group policy editor?
So the answer is that the group policy editor helps us in a number of ways, suppose we have a number of systems on a network and we want to change the account name on all of them then it could become a hassle for us to go on each system and perform this activity one by one.
Here comes the application of group policy we can perform this activity and populate it over the network.
Let’s move on to the step-by-step procedure.
Step # 1:
Go to “Run” by pressing Windows + R button from the keyboard
Step # 2:
Type “gpedit.msc” and press “Enter key”

Step # 3:
A new window of “Local Group Policy Editor” will open
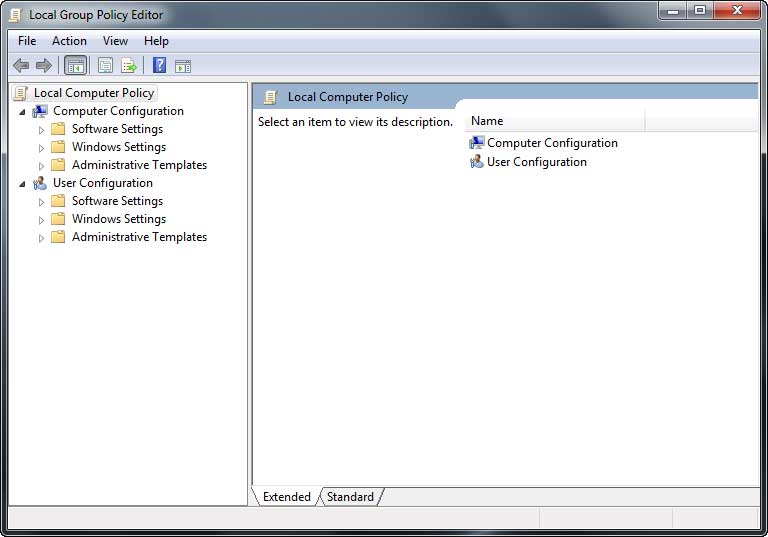
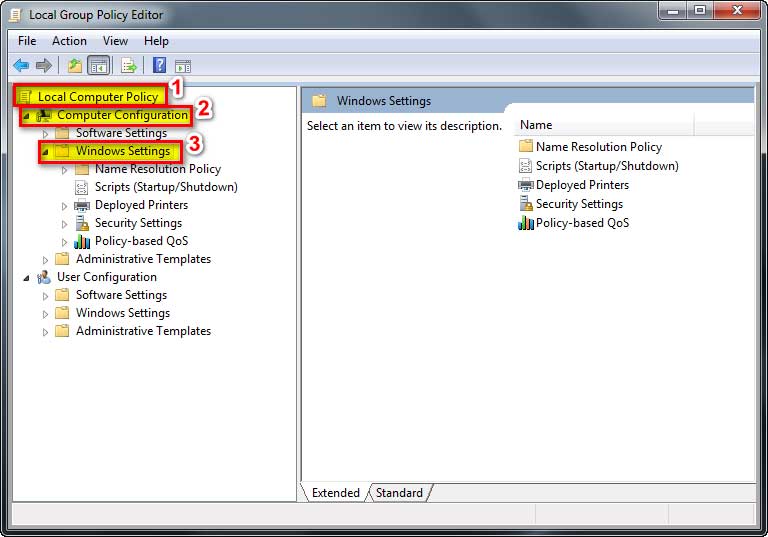
Step # 4:
From here move into the left pane and move to “Local Computer Policy”®“Computer Configuration” under this menu pin down “Windows Settings”
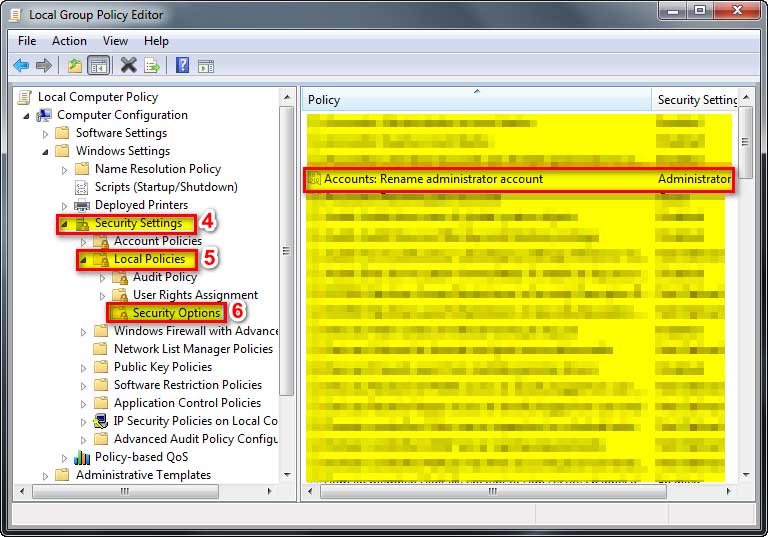
Step # 5:
Pin down the “Security Settings” and then “Local Policies” and select “Security Options”

Step # 6:
After selecting the “Security Options” move into the right-hand pane and select the fourth entry “Accounts: Rename administrator account”
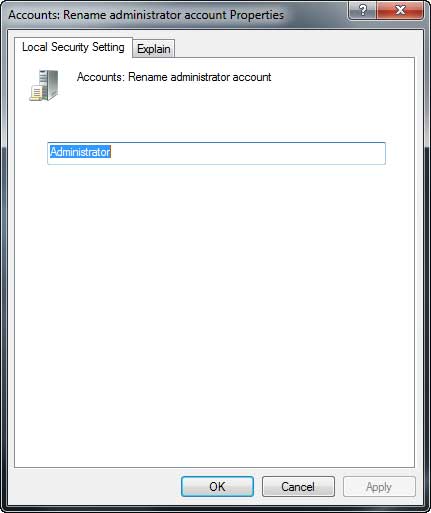
Step # 7:
Double click “Accounts: Rename administrator account” entry and change the name
Method # 4: Account Name Change from Local Users and Group
We can also change the administrator account name with the help of local users and group snap-in directly. This is another handy utility that we can access in case we are facing issues with the desktop icons or explorer.exe malfunction due to which we are unable to change or see the administrator account name, as we are already aware that administrator account also plays an important role in windows system file checking and performing various recovery and repair functions.
For accessing the “Local Users and Groups” utility we need to perform the following steps:
Step # 1:
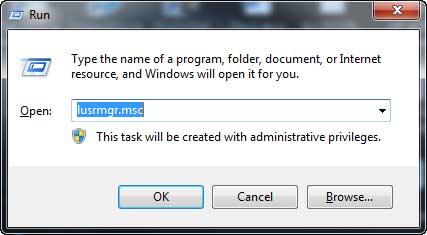
Go to “Run” by pressing Windows + R button from the keyboard
Step # 2:
Type “lusrmgr.msc” and hit “Enter key”
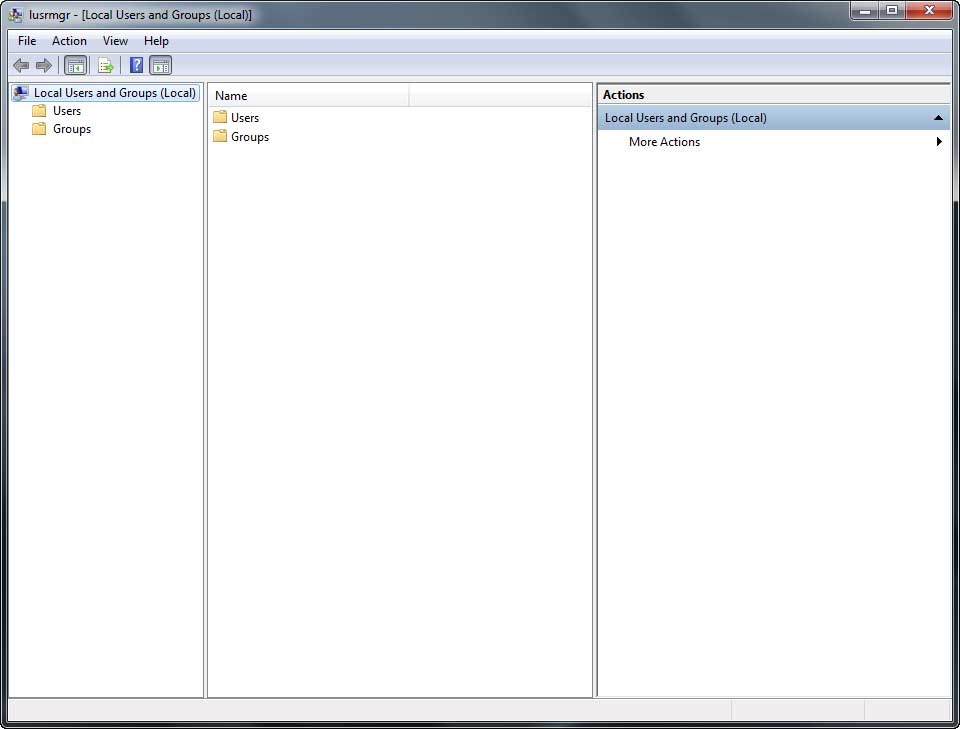
Step # 3:
This will open the “Local Users and Groups” snap-in
Step # 4:
In the left-hand pane under “Local Users and Groups” select “Users” and then in the middle pane select the required username which is “Administrator”
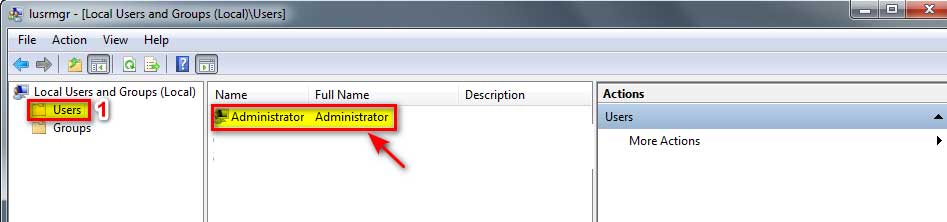
Step # 5:
We will select “Rename” and type a new name for the said user.
Method # 5: Microsoft Account Name Change from Microsoft Website
Now a day’s many users are using a variety of operating systems like windows 8, windows 8.1, or windows 10. So, all the users who are using one of these Microsoft flavors and have a Microsoft account can change the name of the Microsoft account (associated with their operating system) with the help of the Microsoft website.
All these operating system flavors provide us with two kinds of accounts one is local accounts and the other one is Microsoft account. The difference between both the accounts is that Microsoft accounts synchronize our data and settings with the Microsoft servers which can be synced across multiple Microsoft-based devices, it also gives us the facility to use many Microsoft-based apps like the store, skype, etc. While on the other hand local administrative accounts act normally and do not provide the data and setting synchronization functionality as well as do not allow you to download apps from the Microsoft store.
Now we have understood the functionality of the Microsoft account so let’s move on to the name change procedure which could be performed as per the below steps.
Step # 1:
Press the Windows button from the keyboard and launch the start menu
Step # 2:

Go to “Settings”
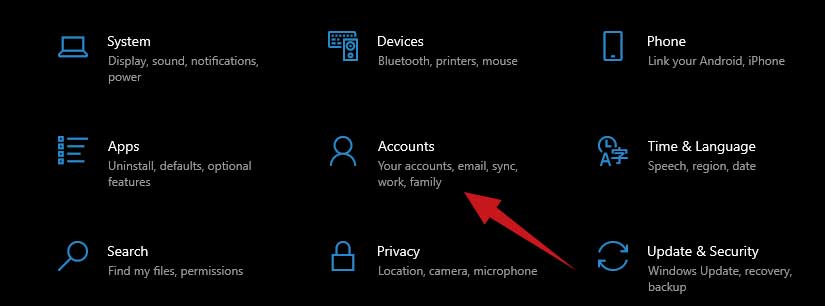
Step # 3:
We will select our account (which we want to rename) by selecting “Accounts” then selecting “Your Info”.
Step # 4:
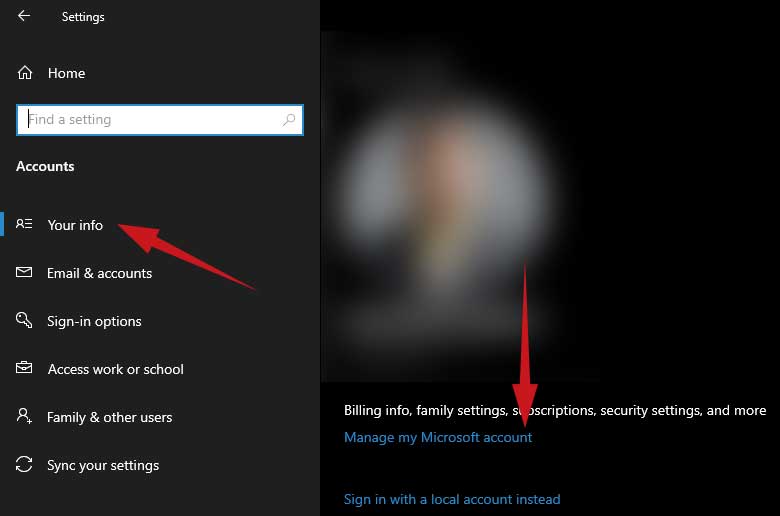
Now select the option “Manage my Microsoft Account” this will lead us to the Microsoft website.
Step # 5:
Now “Sign in” to the targeted account (If prompted).
Step # 6:
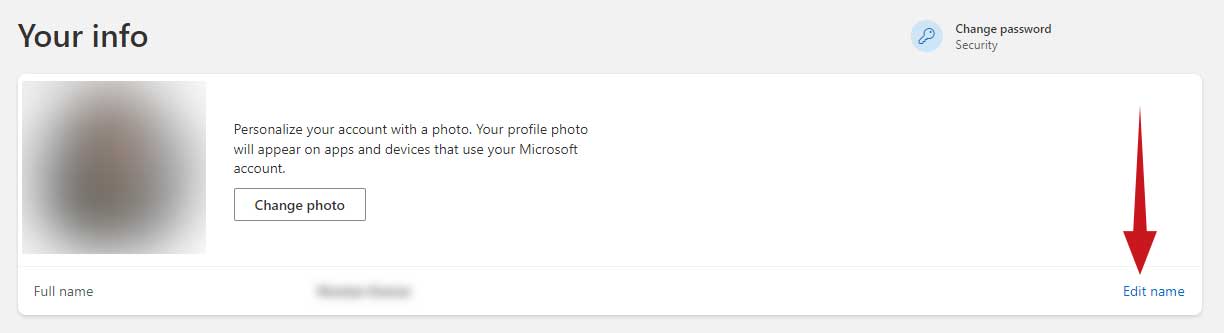
Below the current account name, there is an option of “Edit Name” select it
Step # 7:
This will open a new page from here select the “Profile tab” (if not already selected)
Step # 8:
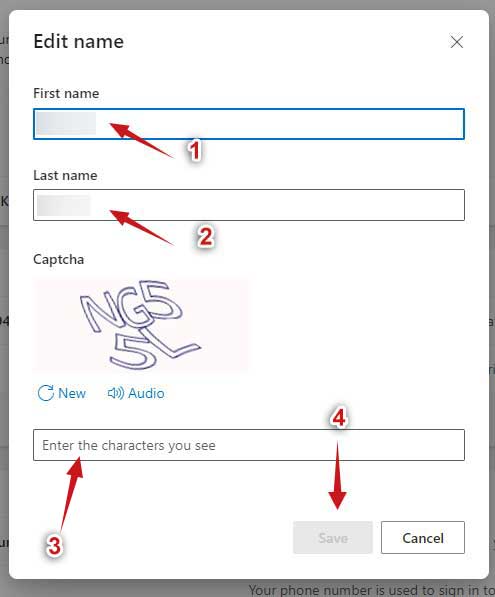
Now enter a new name for the Microsoft account by entering “First Name” and “Last Name”.
Step # 9:
Enter the characters to confirm the challenge (a procedure to verify that the changes are not being performed by any robot)
Step # 10:
Press the “Save” button to save all your changes
Step # 11:
Last but not the least, as per standard practice “Restart” your computer.
Kabooooom! Now the User Screen prompts the new name which means we have successfully changed the name of the Microsoft account associated with our Windows 10 operating system.
Keep in mind that this change will apply to all the devices which are signed in with this account. Although it takes some time to sync across all the devices.
References:
- How to change your Microsoft account administrator name
- How to change sign-in account name on Windows 10 | Windows Central
- Change the Name on Your Microsoft Account on Windows 8.1 – CCM
- 4 Easy Ways to Change Administrator Name on Windows 10 (4winkey.com)
- [SOLVED] Is it safe to change the admin accounts name and use it for everyday use? – Windows 8 Forum – Spiceworks
- How to Change Microsoft Account on Windows 10 (guidingtech.com)